


School administrators considering digital hall of fame displays face a practical question that often stalls purchasing decisions: who actually installs these systems? Between mounting 55-inch touchscreens on walls, running electrical lines, connecting network cables, and configuring software, the installation process involves coordination across multiple departments and potentially external contractors. Understanding who handles each component helps administrators budget appropriately, schedule installation during optimal timeframes, and ensure displays function reliably from day one.
The installation process for digital recognition displays differs significantly from hanging traditional plaques or arranging trophy cases. These interactive systems require professional mounting to support substantial weight, dedicated electrical circuits to power commercial-grade displays, network connectivity enabling remote content updates, and careful placement in high-traffic areas like main lobbies or entrances near administrative offices. Installation typically involves collaboration between audiovisual integrators, school IT departments, facilities teams, and sometimes electricians—with the specific combination depending on school resources and display complexity.
This comprehensive guide explains who installs digital hall of fame displays in schools, what each installation professional handles, how to coordinate between teams, and what administrators should expect during the process. From initial site assessment through final testing, understanding the installation workflow helps schools implement recognition displays efficiently while avoiding common pitfalls that delay deployment or compromise performance.
Schools nationwide are replacing space-limited trophy cases with digital recognition displays that showcase unlimited achievements through interactive touchscreens. The installation process, while more involved than hanging static plaques, typically completes within one or two days when properly coordinated. Schools benefit most when they understand installation requirements before purchasing, allocate appropriate resources, and select vendors providing comprehensive support throughout deployment.

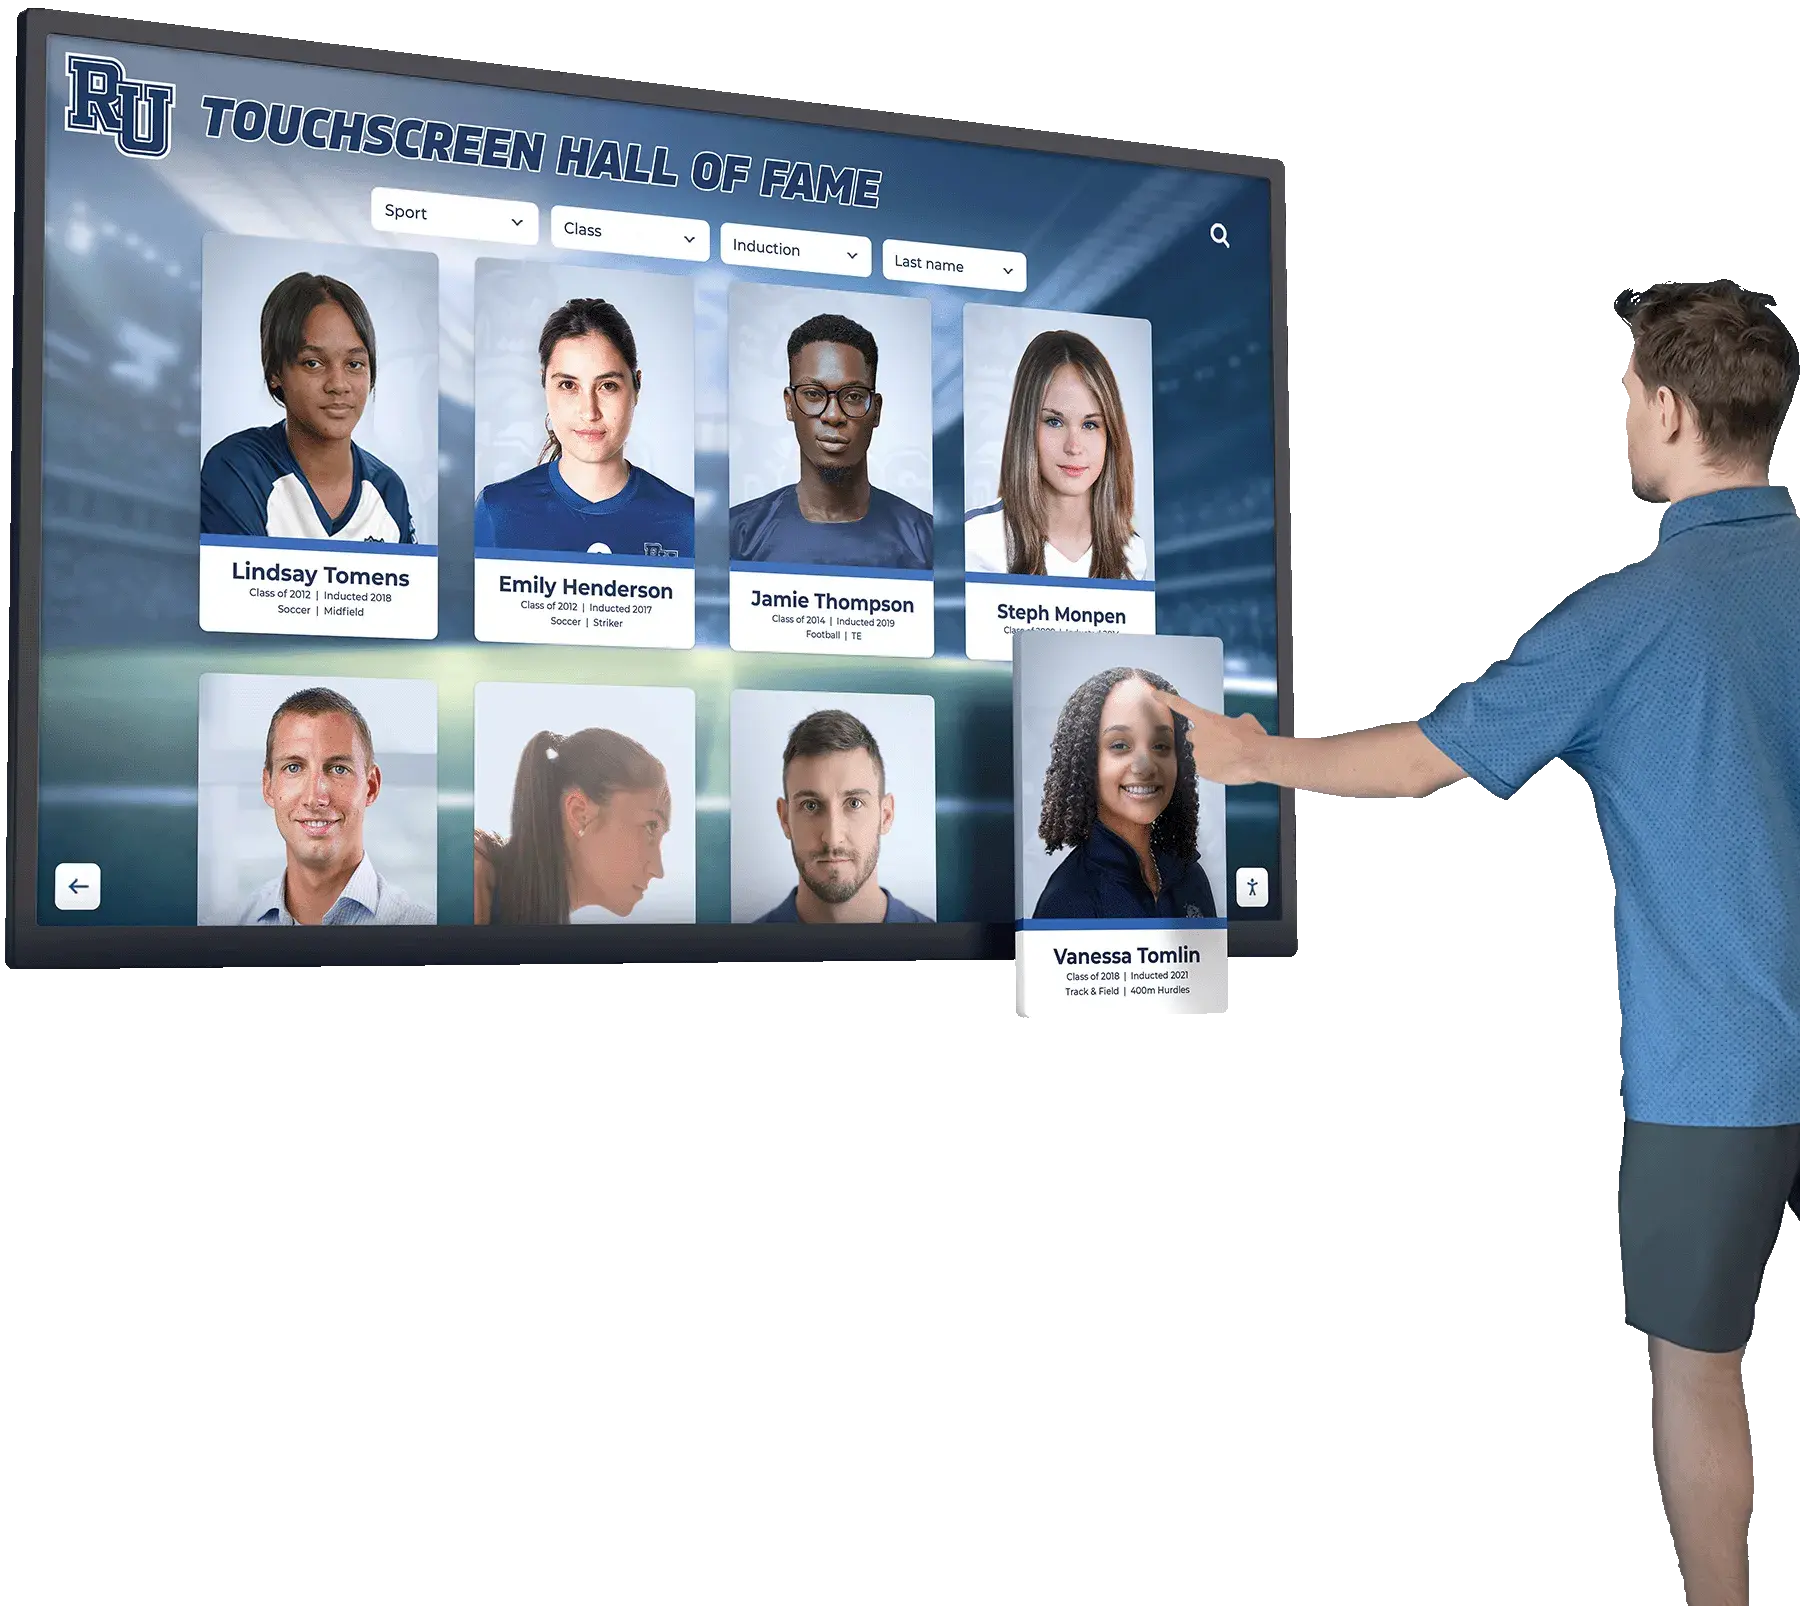
Professional installation ensures digital displays function reliably in high-traffic areas while supporting the substantial weight of commercial touchscreens
Primary Installation Professionals: Who Does What
Digital hall of fame display installation typically involves three to five distinct professional roles, depending on school resources and installation complexity.
Audiovisual Integration Companies
Commercial AV integrators serve as the primary installation professionals for most school digital display projects:
Installation Responsibilities
- Physical mounting of display hardware to walls or installing floor-standing kiosks
- Running necessary cabling for power and network connectivity
- Configuring display settings and ensuring proper functionality
- Testing touchscreen responsiveness and display calibration
- Providing training on basic operation and maintenance
- Documenting installation details for future reference
AV integrators bring specialized expertise in commercial display mounting, ensuring installations meet structural requirements and building codes. They possess proper tools for mounting heavy displays, understand cable management best practices, and can troubleshoot connection issues during installation.
According to the National Systems Contractors Association, schools working with experienced AV integrators report 40-50% fewer post-installation technical issues compared to schools attempting in-house installation without proper expertise.
When AV Integrators Handle Full Installation
Schools lacking in-house technical expertise often contract AV companies for complete installations:
- Assessment of installation locations and structural requirements
- Procurement of necessary mounting hardware and brackets
- Coordination with electricians for power installation if needed
- Network connectivity setup and testing
- Software configuration and content upload assistance
- Post-installation support and warranty service
Full-service AV installation typically costs $800-2,500 depending on mounting complexity, electrical requirements, and whether floor-standing kiosks or wall-mounted displays are specified. This investment provides professional installation quality and reduces burden on school staff.

Floor-standing kiosks simplify installation by eliminating wall mounting requirements while providing stable platforms for touchscreen displays
School IT Departments
Internal IT staff play important roles in digital display installation, particularly regarding network connectivity and ongoing management:
IT Department Responsibilities
- Network infrastructure assessment and connectivity planning
- Assignment of IP addresses and network configuration
- Firewall configuration allowing display internet access
- Wi-Fi network access setup for wireless-connected displays
- Integration with existing school network security policies
- Ongoing software updates and remote management support
IT involvement proves particularly important for interactive digital signage systems requiring integration with school authentication systems or content management platforms. Schools should involve IT staff early in planning to identify any network infrastructure upgrades needed before installation.
Network Planning Considerations
IT departments should assess:
- Network port availability near planned installation locations
- Bandwidth capacity for high-resolution content delivery
- Network segmentation if displays will be publicly accessible
- Remote management access requirements for content updates
- Backup connectivity options if primary network fails
Proper IT involvement during planning prevents situations where displays install successfully but cannot connect to networks, delaying deployment and requiring additional contractor visits.
Facilities and Maintenance Staff
School facilities teams provide essential support for installation, particularly regarding structural assessment and ongoing maintenance:
Facilities Team Contributions
- Structural evaluation of mounting locations ensuring adequate support
- Identification of wall studs, concrete anchors, or mounting requirements
- Access coordination for installation contractors during work hours
- Post-installation cleaning and area restoration
- Ongoing physical maintenance and display cleaning
- Coordination with fire marshal or building inspector if required
Facilities staff familiar with building construction can quickly identify appropriate mounting locations that meet structural requirements while avoiding interference with building systems like HVAC, plumbing, or electrical infrastructure hidden within walls.

Proper wall mounting requires assessment of structural capacity and installation techniques appropriate for different wall materials
Licensed Electricians
Depending on local building codes and existing electrical infrastructure, licensed electricians may need to install dedicated power circuits:
When Electrician Services Are Required
- Installation locations lacking nearby electrical outlets
- Building codes requiring dedicated circuits for commercial displays
- Need for concealed wiring maintaining clean aesthetic appearance
- Installation of power outlets behind wall-mounted displays
- Electrical code compliance verification for commercial installations
Electrician costs typically range from $150-600 for basic outlet installation to $400-1,200 for dedicated circuit installation with concealed wiring. Some AV integrators include licensed electricians on their teams, while others coordinate separate electrical contractors.
Schools should determine electrical requirements early in planning, as electrical work often requires permits and inspections that extend installation timelines. Many modern digital recognition displays use standard 120V power, simplifying electrical requirements compared to older systems requiring 240V connections.
Display Software Vendors
Companies providing digital hall of fame software often provide remote installation support and content setup assistance:
Vendor Installation Support
- Remote software configuration and system setup
- Content management system training for school staff
- Initial content upload assistance or templates
- Integration setup with school data systems if applicable
- Troubleshooting support during installation phase
- Ongoing technical support after deployment
Solutions like Rocket Alumni Solutions provide comprehensive remote setup support, eliminating need for on-site software installation. Cloud-based platforms enable schools to complete software configuration and content population before physical display installation, ensuring displays show recognition content immediately upon power-up.
Installation Process: Step-by-Step Timeline
Understanding the installation workflow helps administrators plan timelines and coordinate between different teams.
Phase 1: Pre-Installation Planning (2-4 Weeks Before)
Successful installation begins with thorough planning:
Site Assessment and Location Selection
- Identification of optimal display locations based on visibility and traffic patterns
- Measurement of available wall space and clearance requirements
- Assessment of existing electrical outlet proximity
- Verification of network connectivity availability
- Evaluation of mounting surface structural capacity
- Consideration of lighting conditions and glare sources
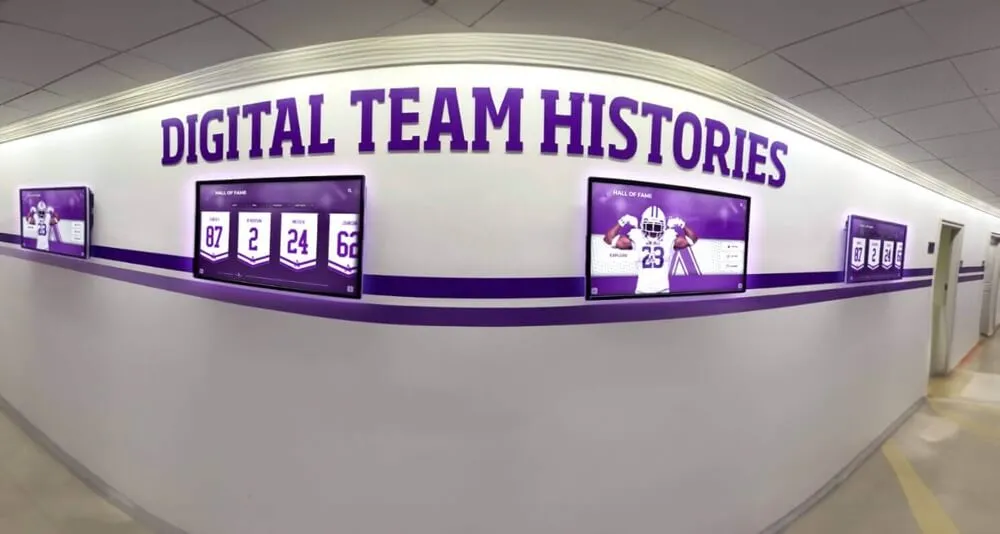
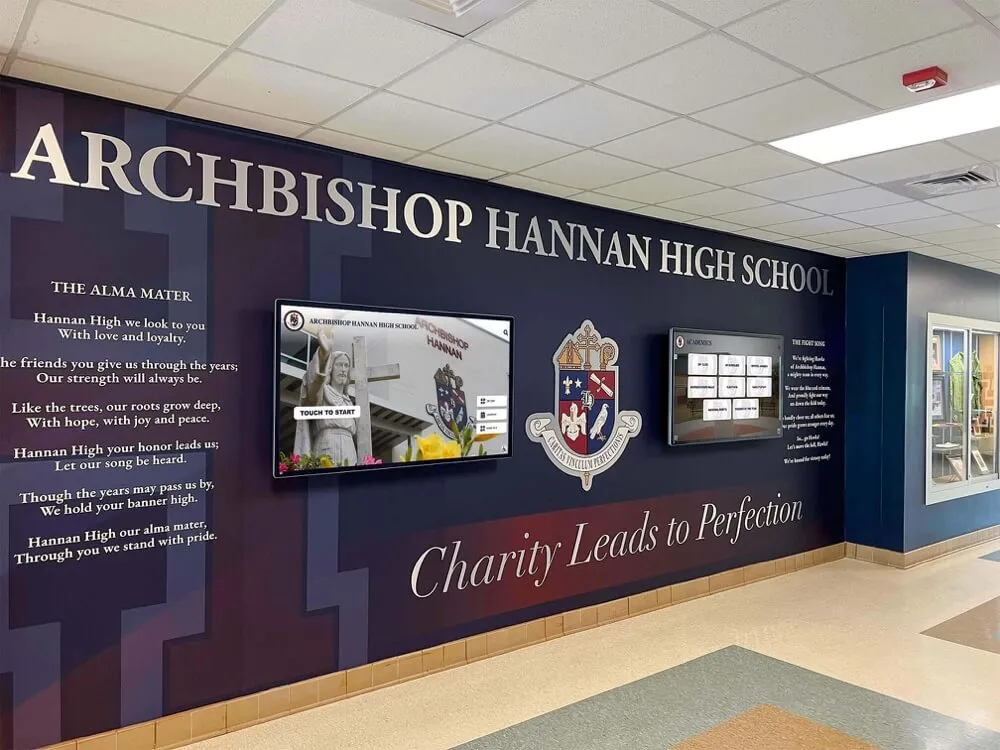
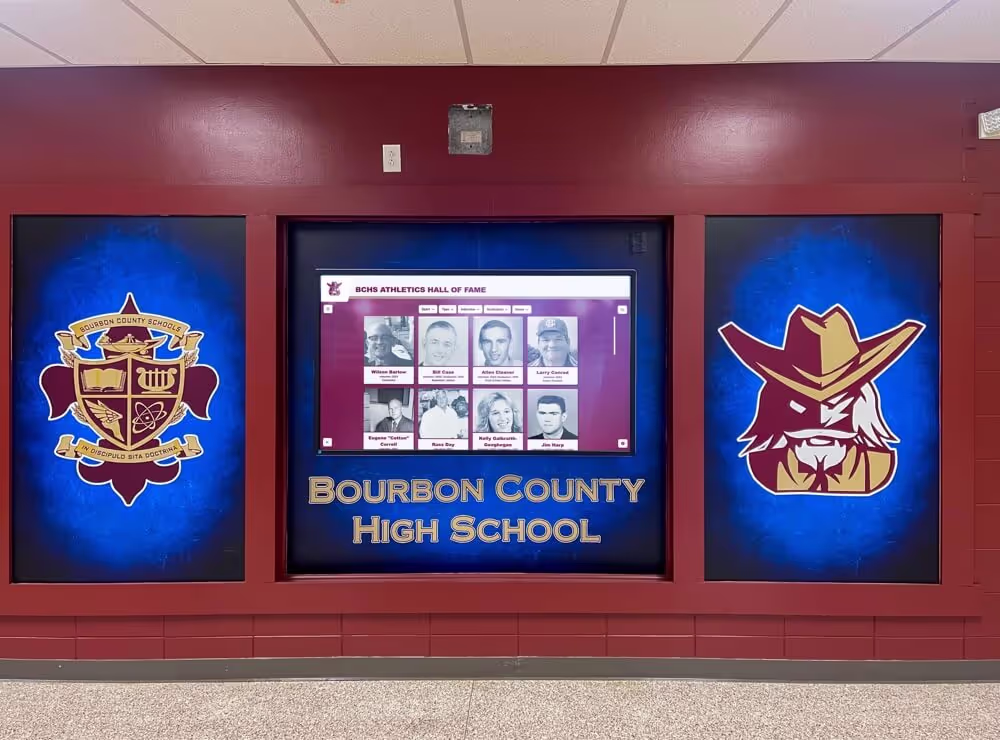
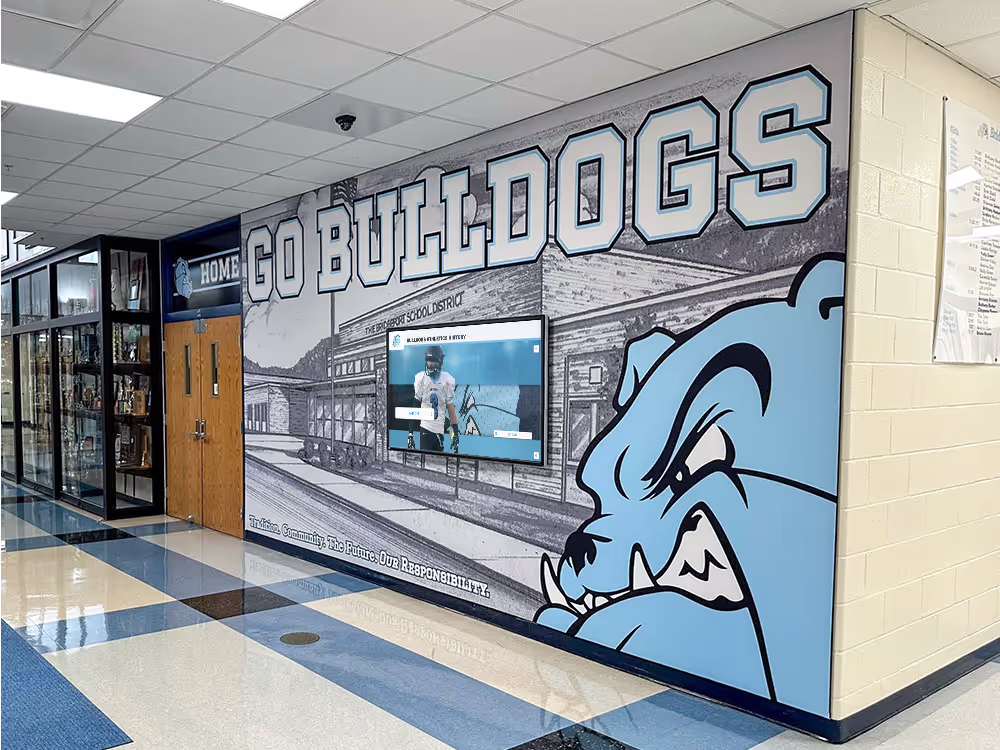
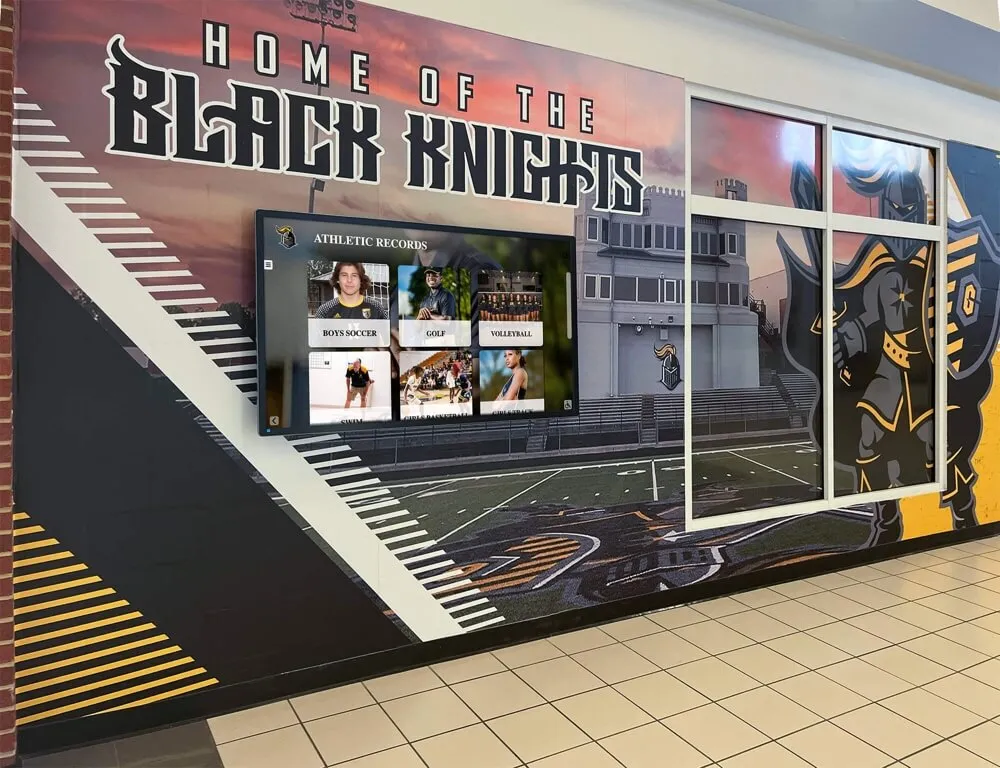
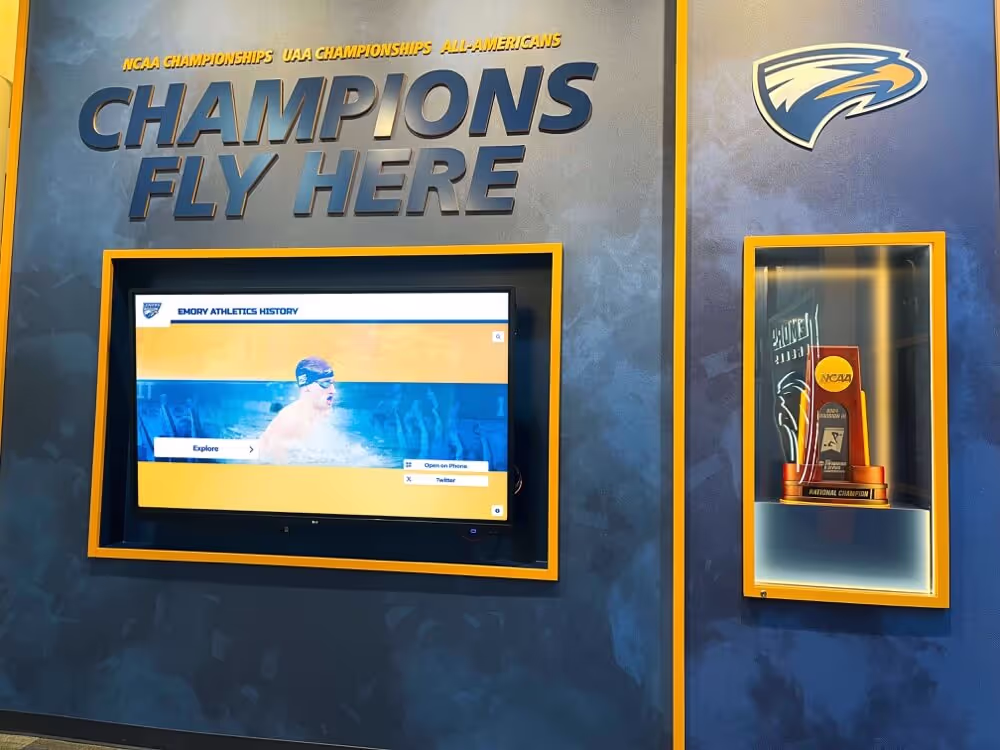
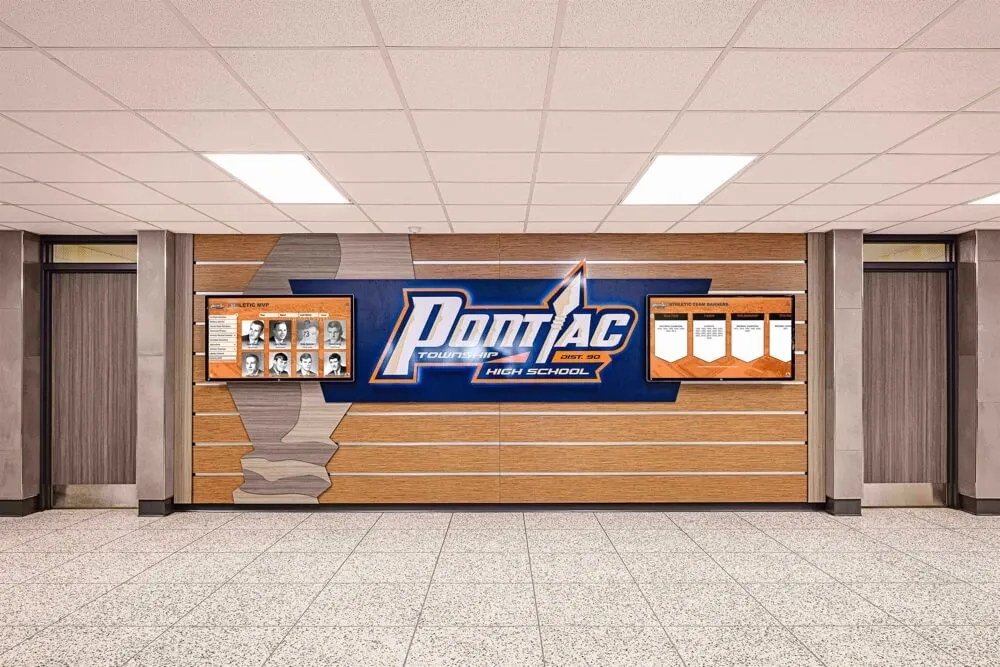
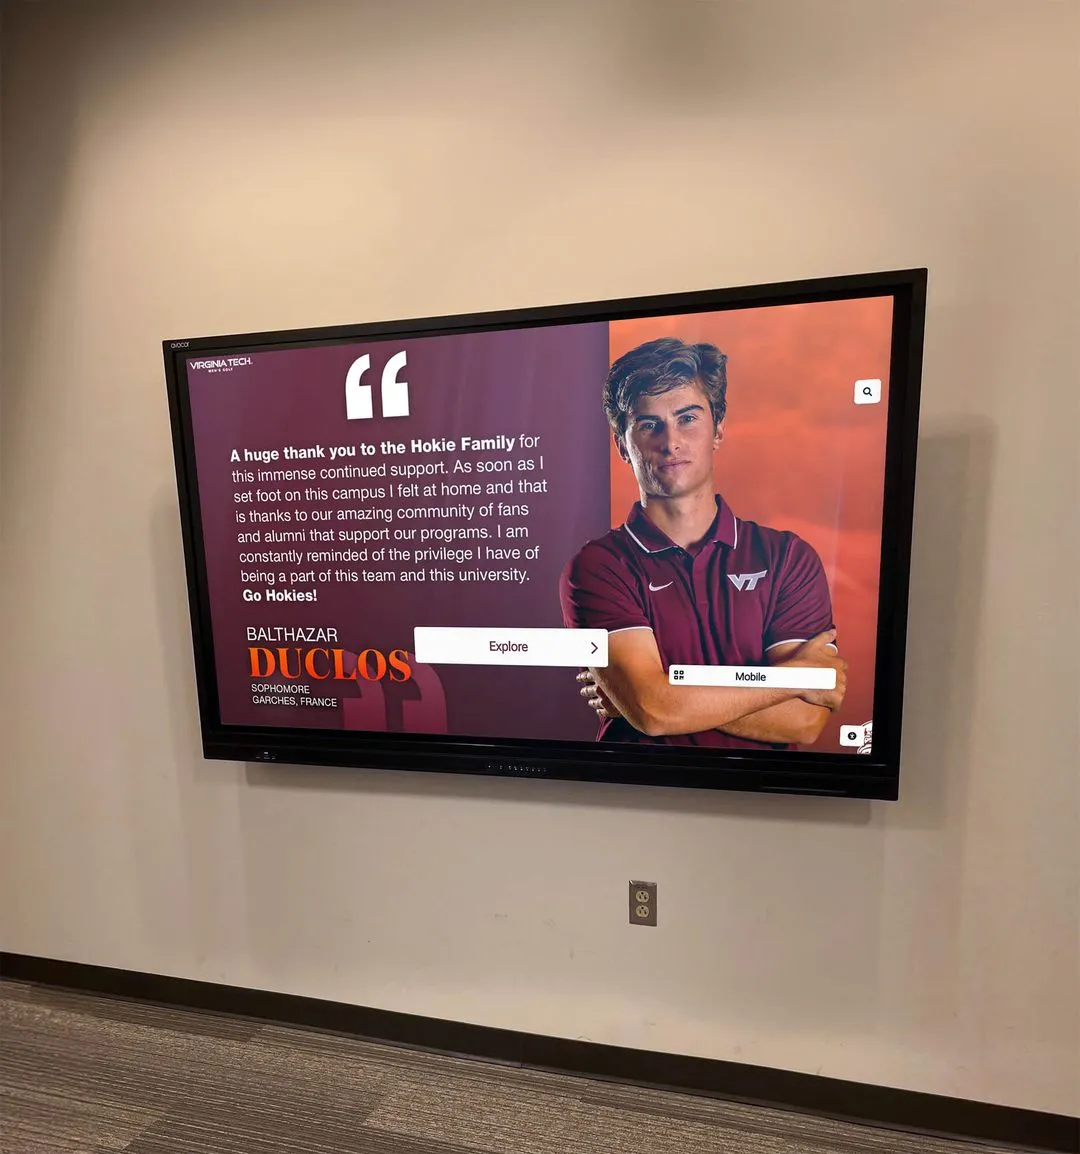
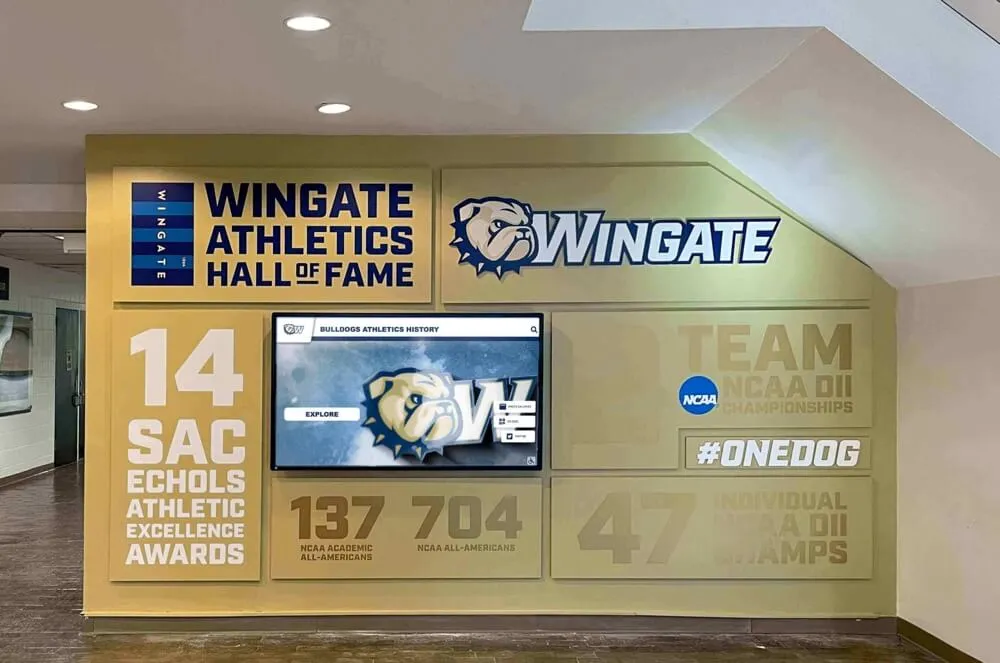
Schools should prioritize locations near main entrances, administrative offices, or central hallways where students, staff, and visitors frequently pass. Placement near front offices provides convenient access for administrative staff managing content while ensuring maximum visibility.
Infrastructure Requirements Documentation
- Electrical outlet locations and circuit capacity
- Network port locations or Wi-Fi signal strength
- Wall construction type and mounting requirements
- Fire code compliance and exit path considerations
- ADA accessibility requirements for touchscreen height
- Climate control ensuring appropriate operating temperatures
Documentation enables accurate installation quotes and prevents surprises during deployment. Schools providing detailed site information receive more accurate proposals and experience fewer installation delays.

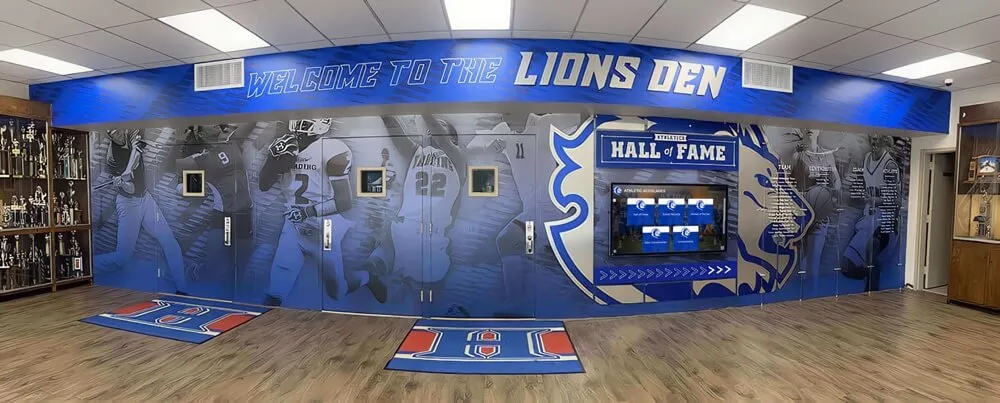
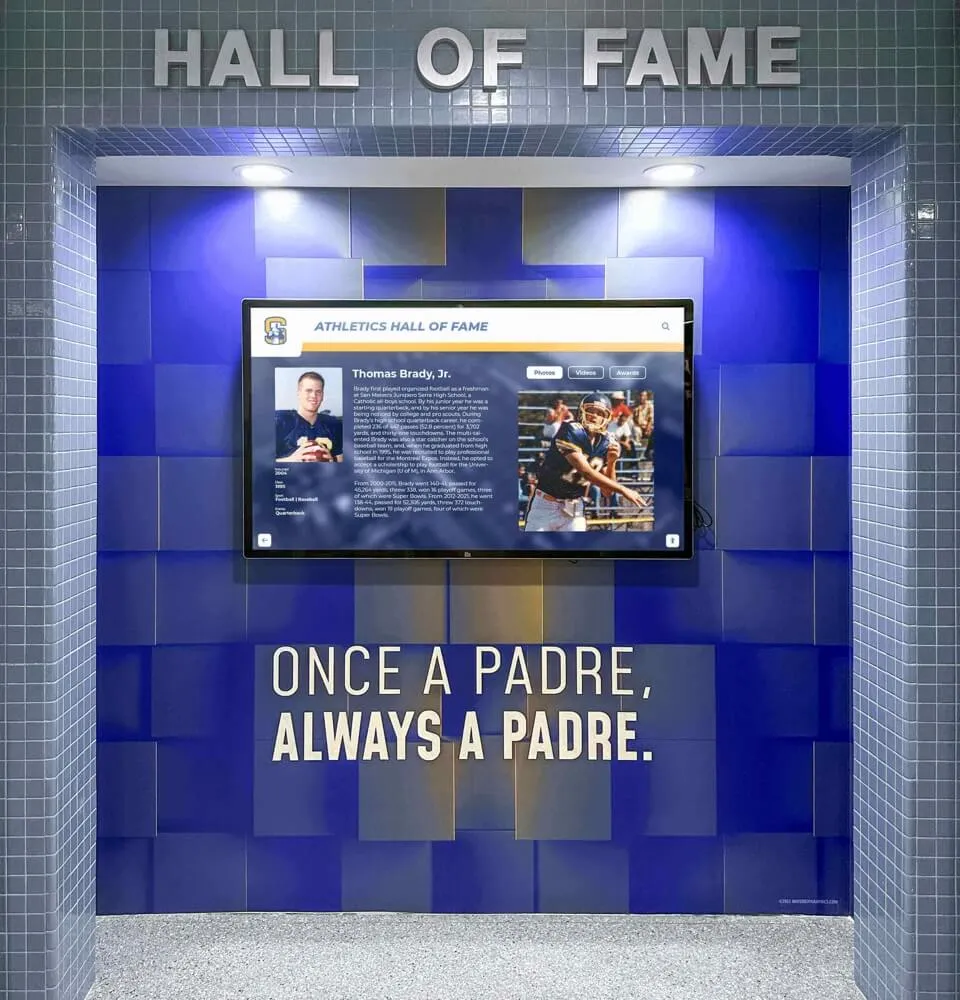
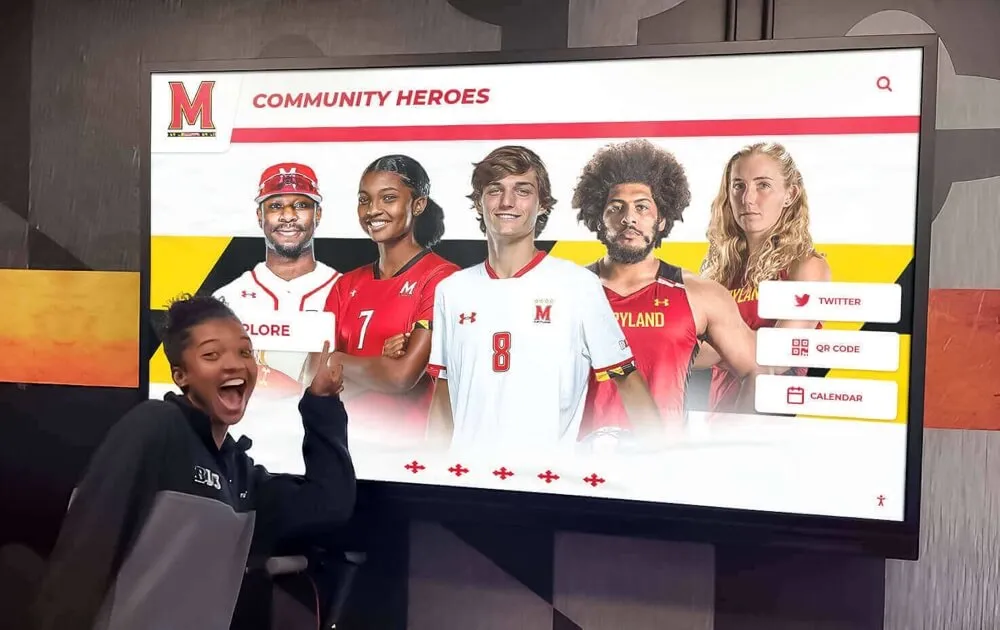
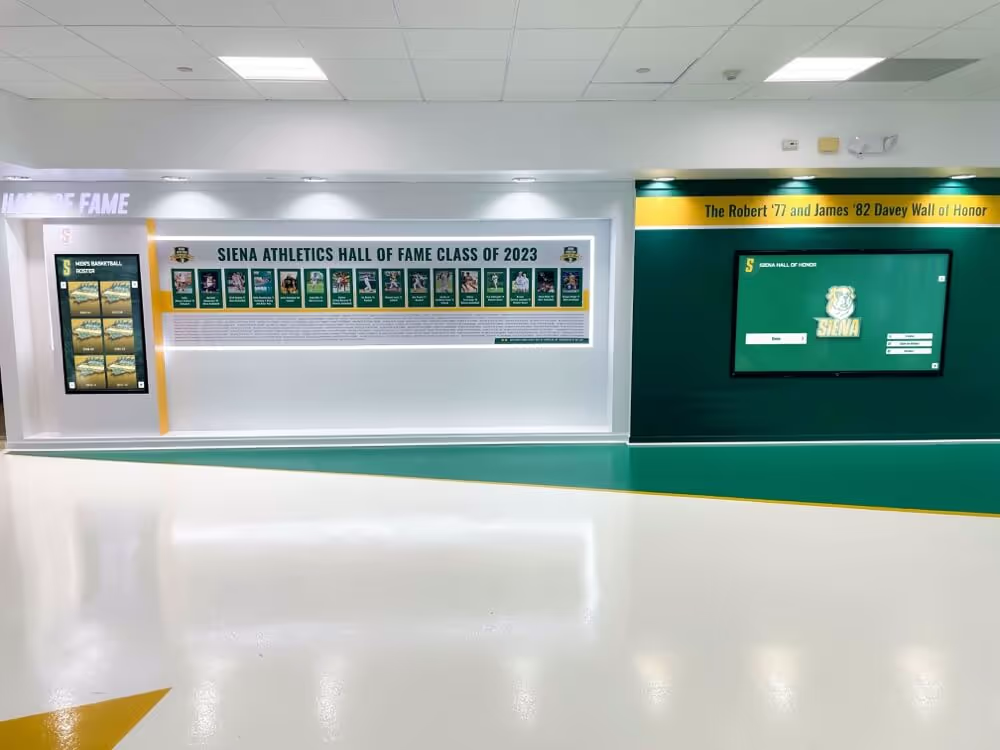
Strategic placement in high-traffic areas maximizes student engagement with recognition content and athletic achievement displays
Phase 2: Coordination and Scheduling (1-2 Weeks Before)
Installation coordination involves multiple parties working together:
Contractor Coordination
- Scheduling installation dates accommodating school calendar and contractor availability
- Arranging building access for installation teams
- Coordinating between AV integrators, electricians, and IT staff
- Planning installation during low-traffic periods like weekends or breaks
- Arranging backup dates if weather or unforeseen issues cause delays
Schools should schedule installations during times minimizing disruption to normal operations. Weekend installations, school breaks, or summer months often prove optimal for lobby and entrance area work.
Pre-Installation Preparation
- Content preparation for immediate display upon installation
- Staff training scheduling for content management
- Communication to school community about installation schedule
- Coordination with custodial staff for area access and cleanup
- Arrangement of any necessary furniture or case removal
Schools implementing digital trophy case systems should prepare recognition content before installation, enabling displays to showcase achievements immediately rather than showing placeholder content while staff learns content management.
Phase 3: Physical Installation (1-2 Days)
Actual installation typically completes quickly when properly planned:
Day 1: Mounting and Electrical Work
- Display unpacking and hardware inspection
- Wall mounting bracket installation or kiosk assembly
- Electrical outlet installation if required
- Cable routing and management
- Display mounting to brackets or positioning of kiosks
- Initial power-up and functionality testing
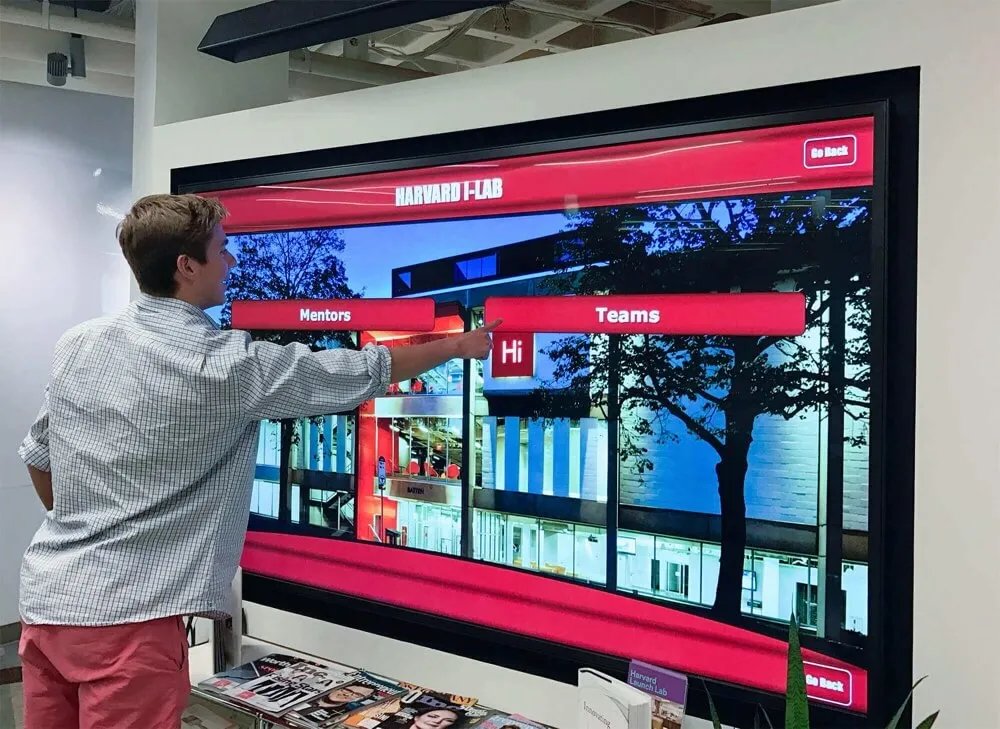
Commercial-grade displays typically weigh 50-90 pounds for 55-inch models, requiring proper mounting techniques supporting this weight with appropriate safety margins. Professional installers use mounting brackets rated for display weight plus 50-100% safety factor.

Entrance installations welcome visitors while showcasing school pride and achievement immediately upon entering facilities
Day 2: Network Configuration and Testing
- Network connectivity setup and configuration
- Software installation or cloud system connection
- Content upload and display configuration
- Touchscreen calibration and responsiveness testing
- System functionality verification
- Staff training on basic operation
Many modern systems complete network configuration and software setup remotely, reducing on-site installation time and eliminating need for technical expertise during physical installation.
Phase 4: Post-Installation Support (Ongoing)
Installation completion marks the beginning of ongoing system operation:
Immediate Post-Installation
- Verification that all features function properly
- Documentation of any issues requiring follow-up
- Collection of warranty information and support contacts
- Staff training on content management and basic troubleshooting
- Creation of support procedures for common issues
Ongoing Maintenance and Support
- Regular display cleaning and physical maintenance
- Software updates and security patches
- Content updates and recognition additions
- Technical support for any functionality issues
- Annual inspection of mounting hardware security
Schools should establish clear ownership of ongoing maintenance, typically split between facilities staff handling physical maintenance and IT or designated content administrators managing software updates and recognition content.
Installation Challenges and Solutions
Understanding common installation obstacles helps schools prepare and avoid delays.
Structural Mounting Challenges
Not all walls support heavy display installations:
Common Wall Construction Issues
- Drywall or plaster without adequate backing or studs
- Concrete or brick walls requiring special anchors
- Metal studs lacking load capacity for heavy displays
- Historical buildings with preservation restrictions
- Glass or decorative wall surfaces unsuitable for mounting
Solutions and Alternatives
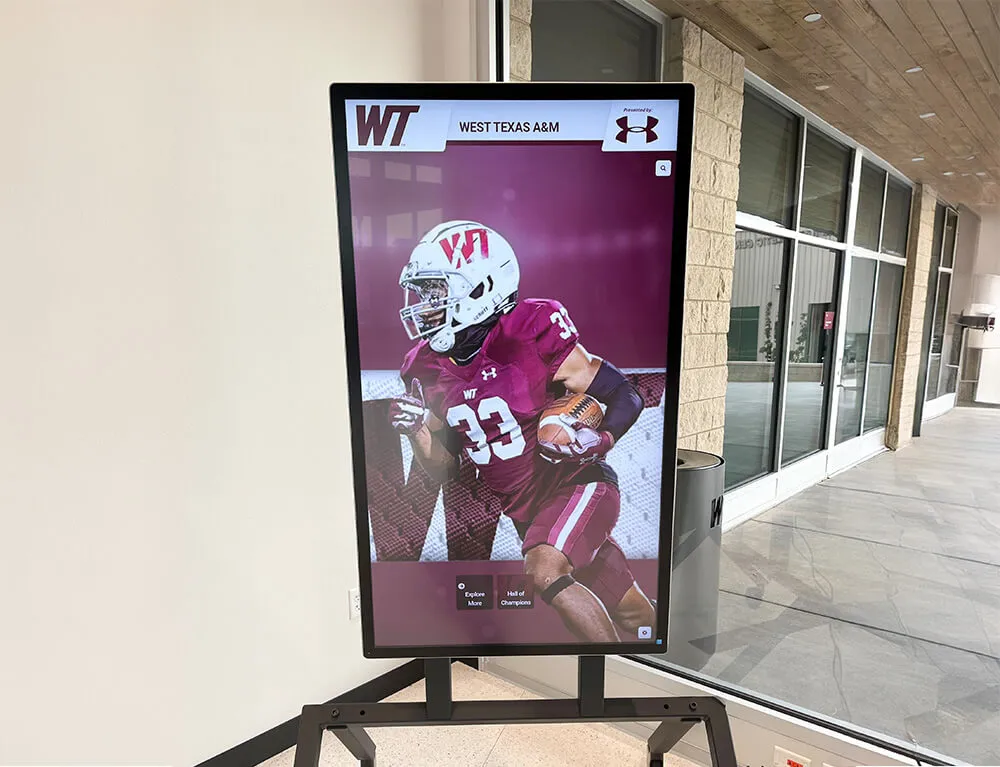
- Floor-standing kiosks eliminating wall mounting requirements entirely
- Installation in locations with concrete or block walls
- Structural reinforcement if wall mounting is strongly preferred
- Freestanding display stands requiring no wall attachment
- Mounting to solid columns or architectural features
Floor-standing kiosks often provide the simplest installation option, requiring only power and network connectivity without wall mounting concerns. These units offer stability while enabling relocation if space needs change.
Network Connectivity Limitations
Some installation locations lack adequate network infrastructure:
Network Infrastructure Challenges
- Installation locations without nearby network ports
- Insufficient Wi-Fi signal strength for reliable connectivity
- Network security policies blocking display internet access
- Bandwidth limitations affecting high-resolution content delivery
- Firewall configurations preventing remote management access

Floor-standing kiosks provide flexibility for placement in areas where wall mounting proves impractical or network connectivity challenges exist
Network Connectivity Solutions
- Wi-Fi connectivity for displays near wireless access points
- Network cable installation if wired connectivity preferred
- Cellular connectivity options for locations without any network access
- Network infrastructure upgrades improving campus connectivity
- Cloud-based content management minimizing bandwidth requirements
Modern digital recognition systems use efficient content delivery reducing bandwidth requirements, though reliable connectivity remains essential for remote management and content updates.
Budget and Cost Considerations
Installation costs vary based on complexity and existing infrastructure:
Typical Installation Cost Ranges
- Basic installation (existing power/network): $500-1,200
- Standard installation (minor electrical work): $1,200-2,500
- Complex installation (dedicated circuits, long cable runs): $2,500-4,500
- Network infrastructure upgrades: $300-1,500
- Ongoing maintenance and support: $200-600 annually
Schools should budget 15-30% of display hardware costs for professional installation. This investment ensures proper mounting, reliable operation, and warranty compliance while preventing safety issues or code violations.
Vendor Installation Support and Turnkey Solutions
Display vendors vary significantly in installation support provided:
Full-Service Installation Providers
Some vendors offer comprehensive installation including all necessary services:
Turnkey Installation Benefits
- Single point of contact for all installation aspects
- Coordinated scheduling eliminating need for school coordination
- Installation warranty covering all work performed
- Simplified billing with single invoice for entire project
- Guaranteed compatibility between hardware and software
- Post-installation support from familiar team
Turnkey installations reduce administrative burden on schools while ensuring all components work together properly. These services typically cost 20-30% more than coordinated separate contractors but eliminate coordination headaches.
Hardware-Only Vendors
Other suppliers provide displays with installation instructions but require schools to arrange installation:
School-Managed Installation Considerations
- Lower upfront costs but increased coordination requirements
- Need to identify and contract with multiple specialists
- Risk of compatibility issues between components
- Potential delays from scheduling multiple contractors
- Learning curve for staff managing coordination
- Warranty confusion if multiple vendors involved
Schools with strong facilities and IT departments may prefer this approach, achieving cost savings through internal coordination. Smaller schools or those lacking technical staff typically benefit from full-service options.
Rocket Alumni Solutions Installation Approach
Digital recognition platforms like Rocket Alumni Solutions provide flexible installation support accommodating different school preferences:
Comprehensive Installation Support
- Nationwide network of certified installation partners
- Remote software setup eliminating on-site software installation
- Pre-configured hardware arriving ready for installation
- Coordinated installation scheduling with minimal school involvement
- Testing and verification before installer departure
- Ongoing remote support for content management and technical issues
Cloud-based systems enable complete software configuration remotely, reducing installation complexity to physical mounting and network connectivity—tasks completed in hours rather than days. Schools receive displays functioning fully upon installation completion, immediately showcasing recognition content rather than requiring extensive post-installation configuration.

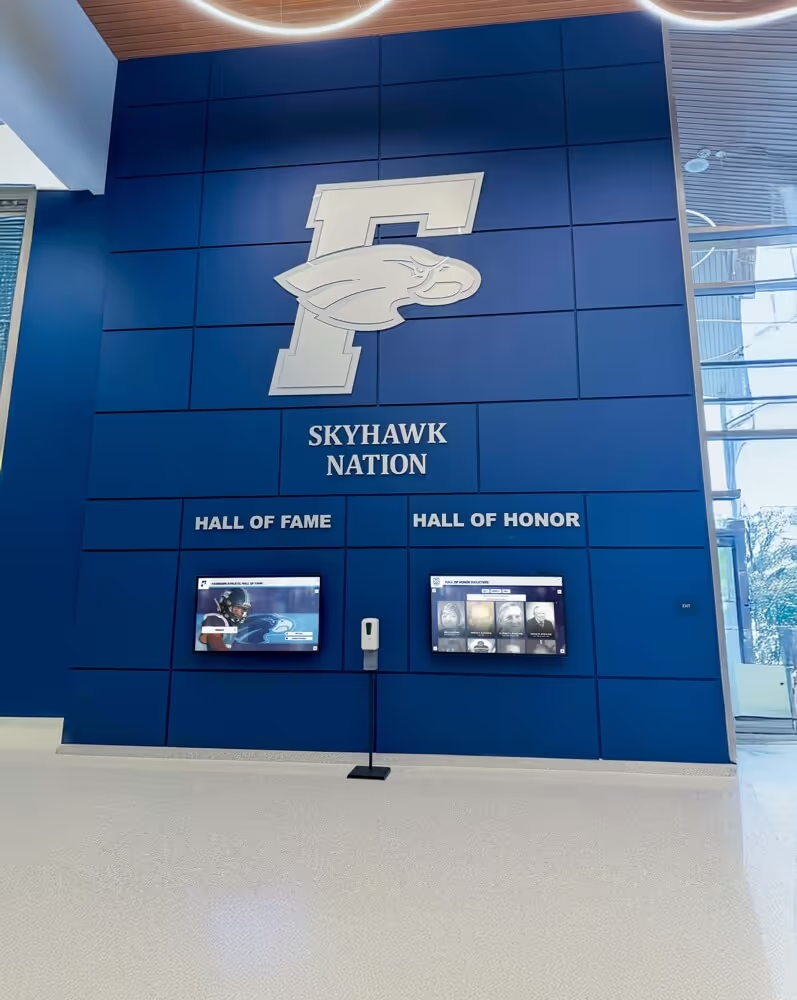
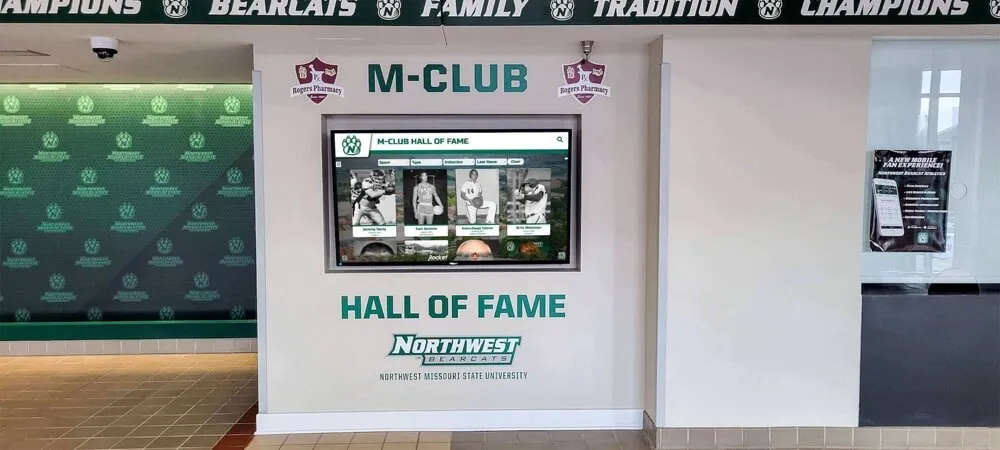
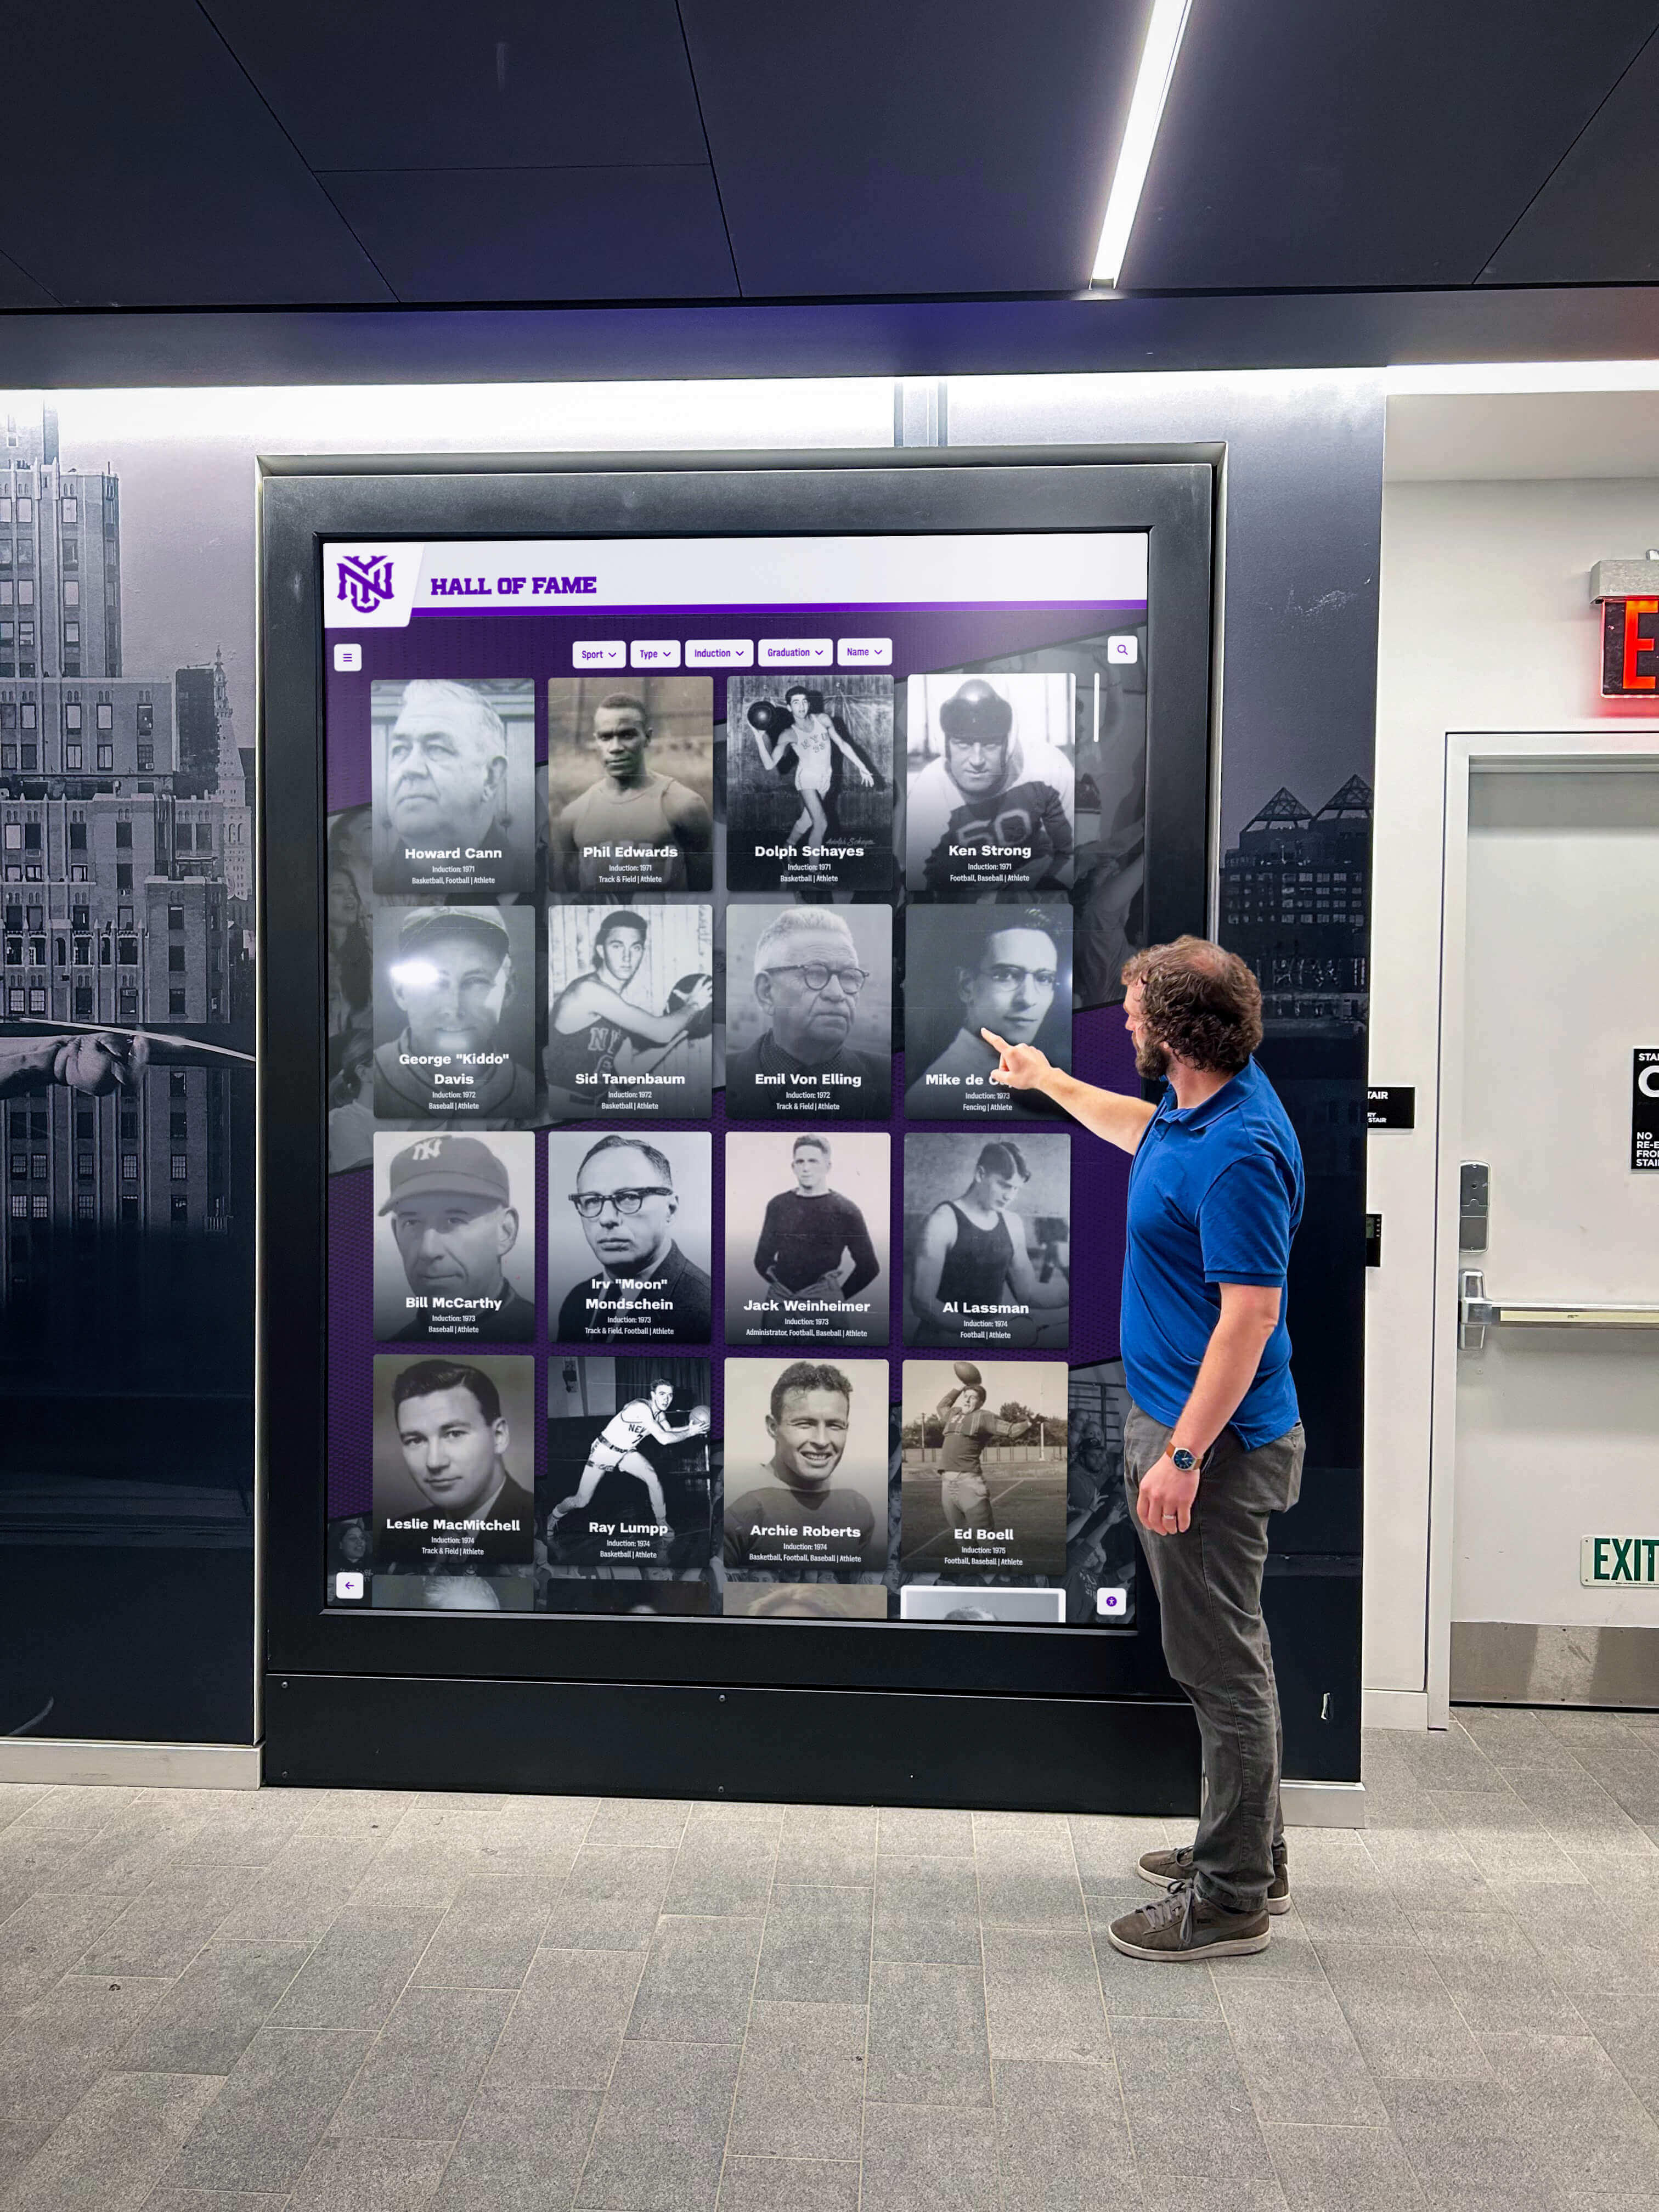
Multiple display installations benefit from experienced installation teams coordinating placement, ensuring consistent mounting heights and professional appearance
Installation Location Planning: Front Office and Lobby Considerations
Display placement significantly impacts engagement and functionality. Schools typically install recognition displays near administrative areas for practical and visibility reasons.
Why Front Office Locations Work Well
Main office areas offer multiple advantages for digital hall of fame placement:
Visibility and Traffic Benefits
- All visitors check in at front offices, ensuring maximum exposure
- Students passing during class changes view displays regularly
- Parents and community members see recognition during school visits
- Central locations accessible to all school departments
- High-traffic positioning validating importance of recognition
Front office placement also provides practical benefits for content management, as administrative staff responsible for updating recognition content work nearby and can quickly address any technical issues.
Practical Administrative Advantages
- Convenient access for staff managing content updates
- Proximity to IT support if technical issues arise
- Secure locations reducing vandalism or damage risk
- Visibility to administrators monitoring display content
- Easy power and network access in modern office areas
Schools implementing digital donor walls often prefer front office placement as development staff managing donor content work in administrative areas, facilitating frequent content updates celebrating new contributions.
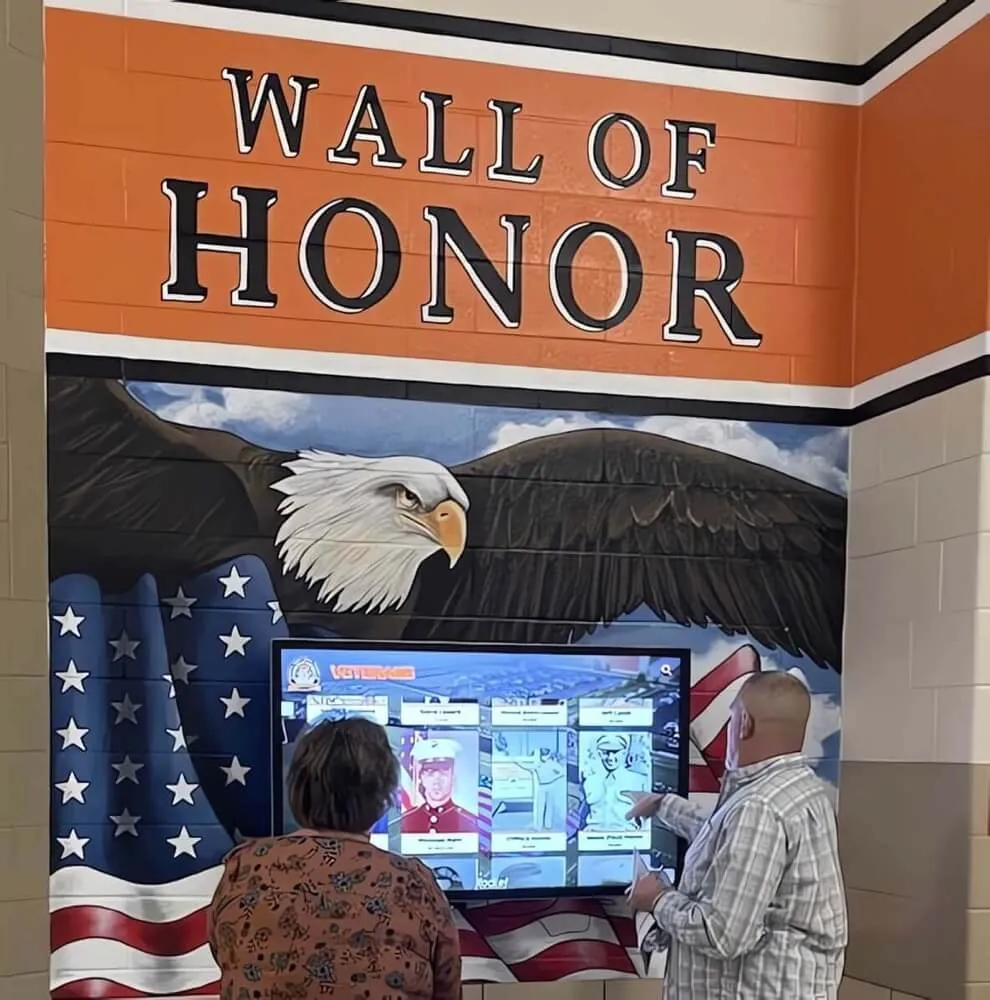
Alternative High-Impact Locations
While front offices provide excellent placement, other locations also work well:
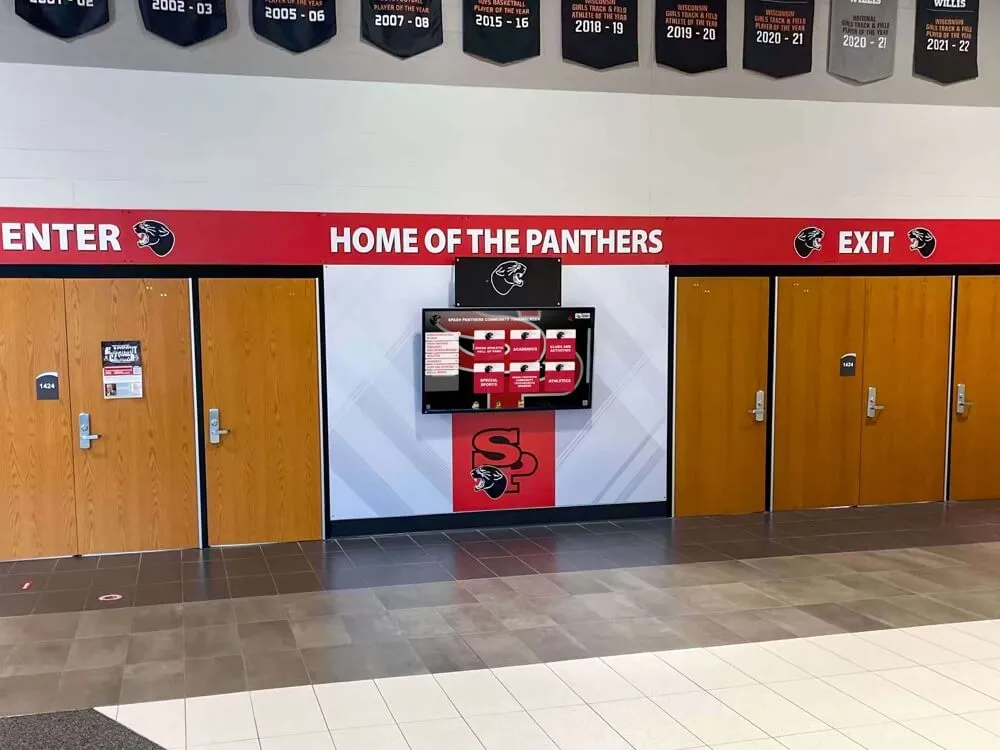
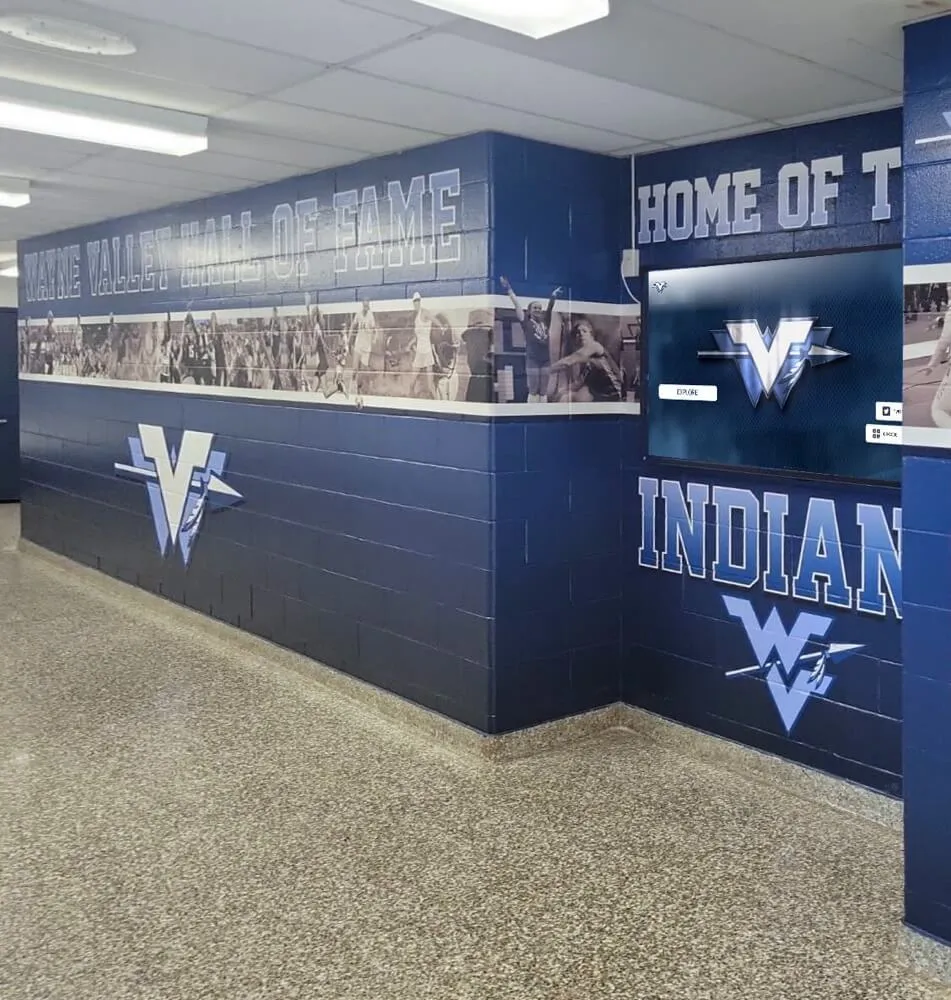
Athletic Facility Installations
- Gymnasium lobbies showcasing sports achievements
- Weight room or training facility entrances
- Concession stand areas visible during events
- Locker room entrance hallways
- Press box or announcer booth areas
Academic Building Placements
- Library entrances showcasing academic achievement
- Performing arts center lobbies celebrating arts recognition
- Science wing entrances highlighting STEM accomplishments
- Main hallway intersections with maximum daily traffic
- Cafeteria areas where students gather informally
Multiple display installations enable schools to showcase different recognition categories in contextually appropriate locations—athletic achievements near gyms, academic honors near libraries, and comprehensive recognition in main lobbies.
Coordinating Between Multiple Departments
Successful installation requires clear communication and role definition across school departments.
Creating Installation Project Teams
Formal project structure prevents confusion and delays:
Project Team Composition
- Project leader (typically athletic director, principal, or facilities director)
- IT representative for network planning
- Facilities representative for structural and access coordination
- Content administrator (staff member managing recognition updates)
- Budget authority (business manager or administrator with purchasing authority)
Weekly coordination meetings during pre-installation planning ensure all departments understand timeline and responsibilities.
Communication and Decision-Making Protocols
Clear processes prevent installation delays:
Decision Authority Definition
- Who approves final display locations
- Who authorizes additional costs if discovered during installation
- Who resolves conflicts between departments about specifications
- Who signs off on installation completion
- Who handles post-installation issues
Schools should document decisions and distribute meeting notes, preventing miscommunication about approved plans.
Installation Day Coordination
On-site coordination ensures smooth installation:
Day-of-Installation Requirements
- Building access arranged for installation team
- Single point of contact available for installer questions
- IT staff available for network configuration assistance
- Custodial staff coordinating cleanup
- Decision authority accessible if unexpected issues arise
Schools should avoid scheduling installations when key personnel are unavailable, as decisions sometimes need rapid resolution during installation.
Simplify Your Digital Display Installation
Digital hall of fame displays from Rocket Alumni Solutions include comprehensive installation support with nationwide certified installers, remote software configuration, and ongoing technical assistance. Our cloud-based platform eliminates complex on-site setup, enabling displays to showcase your recognition content immediately upon installation. Discover how simple professional digital recognition can be.
Book a DemoQuestions to Ask Installation Vendors
Evaluating installation providers requires asking specific questions about their process and support:
Installation Experience and Qualifications
Vendor Experience Questions
- How many school digital display installations have you completed?
- Can you provide references from similar school projects?
- What certifications do your installation technicians hold?
- How do you handle unexpected complications during installation?
- What is your typical installation timeline from contract to completion?
Experienced school installers understand educational facility requirements, work efficiently around school schedules, and handle common school building challenges.
Installation Scope and Inclusions
Scope Definition Questions
- What specific services are included in installation pricing?
- Does installation include electrical work or is that additional?
- How do you handle network connectivity setup?
- What testing do you perform before considering installation complete?
- Is staff training included or available at additional cost?
Clear scope definition prevents surprises about additional costs for services you assumed were included.
Warranty and Support
Post-Installation Support Questions
- What warranty coverage is provided on installation work?
- How quickly can you respond if issues emerge after installation?
- What constitutes an installation defect versus normal wear?
- Do you provide ongoing maintenance services?
- What is your process for handling warranty claims?
Comprehensive warranties covering both hardware and installation work for 1-3 years provide important protection for school investments.
DIY Installation Considerations
Some schools consider in-house installation to reduce costs:
When DIY Makes Sense
Internal installation may be appropriate if schools have:
- Experienced facilities staff with commercial display installation training
- IT personnel comfortable with network configuration
- Available licensed electricians on maintenance staff
- Time to dedicate to learning and executing installation
- Backup plans if internal installation encounters problems
Schools meeting these criteria can achieve cost savings, though should realistically assess whether staff have both skills and time for proper installation.
DIY Installation Risks
Self-installation carries significant risks:
Common DIY Problems
- Improper mounting creating safety hazards if displays fall
- Warranty voids if installation doesn’t meet manufacturer specifications
- Network configuration issues delaying deployment
- Code violations requiring later corrective work
- Staff frustration and time consumption exceeding anticipated effort
- Lack of support if problems emerge after installation
Schools should carefully weigh cost savings against these risks. Improper installation creates ongoing problems far exceeding professional installation costs.
Hybrid Approaches
Some schools split responsibilities between internal staff and contractors:
Effective Hybrid Models
- Contractors handle physical mounting and electrical work
- Internal IT staff manages network connectivity
- Facilities staff provides access and area preparation
- Vendor handles remote software configuration
- School staff manages ongoing content administration
Hybrid approaches work well for schools with strong technical capabilities but lacking commercial display mounting expertise.
Post-Installation Optimization
Installation completion begins the optimization phase:
Content Population and Testing
Displays should showcase compelling content immediately:
Initial Content Development
- Upload comprehensive recognition database
- Add high-quality photos for all inductees
- Create engaging layouts and presentations
- Test touchscreen responsiveness with actual users
- Gather feedback from students and staff
Digital recognition displays engage viewers most effectively when showing rich, detailed content rather than basic name lists. Schools should invest time creating compelling profiles for recognized individuals.
Ongoing Maintenance Planning
Establish clear maintenance responsibilities:
Physical Maintenance
- Weekly touchscreen cleaning with appropriate materials
- Monthly inspection of mounting hardware
- Quarterly review of physical display condition
- Annual professional maintenance if recommended
- Immediate attention to any functionality issues
Content Maintenance
- Regular additions of new recognition recipients
- Periodic refresh of featured content
- Update of outdated information or photos
- Addition of seasonal or event-specific content
- Monitoring of user engagement and content performance
Schools should designate specific staff responsible for both physical and content maintenance, ensuring displays remain current and engaging rather than becoming neglected or outdated.
Conclusion: Professional Installation Enables Recognition Success
Digital hall of fame displays transform how schools celebrate achievement, but successful implementation depends on proper installation. While the process involves coordination between multiple professionals—AV integrators, IT staff, facilities teams, and electricians—experienced vendors simplify this coordination through comprehensive installation support and clear communication.
Schools benefit most when they understand installation requirements before purchasing, budget appropriately for professional installation, and select vendors providing ongoing support beyond initial deployment. The right installation approach ensures displays function reliably from day one, showcase recognition content professionally, and continue serving school communities for years.
Professional installation typically completes within one or two days, delivering immediate functionality that engages students, impresses visitors, and celebrates achievement prominently. Schools implementing comprehensive digital recognition programs with proper installation support create lasting platforms for honoring excellence that inspire current students while connecting alumni to school communities.
The installation investment—typically 15-30% of hardware costs—proves worthwhile through reliable operation, professional appearance, and peace of mind that displays meet safety codes and manufacturer specifications. Schools should prioritize quality installation as integral to recognition program success rather than viewing it as optional expense to minimize.
Ready to implement digital recognition that celebrates unlimited achievement? Discover how simple professional installation can be with comprehensive support from display vendors experienced in school environments.