



Intent: define — trophy case object mount guidelines cover the materials, methods, and spacing rules that keep jerseys, trophies, plaques, and athletic memorabilia stable and damage-free on active display. The short answer: each object category needs its own support strategy — fabric items require acid-free padded hangers rather than wire clips, trophy bases need non-slip pads and level platforms, and framed plaques require two anchor points that distribute weight rather than concentrate stress on a single edge. Getting these fundamentals right protects your school’s recognition history and simplifies rotation when items cycle off display into a digital catalog.
A trophy case that mounts objects incorrectly does quiet damage over time. Jerseys sag and stretch on wire hooks. Championship trophies teeter on undersized risers. Plaques hang at angles that crack backing boards. Game balls roll forward and chip engraved plates. None of these failures are dramatic — they accumulate slowly over years — but the result is a display that looks poorly maintained and shortens the useful life of items that represent real school achievement.
This guide gives school administrators, athletic directors, booster leaders, and recognition-program coordinators practical trophy case object mount guidelines organized by item type. It also covers how a digital catalog paired with safe physical mounting practices extends the reach of your display beyond the physical case — preserving records of items that rotate off the shelf without losing the institutional memory they carry.

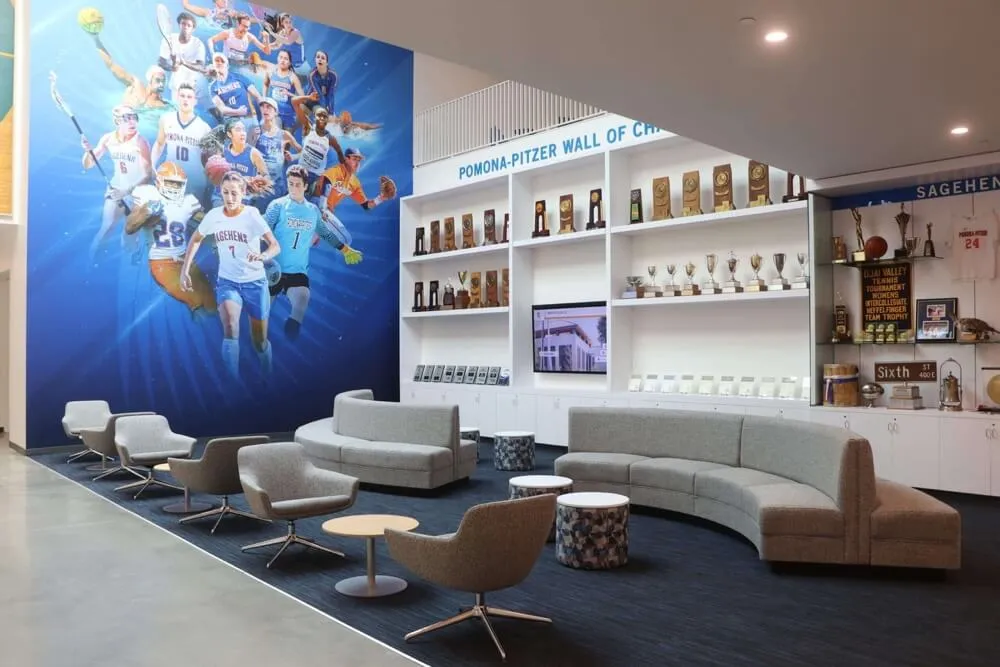
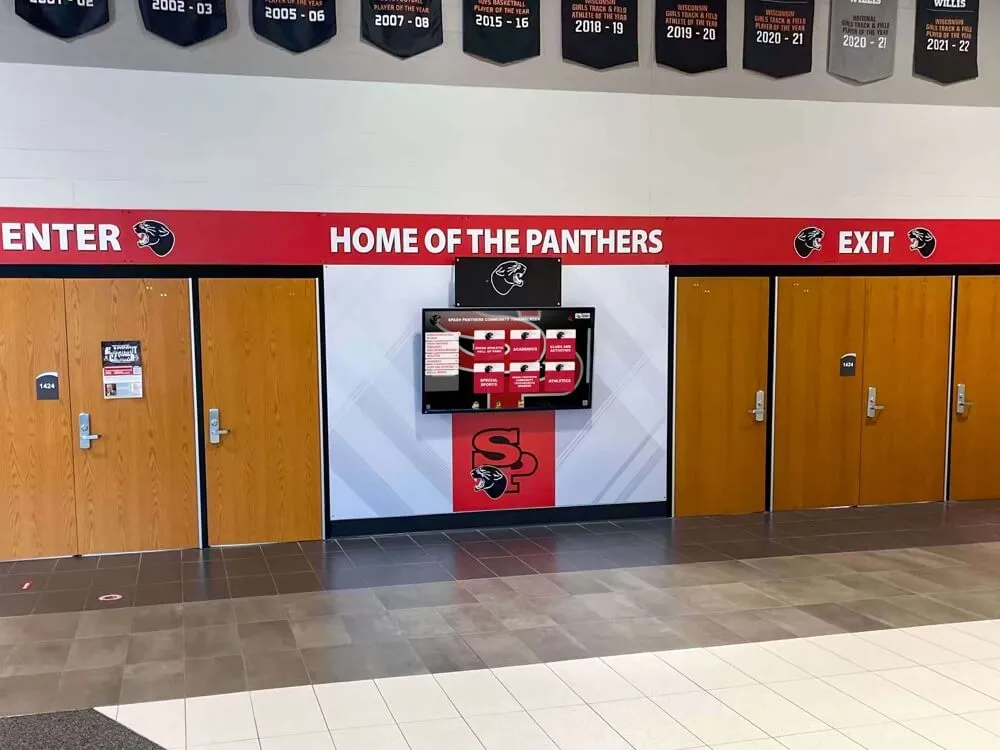
Well-supported displays protect award finishes and fabric items while making recognition accessible to every visitor who passes through the hallway
Why Mounting Method Matters for School Trophy Cases
Physical trophy cases are not neutral storage environments. They concentrate objects in close proximity, expose them to repeated handling during rotation, and subject them to fluctuating temperature and humidity depending on HVAC proximity and seasonal changes in the building.
Poor mounting amplifies every one of those stresses:
Fabric stress from incorrect hangers. A jersey hung on a wire hanger concentrates the full weight of the fabric on two small shoulder contact points. Over months, this stretches the knit, creates permanent shoulder bumps, and weakens the seam attachment at the collar. A championship jersey from 1987 hung incorrectly for thirty years may be unwearable and fragile by the time anyone thinks to photograph it.
Finish damage from base instability. Trophies that rock slightly on uneven shelf surfaces wear their base finish against the shelf material with every vibration — footsteps, HVAC startup, door closures. Brass bases develop scuff marks. Marble bases can chip at unsupported edges.
Hardware stress on plaques. A plaque hung from a single sawtooth hanger concentrates weight at one point on the backing board. Over years, that concentration can crack wood-composite backers and pull the hanger free, dropping the plaque.
Condensation and acid transfer. Objects that rest directly against glass panels or untreated wood shelving absorb acids and moisture that cause long-term discoloration and material degradation.
Safe mounting addresses each of these failure modes. The methods are not expensive or technically demanding — they require intentional material selection and a consistent approach to each object category.
Quick Reference: Trophy Case Object Mount Guidelines
The table below summarizes the primary mount method and critical protection consideration for each major object category:
| Object Type | Recommended Mount | Key Protection Step |
|---|---|---|
| Jerseys and fabric | Padded wide-body hanger; archive frame for permanent display | Acid-free backing; two-inch clearance from adjacent surfaces |
| Metal trophies | Level acrylic riser with non-slip base pads | One-inch spacing from adjacent items to prevent oxidation transfer |
| Resin/plastic trophies | Non-slip pads; check column stability annually | Position two-thirds of base depth back from shelf edge |
| Plaques (wood backing) | Two picture hooks, symmetrically placed and leveled | Quarter-inch standoff from glass; photograph inscription before mounting |
| Plaques (acrylic panel) | Standoff mounts or specialty adhesive anchors | Standard nail hooks will not hold acrylic reliably |
| Game balls | Dedicated ball cradle (acrylic ring or carved wood) | Orient engraving or signature toward visitor eye level |
| Helmets | Interior foam form insert, face mask forward | Never hang by chin strap |
| Long equipment (bats, sticks) | Horizontal foam-padded support brackets | Pad all contact points; isolate rubber grips from metal surfaces |
| Photographs and certificates | UV-filtering sealed frame with acid-free mat and backing | Frame reproductions; store originals in archival flat files |
| Donor recognition panels | Two anchor points; wall-anchor system for panels over 10 lbs | Keep panel back from glass; level installation is essential |
Trophy Case Object Mount Guidelines by Item Type
Jerseys and Fabric Items
Fabric items are the most vulnerable category in a typical school trophy case. They absorb moisture, stretch under their own weight, and cannot be easily restored once deformed.
Step 1: Use an acid-free padded hanger or custom display form. Museum-grade padded hangers distribute weight across the entire shoulder area rather than two wire contact points. For lightweight jerseys, a wide-body plastic hanger — at least 1.5 inches wide at the shoulder curve — is a practical alternative. Avoid wire hangers entirely.
Step 2: Support the body of the jersey. Hang the jersey, then assess whether the body fabric hangs freely or bunches against the case back or adjacent objects. Fabric that contacts a surface for months compresses and potentially transfers color. Adjust spacing so each jersey has at least two inches of clearance on all sides.
Step 3: Use a fabric display sleeve for long-term display. For jerseys intended to remain on display for more than one academic year, a polyester mesh sleeve over the folded lower body prevents gradual stretch and keeps the hem at a consistent position. This is particularly valuable for heavyweight football jerseys.
Step 4: Consider archival framing for permanent display. Jerseys that are being retired from rotation — a retired number, a championship jersey from a closed program — benefit from UV-filtering acrylic frames with acid-free backing board. Framing eliminates ongoing mounting stress and provides the cleanest long-term preservation format.
Step 5: Document before displaying. Photograph each jersey flat on a clean surface before mounting. Capture any existing wear, numbering details, and school year. This record becomes the reference point for condition comparisons during future rotations. Schools with active athletic programs often build jersey photo documentation directly into their recognition and display planning workflow, connecting each item to the broader school event and communication calendar.
Trophies
Trophies vary widely in material, weight distribution, and structural integrity. A modern resin trophy behaves very differently from a 1960s cast-metal cup on a marble base.
Step 1: Assess the base stability. Before placing a trophy, set it on a flat surface and check for rocking. Any trophy that does not sit flat on a level surface is a tip risk in a glass-front case. Apply self-adhesive non-slip silicone pads to the base corners — available at any hardware store for under a dollar per trophy.
Step 2: Match the shelf depth to the trophy’s center of gravity. Tall, narrow trophies with heavy top pieces have high centers of gravity. These should be positioned at least two-thirds of the trophy’s depth back from the shelf edge, so a forward tip does not carry the trophy over the edge. Do not display tall trophies on shallow shelves where the base barely fits.
Step 3: Use risers to create level platforms on uneven shelves. Older trophy cases often have shelves that have warped over time. A small acrylic or wood block riser under one side of a trophy base corrects for shelf lean without modifying the case itself. Level the riser surface before placing the trophy.
Step 4: Separate trophies by material category. Metal bases resting against resin columns can cause staining through oxidation transfer over years of contact. Maintain at least one inch of space between trophies to prevent contact transfer and allow air circulation that reduces moisture accumulation.
Step 5: Check structural integrity annually. Columns on older trophies are held by interior threaded rods. Over decades, these rods corrode, allowing columns to shift or lean. During annual rotation reviews, gently test column stability and apply a small drop of clear epoxy to any joint showing movement before the trophy returns to display.
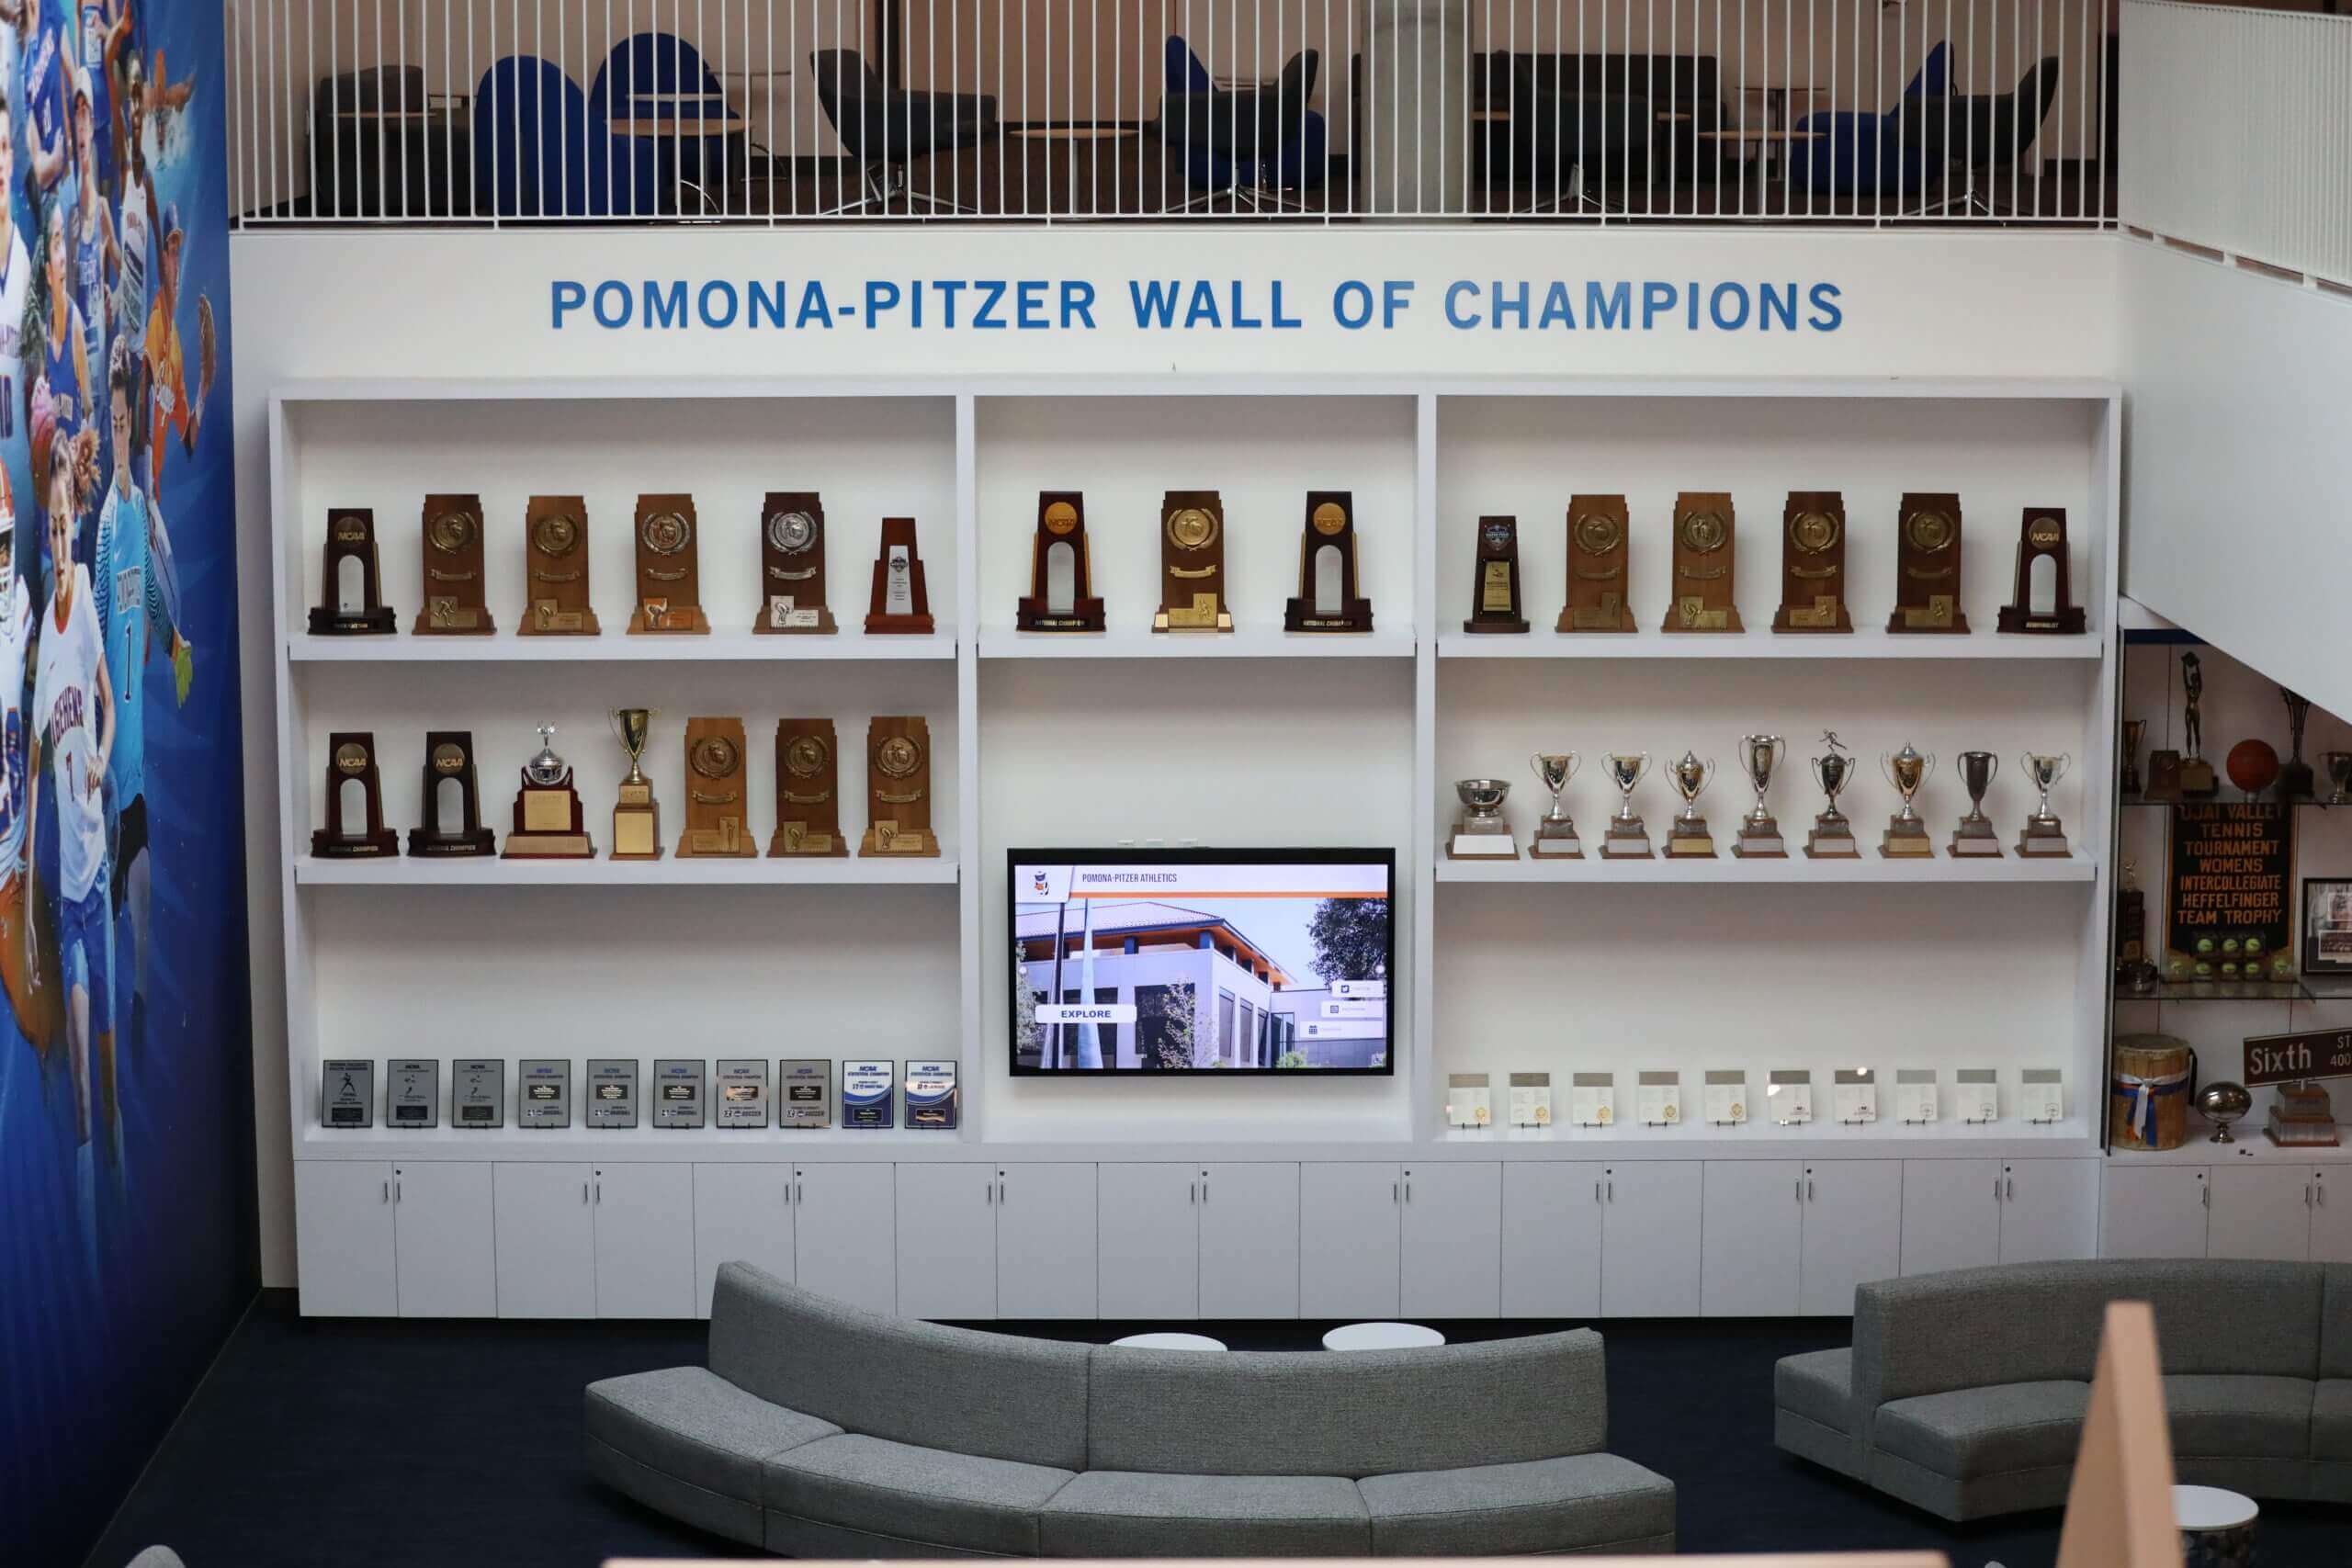
A well-organized trophy display uses consistent risers, adequate spacing, and stable base support to protect award hardware across decades of exhibition
Plaques and Framed Items
Plaques — whether wood-mounted with metal plates, full acrylic engraving panels, or framed recognition certificates — carry specific hanging requirements that are frequently overlooked in school display installations.
Step 1: Use two anchor points, never one. A single hanger concentrates the entire weight at one point on the backing board. Two anchor points — symmetrically placed at the upper corners of the plaque — distribute weight evenly and prevent the lateral tipping that causes sawtooth hangers to progressively fail. Even small plaques under two pounds benefit from dual mounting points.
Step 2: Match the anchor hardware to the backing material. Wood composite backing boards accept standard picture hooks with appropriate nail gauges. Acrylic panels require standoff mounts or adhesive specialty hangers designed for smooth non-porous surfaces — standard picture hooks will not hold reliably against acrylic. Heavy plaques on metal backing require wall-anchor systems, not surface adhesives.
Step 3: Use a level for every installation. A plaque that hangs one degree off vertical looks visibly wrong to visitors and creates contact-point stress along one edge as the weight distributes unevenly. A small bubble level — four inches is sufficient — verified after mounting prevents this.
Step 4: Allow clearance from glass panels. Glass-front trophy cases can generate condensation on the inner glass surface during temperature swings. Plaques installed flush against the inner glass will absorb moisture at the contact edge, causing wood backing to swell and delaminate. Mount plaques on standoffs or spacers so the back surface is at least a quarter inch from the case glass.
Step 5: Photograph each plaque’s inscription before display. Engraved metal plates are often the primary record of an individual’s name, year, and award. A clear photograph of the inscription — taken before the plaque is mounted — provides a legible reference if engraving fades or a plate is damaged.
Game Balls, Equipment, and Irregular Objects
Game balls and athletic equipment are the most dimensionally irregular items in a school trophy case. They require purpose-built support, not improvised placement.
Step 1: Use a dedicated ball cradle for every displayed ball. Ball cradles — acrylic rings, carved wood blocks, or molded foam forms — hold balls in a stable orientation that prevents rolling, reduces contact-point pressure, and makes engraving or signatures readable from the front. Do not place balls directly on shelves.
Step 2: Orient the ball to present the most significant marking. Signatures, game dates, and championship engravings should face forward at approximately the angle a visitor’s eye rests at standing height. Position the cradle so this face presents correctly before closing the case.
Step 3: Support helmets at the shell, not by the chin strap. Helmets displayed by their chin straps concentrate strain at the strap anchor points, which can separate over time. Set helmets on form-fitted foam inserts that cradle the interior shell, with the face mask forward.
Step 4: Pad equipment contact points. Bats, hockey sticks, oars, and similar long objects should rest in horizontal mounts padded with polyethylene foam tubing. This prevents finish abrasion at the contact points and distributes weight along the object’s length rather than concentrating stress at two end-support points.
Step 5: Isolate rubber from adjacent finishes. Rubber-soled athletic shoes, rubber-grip bats, and rubber gaskets on helmets off-gas plasticizers that stain adjacent surfaces over months. Use an isolating polyethylene barrier between rubber and metal or painted surfaces.
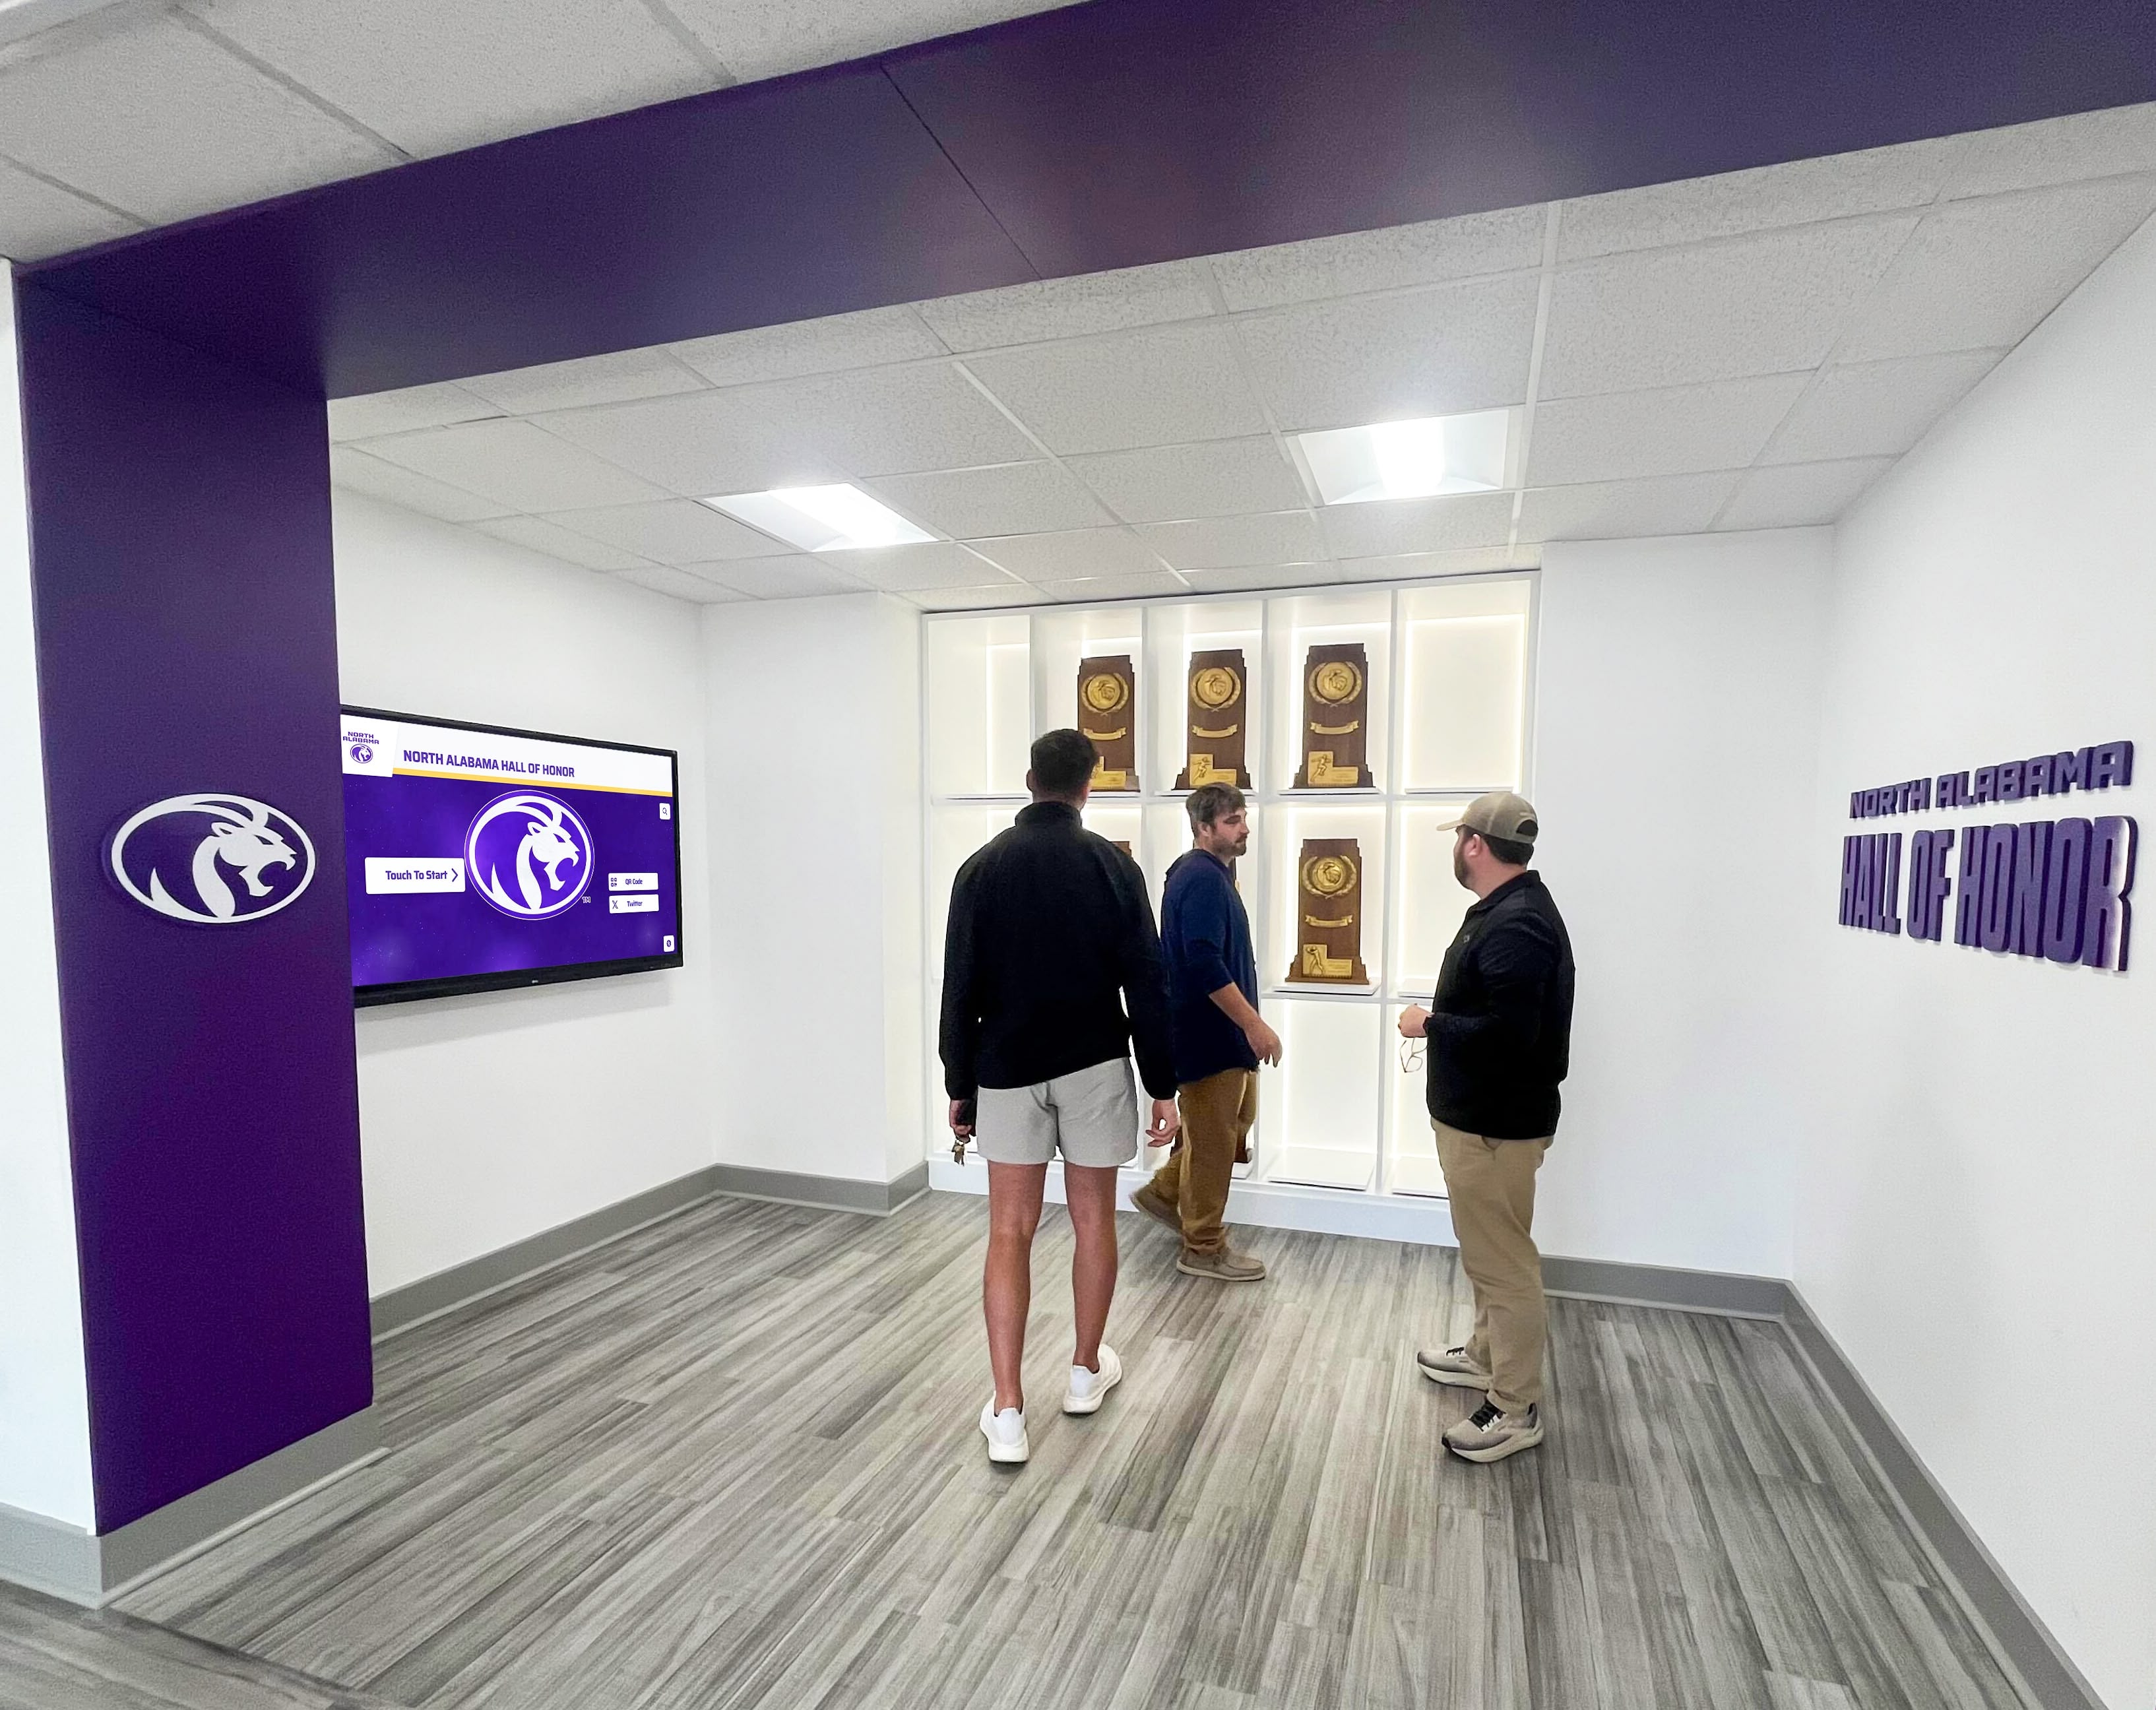
Purpose-built support for each object type keeps championship hardware stable and prevents long-term surface damage from contact stress
Photographs, Certificates, and Paper-Based Items
Paper documents, certificates, and photographs are the most chemically sensitive category and require the most conservative treatment.
Step 1: Frame all paper items before display. Unframed photographs and documents exposed to case air absorb dust, humidity, and off-gassing from adjacent materials. At minimum, use a sealed frame with UV-filtering glass or acrylic. Acid-free matting provides additional protection by preventing direct contact between the document and the glazing.
Step 2: Use acid-free matting and backing board. Standard corrugated cardboard backing releases acids that migrate into the paper over years, causing yellowing and brittleness. Acid-free foam board or museum board is an inexpensive upgrade with dramatically better long-term results.
Step 3: Display reproductions, not originals. For significant certificates — state championship certificates, historical awards, rare photographs — frame a high-quality reproduction for display and store the original in an archival flat file or acid-free sleeve away from the display environment. The display copy gets the benefit of visibility; the original gets the protection of controlled storage.
Step 4: Mount photo frames with the same dual-anchor approach used for plaques. Photo frames, particularly landscape-oriented frames, are prone to rotation on single hangers. Two anchor points prevent the rotation-under-gravity effect that makes frames gradually tilt over weeks.
Environmental Factors That Affect All Mounted Objects
Mounting method is one variable in display preservation — the case environment is the other.
Temperature cycling near HVAC vents. Seasonal heating and cooling cycles cause hanger hardware to loosen over hundreds of expansion and contraction cycles. Check all mounting hardware at the beginning of each school year and tighten or replace any connectors showing movement.
Humidity fluctuations. Schools in humid climates or buildings without consistent humidity control see wood cases and wood-backed plaques expand and contract seasonally. Avoid mounting paper-based items near exterior walls where humidity infiltration is highest.
Vibration from adjacent spaces. Trophy cases installed near gymnasiums, band practice rooms, or mechanical equipment experience chronic low-level vibration. This gradually walks trophies toward shelf edges, loosens column joints, and causes framed items on single-point hangers to rotate. Add non-slip mats under all base items and check alignment monthly in high-vibration locations.
UV exposure from nearby windows. Direct sunlight bleaches fabric, fades printed photographs, and yellows resin over months. If your trophy case receives direct sunlight at any time of day, install UV-filtering window film on adjacent windows or relocate the case. UV-filtering acrylic glazing on the case front provides meaningful protection for cases that cannot be repositioned. Schools investing in broader athletic facility upgrades increasingly incorporate UV mitigation alongside other facility stewardship priorities to reduce long-term maintenance costs across physical assets.
Connecting Physical Mounts to Digital Catalog Records
Even the best physical mounting system has a fundamental limitation: it can only display what fits in the physical case. Schools with decades of championship history, individual award collections, and donor recognition panels quickly exhaust available shelf space — which forces difficult choices about which achievements are visible and which are in storage.
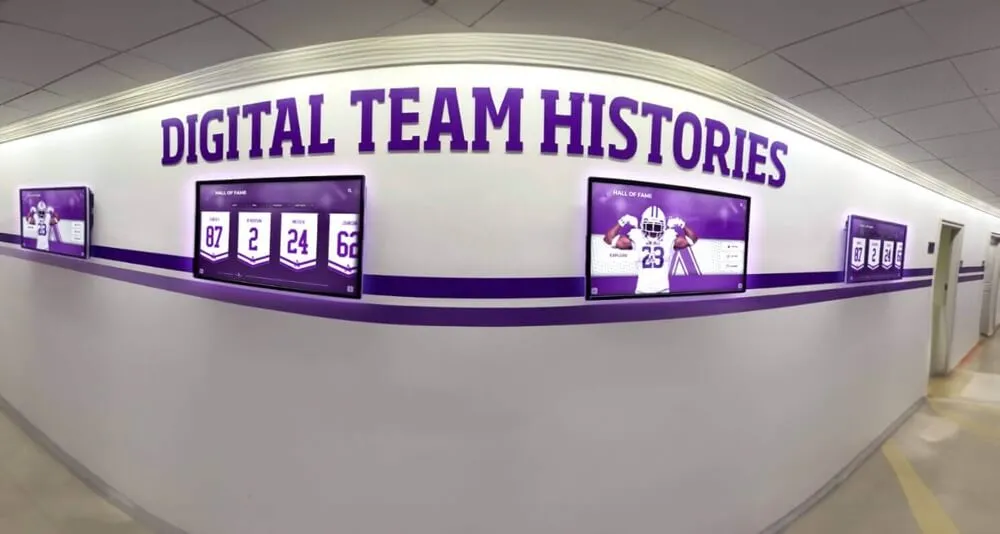
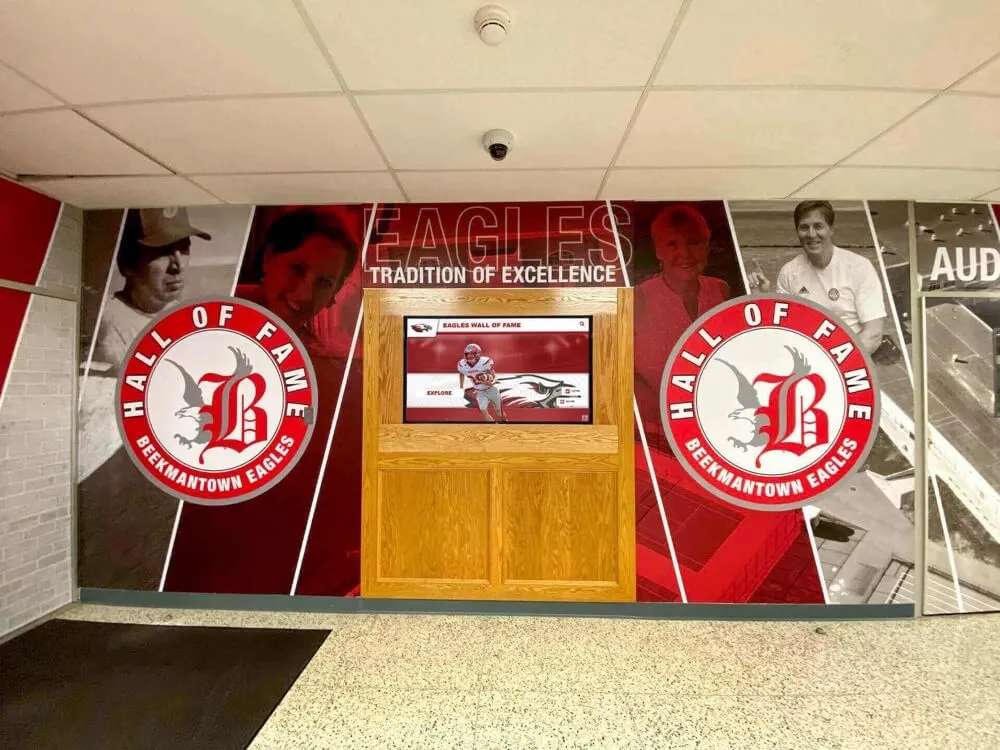
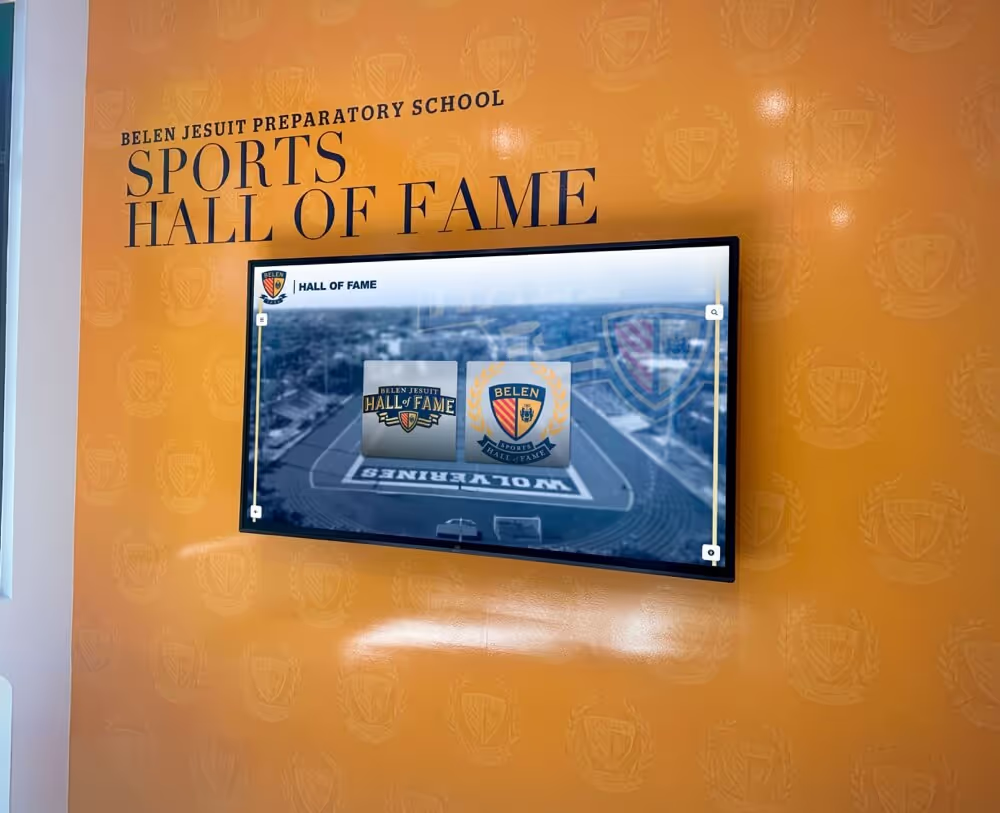
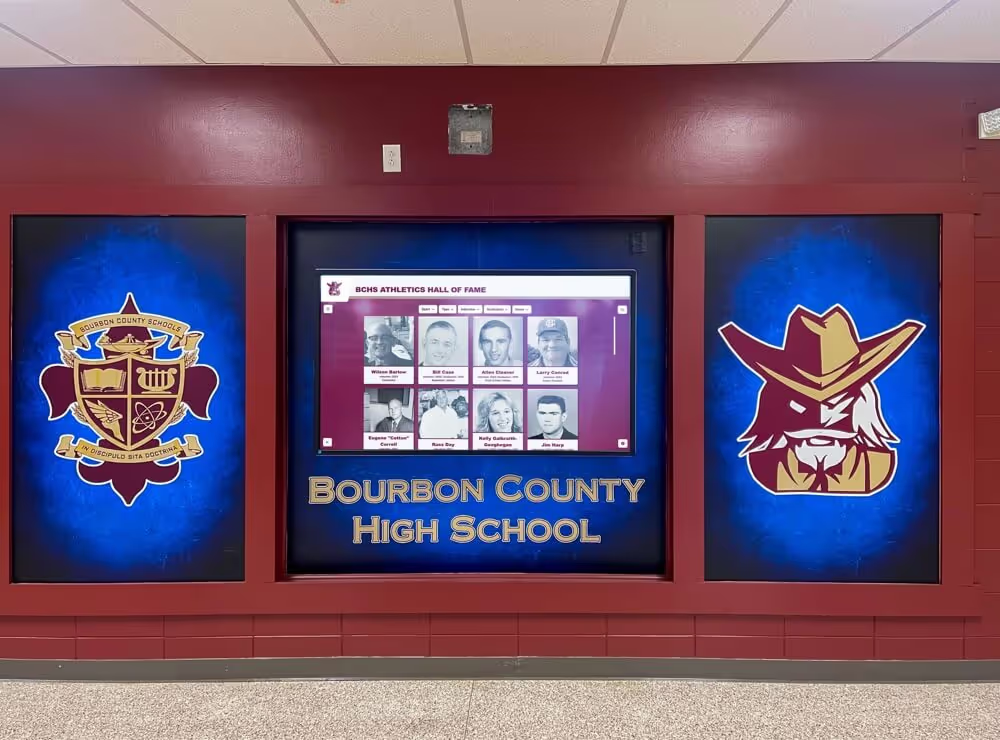
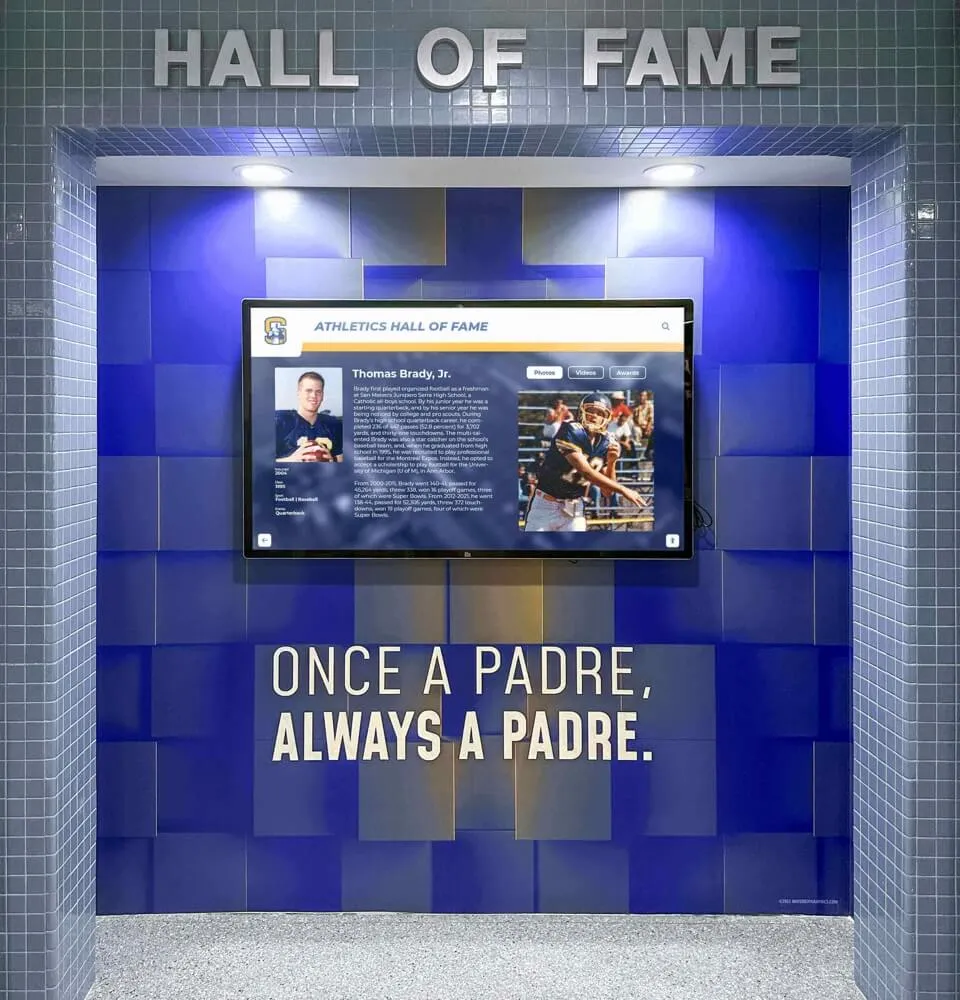
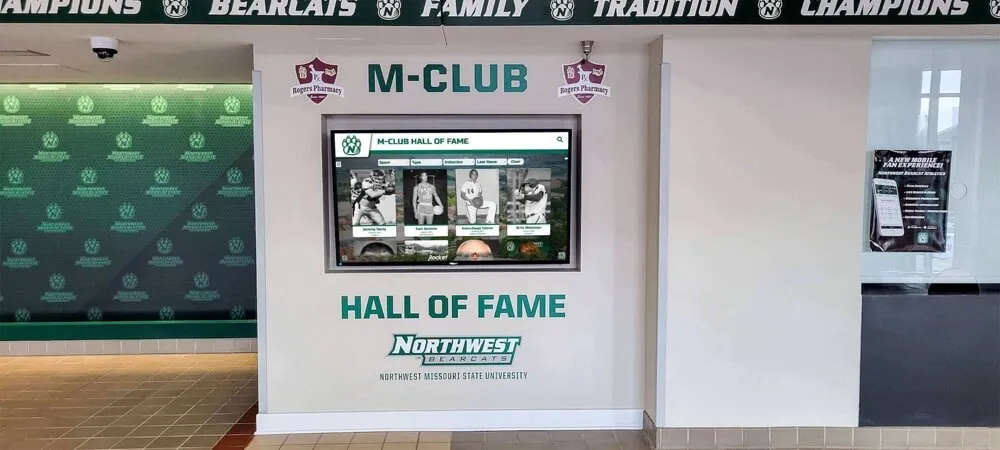
Digital recognition systems solve this problem by maintaining a parallel record of every item — mounted and stored — accessible to any visitor without physical space constraints.
Every item entering the case should be cataloged before mounting. The photograph taken for the catalog record (flat, high-resolution, before mounting) doubles as the permanent digital archive entry. The catalog entry should include the item type, year, achievement, individual names, and physical condition notes. This record persists regardless of what happens to the physical object.
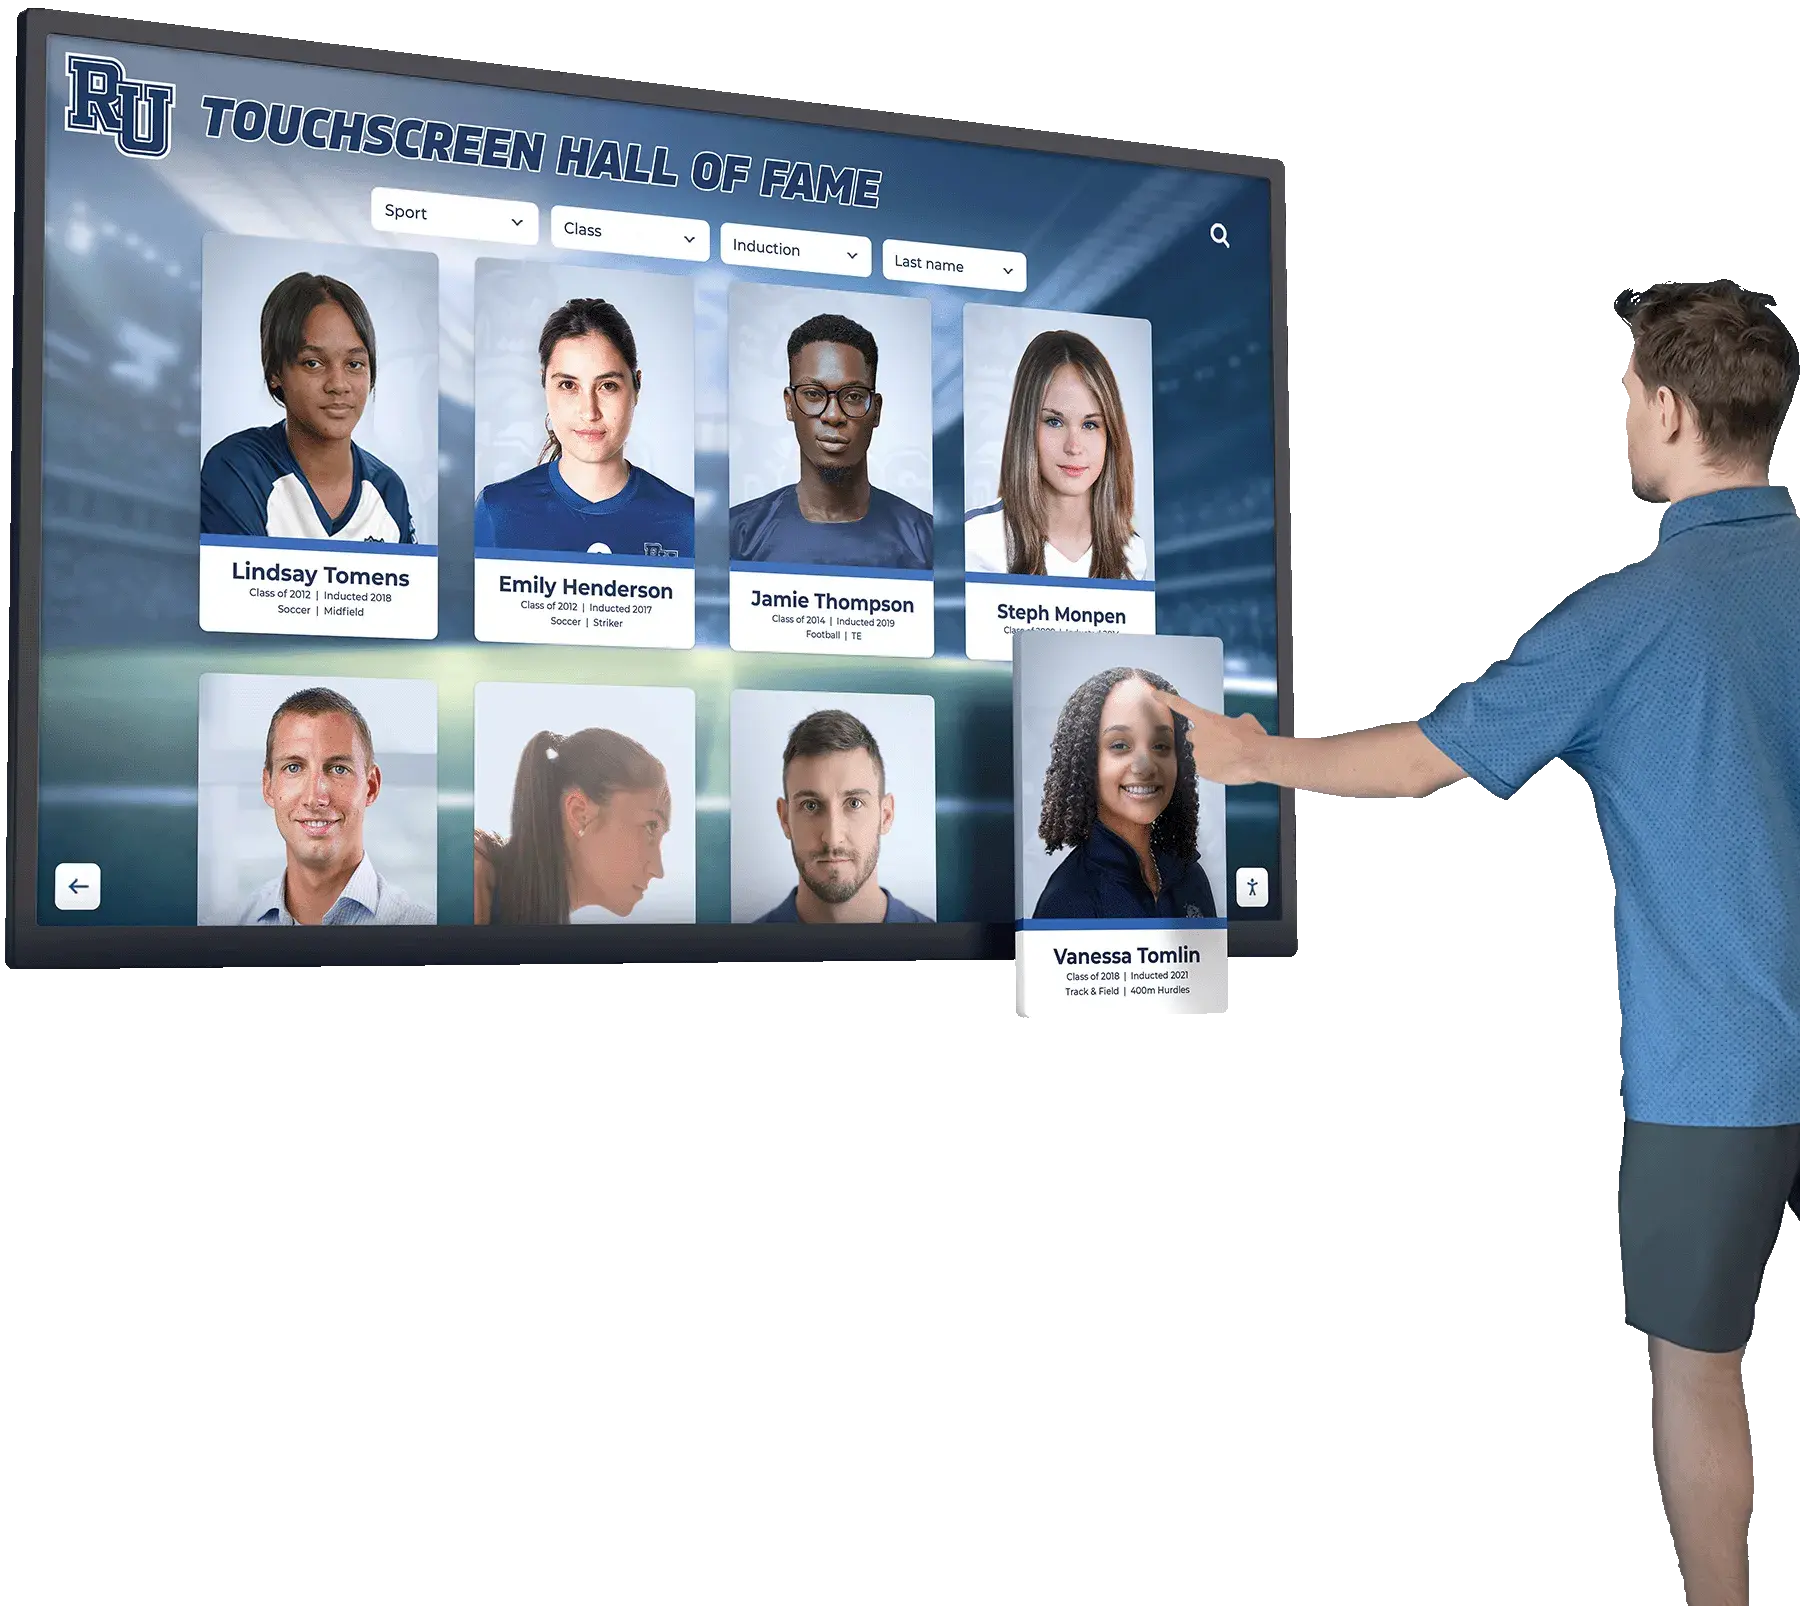
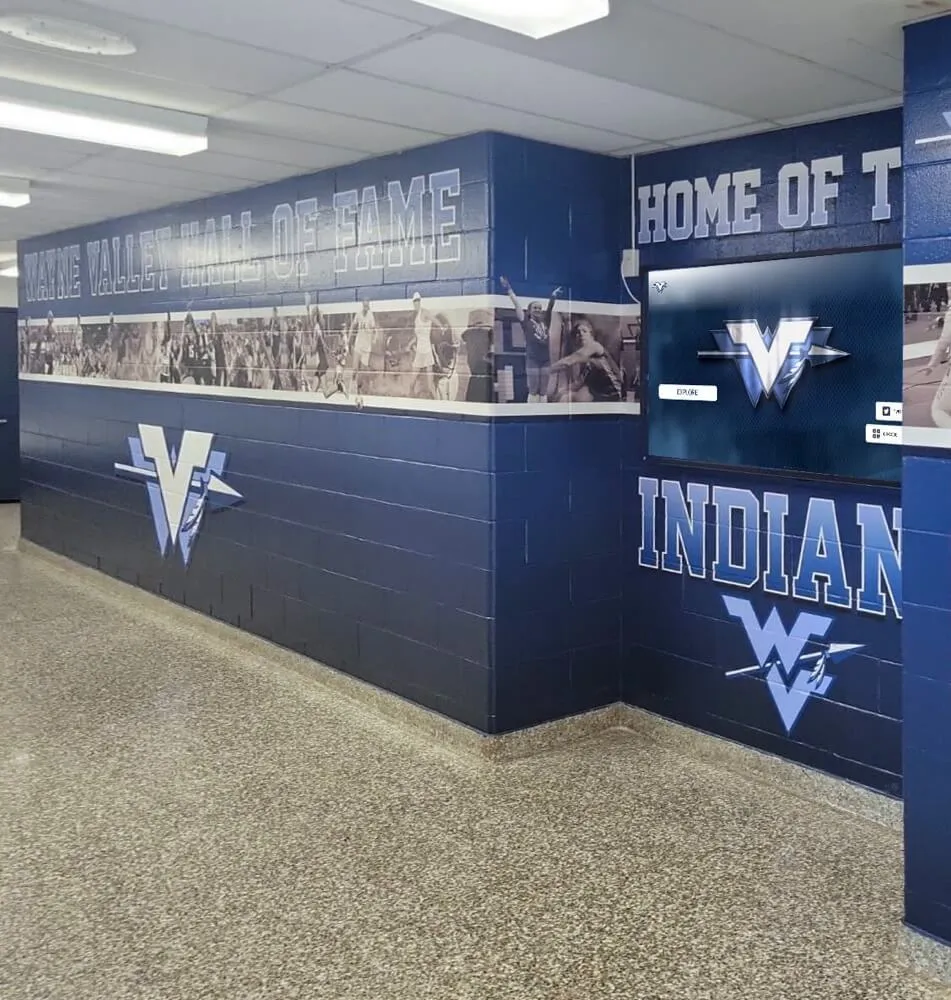
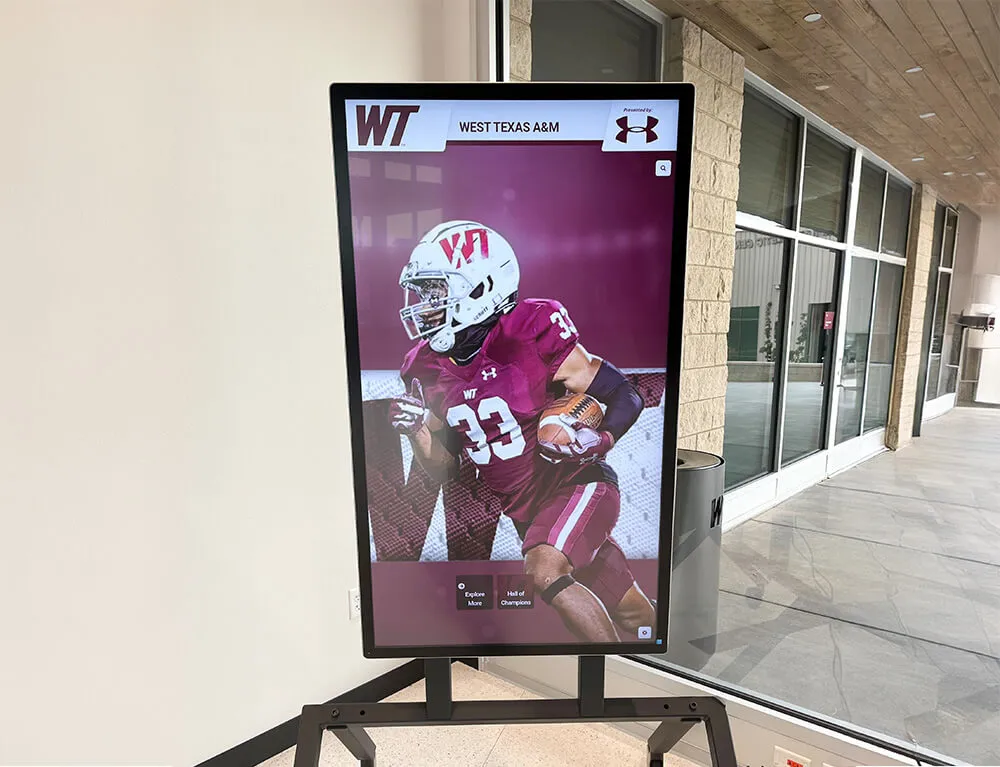
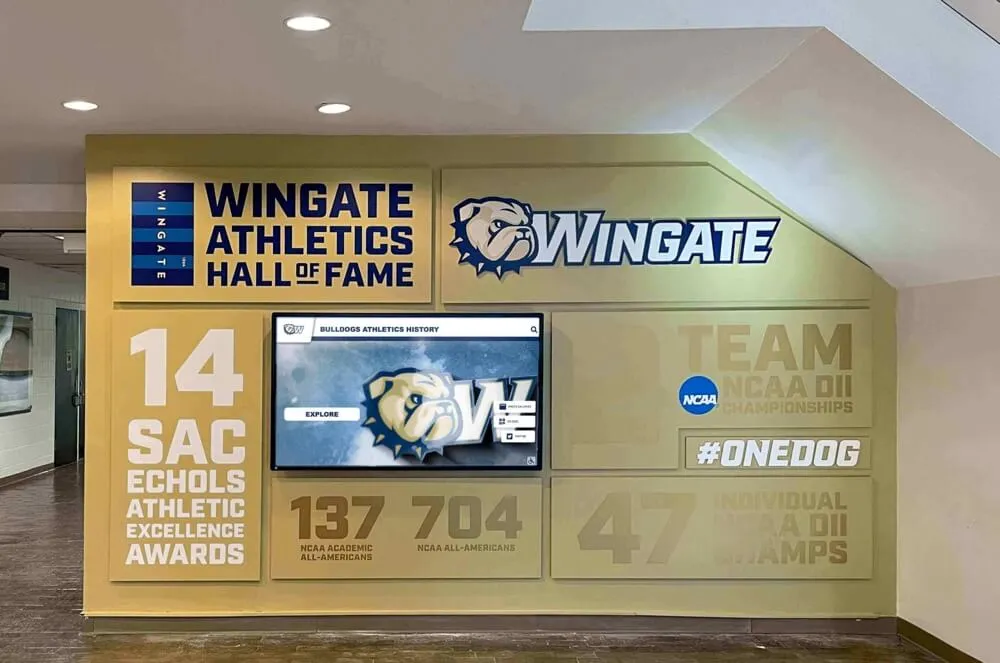
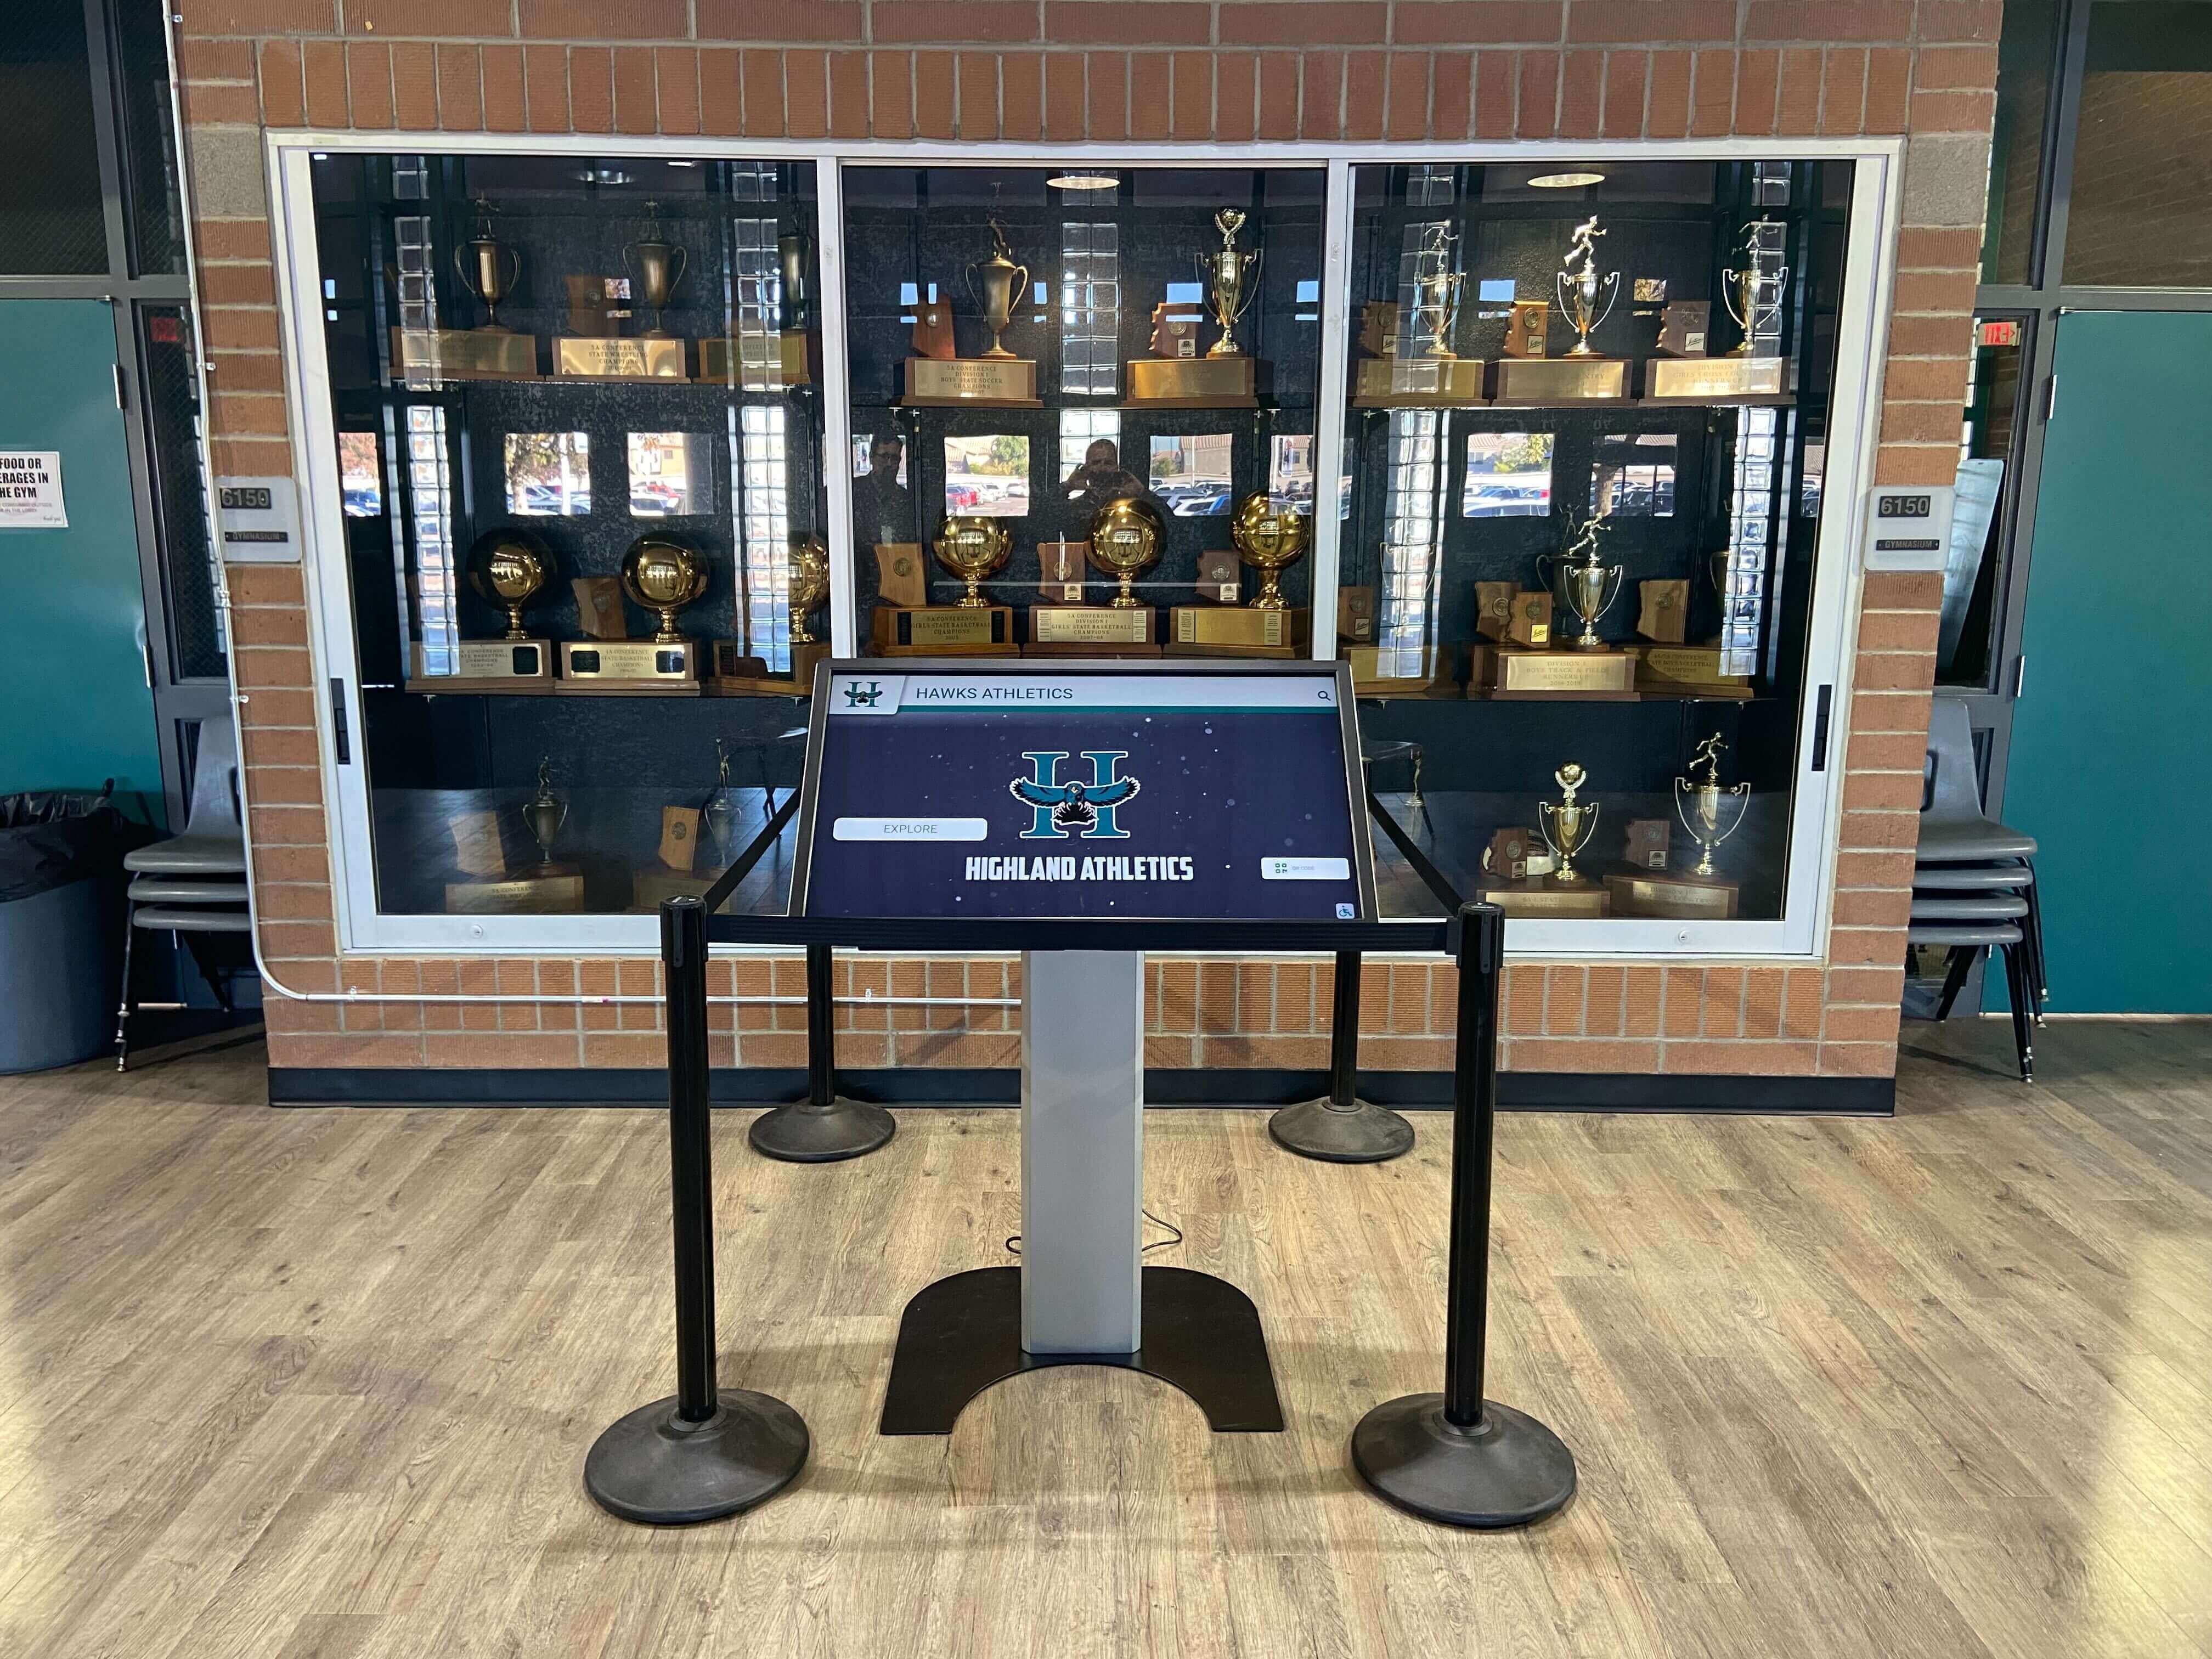
Items rotating off display remain fully accessible digitally. A jersey removed from the case to make room for a more recent championship does not disappear from institutional memory — it moves to archival storage while its full record remains searchable and displayable on a touchscreen recognition system. Visitors can browse the full depth of school achievement history without the physical case needing to hold everything simultaneously.
Catalog records enable better rotation decisions. When every item has a catalog entry with condition notes, year, and achievement category, the person responsible for rotating the display has data to support decisions about what comes in and what goes to storage. Without this record, rotation relies on physical proximity — whoever happens to be near the case makes informal decisions. The catalog creates an explicit, auditable record of those decisions.
For recognition programs that extend beyond athletics — robotics teams, academic bowl competitors, performing arts ensembles — the same mount-then-catalog workflow applies. Student STEM and robotics recognition programs often involve unusual award objects — fabricated hardware, framed circuit diagrams, project boards — that require custom mounting approaches beyond the standard trophy case kit, making pre-display documentation even more important.
Schools that have built systematic digital archives alongside their physical cases report that alumni and current students engage far more deeply with historic recognition when it is interactively browsable. The same principle that drives effective interactive donor recognition displays — giving visitors access to records that no physical panel can exhaustively list — applies to athletic and academic achievement archives as well.
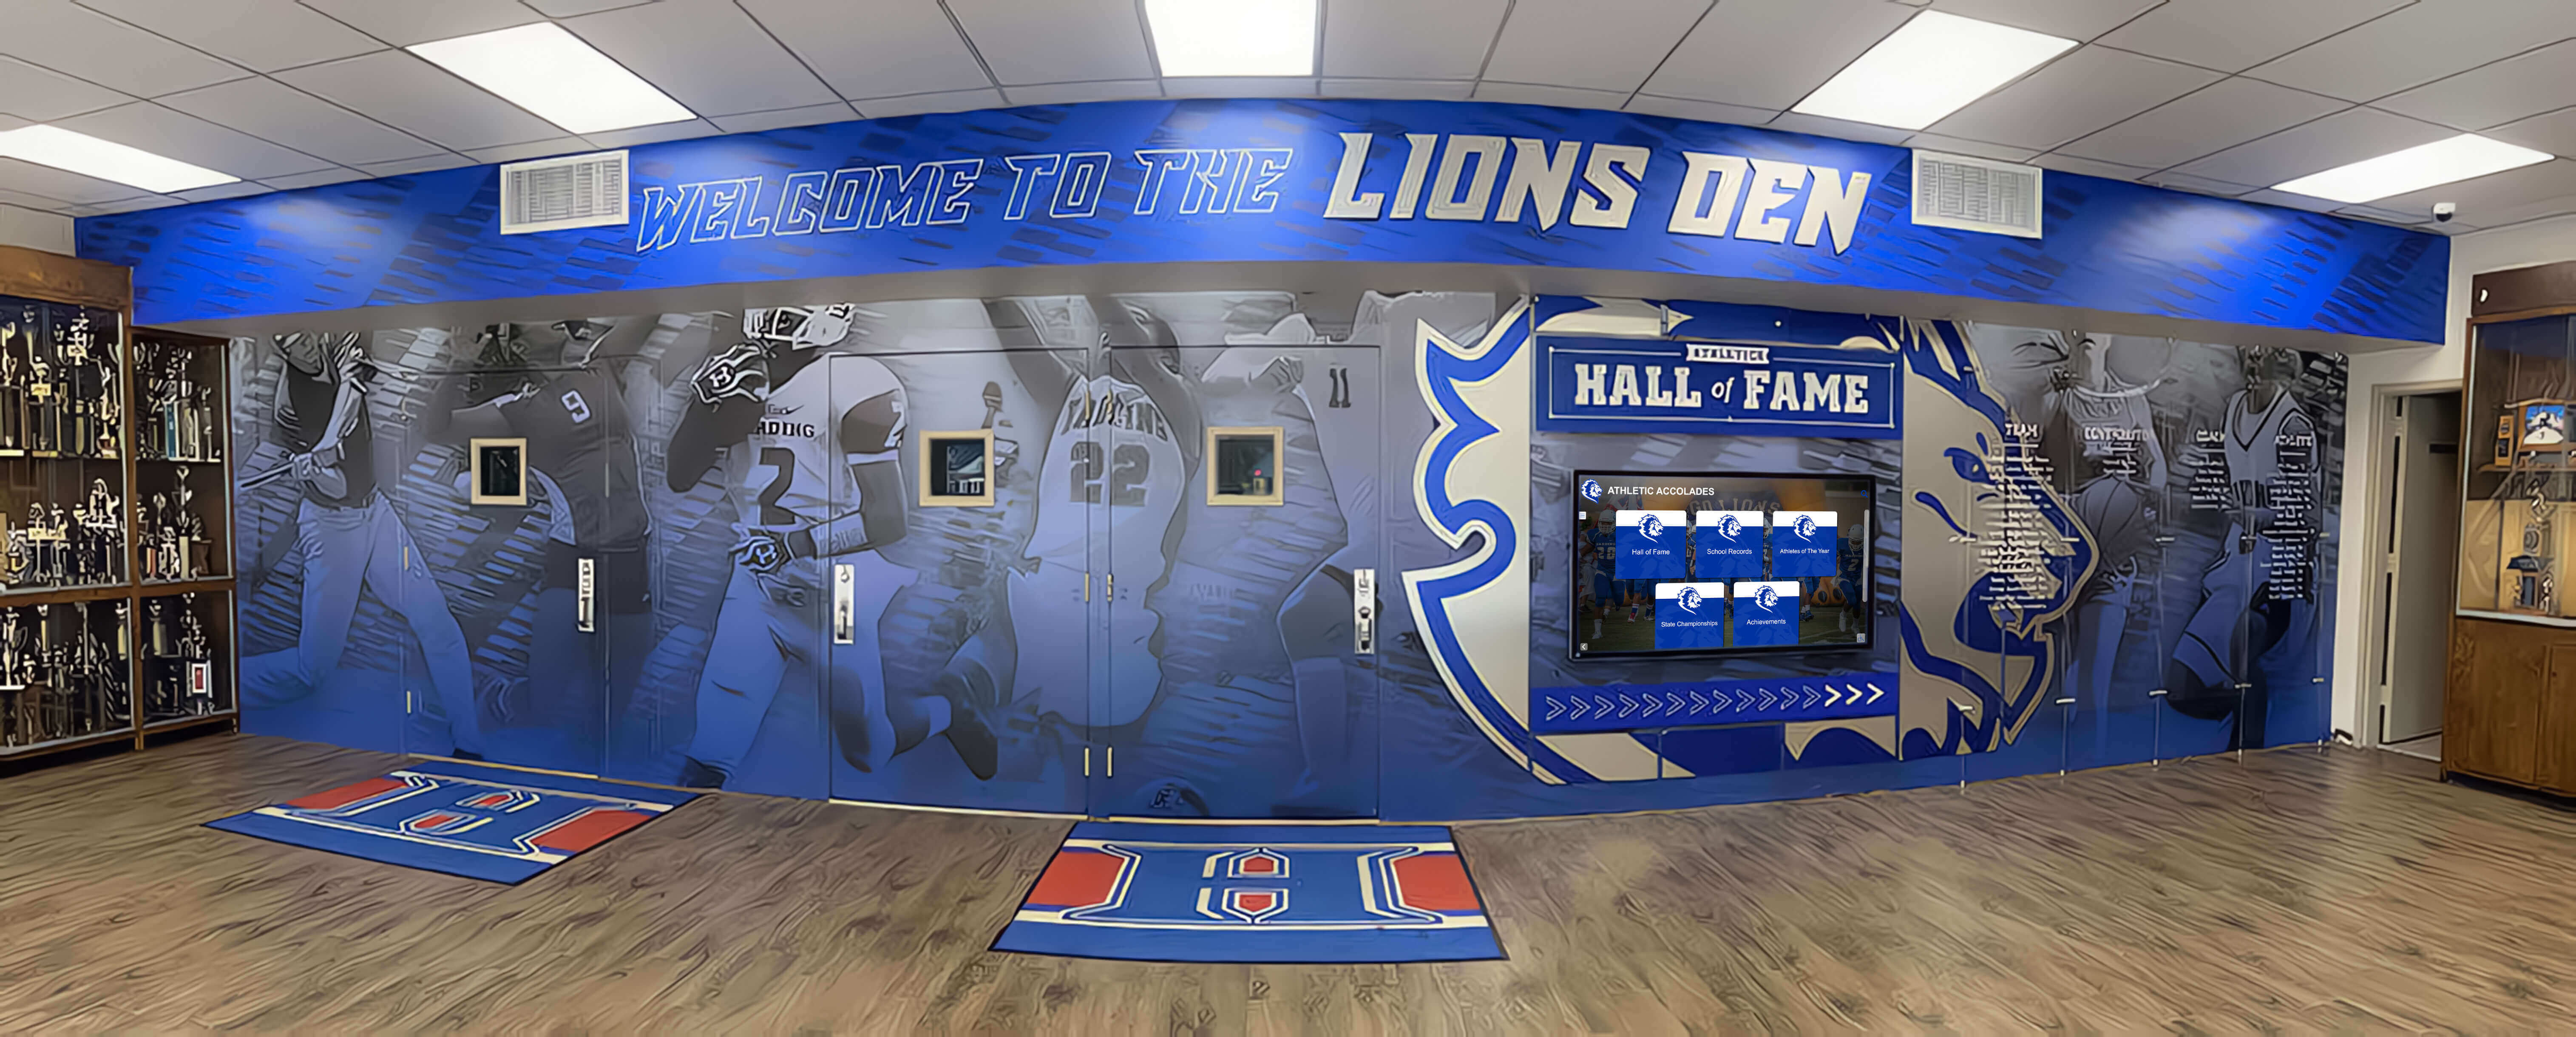
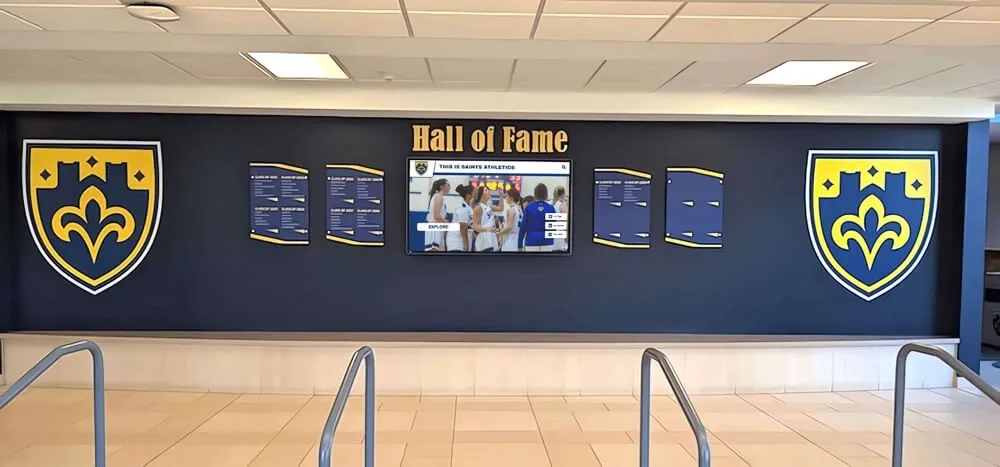
The most effective school recognition programs combine carefully maintained physical displays with digital archives that capture every item regardless of whether it fits in the case
When to Involve Professional Conservation Support
Most school trophy case mounting is straightforward work that administrative or facilities staff can execute well with the right materials and guidance. However, several situations justify involving professional conservation or museum mount specialists:
Items with significant age or fragility. Photographs from the 1940s through 1960s, trophies predating 1950, and original certificates or documents signed by notable figures cross into territory where professional conservation assessment is appropriate before mounting. A conservator can identify specific material risks that standard guidelines do not fully address.
Items that have already suffered damage. A trophy with a separated column joint, a jersey with visible fabric degradation, or a plaque with active corrosion on the metal plate should be assessed before returning to display. Mounting a damaged item without assessment can accelerate the damage.
High-value commemorative items. A signed jersey from a nationally recognized athlete, a championship trophy from a state or national competition, or original memorabilia from a program with long public history may warrant professional mount systems and archival framing.
Schools that maintain a relationship with a local museum or university archives department often find that conservation guidance is available informally through those partnerships — a phone call or email to the collections staff can answer specific mounting questions without requiring a paid consultation.
Building a Trophy Case Mounting Kit
Consistent, correct mounting across a school’s entire display requires having the right materials on hand. A basic trophy case mounting kit — stored in the athletic office or facilities closet — prevents improvised solutions that create new damage.
Recommended kit contents:
- Wide-body padded hangers (for jerseys and fabric items)
- Self-adhesive silicone non-slip pads (for trophy bases)
- Ball cradles in two sizes (for large and small balls)
- Closed-cell polyethylene foam tubing (for equipment support)
- Acrylic risers in two heights (for staging and leveling)
- Small bubble level (four to six inches)
- Picture hooks in two gauges (for plaques)
- Two-part clear epoxy in small syringes (for trophy column repair)
- Acid-free foam board sheets (for backing documents)
- Archival sleeves (for certificates and photographs awaiting framing)
Most of these items cost under $2 each. A complete kit for a medium-sized school trophy case costs less than $75 and eliminates the improvised alternatives — tape, wire, and stacked books — that cause long-term display damage.
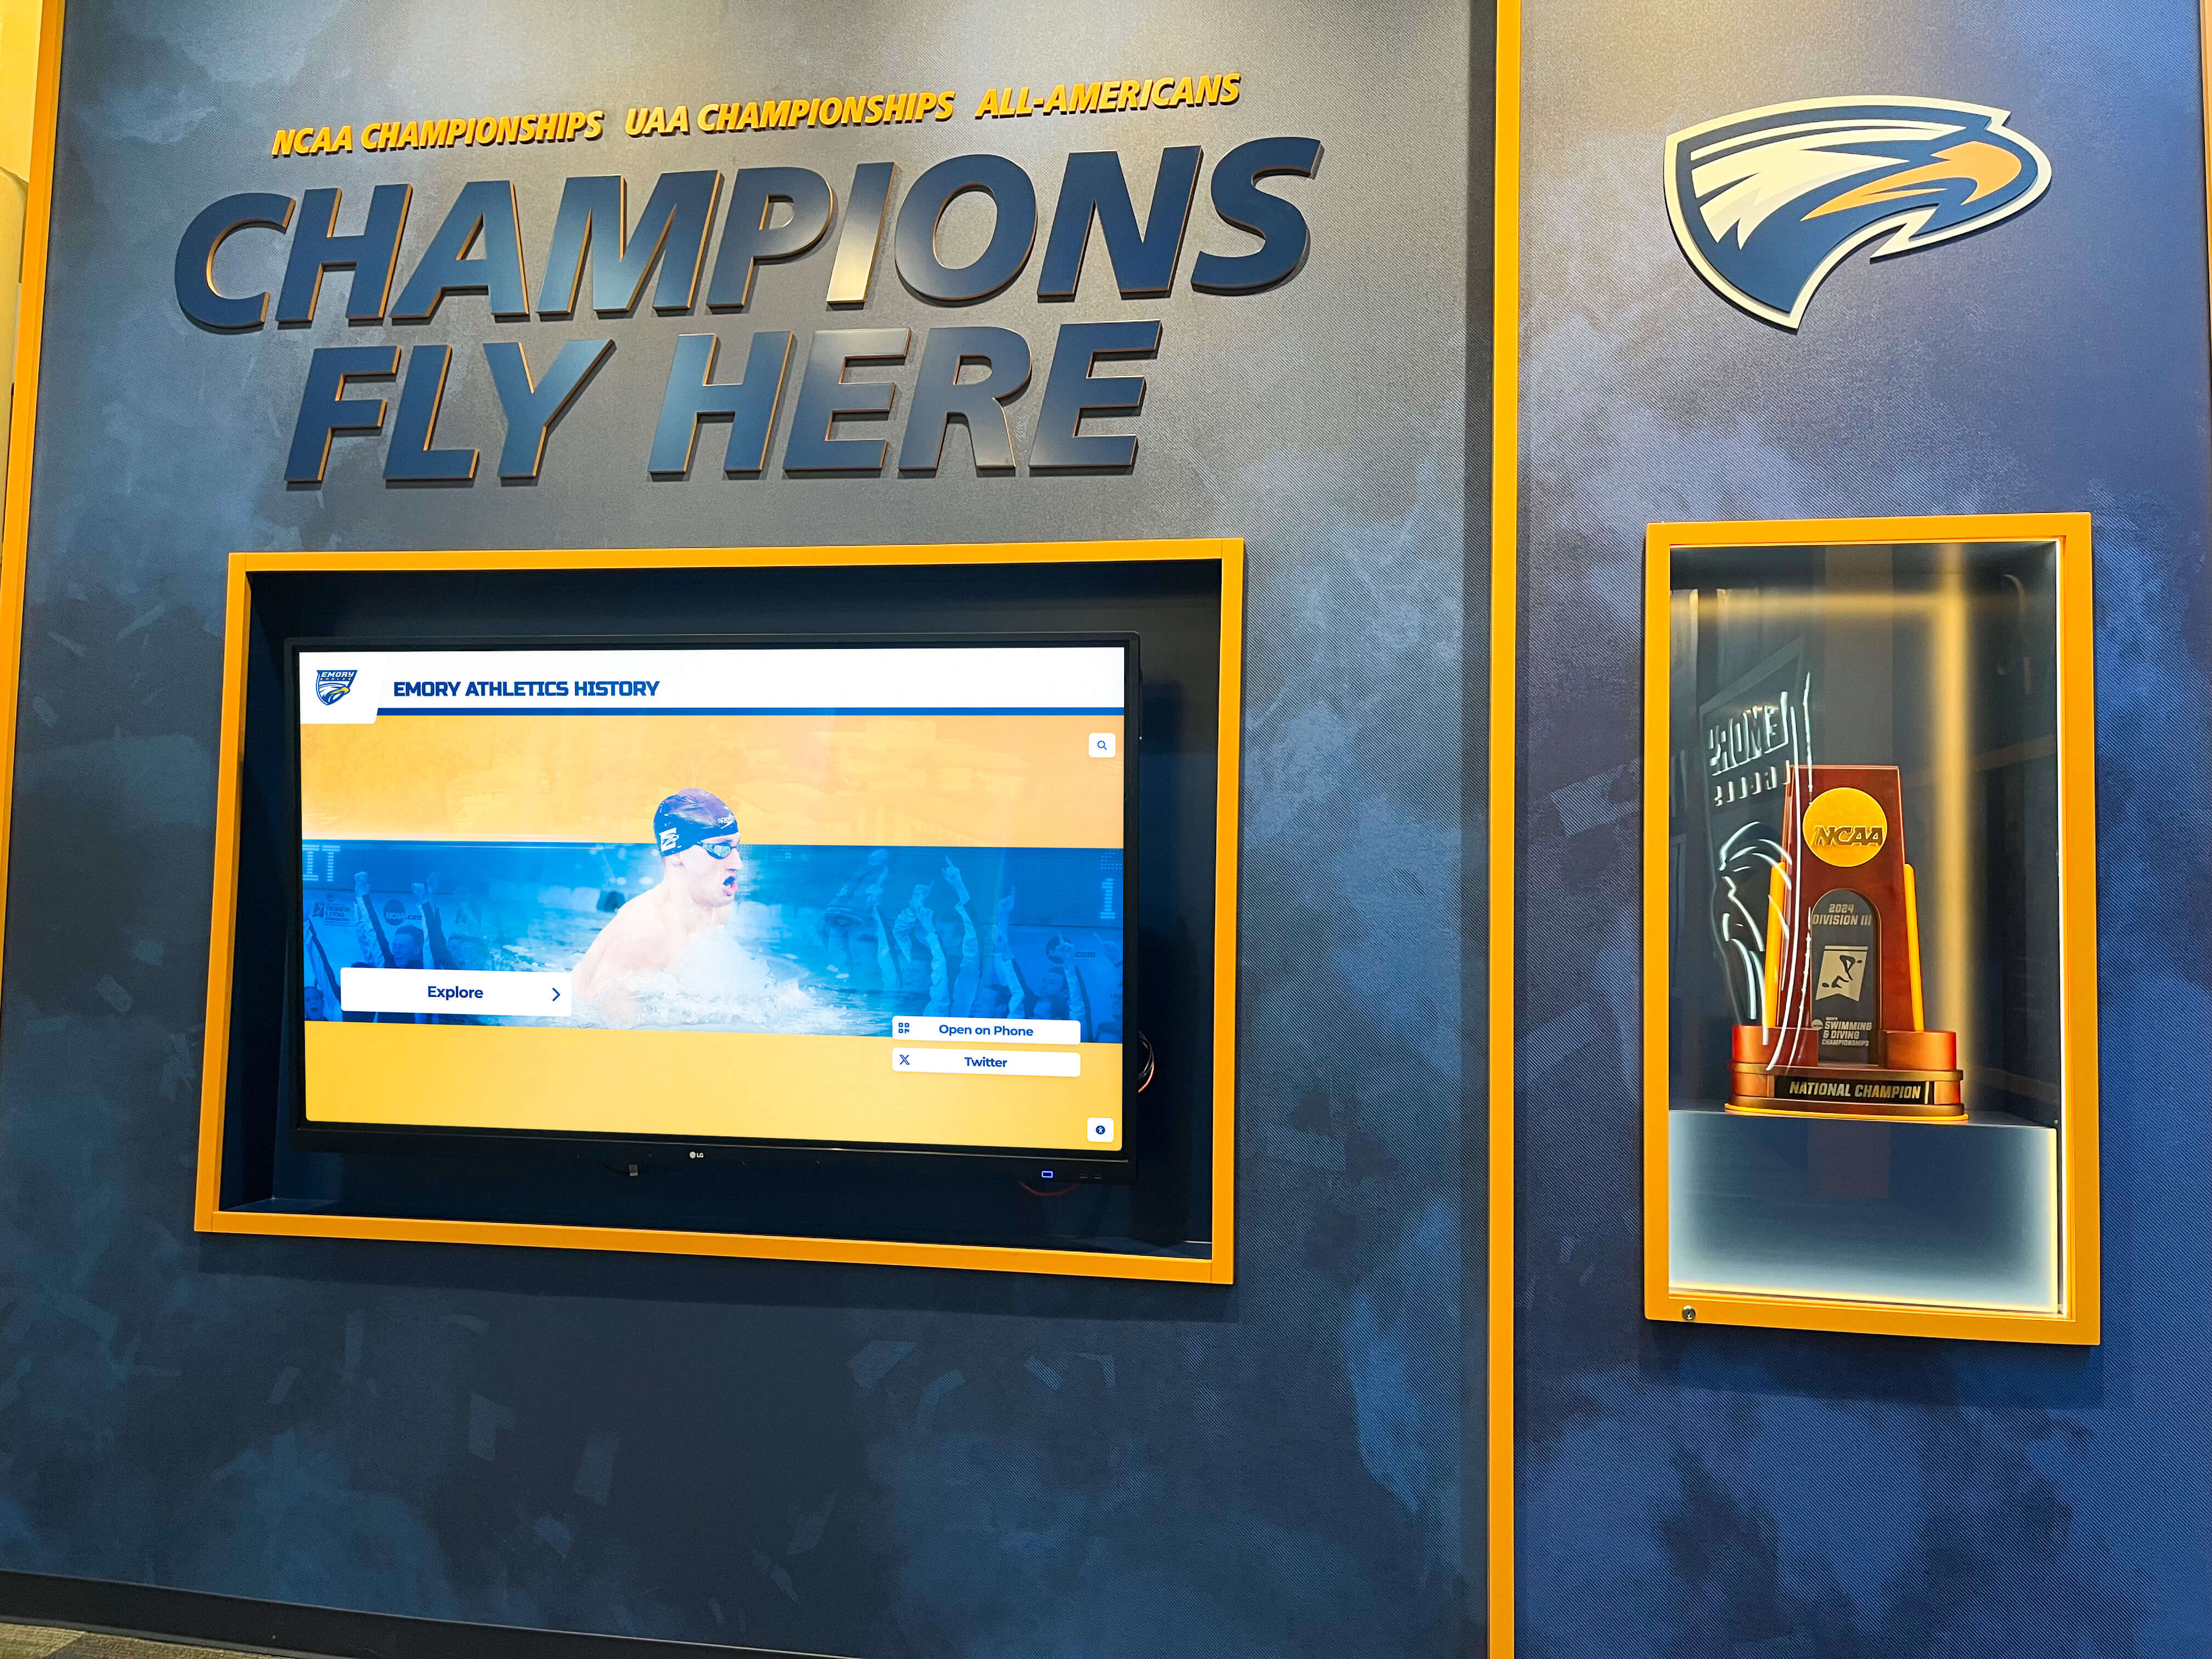
A basic mounting kit — non-slip pads, padded hangers, ball cradles, and archival materials — prevents the improvised support that shortens display life
Donor and Sponsor Recognition Panels
Recognition displays that include donor names, sponsor logos, or booster recognition panels carry specific considerations beyond standard trophy mount guidelines. These panels are frequently heavier than athletic trophies, may include electrical components such as LED edge lighting, and are expected to maintain a polished appearance over years of continuous display.
Use wall-anchor systems for panels over 10 pounds. Donor recognition panels are typically acrylic, metal, or laminated composite construction and can weigh significantly more than comparable-sized trophy hardware. Wall anchors rated for at least twice the panel’s weight provide the safety margin needed.
Follow manufacturer specifications for illuminated panels. LED-lit donor recognition panels have specific mounting requirements for heat dissipation. Manufacturer clearance guidelines prevent heat buildup against the case back or wall surface that shortens LED lifespan.
Integrate donor recognition into your digital catalog alongside athletic records. Donor and sponsor names included in a digital recognition system can be updated remotely without physical display changes — a significant operational advantage as donor rosters change annually. Schools building comprehensive recognition programs increasingly find that extending digital recognition to teacher and staff honorees alongside athletic and donor records creates a more inclusive institutional memory that physical panels alone cannot achieve.
For schools planning recognition events that connect trophy case updates to broader school community programming, integrating display updates with high-traffic family events creates natural presentation moments — the kind of rhythm that gives families direct exposure to athletic recognition at back-to-school welcome events and orientation programs.
Frequently Asked Questions
What is the correct way to display a jersey in a trophy case? Use a padded wide-body hanger that distributes weight across the full shoulder area — never a wire hanger, which concentrates stress at two points and deforms the fabric over time. Allow at least two inches of clearance between the jersey and adjacent objects or surfaces. For jerseys intended for long-term or permanent display, acid-free archival framing with UV-filtering acrylic glazing provides the best preservation outcome.
How do you keep trophies from falling over in a trophy case? Apply self-adhesive silicone non-slip pads to the base corners of every trophy before placing it on the shelf. For tall trophies with heavy top pieces, position the base at least two-thirds of the trophy’s depth back from the shelf edge to reduce forward-tip risk. Use small acrylic risers to create a level mounting surface on any shelf that has warped over time.
Can I hang plaques directly on the inside of a glass trophy case? Yes, but use two anchor points rather than one to distribute weight evenly. Maintain at least a quarter inch of clearance between the plaque’s back surface and the case glass to prevent moisture contact from condensation. Verify level alignment after mounting. For heavy plaques above five pounds, confirm that the case’s interior surface can support the mounting hardware before installing anchors.
What materials should I avoid in a school trophy case? Avoid wire hangers for jerseys. Avoid bare corrugated cardboard behind photographs and certificates — it is acidic and accelerates paper degradation. Avoid rubber items in direct contact with metal or painted surfaces. Avoid stacking trophies or allowing bases to contact adjacent trophies without spacing. Avoid single-point hangers for any item heavier than one pound.
How often should trophy case mounting hardware be checked? Annually at minimum — the start of each school year is a practical checkpoint. In trophy cases near HVAC vents, gymnasiums, or other high-vibration locations, check mounting hardware quarterly. Look for non-slip pads that have shifted, picture hooks that have loosened, and trophy columns showing movement at joints.
Should original championship documents be displayed in a trophy case? Not without archival framing, and ideally not at all. Original documents — certificates, letters of commendation, official championship records — should be stored in acid-free archival sleeves or flat files and displayed as high-quality reproductions in acid-free matted frames with UV-filtering glazing. For schools building long-term digital archives alongside physical preservation, digitizing original documents at high resolution creates a permanent, accessible record. The principle mirrors how institutions approach long-term memory preservation in other contexts — physical originals are fragile and finite, while digital records extend the reach of preserved history across time and distance in ways physical cases cannot match.
What happens to catalog records when a physical item is retired or damaged beyond repair? The digital catalog record — including the pre-mount photograph, achievement data, and condition notes — persists indefinitely regardless of the physical item’s fate. A trophy that deteriorates beyond display quality can be retired from the case while its full record remains searchable and viewable on a digital recognition display. This is the core argument for documenting every item before it enters the case: the record outlasts the object.
Ready to Extend Your Trophy Case Beyond Four Walls?
Safe physical mounting protects your school's recognition history — and a digital trophy case makes that history accessible to every student, family member, and alumni who cannot view the physical display in person. Rocket Alumni Solutions provides interactive touchscreen recognition systems with unlimited record capacity, cloud-managed updates, and ADA-compliant access. See how schools are building recognition programs that outlast any physical trophy case.
Schedule a DemoTrophy case object mount guidelines are not about perfection — they are about systematic protection of real achievement. Every jersey safely hung, every trophy properly supported, and every plaque correctly leveled represents a name, a season, and a moment in your school’s history that deserves better than improvised support. Start with the quick-reference table in this guide, build a basic mounting kit, and pair the physical effort with a digital catalog that keeps institutional memory intact long after individual items rotate off the display.