



Intent: decide — a trophy case acrylic crazing inspection checklist is a structured facility tool that gives school administrators and maintenance staff a step-by-step method for identifying fine crack networks, stress whitening, and micro-fractures in acrylic display panels before those defects deepen into failures that expose championship hardware, retired jerseys, historic photographs, and signed memorabilia to dust infiltration, moisture, and direct handling risk. This guide explains what acrylic crazing is, how it differs from surface scratches, what specific indicators to look for, how to rate severity consistently, and how to decide when crazing warrants panel replacement — including when the cumulative cost of panel maintenance points toward a digital display alternative.
Acrylic crazing is one of the more deceptive failure modes in school trophy case maintenance. Unlike a single visible scratch — which leaves a clear line the eye can follow and the fingernail can measure — crazing presents as a diffuse network of fine cracks that may appear faint in overhead lighting, become dramatically more visible in raking light, and be easy to dismiss as surface haze or condensation residue. The consequence of that dismissal is that crazing continues to spread until a panel that looked merely cloudy in November shatters under minimal stress in March, during a jersey installation, directly over a state championship trophy that took decades to earn.
Catching acrylic crazing early requires knowing what to look for, inspecting under the right conditions, and applying a consistent severity rating that connects observation to action. A one-time visual check is not sufficient — crazing progresses, and a panel assessed as minor in one cycle may reach the replacement threshold in the next if contributing conditions are not identified and addressed.

Many school trophy cases mix acrylic and glass panels — acrylic crazing inspections require different techniques and different severity criteria than glass scratch assessments
What Acrylic Crazing Is — and How It Differs from Scratches
Acrylic crazing describes a pattern of fine internal or surface cracks that develop when an acrylic panel is subjected to mechanical stress, chemical exposure, UV radiation, or thermal cycling beyond its tolerance. The result is a network of micro-fractures — sometimes resembling a spider web pattern, sometimes appearing as parallel lines, sometimes presenting as diffuse whitening or cloudiness across a panel section — that originate within the material rather than only on its surface.
This distinction between surface damage and internal cracking matters for inspection and repair:
- A scratch is a surface-level groove created by contact with a harder material. It does not compromise the structural integrity of the panel unless it is exceptionally deep, and it can sometimes be polished with an appropriate compound.
- Crazing involves subsurface fractures that indicate the material itself is under stress or has been chemically degraded. Polishing the surface of a crazed panel does not address the underlying fracture network and may accelerate panel failure by applying mechanical pressure to already-compromised material.
This means a facilities team that mistakes early crazing for surface haze and attempts to polish it may inadvertently worsen the condition. The first step in any acrylic crazing inspection checklist is correctly identifying crazing as distinct from other damage types — which requires knowing what to look for and inspecting under conditions that reveal it.
Schools that have reviewed what physical trophy cases require in terms of ongoing upkeep will recognize that acrylic panel maintenance is one of the higher-frequency cost and time drivers in an aging case portfolio — and that crazing-specific inspection protocols are rarely part of the standard facilities checklist.
Early Warning Signs: What to Look For Before Full Crazing Develops
Acrylic crazing rarely appears suddenly. In most school environments, the early signs precede visible fracture networks by months. Training facilities staff to recognize the precursor indicators allows for earlier intervention:
Surface stress whitening: A localized white or milky-white area that does not wipe away with a dry cloth. This differs from condensation, which evaporates, and from dust haze, which transfers to the cloth. Stress whitening indicates micro-fracturing is developing at or below the surface.
Faint parallel line patterns: In low-angle or raking light, shallow crazing often presents as a pattern of faint parallel lines running perpendicular to the direction of the panel’s tension. These lines may be almost invisible under flat overhead lighting.
“Spider web” crack cluster: A cluster of fine cracks radiating outward from a point of impact or stress concentration — often a mounting screw location, a hardware bracket edge, or a corner where the panel is held in a frame. These clusters are the most recognizable crazing pattern and often appear first at hardware contact points.
Milkiness that intensifies under backlighting: Hold a phone flashlight against the back of the panel (or use a portable worklight behind the case during off-hours). Crazed areas often become distinctly visible as bright-edged milky zones when backlit, even when they appear only faintly hazy under normal front-facing light.
Edge crazing: Fine crack networks beginning at the cut or machined edges of an acrylic panel. Edge crazing is common when panels are cut with incorrect tools, when edges are not properly finished and polished, or when solvent-based adhesives used during installation have migrated along the edge.
The Trophy Case Acrylic Crazing Inspection Checklist
The following checklist is organized in the sequence a facilities or maintenance staff member should follow during a structured inspection. One record per panel inspected.
| Checklist Item | What to Assess | Action If Present |
|---|---|---|
| Confirm panel material | Is this panel acrylic (plastic, lightweight, scratches under fingernail pressure) or glass (heavier, harder, cooler to touch)? | Record material type — acrylic crazing procedures apply to acrylic panels only; glass has different failure modes |
| Lighting conditions | Are you inspecting under consistent overhead light PLUS a raking or oblique light source? | Do not complete assessment under flat overhead light only — raking light is required to reveal crazing |
| Surface whitening at hardware contact points | Inspect screw holes, mounting brackets, frame channels, and hinge points for white or milky discoloration | Flag for crazing severity rating; document location with Case ID and panel position |
| Spider web crack clusters | Scan each panel quadrant for radiating fine-line crack networks, especially at corners and fastener locations | Flag for crazing severity rating; photograph before any other action |
| Parallel line pattern in raking light | Shine a flashlight at a low angle across the panel surface; look for parallel lines not visible in normal light | Flag for crazing severity rating; note angle at which lines become visible |
| Edge crazing | Inspect all four panel edges for micro-fracture networks at cut or finished surfaces | Flag for crazing severity rating; note edge length affected |
| Backlight milkiness | Hold a light source behind the panel; note any milky or bright-edged zones not visible from front | Photograph with and without backlighting; flag zones identified only by backlight as internal crazing |
| Diffuse haze that does not wipe clear | Apply light finger pressure to a dry microfiber cloth on the suspected haze; recheck after 30 seconds | If haze remains, it is not surface dust or moisture — flag for crazing or chemical degradation assessment |
| Panel flex response | With the panel seated in its frame (do not remove), apply very light pressure to the center with a flat palm — stop if you feel any cracking sensation | Any sensation of cracking under minimal pressure is an immediate escalation indicator |
| Previous repair evidence | Note any areas where polish compound has been applied to an acrylic panel in prior maintenance cycles | Polish application over a crazed area may have masked early indicators — recheck those areas with backlight |
| Chemical exposure history | Review maintenance records for any mention of alcohol-based cleaners, solvent-based adhesives, or glass cleaners used on acrylic panels | Solvent contact is a primary crazing accelerant; log chemical exposure history as a contributing factor in your severity rating |
| UV exposure conditions | Is the panel positioned in direct or reflected sunlight for any portion of the day? | Prolonged UV exposure accelerates acrylic crazing; note exposure duration and angle in the panel record |
| Thermal cycling evidence | Is the case positioned near an HVAC supply vent, exterior door, or window that creates significant temperature variation? | Temperature cycling stresses acrylic under repeated expansion and contraction; log as contributing factor |
| Display item contact with panel | Are any mounted items pressing directly against the interior panel surface? | Direct contact from trophy bases, photograph mounts, or plaque hardware creates point stress that initiates crazing |
| Photographs taken | Have you photographed each flagged area under normal light, raking light, and backlight? | Do not complete the checklist without photographs — crazing severity is difficult to communicate in text alone |
Complete this checklist for each acrylic panel in the case before moving to the severity rating. Do not rate severity until all checklist items are reviewed — it is common for a panel that appears to have only one crazing indicator to show additional indicators once all inspection conditions are applied.
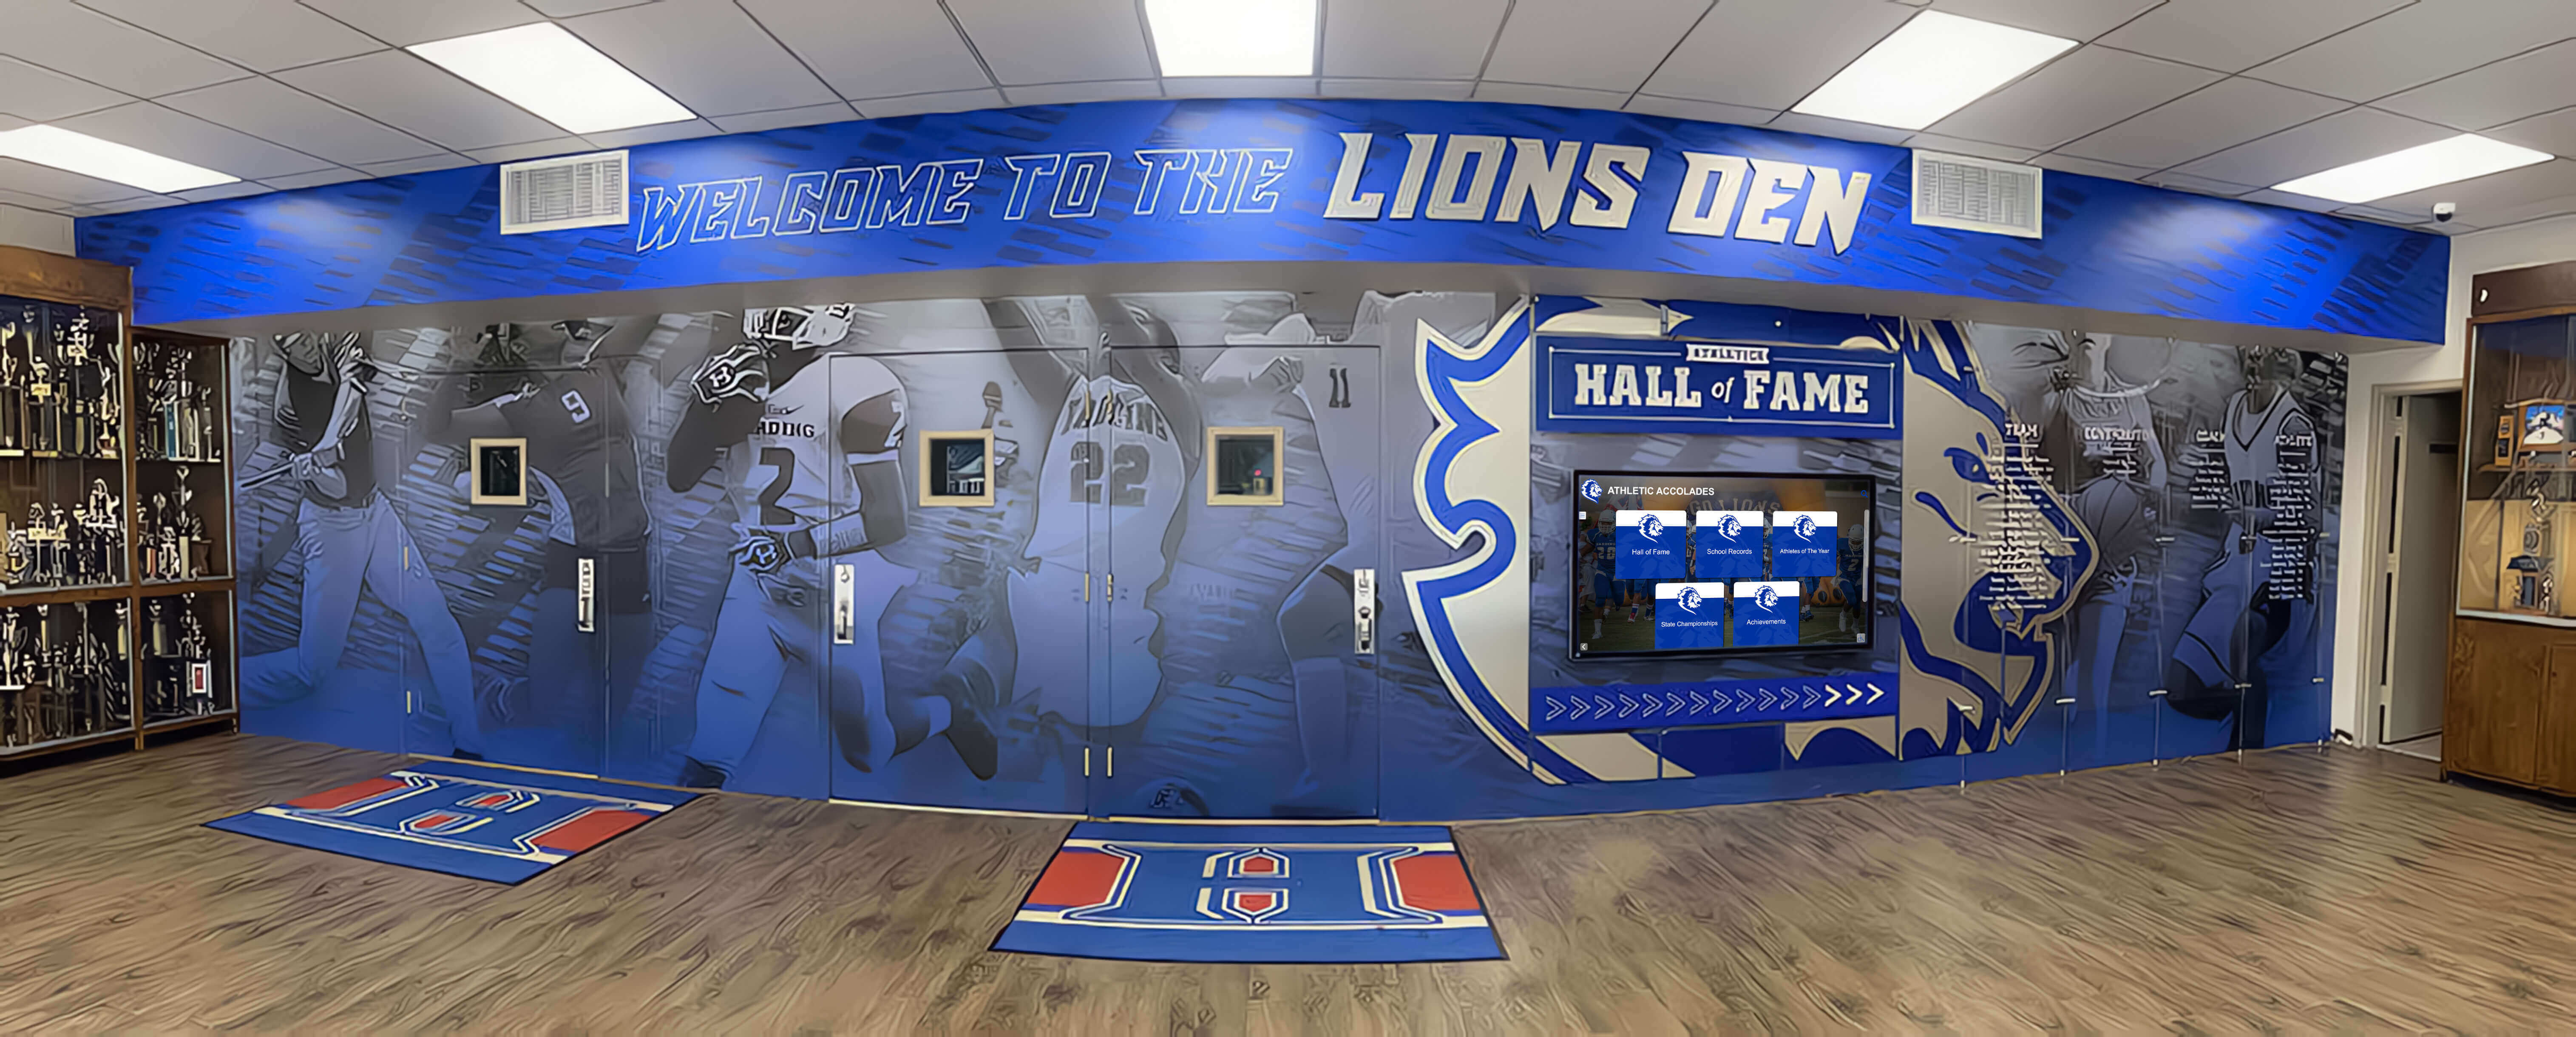
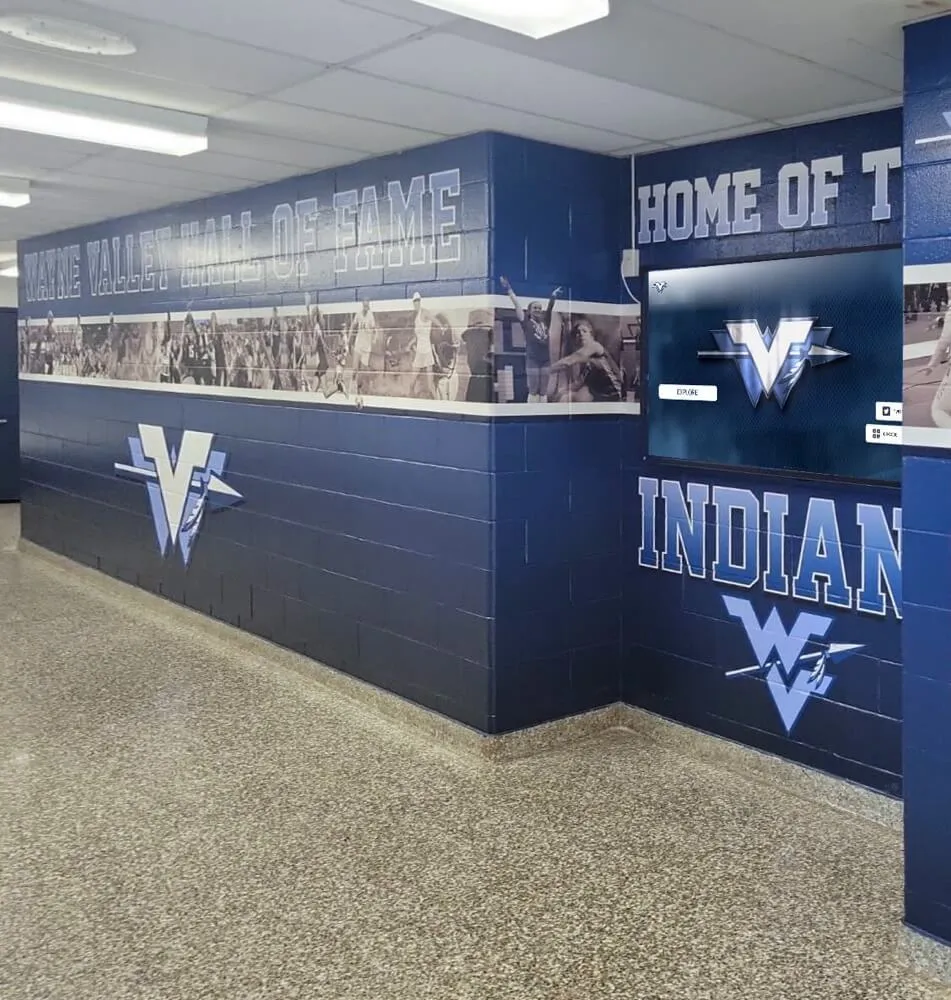
Trophy cases in hallway corridors and recognition areas accumulate environmental stress — UV exposure, HVAC cycling, and cleaning chemical drift — that facilities teams should treat as crazing risk factors during inspection
Inspection Conditions and Timing
The single most common reason early acrylic crazing goes undetected in school trophy cases is inadequate lighting during inspection. Flat overhead fluorescent light — the standard condition in most school hallways — reveals almost nothing about shallow crazing. A full inspection requires three light conditions applied in sequence:
Condition 1 — Standard overhead lighting: Inspect the panel under normal hall or lobby light. Record any visible damage and take baseline photographs. This condition establishes what visitors see during normal use.
Condition 2 — Raking or oblique light: Hold a flashlight or portable work light at a 10–20 degree angle to the panel surface and move it slowly across each panel section while watching from the front. Crazing that was invisible under overhead light often appears clearly under raking light as a network of fine lines or a pattern of parallel stress marks.
Condition 3 — Backlight: Position a light source behind the panel (or remove display items temporarily during off-hours to access the interior of the case). Internal crazing — fracture networks that have not yet broken the surface — often appears as distinctly milky or bright-edged zones under backlighting that are undetectable from the front.
Recommended inspection timing: Conduct a full three-condition inspection at least annually. For high-traffic cases and cases known to have had solvent exposure or impact events, inspect every six months. Schedule inspections at the start of the school year — before fall athletic events and homecoming increase foot traffic and access to cases — and again before spring awards seasons.
For schools conducting a comprehensive physical case review alongside security and condition assessments, a structured trophy case security checklist that includes panel condition documentation provides a complementary record of how access events and hardware condition affect acrylic integrity over time.
Acrylic Crazing Severity Rating
Once the full inspection checklist is complete, assign each panel a severity rating from the following five-level scale. Record the rating in the panel’s maintenance log alongside the specific checklist findings that supported it.
| Severity Level | Description | Visible Under | Structural Risk | Standard Response |
|---|---|---|---|---|
| Level 1 — Stress Whitening | Localized white or milky discoloration at one or more hardware contact points; no visible crack lines; backlight shows faint internal stress pattern | Raking light; backlight | Low — panel is intact; condition may stabilize if stress source is removed | Remove stress source (reposition trophy, adjust mount); monitor at 90-day intervals |
| Level 2 — Surface Crazing | Fine parallel line network or early spider web pattern visible under raking light; not visible under normal viewing conditions; no edge involvement | Raking light | Low to moderate — panel is intact but fracture network is developing | Document thoroughly; identify and remove contributing stress or chemical factor; monitor at 60-day intervals; no polishing |
| Level 3 — Visible Crazing | Crazing network visible under normal overhead lighting at close range (under 24 inches); may include edge involvement or backlight-visible internal zones | Normal and raking light | Moderate — fracture network is established; panel is weakened at crazed zones | No polishing; professional assessment of panel replacement timeline; notify administrator; do not add new display items to this panel section |
| Level 4 — Advanced Crazing | Crazing network clearly visible from normal viewing distance (2–4 feet); may include multiple panel quadrants or significant edge crazing; panel may flex slightly at crazed zones | Normal light from viewing distance | High — panel has lost meaningful structural integrity at crazed areas; failure risk under routine access | Remove display items adjacent to the panel; plan panel replacement within current quarter; restrict case access to essential operations |
| Level 5 — Critical Crazing or Fracture | Crazing spans major panel dimension; visible crack running full width or height; any portion of the panel has separated or is held in place only by frame pressure | Any condition | Severe — panel failure is imminent or has begun | Restrict access immediately; remove or shield display items below the panel; contact facilities director and administration before any further access; schedule professional panel replacement as first priority |
Key rule: Do not apply polish or any compound to an acrylic panel rated Level 2 or above. Polishing pressure on a crazed panel introduces mechanical stress along existing fracture lines and typically accelerates the progression toward Level 3–4. Polishing is appropriate only for surface scratches on unaffected panel sections, and only when the assessment confirms no crazing is present in the area to be polished.
Common Causes of Acrylic Crazing in School Trophy Cases
Understanding what causes acrylic crazing allows facilities teams to address contributing conditions alongside the panel damage itself — without identifying and removing the source, replacement panels may develop the same problems within a few years.
Chemical exposure is the most common cause of premature acrylic crazing in school environments. Cleaning products that contain alcohol, ammonia, acetone, or aromatic solvents attack the acrylic molecular structure and initiate micro-fracture networks. This includes many standard glass cleaners used in schools. If your school’s facilities team cleans acrylic trophy case panels with glass cleaner, that practice alone is likely the primary driver of crazing across the case inventory. Only acrylic-specific cleaners and soft microfiber cloths should be used on acrylic panels.
Hardware over-tightening creates point stress at every screw hole, mounting bracket, and frame channel. Acrylic does not tolerate the same clamping force as glass or metal — panels installed with overtightened hardware develop stress whitening at fastener points that progresses to crazing over months. Panel replacement without adjusting hardware torque will produce the same outcome in the replacement panel.
Thermal cycling occurs when a case is positioned near an HVAC supply vent, an exterior door with significant seasonal temperature variation, or a window with direct sun exposure. Acrylic expands and contracts at a rate roughly eight times that of glass. A panel that has no room to move within its frame will progressively crack at the edges under repeated thermal cycling — one of the more common sources of edge crazing in school lobby cases.
UV exposure from direct or reflected sunlight degrades acrylic at the molecular level, reducing flexibility and increasing brittleness. UV-stabilized acrylic exists specifically for applications with sun exposure — standard acrylic trophy case panels are not always UV-stabilized, and years of lobby sun exposure may be a contributing factor in cases near exterior-facing windows or skylights.
Impact events — a cleaning cart bumped against a panel, a heavy trophy repositioned without padding, a ladder placed against case glass during a lighting replacement — create immediate stress concentrations that may not produce visible crazing for weeks or months. Documenting impact events in the panel maintenance log allows facilities teams to flag those panels for more frequent inspection even before visual indicators appear.
For schools evaluating full case condition as part of a purchase or replacement decision, what schools should know before buying a trophy case includes panel material selection and frame design considerations that directly affect how quickly crazing can develop in a new installation.
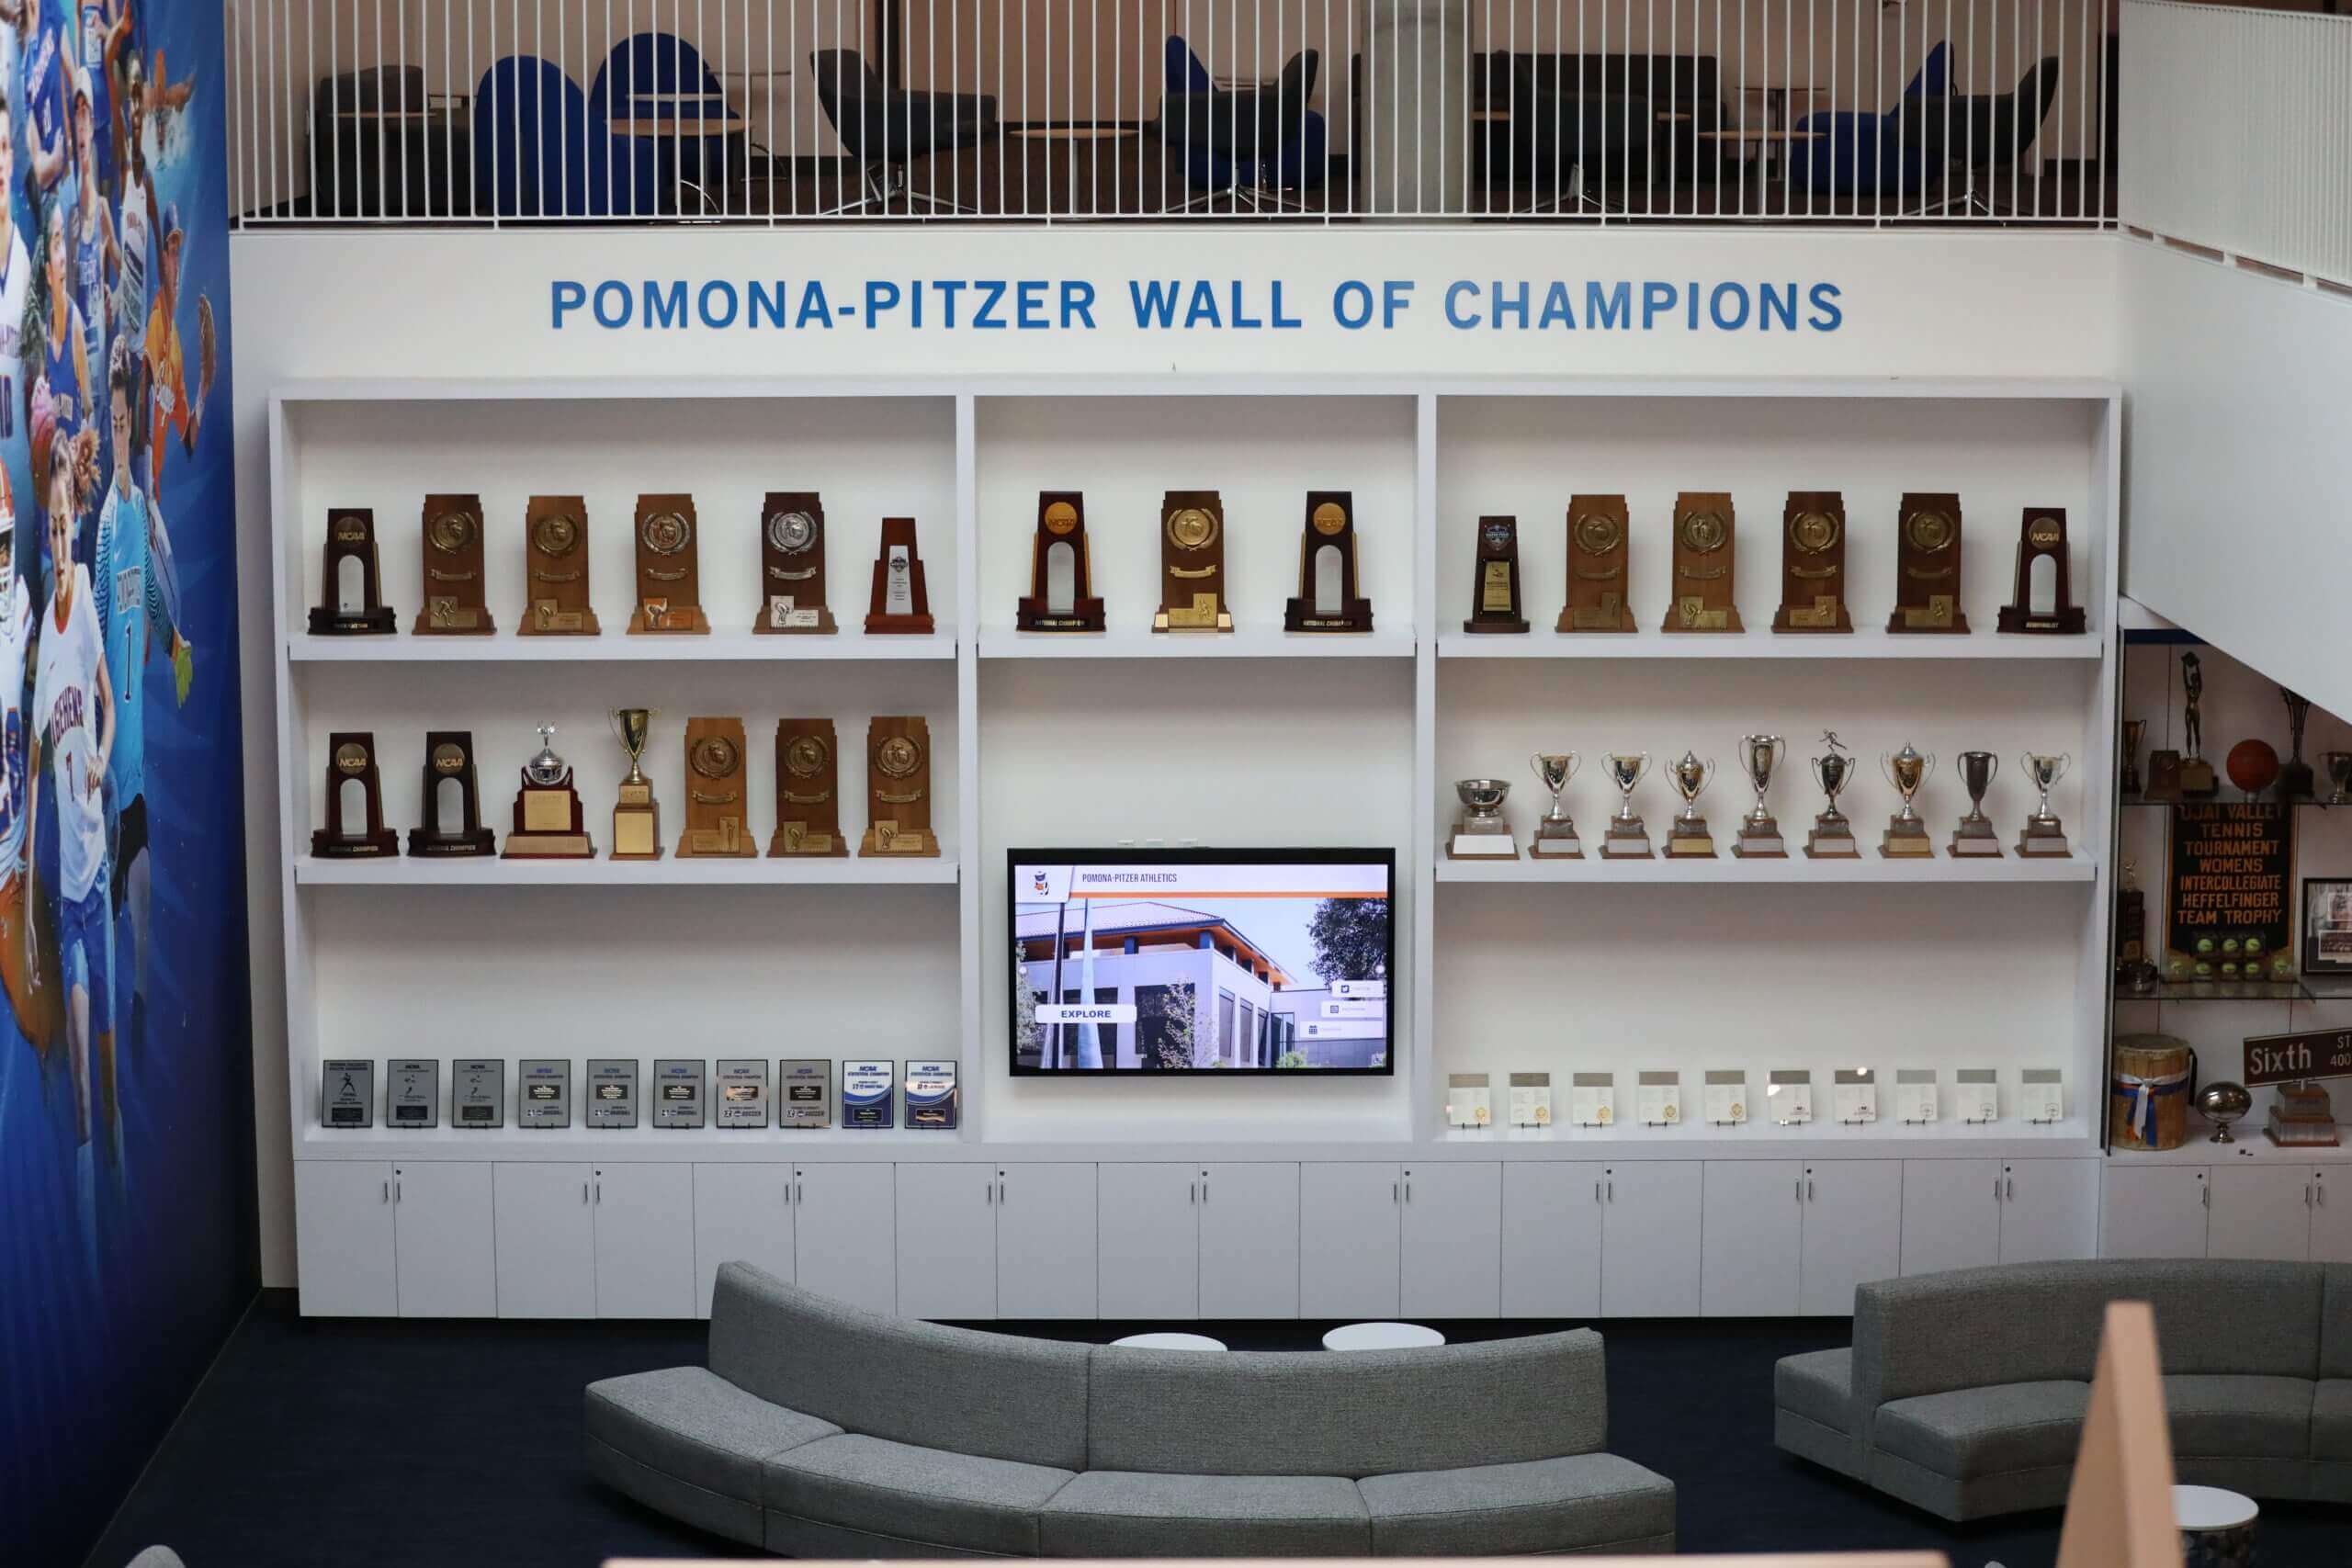
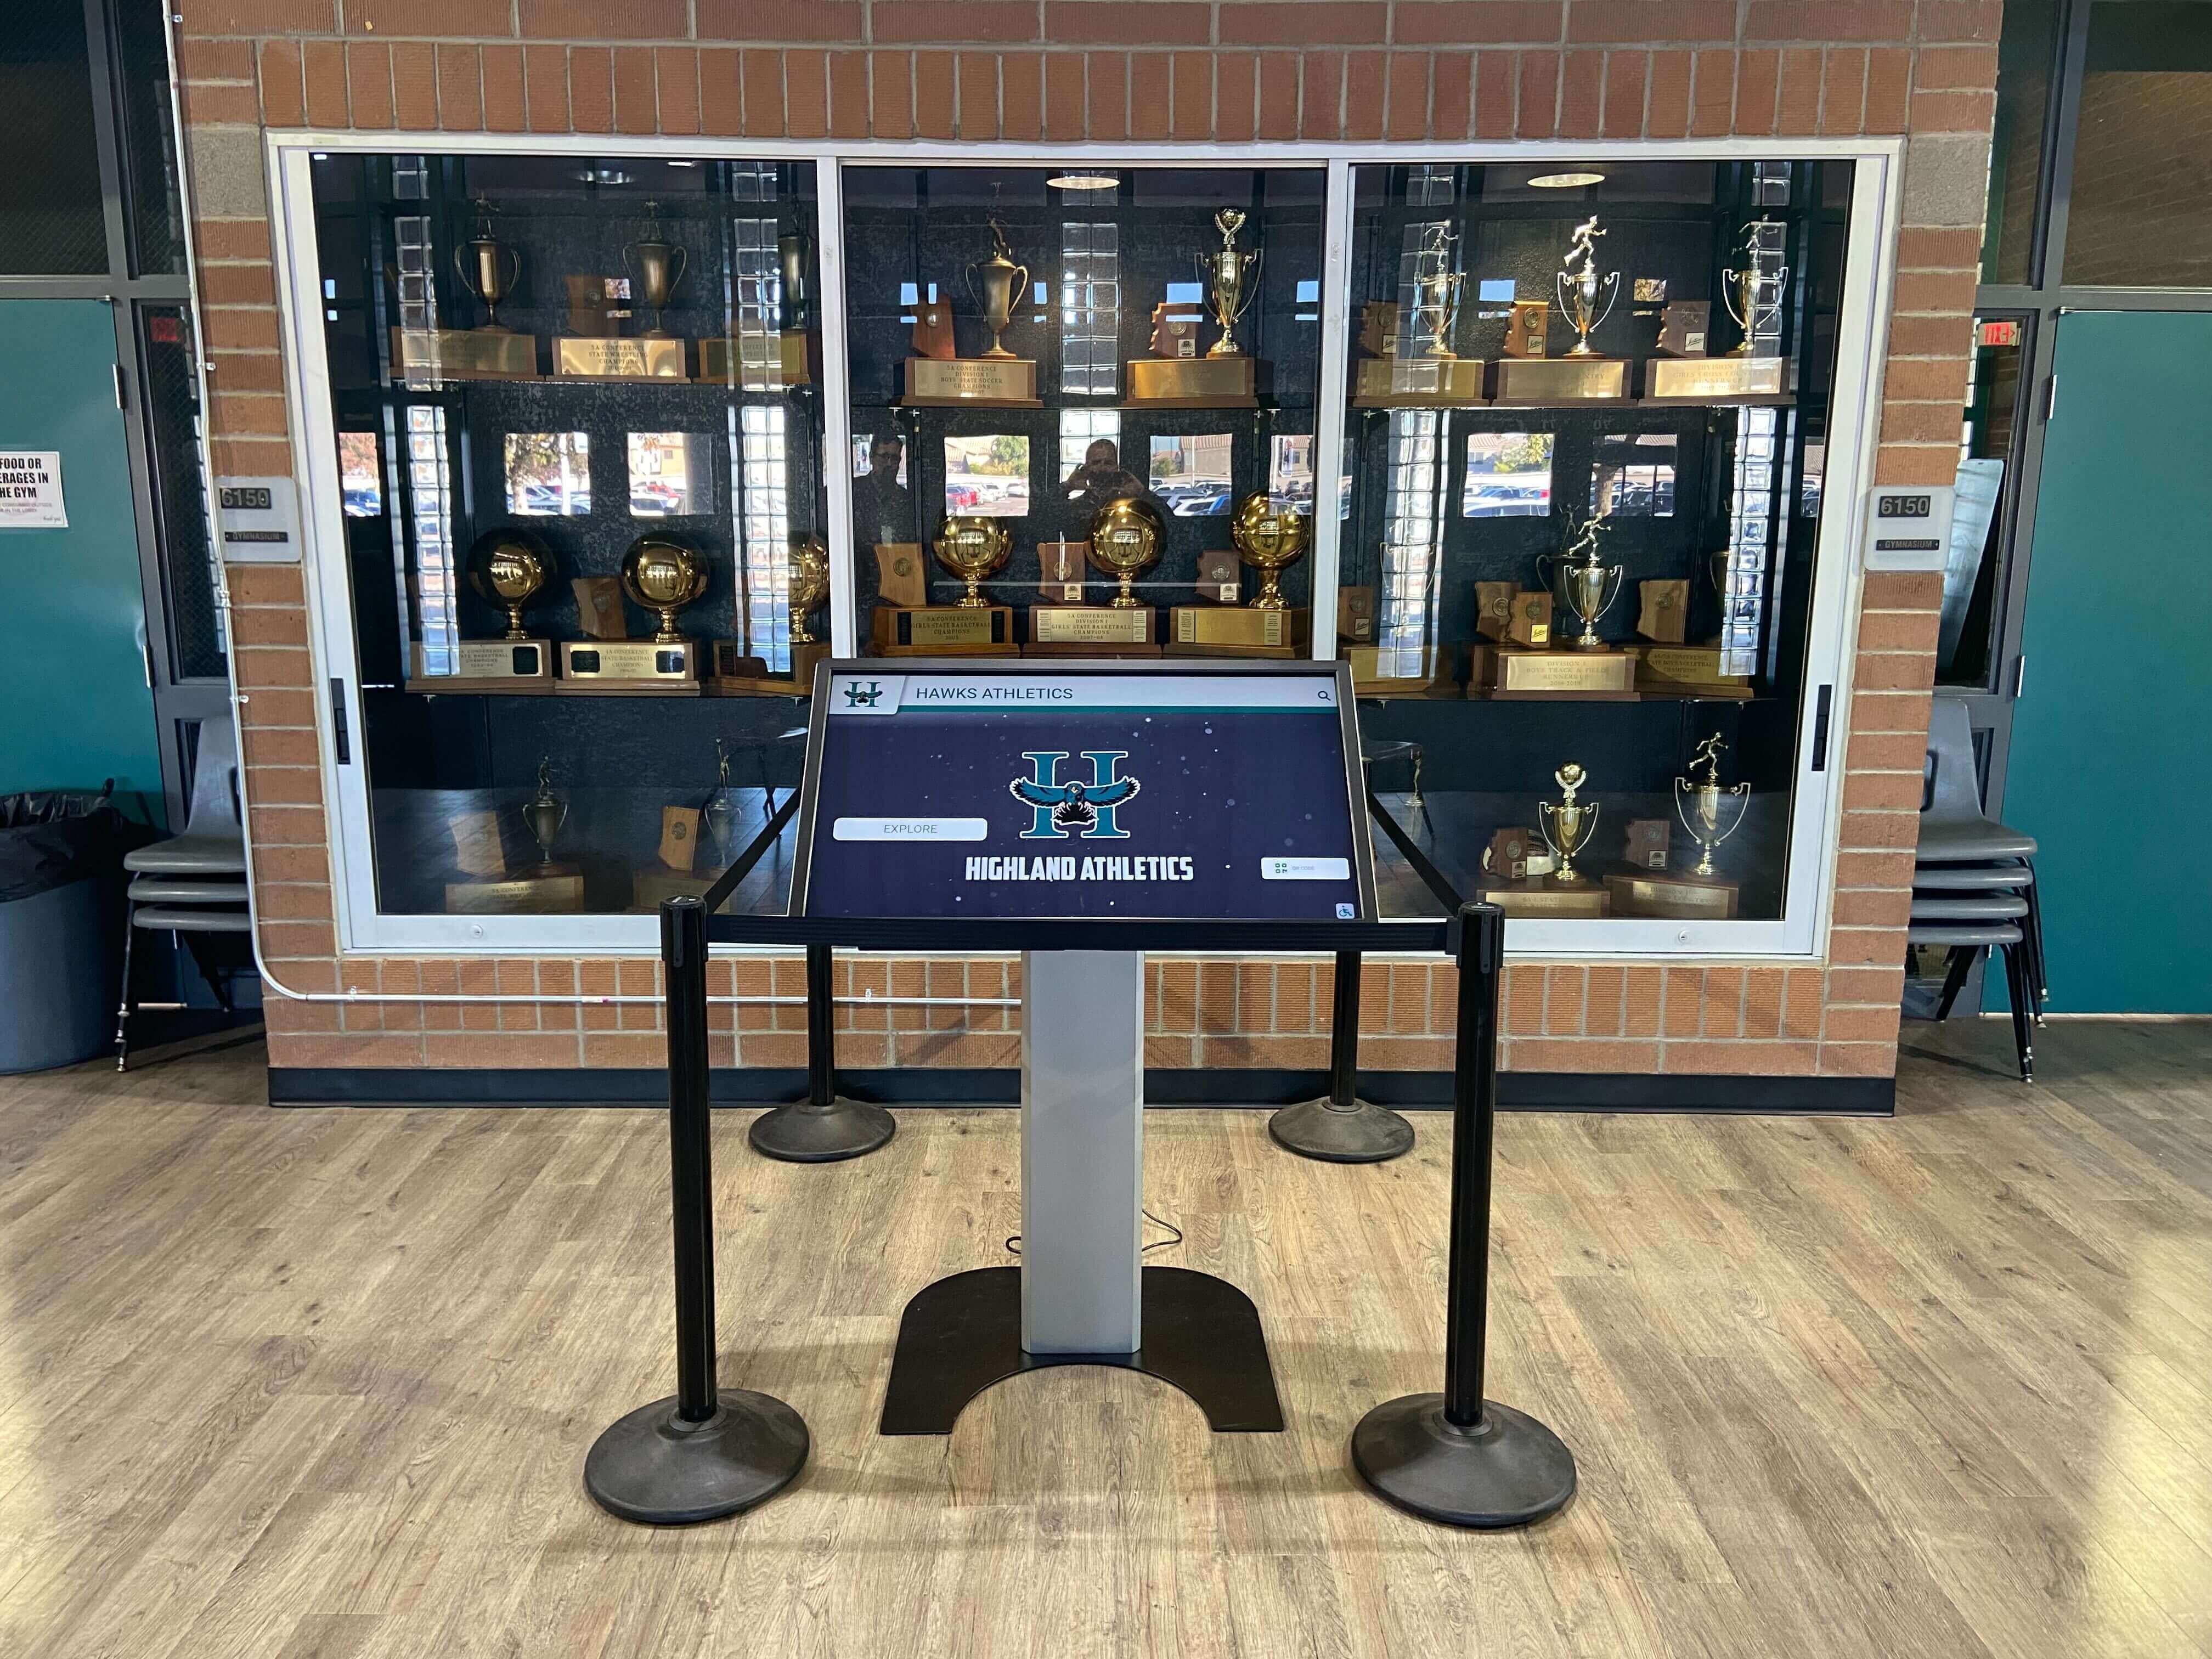
Multi-panel trophy displays require panel-by-panel inspection records — crazing often develops unevenly, with panels at hardware contact points or near climate equipment affected significantly earlier than adjacent panels
Panel Replacement Decision Guide
When crazing reaches Level 3 or above on the severity scale, the standard maintenance question is whether to replace the affected panel or evaluate the full case. The following guide provides a decision framework for that conversation.
| Decision Factor | Suggests Panel Replacement | Suggests Full Case Evaluation |
|---|---|---|
| Crazing severity | Level 3 in one or two panels; remaining panels at Level 1–2 | Level 3–4 across three or more panels; any panel at Level 5 |
| Panel age | Panels are fewer than 10 years old and within expected service life | Panels are over 15 years old or were installed with the original case |
| Cause identified and addressable | Chemical exposure identified; cleaning protocol being corrected | Cause is structural (case frame creates hardware stress that cannot be corrected without replacing the frame) |
| Case frame and hardware condition | Frame is in good condition; hardware is not corroded or structurally compromised | Frame shows corrosion, warping, or structural fatigue that makes precise panel seating unlikely |
| Case capacity and display needs | Current case meets display capacity needs for the collection | Case is at or over capacity and the school has awards, jerseys, or photographs that cannot be displayed due to space constraints |
| Replacement panel cost vs. case cost | Panel replacement costs are significantly below 50% of full case replacement | Panel replacement costs approach or exceed 50% of full case replacement — the economics favor case replacement |
| Digital display feasibility | School has evaluated and deferred digital display for non-budget reasons | Budget, staff capacity, and recognition goals align with a transition to an interactive touchscreen display that eliminates panel maintenance entirely |
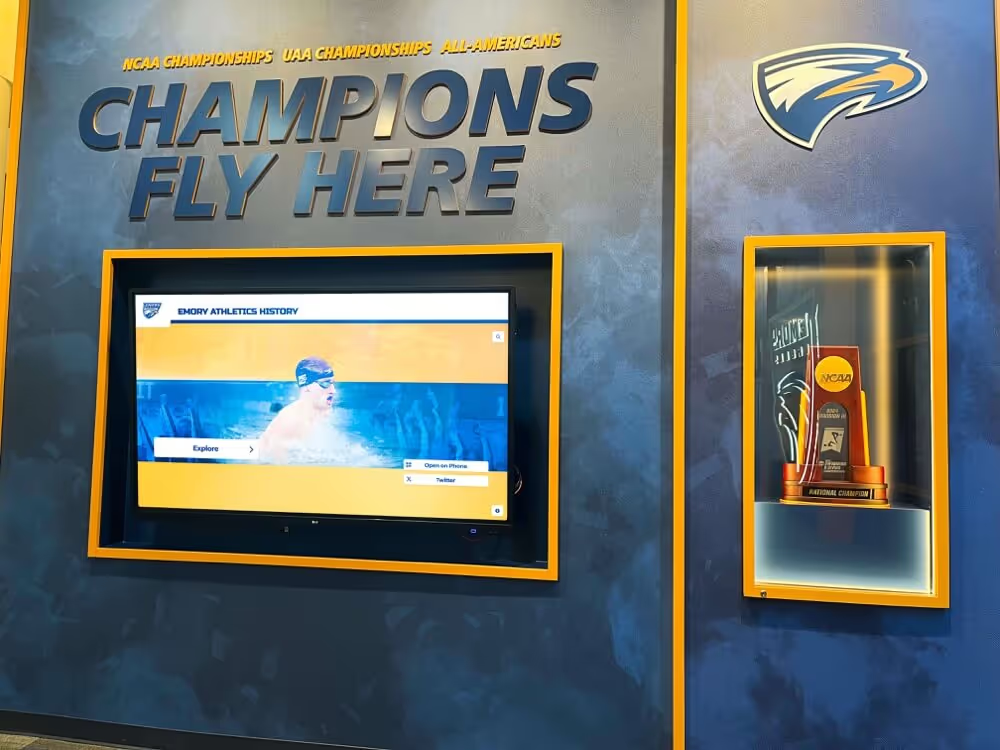
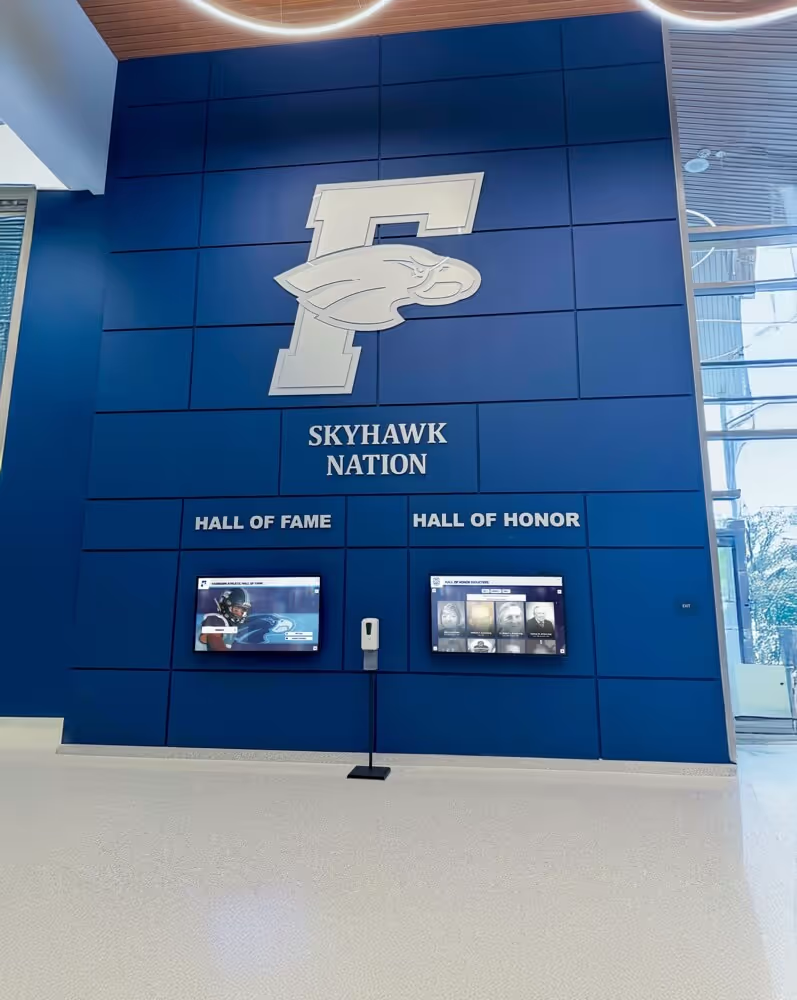
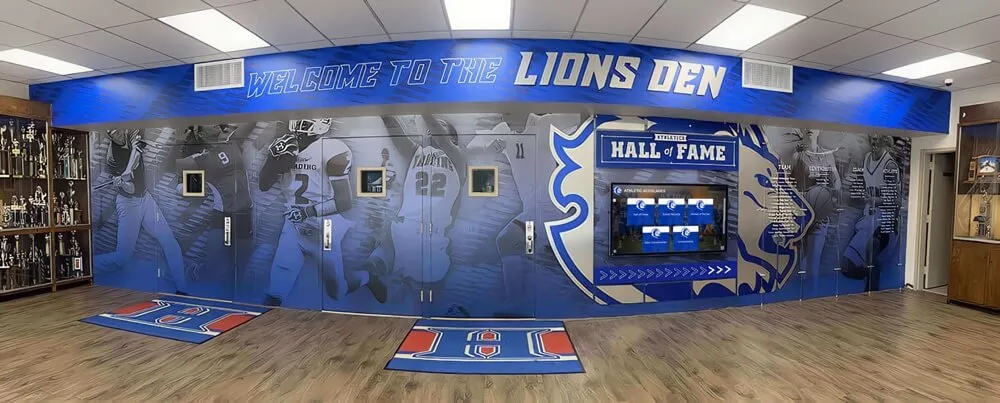
On the last factor: when crazing is widespread enough that multiple panel replacements are required, and when case age means additional panel failures are likely in the near term, this is the moment to ask whether a physical case at this stage of its service life continues to serve the school’s recognition goals — or whether a cloud-managed digital recognition display would better preserve the complete athletic archive without the recurring maintenance commitment.
Schools weighing physical case maintenance against digital alternatives will find that the comparison between medal and trophy display cabinets and digital archives surfaces practical questions about capacity, accessibility, and the long-term cost of panel materials that are worth addressing before committing to another panel replacement cycle.
Preventing Acrylic Crazing: Maintenance Practices That Extend Panel Life
Identifying crazing early through structured inspection is the most important single action. The following maintenance practices reduce the rate at which crazing develops:
Use only acrylic-safe cleaning products: Replace any glass cleaner, alcohol spray, or solvent-based product from the trophy case cleaning kit with a product specifically labeled for acrylic or plastic surfaces. The substitution is low-cost and eliminates the single most common cause of chemical crazing.
Clean with microfiber only: Paper towels, rough cloths, and most commercial cleaning towels abrade acrylic surfaces and introduce the micro-scratches that can initiate crazing under stress. Store a dedicated soft microfiber cloth with each trophy case or in the nearest janitorial station.
Apply plastic polish to bare acrylic surfaces, not crazed sections: Where a panel has only minor surface scratches and no crazing, periodic application of a plastic-specific polish (not rubbing compound, which is too aggressive) maintains surface clarity and creates a thin protective layer. This practice does not prevent crazing but does make early visual indicators easier to detect by eliminating surface haze from other sources.
Reposition items that press against panels: Trophy bases, award plaques, and photograph mounts that press against the interior panel surface create sustained point stress. Add thin felt bumpers or foam spacers to create clearance between display items and the panel inner surface at contact points.
Check hardware torque annually: Confirm that panel mounting screws, frame clamps, and door hardware are tight enough to secure the panel but not so tight that the acrylic at the fastener is under visible stress. If stress whitening exists at any fastener, back off the hardware torque incrementally and recheck.
Document condensation events: Condensation inside the case indicates a humidity management issue that also creates stress on acrylic through repeated moisture exposure. Addressing the condensation source protects both the display items and the panels. Trophy case condensation prevention covers the specific conditions that produce interior moisture — an issue that is both independent from and related to acrylic crazing risk.
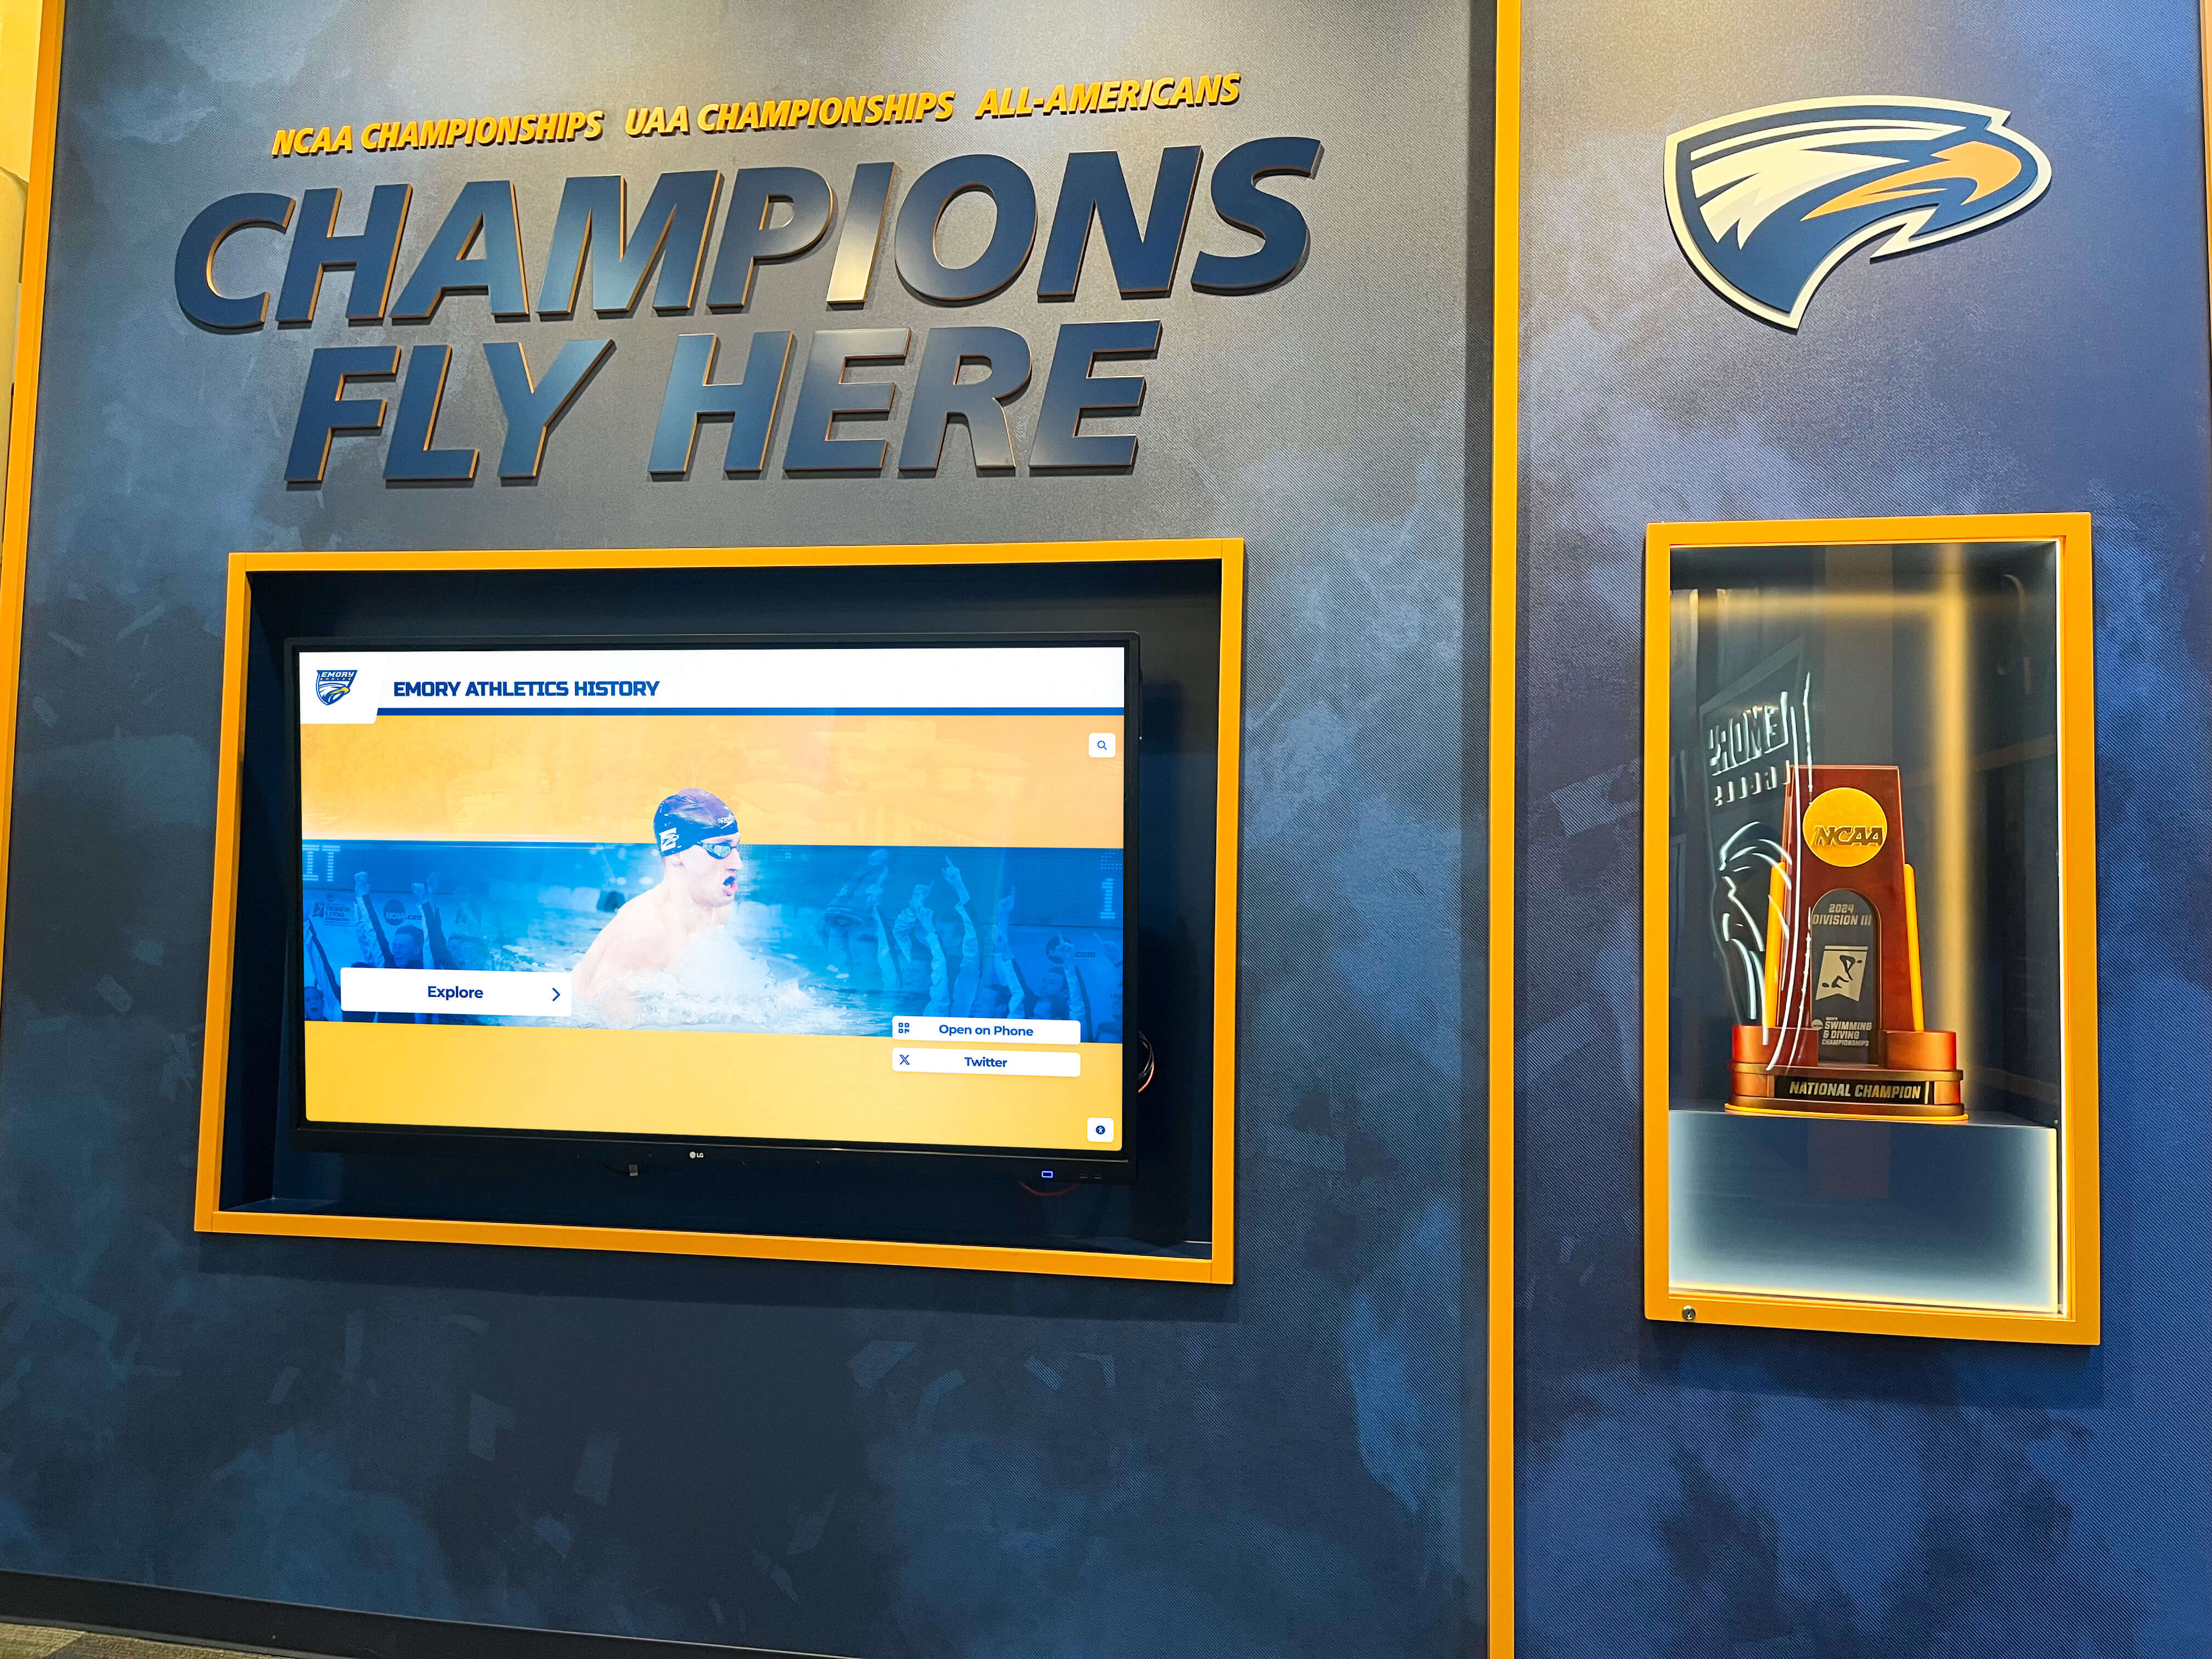
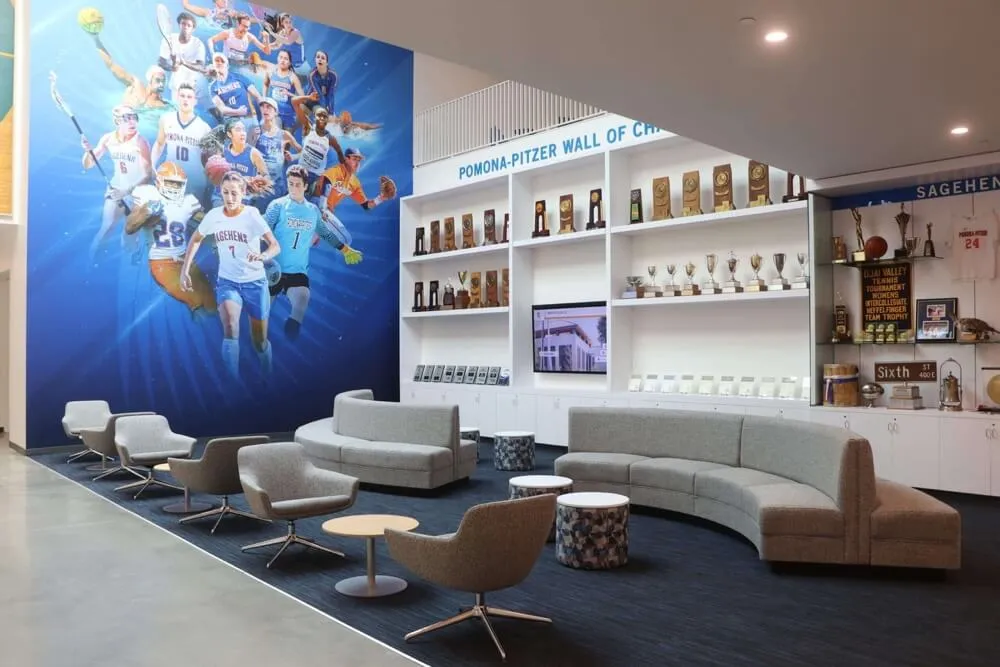
Championship hardware collections that accumulate over decades require equally durable display infrastructure — acrylic panel crazing inspections are part of that maintenance commitment
Frequently Asked Questions
Q: What does acrylic crazing look like, and how is it different from cloudiness or haze?
A: Acrylic crazing presents as a network of fine cracks — either a spider web cluster, parallel lines, or diffuse micro-fractures visible as white or milky areas — rather than a uniform cloudiness. The key distinction test is lighting: haze from surface contamination appears similar under all lighting conditions and typically transfers partially to a cleaning cloth. Crazing becomes dramatically more visible under raking light or backlighting while remaining nearly invisible under flat overhead light. If an apparent haze becomes a clear fracture pattern under a low-angle flashlight or does not change when you apply a dry cloth, crazing is the likely cause.
Q: Can acrylic crazing be polished away?
A: No. Polishing can address surface scratches on acrylic panels, but crazing involves subsurface fractures that compound or polish does not reach. Applying mechanical polish pressure to a crazed panel risks propagating existing fracture lines. If a panel shows crazing indicators, polishing should not be attempted on the affected area. The appropriate response to confirmed crazing is to remove contributing stress sources, monitor progression, and plan for panel replacement once the severity rating warrants it.
Q: Are some acrylic panels more resistant to crazing than others?
A: Yes. Cast acrylic is generally more crazing-resistant than extruded acrylic, and UV-stabilized acrylic performs better in environments with significant natural light exposure. Panel thickness also matters — thinner panels flex more under point loads and are more susceptible to thermal-cycling stress. When replacing panels, specifying the appropriate grade of cast, UV-stabilized acrylic for the case’s installation environment reduces the rate at which crazing will develop in the replacement.
Q: How do I document crazing findings so a contractor can provide an accurate replacement estimate?
A: Photograph each crazed panel under three conditions — normal light, raking light, and backlight — and include a ruler or familiar object in at least one photograph to establish scale. Record the panel’s physical dimensions, the case manufacturer if known, and whether the panel is secured in a standard frame or uses adhesive, screws, or clips. Note which panel quadrants are affected and the severity level from the checklist. A contractor who receives this documentation in advance can provide a more accurate estimate and arrive prepared with the correct panel material and dimensions.
Q: Does acrylic crazing affect the display items inside the case?
A: Not directly — crazing is a panel condition, not a display item condition. The indirect risk is that a crazed panel approaching Level 4–5 can fracture under routine handling, and the resulting breakage may contact or dislodge items immediately below or behind the panel. For this reason, the Level 4 response in this guide specifies removing display items adjacent to the affected panel rather than waiting for the panel to fail in service. Championship trophies, retired jerseys, and signed memorabilia that cannot be replaced are worth the temporary inconvenience of relocation while the panel is serviced.
Q: How does Rocket Alumni Solutions’ digital trophy case platform relate to physical acrylic panel maintenance?
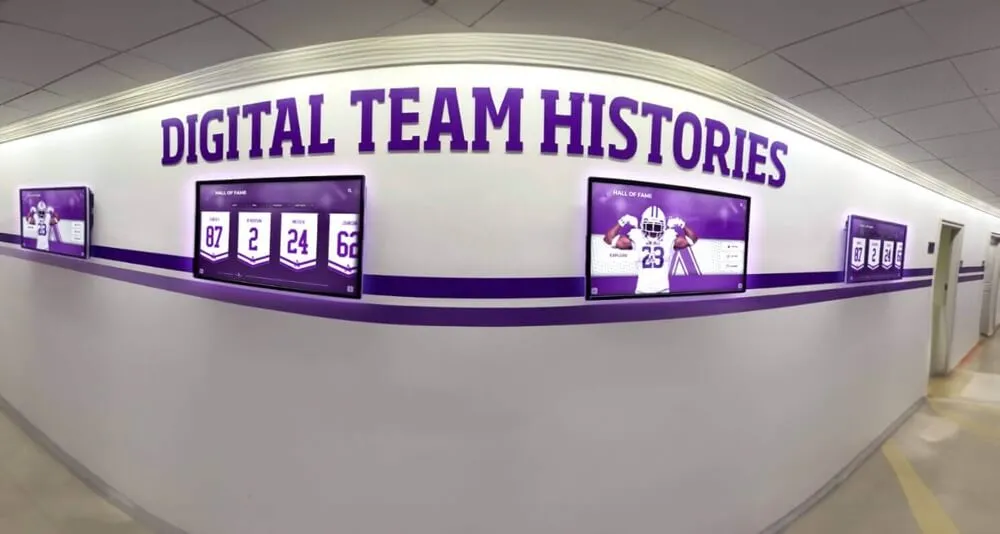
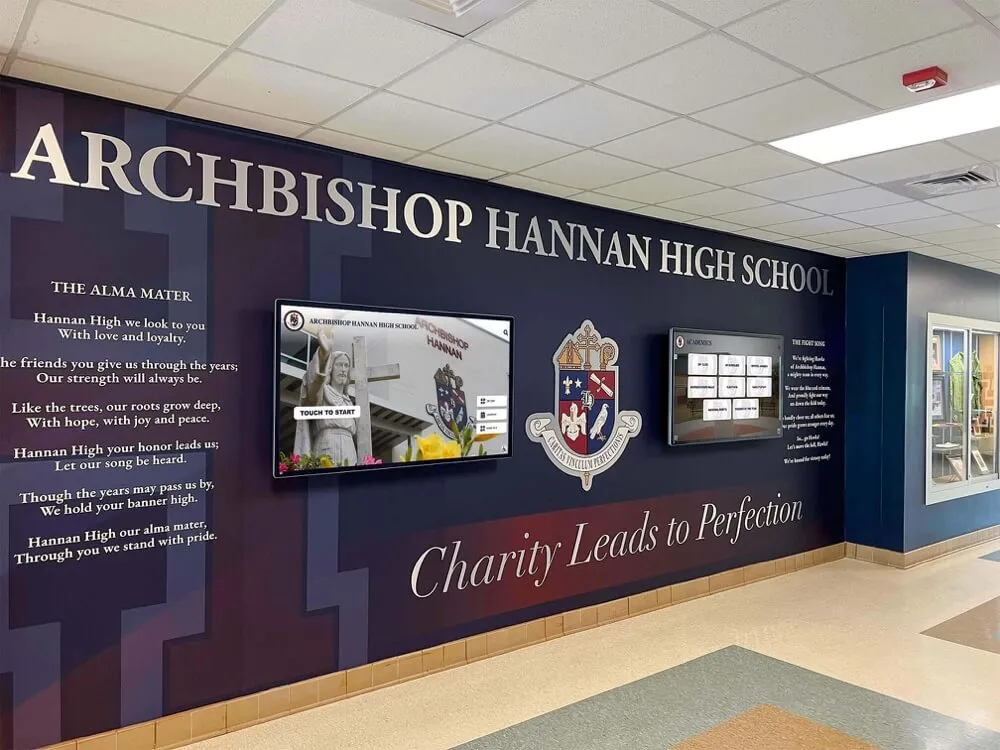
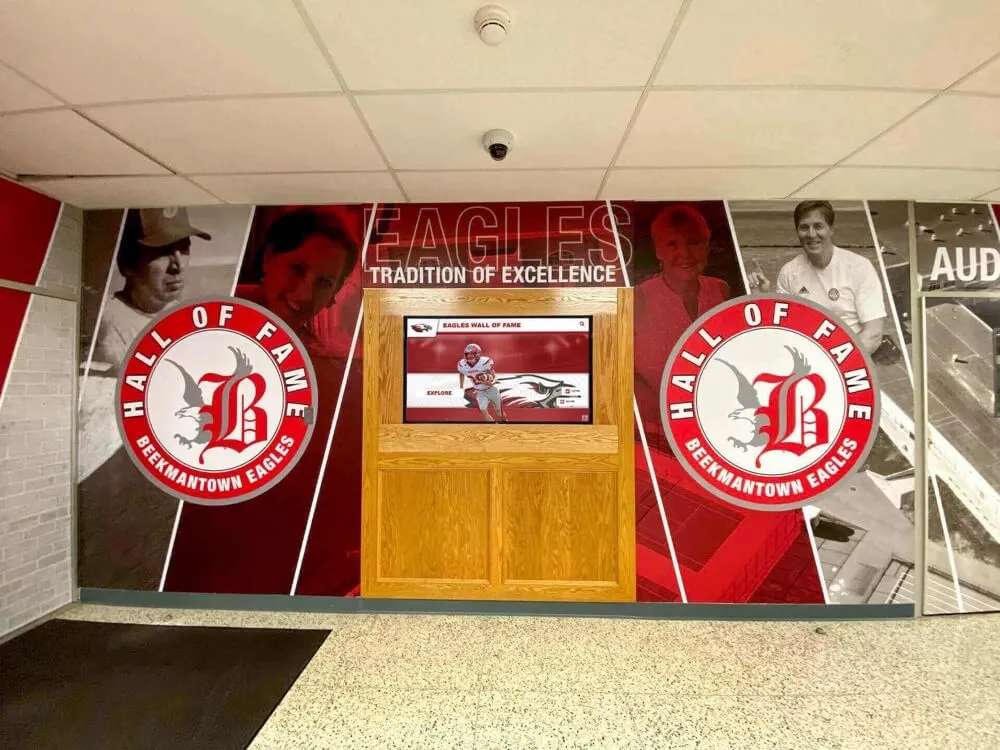
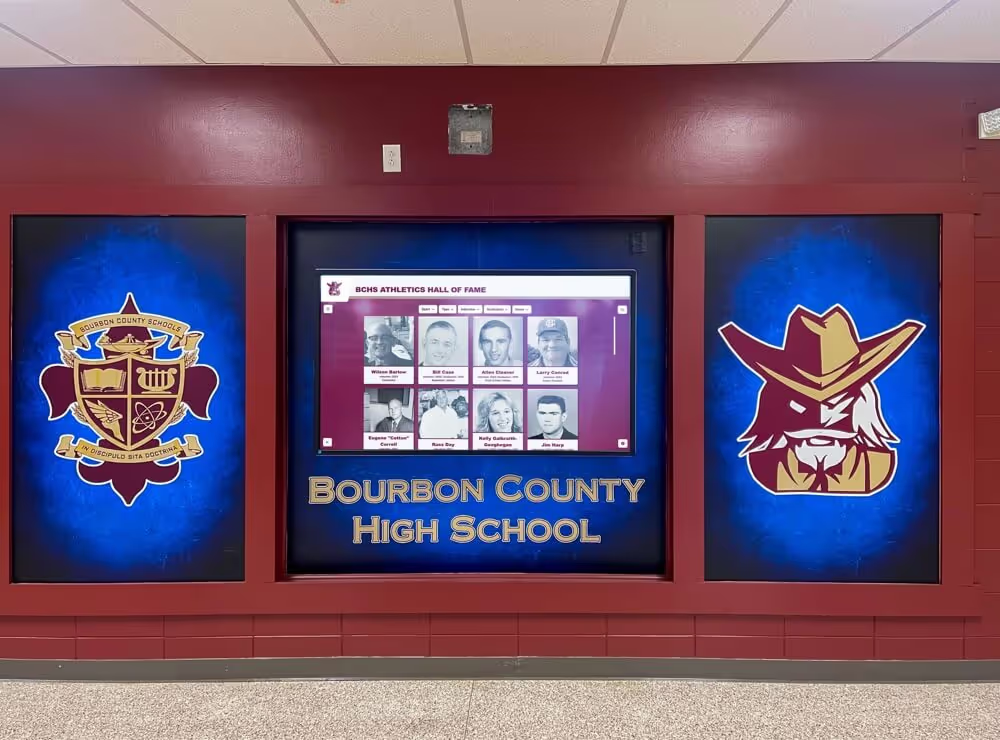
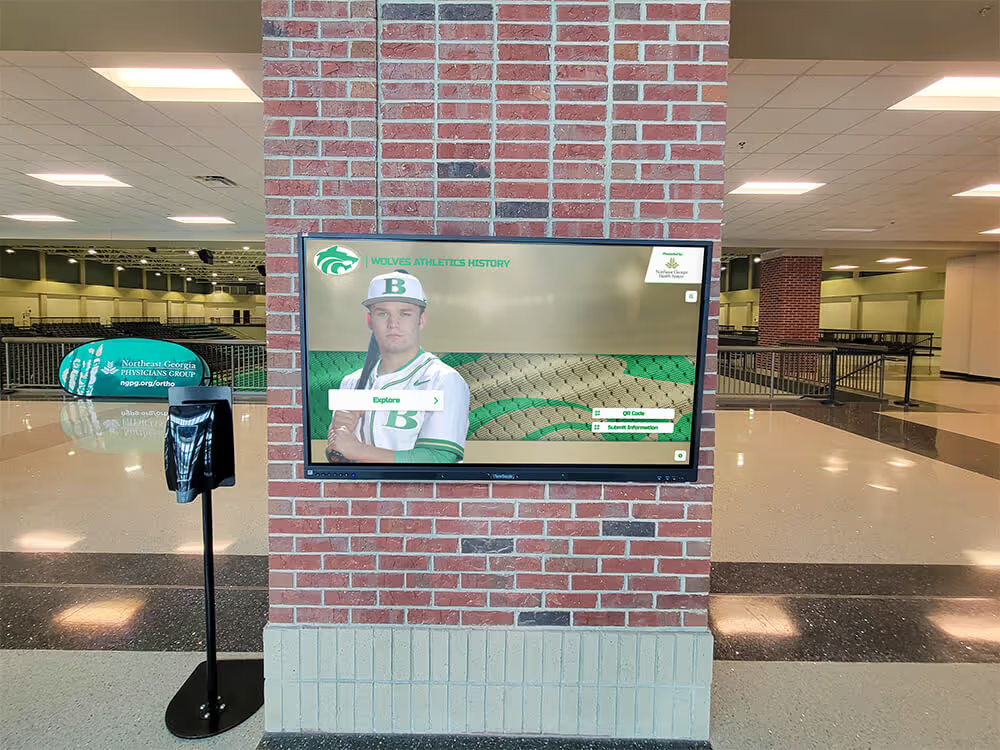
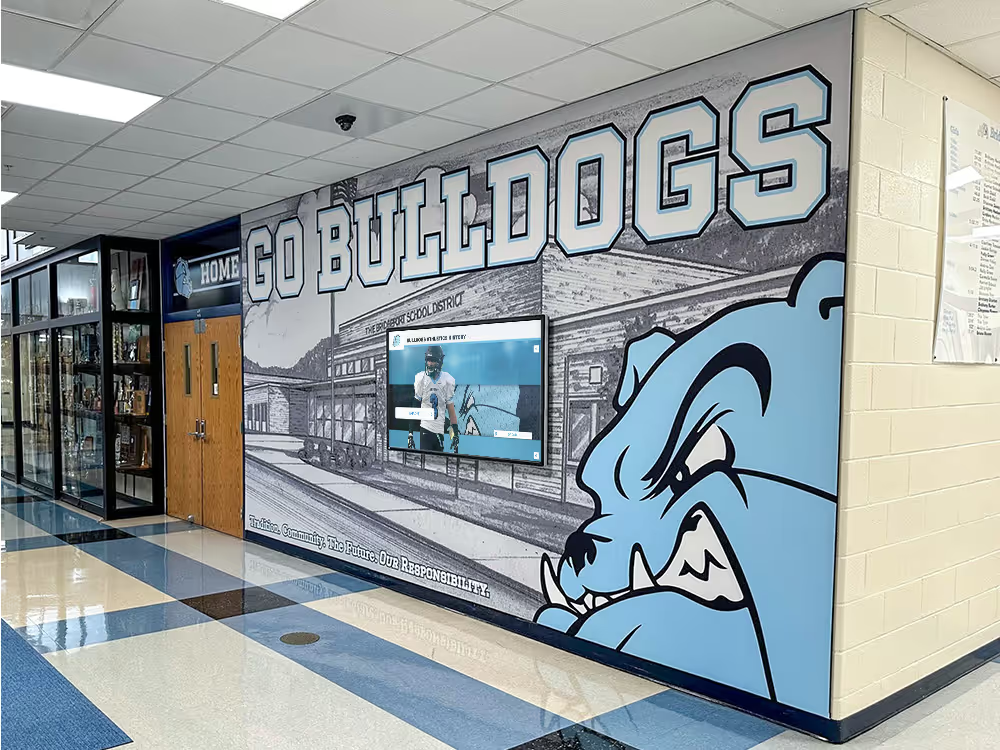
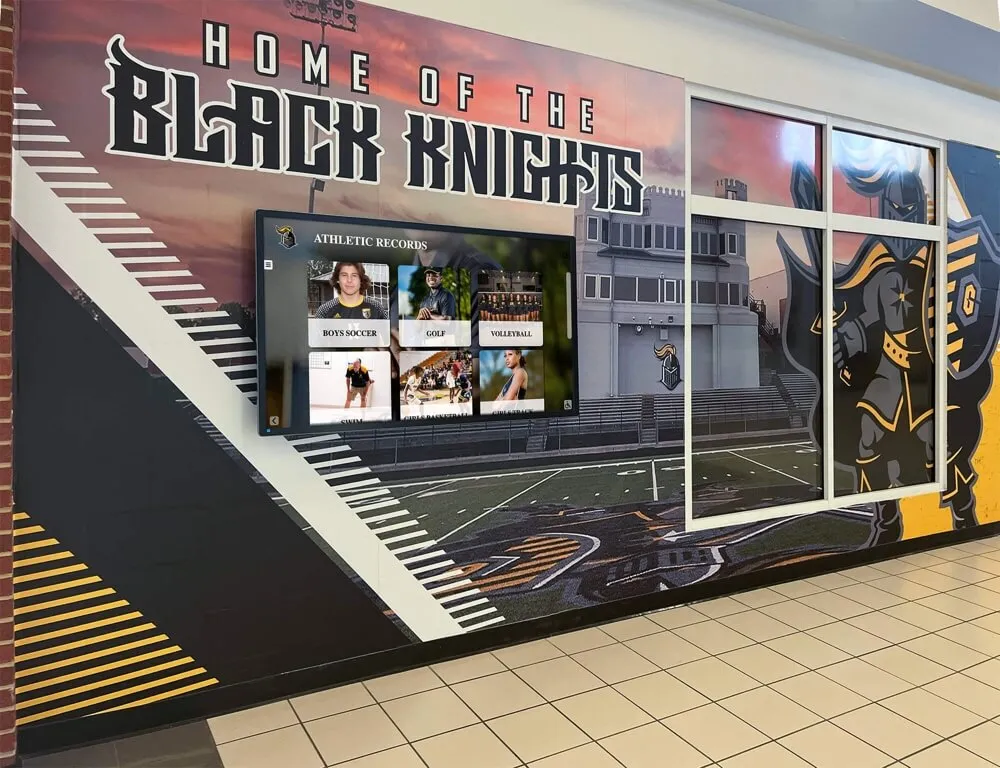
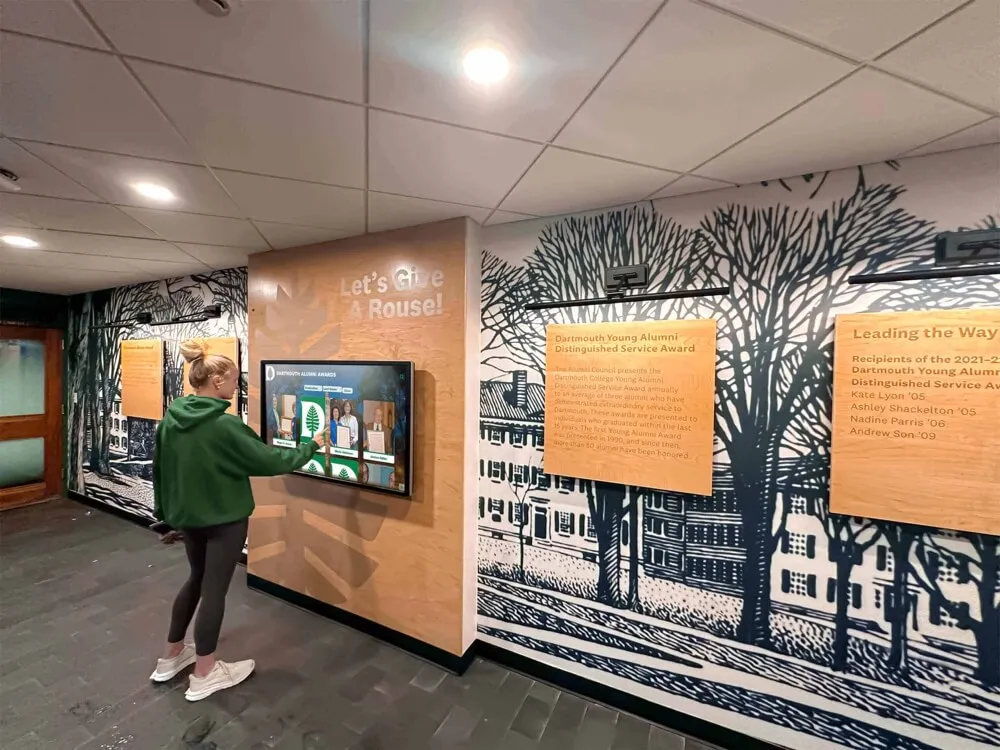
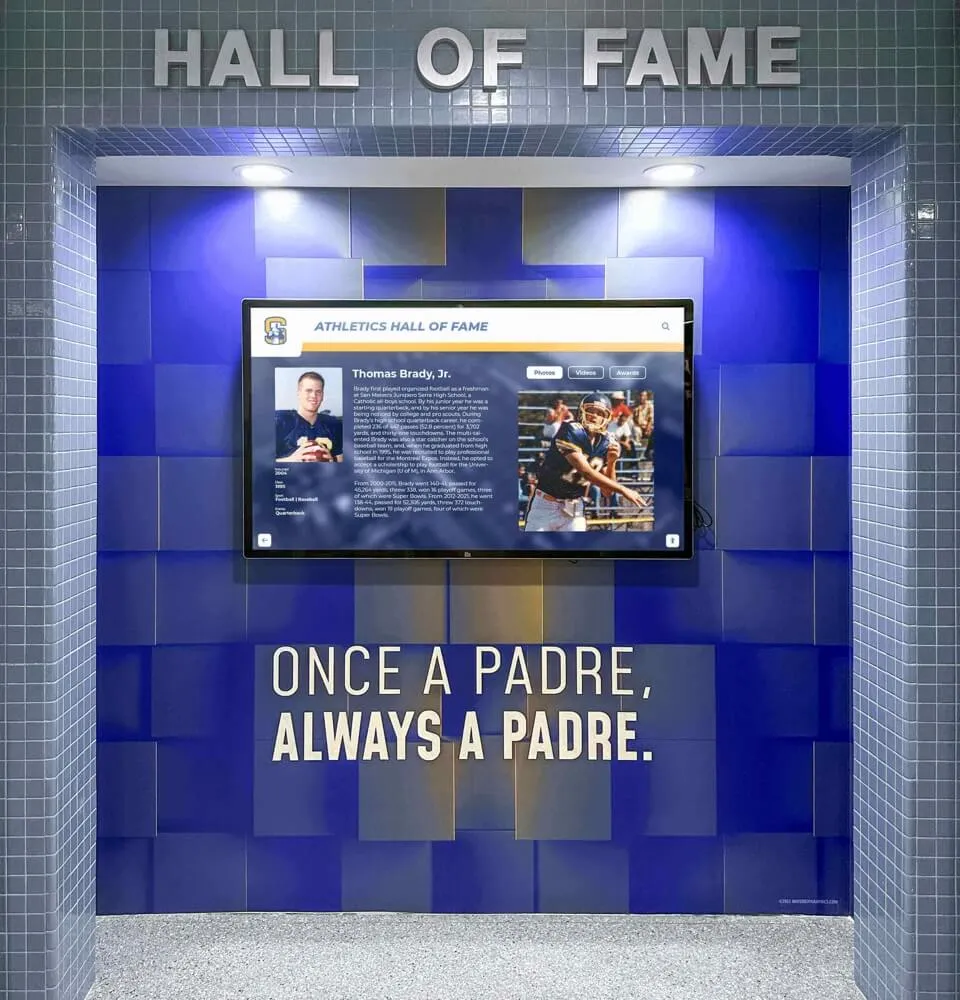
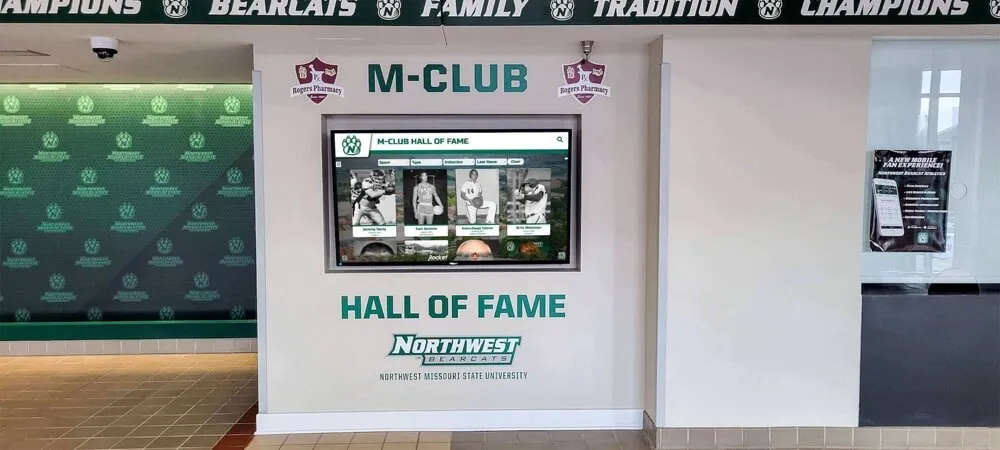
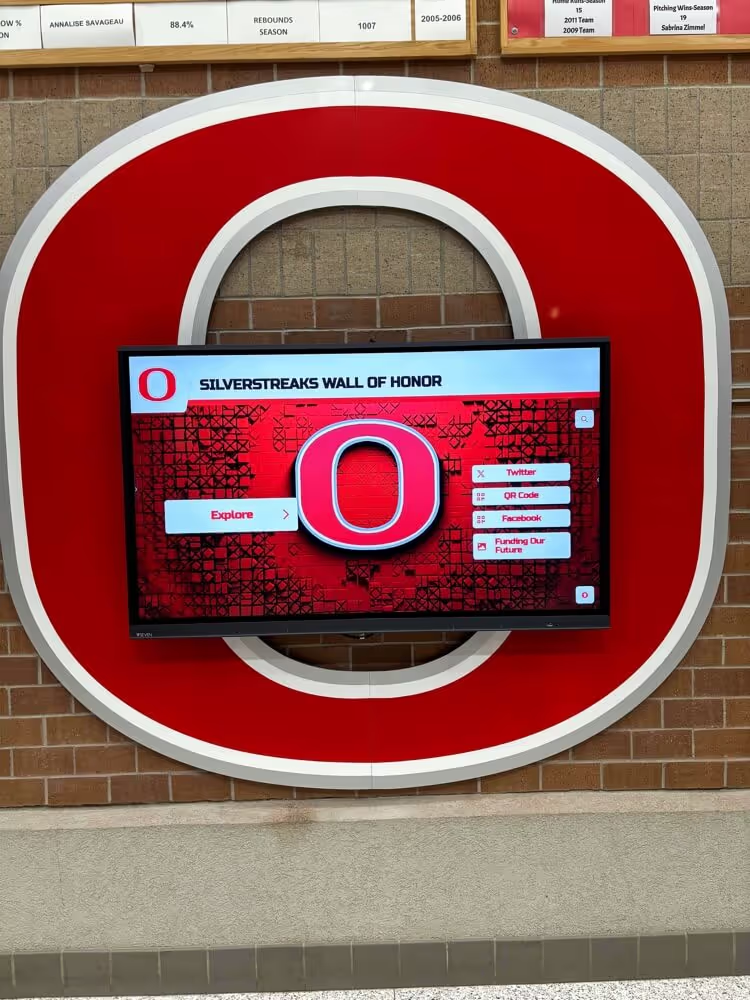
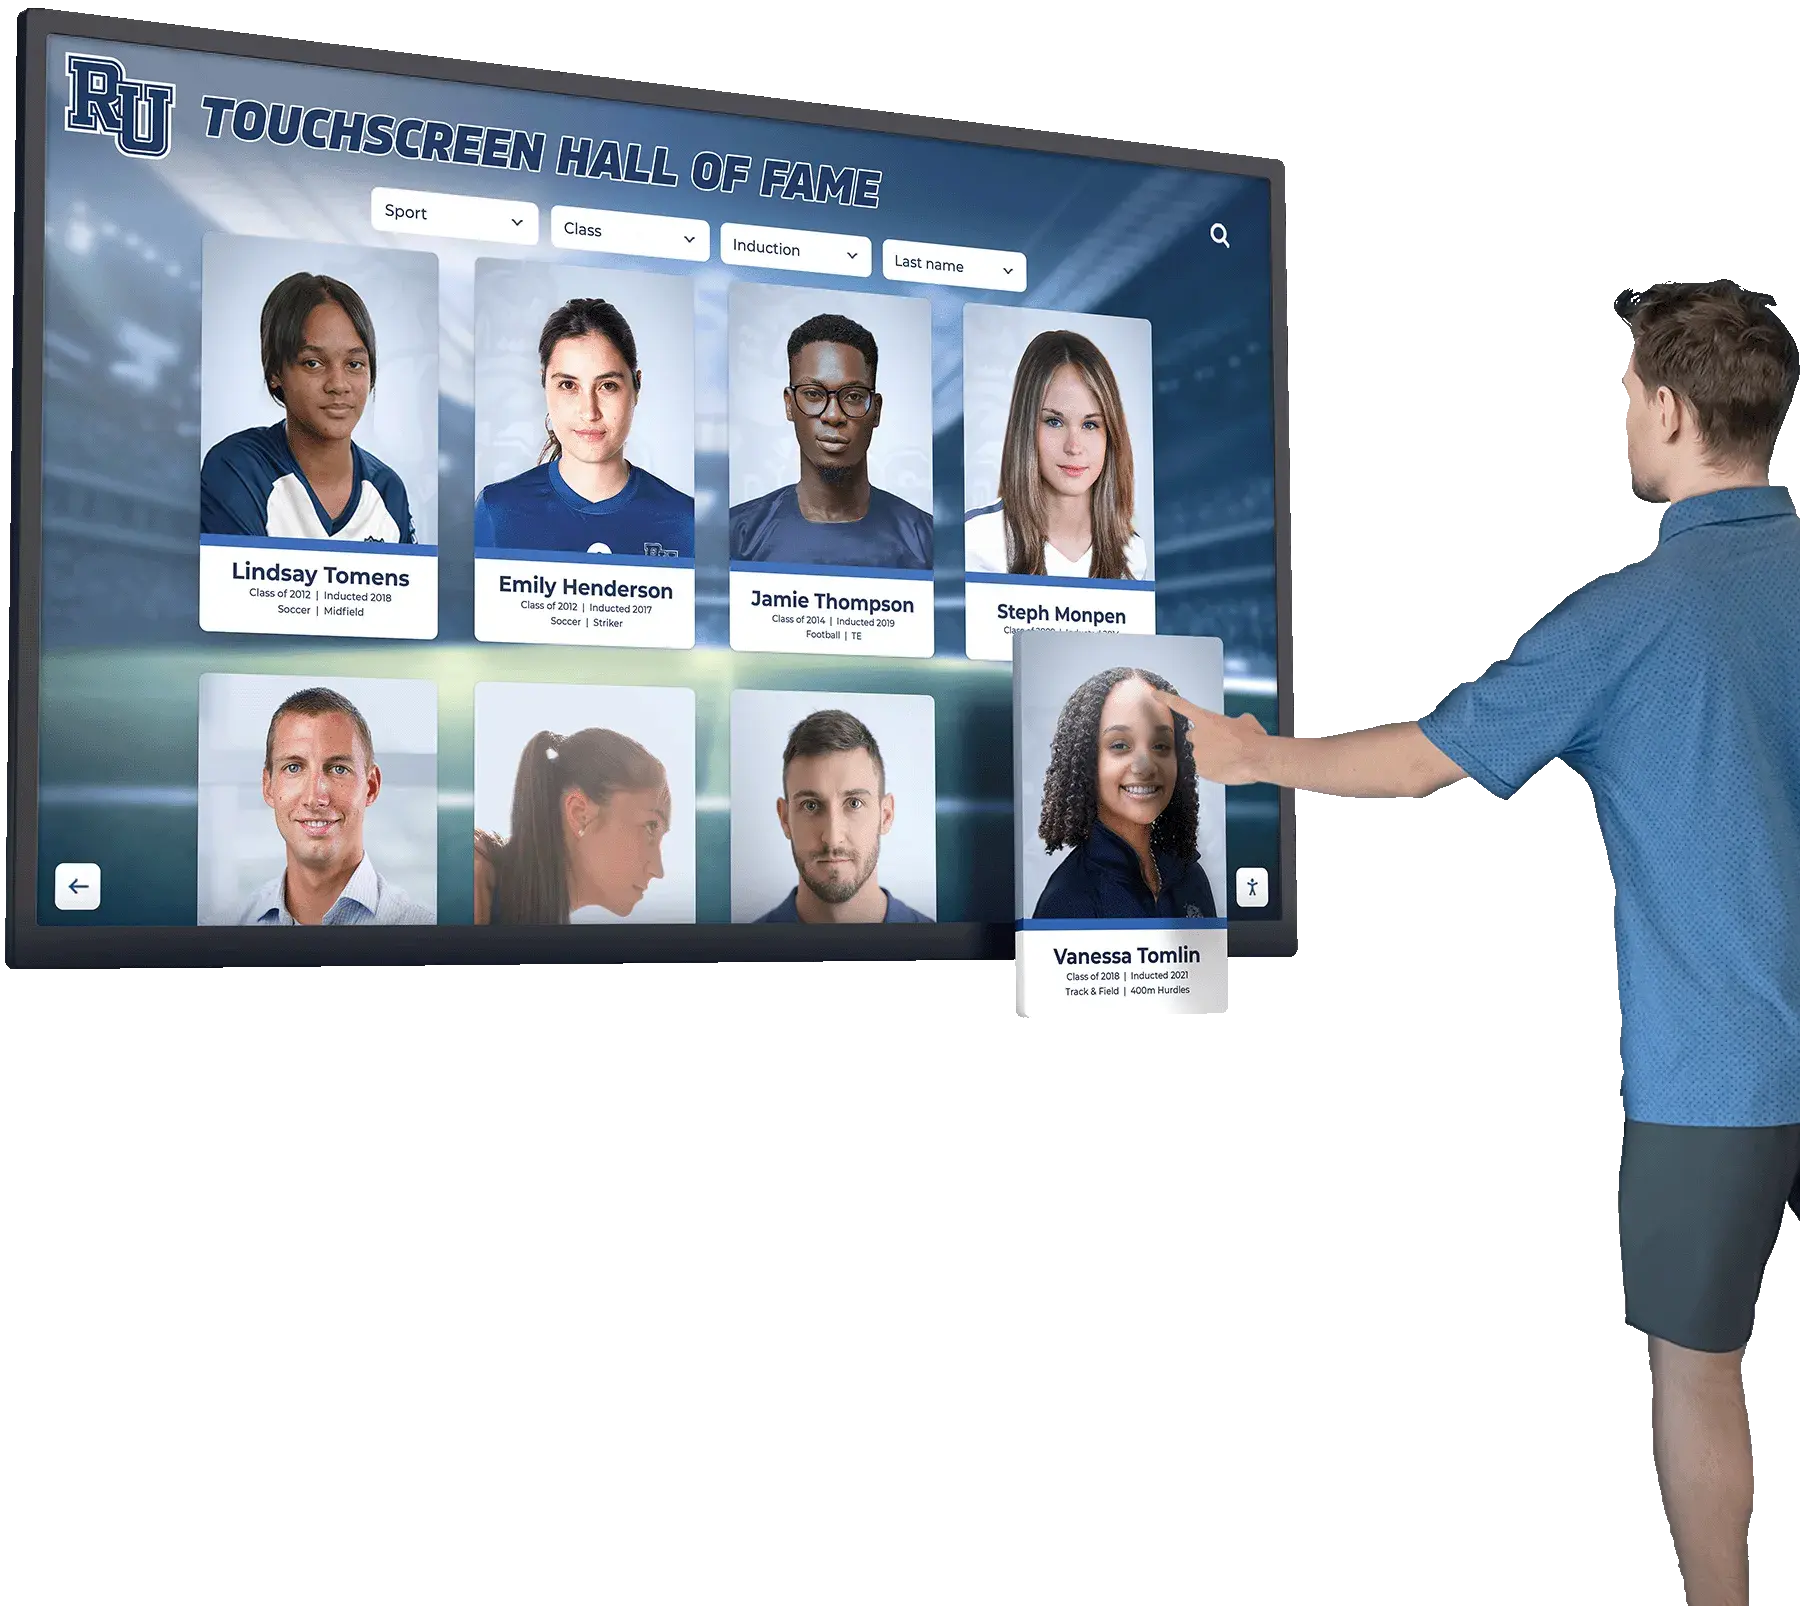
A: Rocket Alumni Solutions’ interactive touchscreen displays present a school’s complete championship history, athletic records, retired jerseys, and recognition milestones on cloud-managed screens that do not degrade, crack, or caze — eliminating acrylic panel maintenance as an ongoing facilities responsibility. Schools using the platform can maintain the physical cases they choose to keep while expanding their full recognition archive to a format accessible to students, families, and alumni anywhere via QR code. The platform updates remotely via cloud CMS without IT tickets, is ADA WCAG 2.1 AA compliant, and supports unlimited entries without the space constraints of physical cases. Comparing digital hall-of-fame and traditional trophy case approaches helps schools understand where each format performs best and how the two can be used together.
Connecting Crazing Inspections to Your Broader Recognition Infrastructure
An acrylic crazing inspection checklist answers a specific physical question: is this panel in safe, presentable condition for the awards and memorabilia it holds? That question sits within a broader one that every school recognition team faces eventually: how do we maintain the integrity of a physical collection that grows every year while the cases housing it age and their maintenance demands accumulate?
Physical trophy cases offer a permanence and tangibility that many schools rightly value. The trophies that students see in the main lobby hallway connect current athletes to the teams that came before them in a direct, physical way that a screen cannot fully replicate. But that value depends on the display being in good condition — a trophy obscured by crazed, whitened, or fractured acrylic is not serving the recognition purpose it was placed there to fulfill.
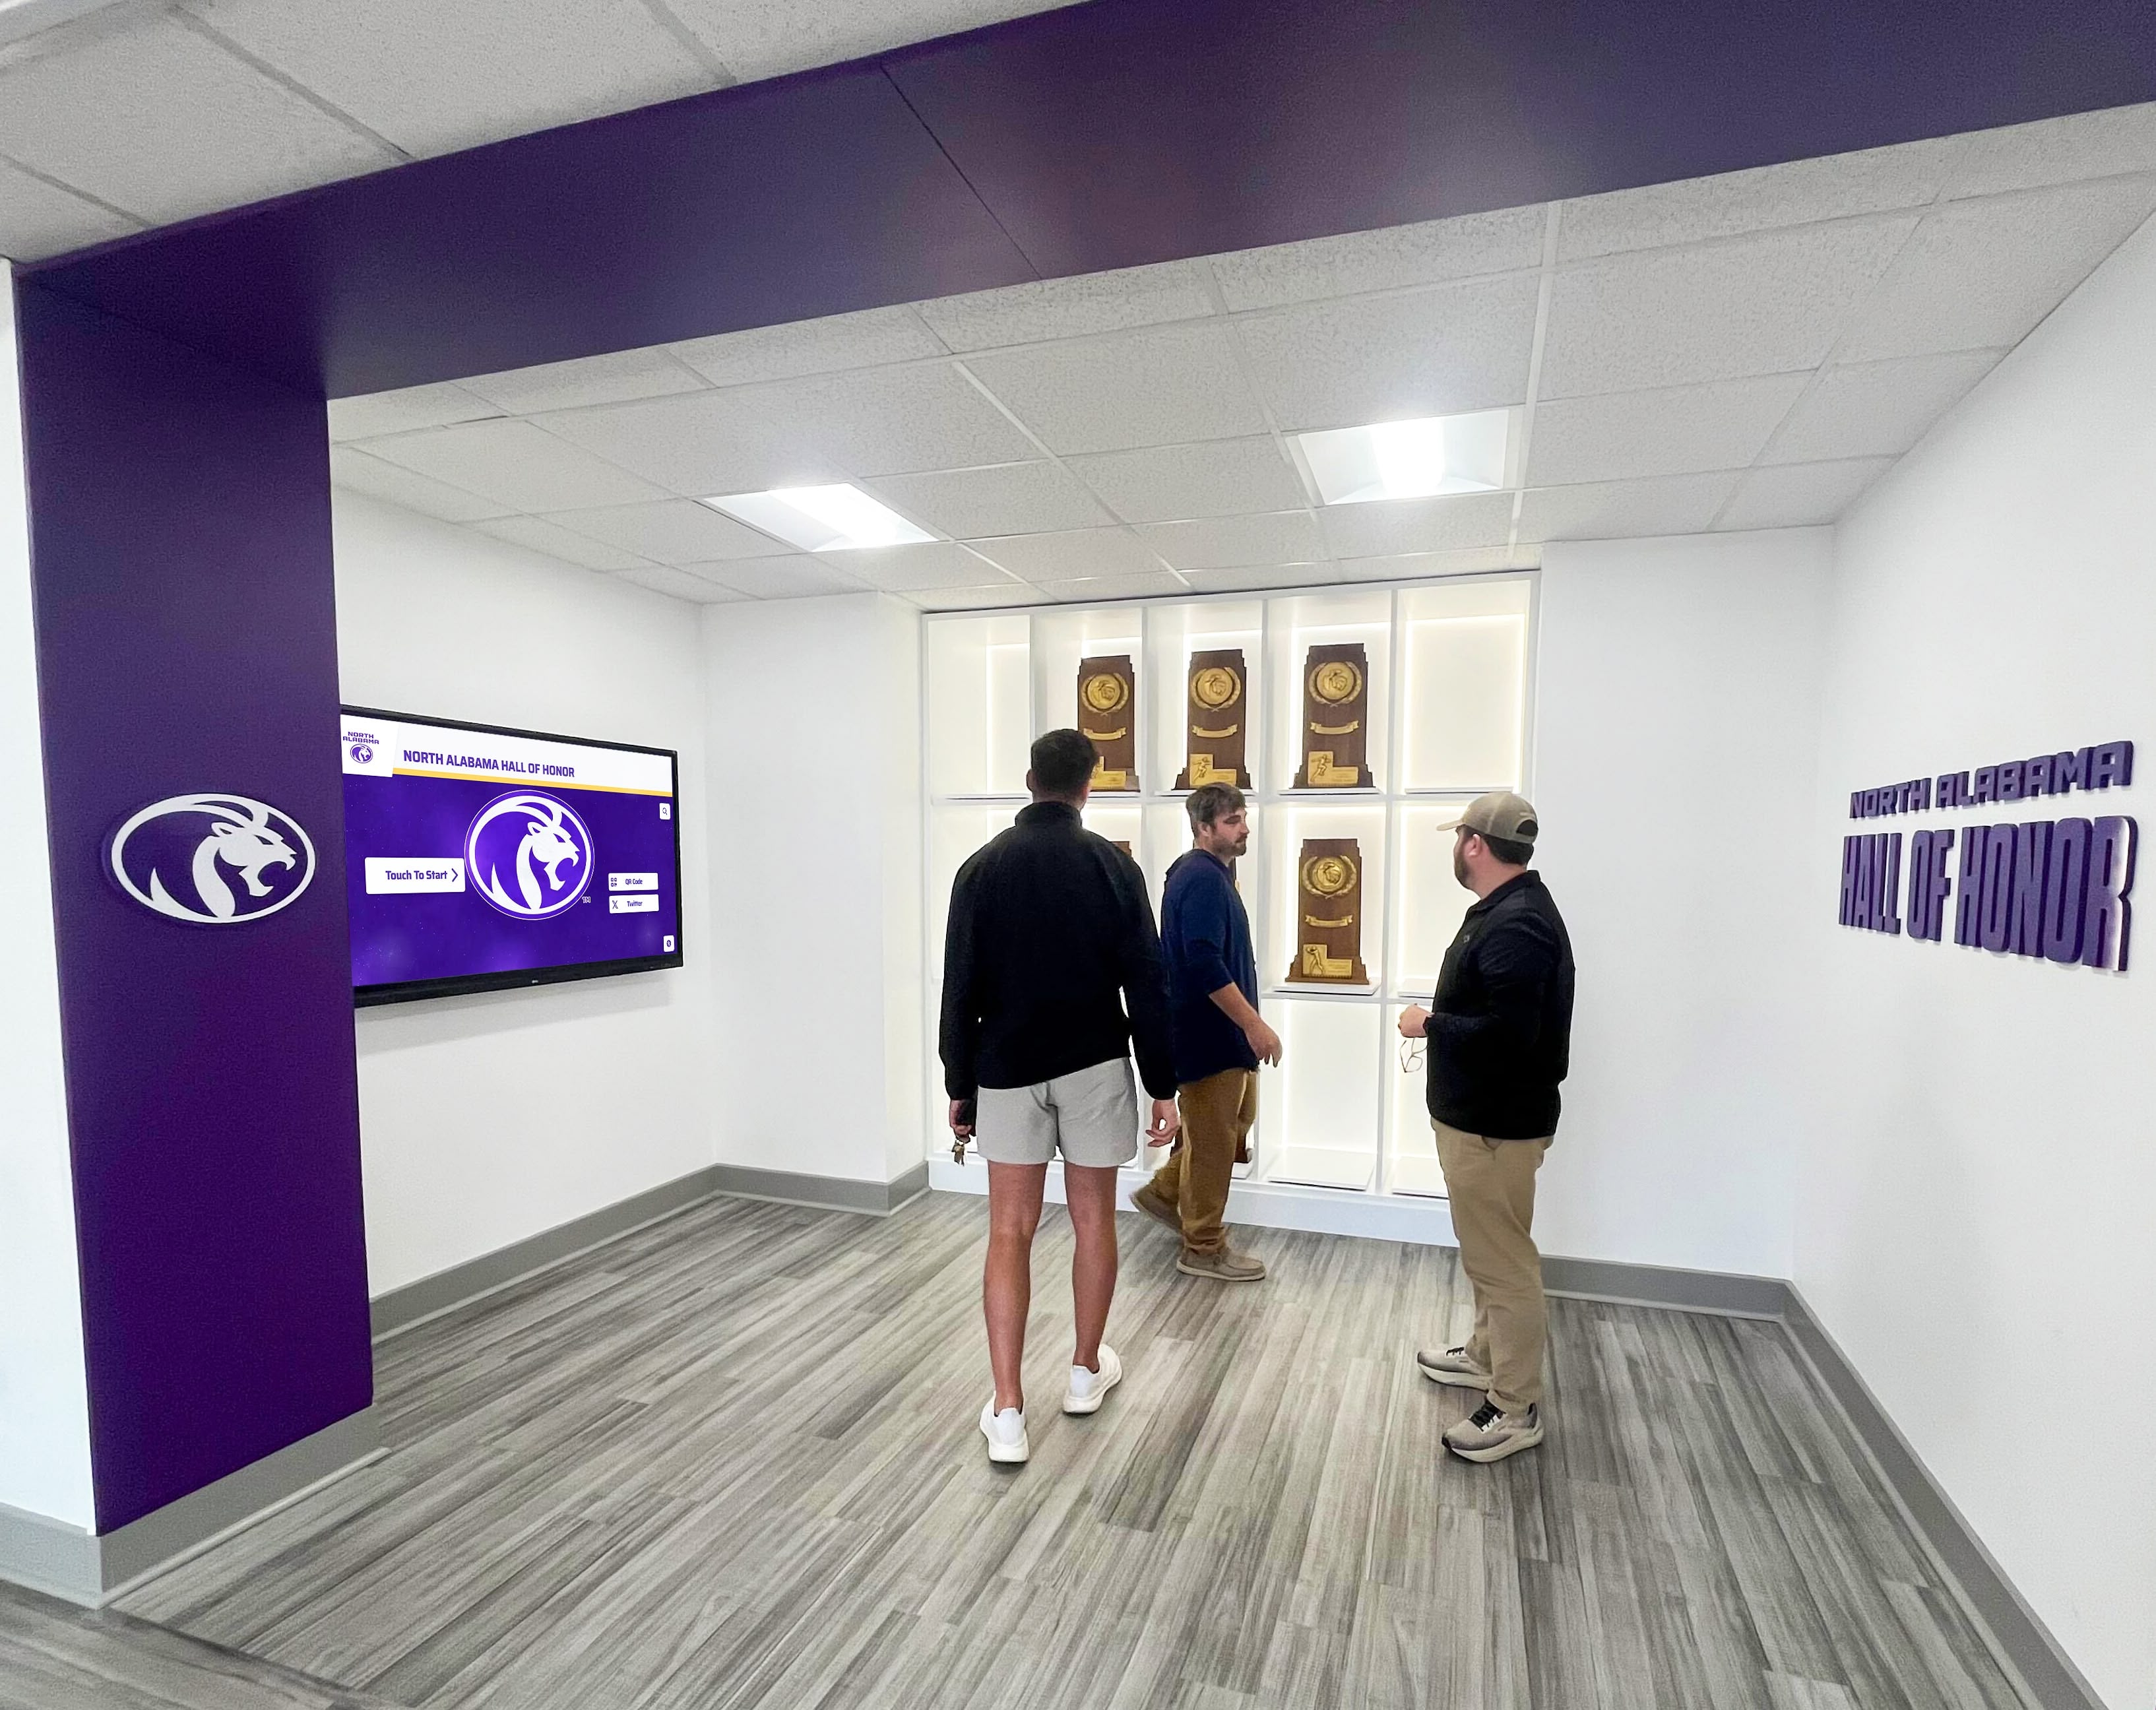
The recognition value of a trophy display depends on the quality of the view it provides — acrylic crazing that obstructs trophies, plaques, or photographs undermines what the case exists to communicate
A school that conducts structured crazing inspections annually — addressing chemical exposure practices, hardware stress points, and thermal conditions — extends the useful life of acrylic panels and reduces the frequency of emergency replacements. That same documentation creates the institutional record that makes facility budget conversations more straightforward: when a director can show three years of crazing severity ratings for a case whose panels are consistently progressing toward Level 4, the argument for replacement is supported by evidence, not just observation.
For schools that have also adopted or are evaluating digital recognition infrastructure, the crazing inspection log integrates naturally with the broader maintenance picture. Understanding how digital hall-of-fame displays compare to traditional trophy cases in school hallway contexts helps facilities and athletic leadership frame both the maintenance question and the recognition question together — because the two are related. The same school that is replacing its third set of crazed acrylic panels in eight years may find that the cost of those replacements, compounded over the next decade, approaches the investment in a digital platform that eliminates acrylic as a maintenance variable entirely.
The checklist above gives facilities teams the inspection structure to catch crazing early, rate it consistently, and make defensible decisions about when panels need replacement. That is the immediate value. The longer-term value is a documented history of physical case condition that supports a clear-eyed evaluation of how the school’s recognition infrastructure — physical, digital, or both — should evolve as programs grow and the collection of achievements worth honoring continues to expand.
Ready to Explore a Recognition Platform That Never Crazes, Scratches, or Degrades?
Rocket Alumni Solutions builds interactive digital trophy cases and halls of fame for schools nationwide — cloud-managed displays with unlimited record capacity, ADA WCAG 2.1 AA compliant touchscreens, QR code access for mobile viewing, and remote updates without IT tickets. See how schools are preserving their complete athletic archive on a platform that keeps every championship, retired jersey, and historic photograph perfectly visible regardless of what happens to physical display panels over time.
Book A DemoIntegrating the Crazing Checklist into Annual Facilities Review
Acrylic crazing inspection is most effective when it is part of a scheduled annual review rather than a reactive response to visible panel damage. Schools that include crazing inspections in their standard fall facilities walkthrough — alongside electrical safety checks, security hardware reviews, and environmental condition assessments — build a panel condition history that makes year-over-year comparison possible.
Scheduling the inspection before fall sports season begins ensures any Level 3 or above findings have time for professional panel assessment before homecoming, athletic award events, and facility tours bring elevated visitor traffic to trophy display areas. A secondary visual check before spring awards seasons can catch new crazing that developed during the school year.
For schools managing a broad recognition infrastructure across multiple buildings, standardizing the severity rating system described above across all facilities staff ensures that panel records from different inspectors remain comparable. One staff member’s “moderate crazing” needs to mean the same condition as another’s — the five-level rating scale and the specific lighting conditions described in this guide are designed to support that consistency.
Physical case maintenance and digital recognition infrastructure are complementary, not competing, components of a school’s recognition program. The acrylic crazing checklist addresses what the school controls now — the condition of existing panels, the cleaning practices that affect them, and the hardware decisions that either protect or stress them. The digital platform addresses what the school grows toward — a recognition archive that is unlimited in capacity, accessible to any visitor, and free from the material maintenance demands of glass and acrylic cases that age under every school year’s worth of use.
Both deserve a structured, documented approach. The checklist above is the starting point for the physical side.
See How Schools Are Building Digital Trophy Cases That Last
Schedule a demo to see how Rocket Alumni Solutions can help your school build an interactive, cloud-managed recognition display that complements your physical trophy cases — and preserves your complete athletic history on a display that never crazes, clouds, or requires panel replacement.
Book A Demo