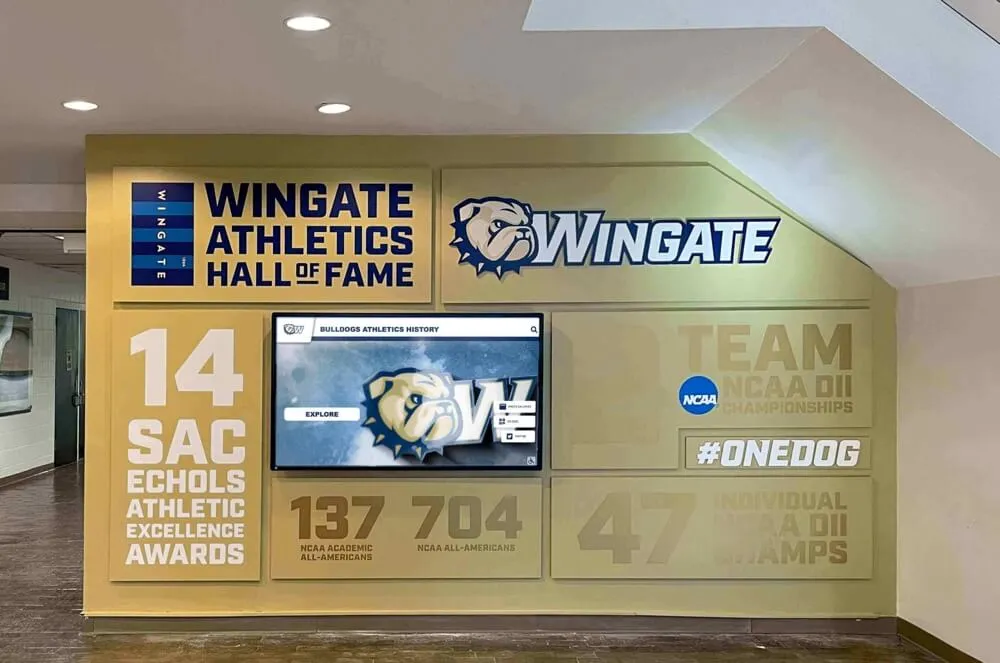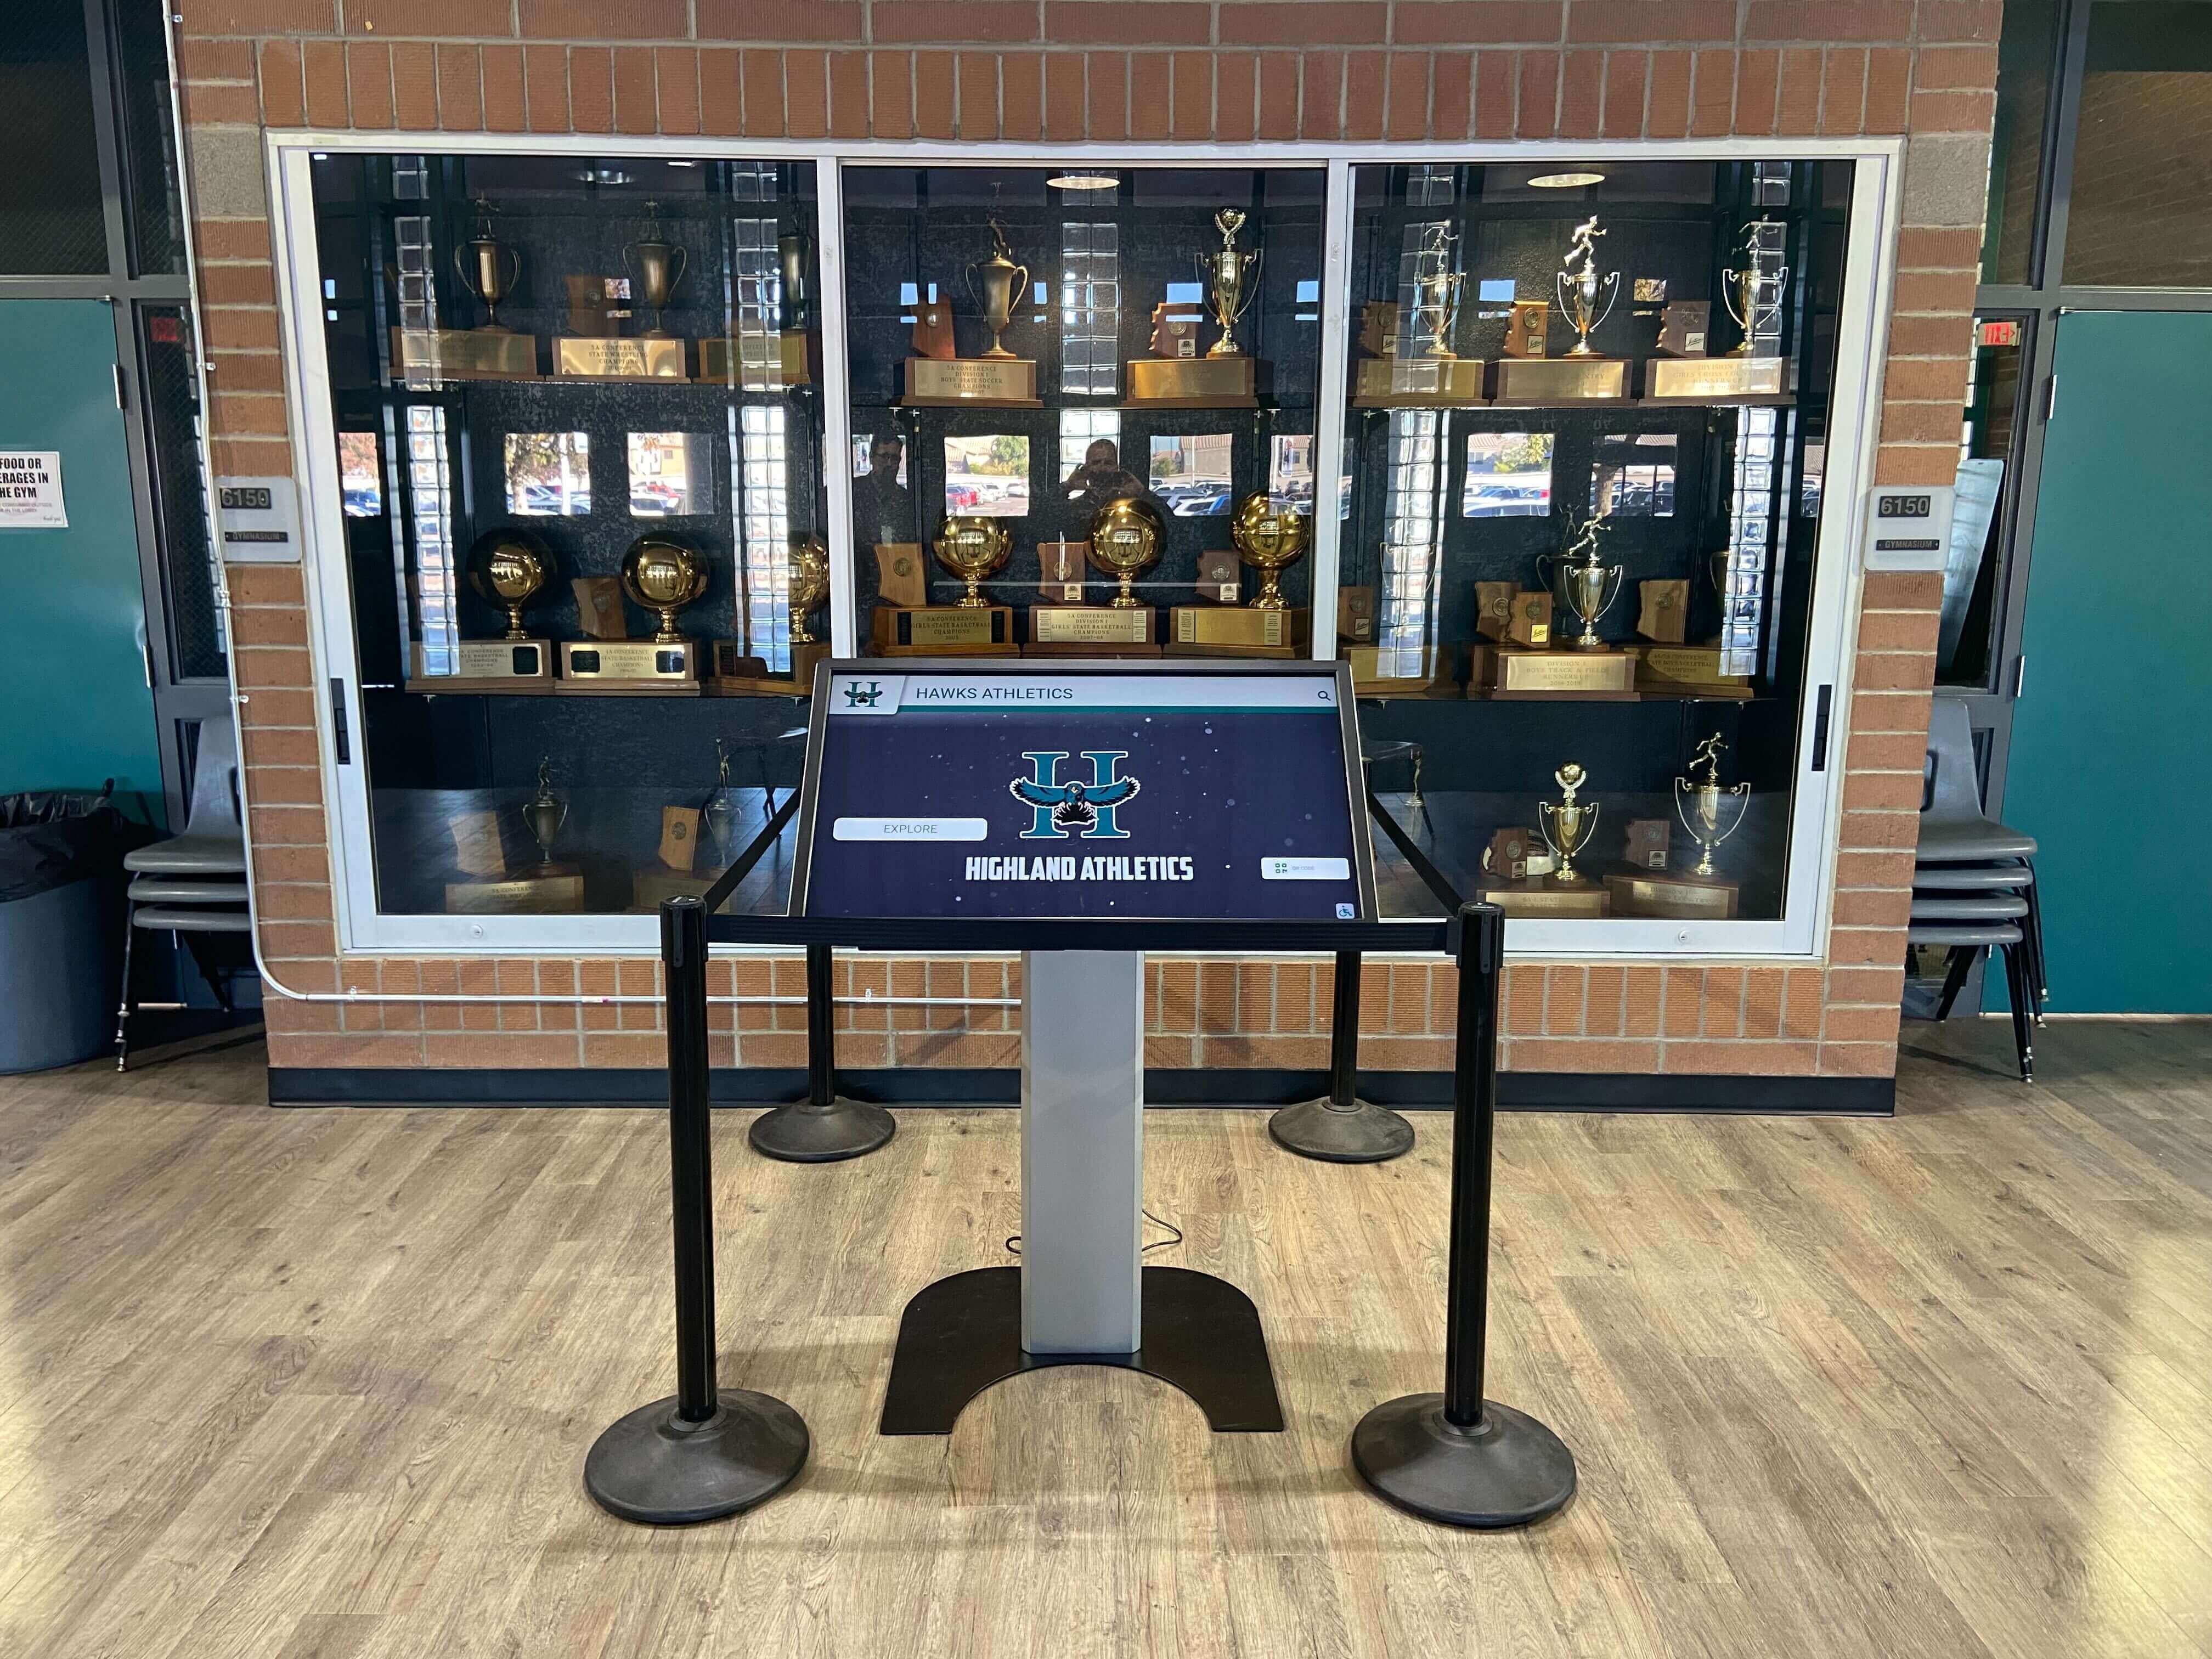




Intent: research — a school trophy case tempered glass stamp verification is a structured examination of the permanent safety-glazing marks — commonly called the “bug” or “stamp” — that appear on properly fabricated tempered glass panels in enclosed display cases, conducted by facilities teams, athletic directors, or school administrators to confirm that every glazed panel protecting championship trophies, retired jerseys, historic photographs, and recognition hardware was manufactured to a recognized safety-glazing standard. Glass that lacks a legible, permanent safety-glazing mark cannot be confirmed as tempered without laboratory testing, which means staff cannot verify it will shatter into the small, blunt-edged fragments characteristic of tempered safety glass rather than the large, sharp shards produced by annealed glass breakage. This guide explains what the stamp indicates, where to find it on trophy case panels, how to conduct a systematic verification checklist across a building’s entire case inventory, how to document findings consistently, and how to escalate panels with missing or questionable stamps to the appropriate decision point.
The glass covering a school trophy case looks identical whether it was fabricated as tempered safety glass or cut from standard annealed sheet glass decades ago. Color, clarity, surface texture, and thickness are not reliable distinguishing characteristics. The only field-verifiable indicator of tempered fabrication on an installed panel is the permanent safety-glazing mark — a small etched, sandblasted, or ceramic-fused stamp positioned in a corner of the panel that identifies the manufacturer, the standard the glass was produced to meet, and the classification of the glazing.
Schools accumulate trophy cases across renovation cycles, donated cabinet installations, and purchased display units from multiple suppliers over many years. Not every case in a building shares the same glass type, manufacturer, or installation vintage. A stamp verification checklist creates a documented record of what the building actually contains, case by case and panel by panel — rather than assuming that glass that looks intact is glass that meets current safety-glazing expectations.

Trophy cases along athletic hallways, gymnasium corridors, and lobby alcoves may contain glass installed across multiple decades — stamp verification establishes the safety-glazing status of every panel in the building's recognition infrastructure
What the Tempered Glass Stamp Indicates
The safety-glazing mark on a tempered glass panel is a permanent identifier required on glass meeting recognized safety-glazing standards. Two standards are most commonly referenced on glass found in U.S. school buildings:
CPSC 16 CFR Part 1201: The Consumer Product Safety Commission standard covering safety glazing materials used in hazardous locations in and around buildings. Panels meeting this standard display a permanent mark indicating the applicable category and class.
ANSI Z97.1: The American National Standards Institute standard for safety glazing materials used in buildings. Panels meeting this standard carry a mark indicating the manufacturer, the standard designation, and the classification.
The stamp itself — often referred to as a “bug” in the glazing industry — typically contains several data elements:
| Stamp Element | What It Shows | Where to Look |
|---|---|---|
| Manufacturer name or mark | Identifies the glass fabricator responsible for the tempering process | Usually the most prominent text element |
| Standard reference | CPSC 1201, ANSI Z97.1, or both — indicates which standard the glass was certified to meet | Listed below or alongside the manufacturer mark |
| Class designation | Class I (lighter-duty applications) or Class II (higher-impact applications); Class II is typically required for larger panes | Usually abbreviated “CL I” or “CL II” |
| Size category (where shown) | Some marks include a size or thickness designation | May appear as a numeral or abbreviated code |
| Country of origin (where shown) | Some manufacturers include origin marking per import requirements | May appear at edge of stamp block |
A glass panel that carries all of these elements in a legible, permanently-applied mark can be confirmed as safety glazing at the time of inspection. A panel where the stamp is absent, illegible, or applied only as a sticker (not a permanent etching) cannot be confirmed without further investigation.
Why Trophy Case Glass Warrants Dedicated Stamp Verification
Trophy case glass occupies a specific risk context in school buildings. Display cases line athletic corridors, gymnasium vestibules, and main lobby entries — locations where student foot traffic is concentrated, where doors swing into adjacent wall space, and where maintenance access regularly brings staff into contact with the panel face. Cases near gymnasium exits and main entry doors are subject to vibration, door-slam pressure waves, and the casual contact of students leaning against corridor walls.
Schools that participate in robust academic recognition programs often have trophy cases in high-traffic areas near main offices, counseling suites, and academic award display corridors alongside athletic spaces — meaning the glass exposure risk extends beyond the gymnasium wing to areas occupied throughout the school day. Staff coordinating recognition programs through a hall of fame volunteer structure will access cases repeatedly to place artifacts, update displays, and photograph contents — creating contact opportunities that facilities inspection rounds don’t directly track.
The verification checklist closes a specific gap: it establishes whether the glass protecting this accumulated institutional history — championship trophies, honor society plaques, retired numbers, photographic archives — was fabricated to a standard that contains it safely if the panel breaks, or whether it was installed without confirmation of that property.
Pre-Verification Preparation
Effective stamp verification across a building’s full case inventory requires preparation before the first panel is inspected. Rushing the preparation step produces incomplete records that cannot support follow-up decision-making.
Materials needed for a complete verification round:
- Handheld flashlight or inspection penlight with a narrow beam
- Magnifying loupe (10× is adequate for most stamp elements; 5× works for well-etched marks)
- Clean, dry microfiber cloth for surface clearing
- Inspection record form with fields for case identifier, panel position, stamp legibility, stamp elements recorded, and inspector information
- Smartphone for photographic documentation of each stamp and each absent-stamp condition
- Building floor plan or room list if the facility has more than four trophy cases
Building the case inventory before you start: If the facility has not previously conducted stamp verification, the first inspection pass should establish an inventory of every glazed case in the building, including cases in secondary corridors, storage-adjacent display alcoves, faculty wings, and auxiliary gymnasium entries that may not appear in primary facilities inspection routes. Cases in lower-traffic locations are not lower-risk — they are more likely to have received less maintenance attention and less likely to have had glass replaced following damage.
Lighting is the most important variable in stamp legibility: Tempered glass stamps are typically etched or sandblasted into the glass surface — the mark is present as a textural difference, not a colored ink. Under standard overhead fluorescent corridor lighting, fine-grain etched marks may be completely invisible from a standing position. Raking a flashlight beam at a low angle (15–25 degrees) to the panel surface creates the oblique lighting that makes etched surface textures visible. Do not attempt stamp verification under ambient corridor lighting alone — you will miss present-but-invisible marks and incorrectly classify panels as unstamped.
Where to Find the Stamp on Trophy Case Glass
Safety-glazing marks on trophy case panels are almost always located in one of the four corners of the panel, within approximately 2–4 inches of two adjacent edges. Industry convention places the stamp in a corner position for several practical reasons: corners are the least visually disruptive location, they remain accessible after the panel is installed in a frame, and corner positioning reduces the chance that the stamp will be obscured by trophy case framing hardware.
Primary search locations in order:
- Lower left corner, interior face — the most common position on doors and sliding panels; inspect from inside the case if the door can be opened safely
- Lower right corner, interior face — second most common; often used when another element occupies lower-left
- Upper corners (either side) — used less frequently but present on some manufacturers’ products and on larger fixed panels
- Along the bottom edge — on some frameless panel styles, the mark runs horizontally along the bottom edge rather than clustering in a corner point
Frame overlap is the primary cause of invisible stamps: Trophy case frames — particularly aluminum extrusion frames common on institutional display cases — overlap the panel edges by 10–20 millimeters on each side. A stamp placed at the extreme corner of a panel may be partially or fully covered by frame hardware after installation. When ambient and oblique lighting does not reveal a stamp, open the case door (where applicable) and inspect the panel from inside with the door fully open, allowing access to the corner area without frame obstruction. For fixed panel sections, a flashlight directed through the interior of the case toward the corner area at a steep angle can sometimes reveal a covered stamp.

Cases along recognition corridors often include panels from multiple installation periods — stamp verification documents the safety-glazing status of each panel independently
The Stamp Verification Checklist: Step-by-Step
The following checklist applies to each individual panel — door glass, fixed side panels, top panels, and back mirror panels — in every trophy case being inspected. Run through each step for each panel before moving to the next.
Step 1: Record the Panel Location
Before examining the glass, record:
- Case identifier (assign a code if cases are not already labeled — by hallway and sequence number, e.g., ATH-01 for the first case in the athletic corridor)
- Panel position within the case (Front Door Left, Front Door Right, Side Panel Left, Fixed Back, Top Panel)
- Inspector name and date
Panel-level granularity matters because a multi-panel case may have confirmed-tempered glass in some panels and unconfirmed glass in others — a summary entry at the case level conceals that difference.
Step 2: Clean the Corner Areas
Using a dry microfiber cloth, wipe all four corners of the panel face on the accessible side. Dust accumulation and cleaning product residue can fill the recessed texture of an etched stamp and make it invisible even under oblique lighting. Light cleaning takes under ten seconds per corner and materially improves stamp legibility.
Step 3: Inspect Under Ambient Light
With the panel clean, examine each corner under ambient corridor lighting first. Occasionally, stamps are deeply etched or applied with a higher-contrast ceramic frit that is visible without raking light. Record any clearly visible stamps at this stage.
Step 4: Inspect Under Oblique Flashlight
Hold the flashlight at 15–25 degrees to the panel face and sweep it slowly across each corner area. The raking light will reveal surface texture variations — an etched safety-glazing mark will appear as a bright or shadow-textured pattern against the surrounding flat glass surface. Inspect all four corners using this technique even if a stamp was found in Step 3, to confirm there are no additional marks that might change the classification.
Step 5: Open the Door and Inspect from Inside
For cases with openable doors, open the door fully and inspect the corner areas from the inside of the case using the same oblique flashlight technique. Frame overlap conceals stamps more often than any other single factor — inside access removes this obstruction for the door panel.
Step 6: Record Stamp Details If Found
If a stamp is located, record:
- Corner position (e.g., lower-left, interior face)
- Manufacturer name as shown on the stamp
- Standard reference (CPSC 1201, ANSI Z97.1, or other)
- Class (I, II, or not legible)
- Overall legibility rating (see the rating scale below)
- Photograph taken (yes/no)
Photograph every stamp found, framing the corner area so the full stamp block is visible in the image. Photograph with the flashlight held at the same oblique angle that made the stamp visible — straight-on photographs of etched stamps frequently capture nothing but a clear glass panel.
Step 7: Record Absent or Unconfirmed Stamps
If no stamp is found after completing Steps 2 through 5, record:
- “No stamp located” — do not record this as “no stamp present,” because an absent stamp finding does not conclusively confirm the glass is not tempered; it confirms only that a stamp could not be located in this inspection
- Inspection conditions (lighting level, whether inside access was achieved, any frame obstruction notes)
- Next action (see escalation section below)
Stamp Legibility Rating Scale
Not every located stamp is fully readable. Recording a legibility rating alongside the stamp data allows future inspectors to identify panels where re-inspection under better conditions — or professional glass identification — should be prioritized.
| Rating | Description | Action |
|---|---|---|
| 1 — Fully legible | All stamp elements readable; manufacturer, standard, and class clearly visible; photograph captures all elements | Document as confirmed; no follow-up required |
| 2 — Partially legible | Manufacturer or standard visible but class or other elements unclear due to light etching, edge wear, or viewing angle | Document elements visible; note which elements unclear; schedule re-inspection with magnification |
| 3 — Mark present but not readable | A mark is visible under oblique light but no specific elements can be extracted; mark is consistent with a safety-glazing stamp in shape/position | Document as “mark present, unreadable”; consult glazing professional to confirm |
| 4 — No mark located | No stamp found after completing all inspection steps including inside-access check | Document as “no stamp located”; initiate escalation protocol |
| 5 — Sticker only | A label or sticker (not a permanent mark) found in the corner area; sticker may reference a standard | Document sticker content; classify as “not confirmed” — a sticker does not constitute a permanent safety-glazing mark |
Printable Stamp Verification Log Format
A consistent log format allows multiple inspectors to document findings that can be compared and compiled into a building-level summary. The following field structure covers the information needed for documentation and follow-up:
| Field | Entry Format | Notes |
|---|---|---|
| Inspection Date | YYYY-MM-DD | Use ISO format to avoid date-format ambiguity |
| Building / Wing | Text | Include specific wing or corridor designation |
| Case ID | Text or number | Assign consistent IDs across all inspections |
| Panel Position | Front Door L / Front Door R / Fixed Back / Side L / Side R / Top | Standardize across your building inventory |
| Panel Dimensions (est.) | W × H in inches | Estimate from frame measurement; not required to be exact |
| Stamp Located? | Yes / No / Partial | |
| Stamp Location | Corner: LL / LR / UL / UR / Edge | LL = lower-left; record face inspected (interior / exterior) |
| Manufacturer Name | As shown on stamp | Copy exactly as written; note if abbreviation only |
| Standard Reference | CPSC 1201 / ANSI Z97.1 / Other / Not legible | |
| Class | I / II / Not legible | |
| Legibility Rating | 1 / 2 / 3 / 4 / 5 | See rating scale above |
| Photograph Taken | Yes / No | File name or reference number if photos are filed separately |
| Frame Obstruction Noted? | Yes / No | Note if frame may be covering stamp corners |
| Inside Access Achieved? | Yes / No | Note if door could not be opened |
| Inspector Name | Text | |
| Escalation Required? | Yes / No | Trigger: ratings 3, 4, or 5 |
| Follow-Up Action | Text | Specific next step assigned |
Escalation Criteria and Decision Points
The stamp verification checklist produces findings — what facilities teams do with those findings determines whether the process improves glass safety in the building or only produces a documentation artifact.
When to Escalate Immediately
Certain findings warrant escalation before the inspection round is complete, rather than at a summary review:
A panel rated 4 (no stamp located) in a door panel of a high-traffic case: Door panels in cases adjacent to gymnasium exits, main lobby entries, or athletic corridor intersections have the highest contact exposure. A door panel with no locatable stamp should be flagged for supervisor review on the day of inspection, not at the next routine facilities review meeting.
A panel rated 5 (sticker only): A sticker claiming a safety-glazing standard is not a permanent mark. It may indicate a glass product that was certified at the time of manufacture but was subsequently cut — and cutting tempered glass destroys the temper, meaning a cut tempered panel is no longer tempered. A sticker-only finding should be treated as unconfirmed until a glazing professional can assess the panel.
Any panel where the glass feels or sounds noticeably different from adjacent confirmed-tempered panels: Tempered glass produces a slightly different sound when tapped (a lower resonance compared to annealed glass). This test is not definitive — it requires experience to interpret — but a panel that sounds dramatically different from adjacent panels in the same case unit warrants professional assessment.
Standard Escalation Path
For panels rated 3, 4, or 5 that do not require immediate escalation:
- Facilities supervisor review within 5 business days of inspection
- Glazing professional assessment if supervisor review confirms the finding cannot be resolved by re-inspection
- Panel replacement decision if professional assessment cannot confirm tempered fabrication to the satisfaction of the facilities team
The escalation path does not require declaring the glass unsafe — it requires getting a qualified assessment before the panel continues in service without documented confirmation.
Replacement Triggers
Facilities teams that reach the replacement decision point are making a judgment call, not following a mandatory rule. The factors that typically push that judgment toward replacement include:
- Panel is in a door or high-contact-area fixed position in a frequently-used case
- Building is of an age where unconfirmed-tempered panels are plausible (cases installed before widespread safety-glazing enforcement are more likely to contain annealed glass)
- The case holds particularly irreplaceable recognition materials — original championship photographs, hand-engraved trophies, historic plaques — where glass breakage would cause artifact loss in addition to injury risk
- Facilities department has a documented practice of confirming safety-glazing in other building glazing (doors, sidelights) and wants trophy case glass to meet the same documentation standard
When replacement is decided, the panel should be replaced with confirmed tempered glass meeting the applicable standard, and the new panel’s stamp should be photographed and logged before installation to create a complete documentation chain.
When No Stamp Is Found but Glass May Still Be Tempered
A no-stamp finding does not confirm that the glass is annealed. Some legitimate outcomes of missing stamps include:
- Frame coverage: The stamp exists but is fully covered by the installed frame and cannot be accessed without panel removal
- Deep etching worn smooth: Older lightly-etched stamps can be worn by repeated cleaning until the texture difference is no longer detectable by eye
- Non-standard stamp position: A small number of historical manufacturers placed stamps in panel-center or edge-center positions rather than corners; checking the full panel perimeter (not just corners) is warranted for very old cases
If the panel cannot be confirmed by inspection and the facilities team wants confirmation without replacement, a glazing professional can assess the panel using additional field methods — including edge examination for tempered glass’s characteristic stress pattern, which is sometimes visible at panel edges with a polarized light tool.
Connecting Stamp Verification to the Full Trophy Case Inspection Program
Stamp verification is one component of a broader trophy case safety and condition program. Schools that run systematic recognition programs — including academic recognition systems for honor societies such as Mu Alpha Theta and similar curricular honor organizations that place plaques and certificates inside enclosed cases — have both the physical glass risk and the artifact preservation interest to support a complete inspection structure.
A complete program typically covers glass type verification (including stamp verification), safety film condition, frame and hinge alignment, lock cylinder function, and shelf load capacity. These checks run on different intervals — stamp verification is a one-time documentation task per panel with follow-up only when panels are replaced, while film condition and lock function warrant annual or semi-annual review.
For schools building out recognition programs that span academic, athletic, and co-curricular achievement — including graduation achievement categories such as valedictorian and salutatorian honors that often appear in lobby display cases — the glass protecting those displays serves the institution’s recognition mission as directly as the recognition content itself.
The verification mindset mirrors how coaches approach athletic fundamentals — systematic, habitual, and documented before the pressure moment arrives. Just as consistent athletic footwork drills require deliberate repetition to become reliable muscle memory, a tempered glass stamp verification checklist only produces results when it runs on a documented schedule, not on assumption.
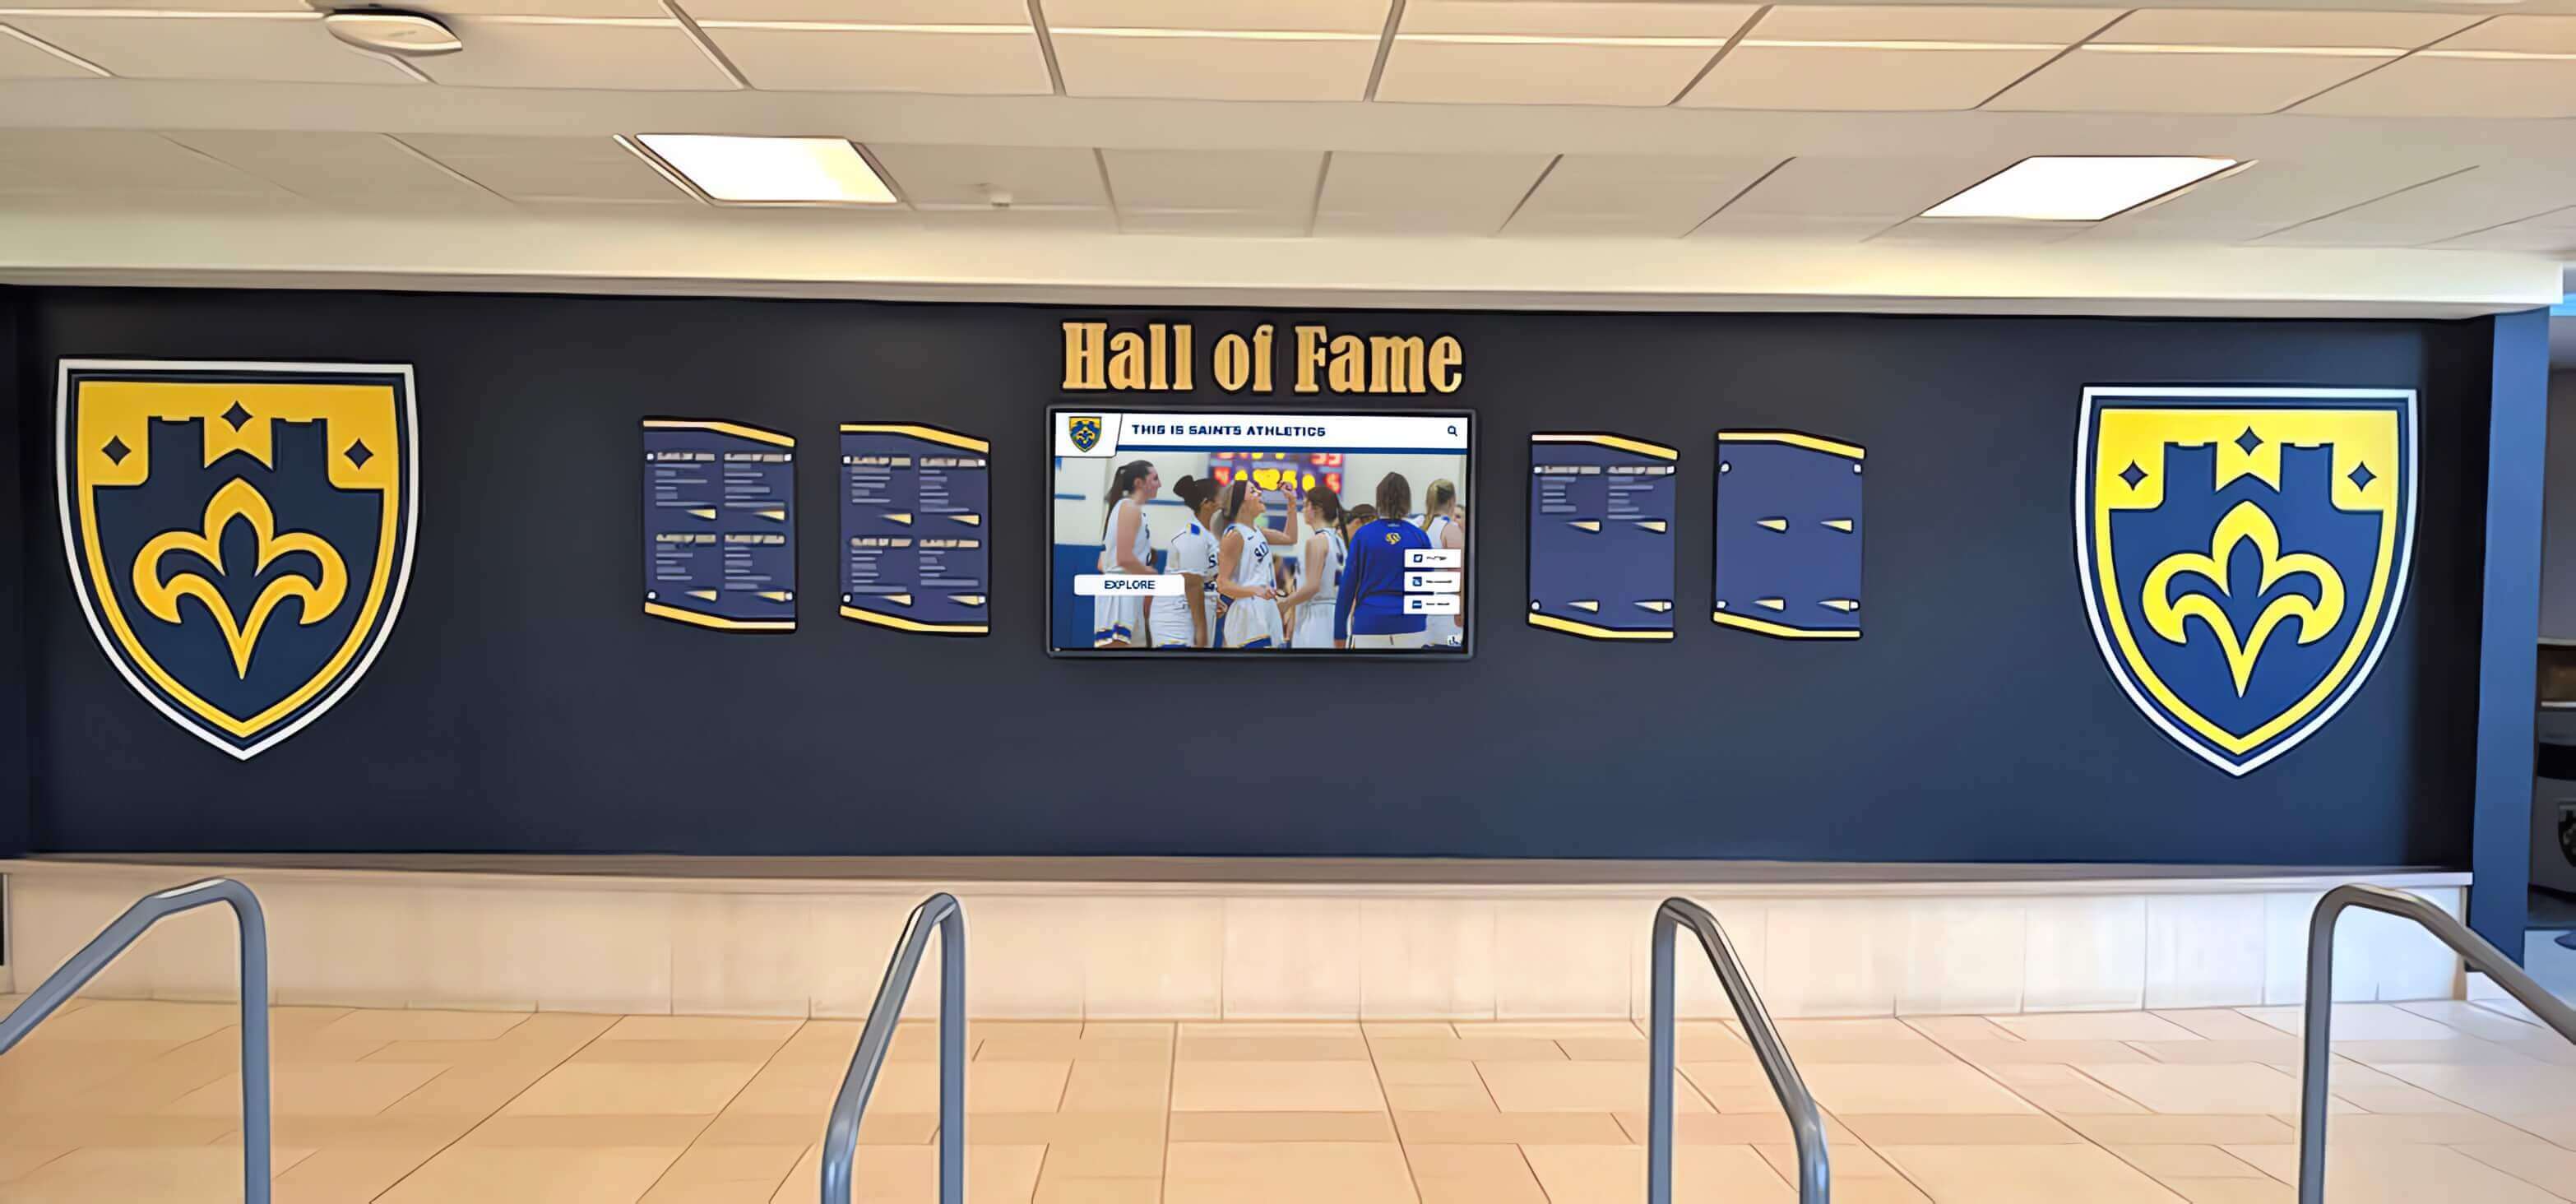
Trophy cases in school lobbies serve as the first impression of institutional recognition — verifying the glass protecting those displays is a documentation task that supports both safety and stewardship goals
Special Considerations by Case Type
Not every trophy case presents the same stamp verification challenge. The following notes address the most common case types found in school facilities:
Free-standing pedestal cases: Typically have four side panels, a top panel, and sometimes a bottom panel. Each accessible panel should be inspected independently. Pedestal cases are frequently moved during renovations and may have received replacement panels from a different supplier than the original glass.
Wall-mounted recessed cases: The deepest-set panels are often inaccessible without removing the case from the wall. For these cases, document which panels were accessible and which were not, and flag the inaccessible panels for assessment during any future maintenance event that requires case removal.
Sliding-door cases: Sliding door panels typically have stamps accessible from the interior of the case — open each door and inspect the corners from inside. Sliding cases are more likely to have been repaired with replacement glass after breakage, because individual sliding panels are easier to replace than fixed panels; replacement panels may be from a different supplier and should be stamped with that supplier’s mark.
Display cases with acrylic or polycarbonate panels: These are not glazed with glass and do not carry a safety-glazing glass stamp. Acrylic and polycarbonate panels should be documented as such — they shatter differently than glass and have their own inspection criteria. If there is uncertainty about whether a panel is glass or plastic, a light tap with a fingernail produces a different sound: glass resonates with a higher-frequency ring; acrylic produces a duller thud.
Elementary school cases: Lower-mounted cases accessible to younger students warrant particular attention — both because contact exposure is higher (students at eye level with the glass are more likely to press or lean against it) and because replacement history is less consistently documented in older school buildings. Schools developing displays that connect to elementary recognition programs — including the community pride that features prominently in elementary school-wide recognition activities — should verify that the display glass protecting those materials meets the same documentation standard as cases in secondary facilities.
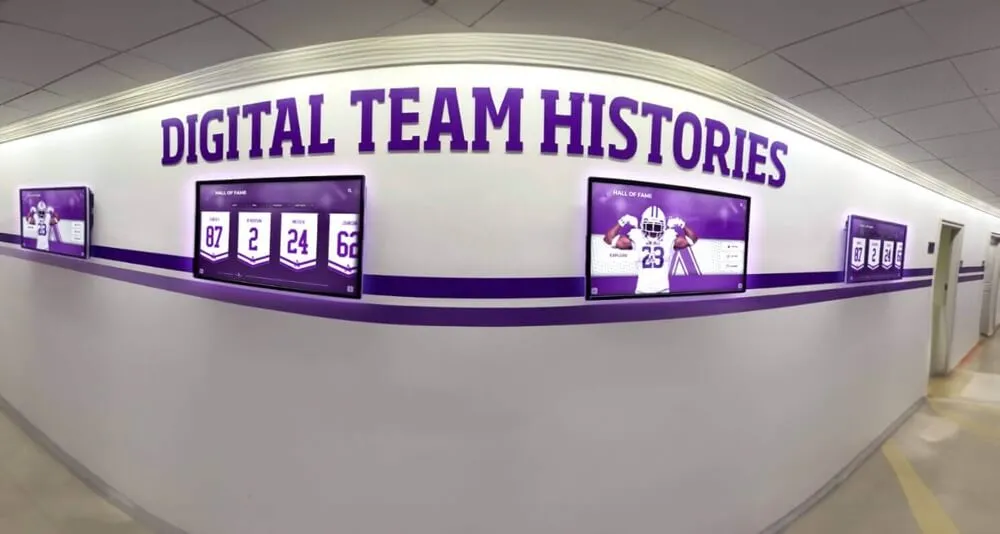
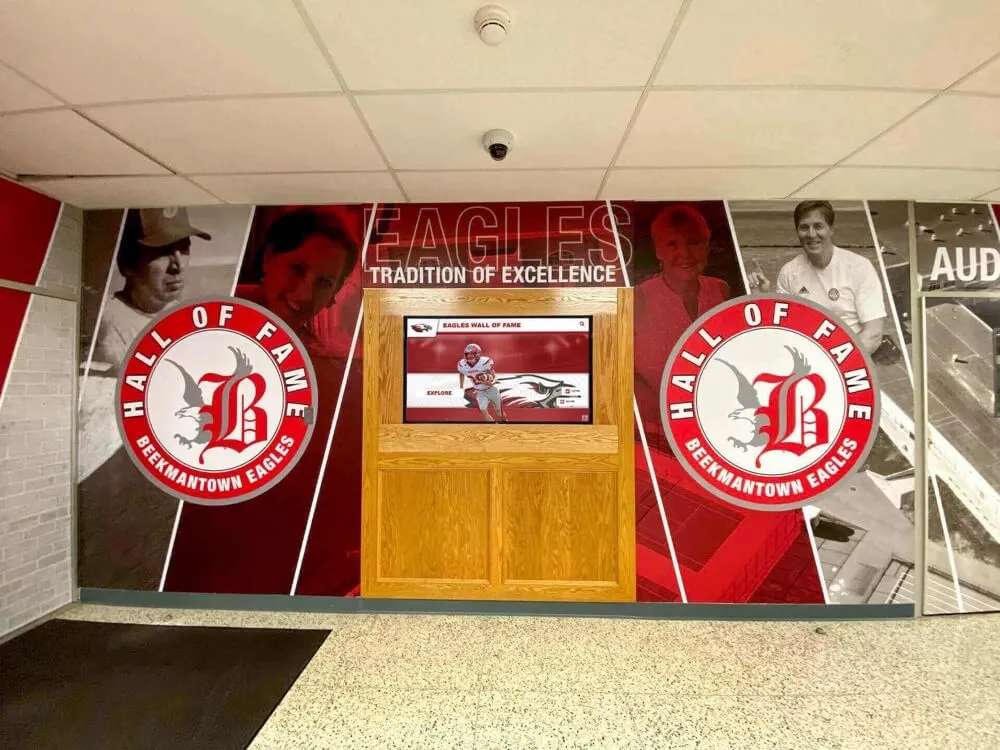
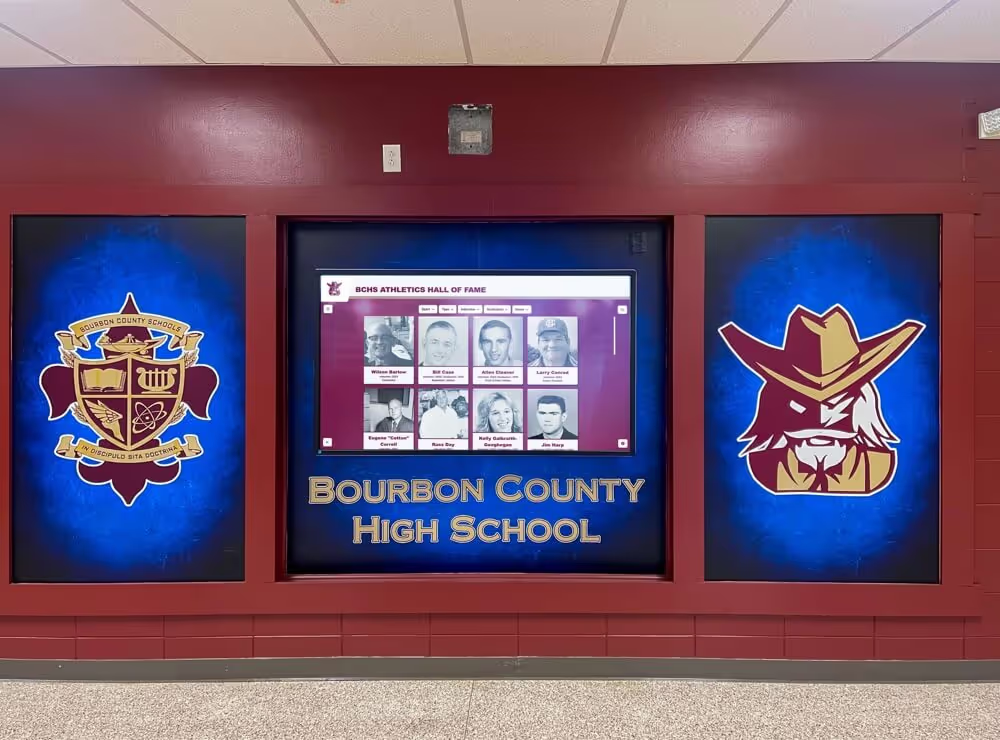
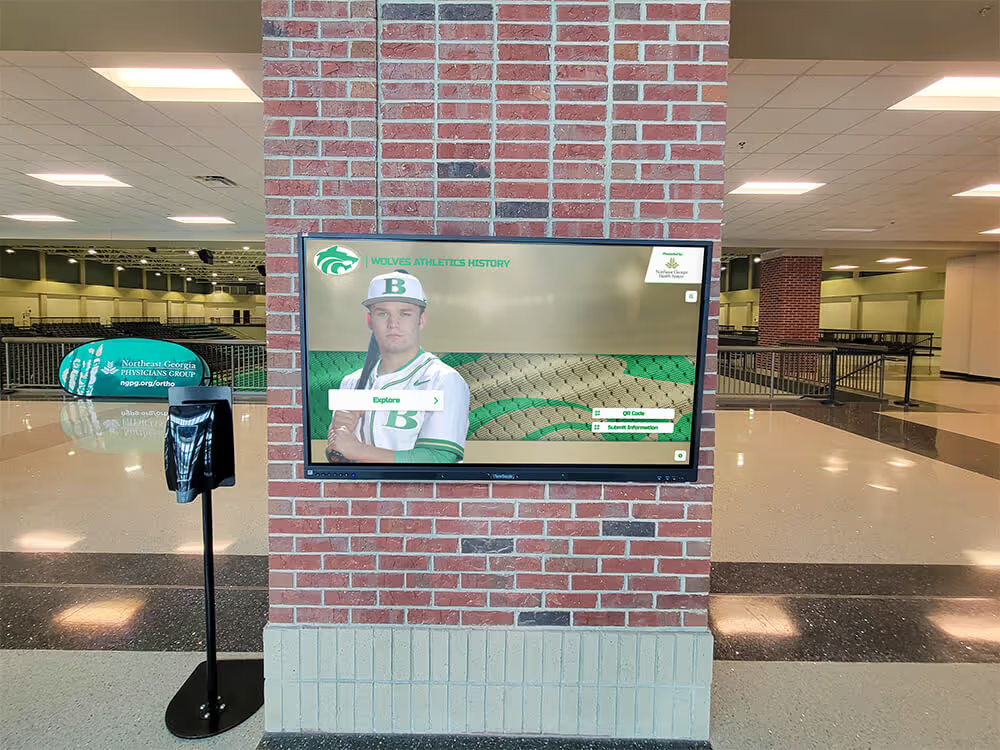
Connecting Physical Verification to Digital Recognition Infrastructure
A completed stamp verification log documents the physical condition of the glass protecting a school’s recognition collection. It does not solve the underlying capacity limitations of physical trophy cases — glass only protects what fits inside, and most physical trophy cases have been at capacity for years.
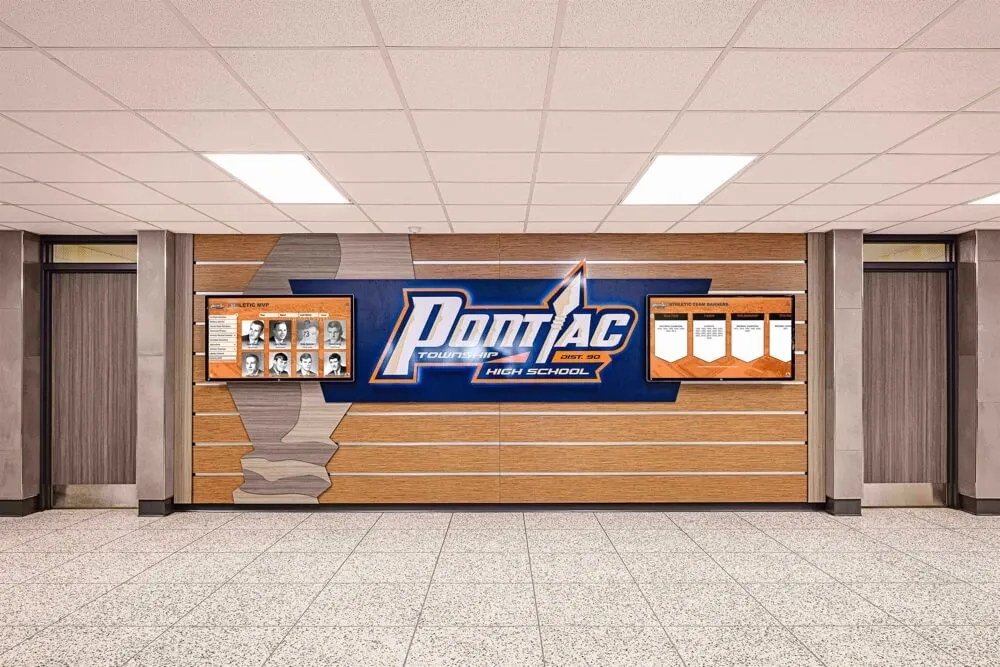
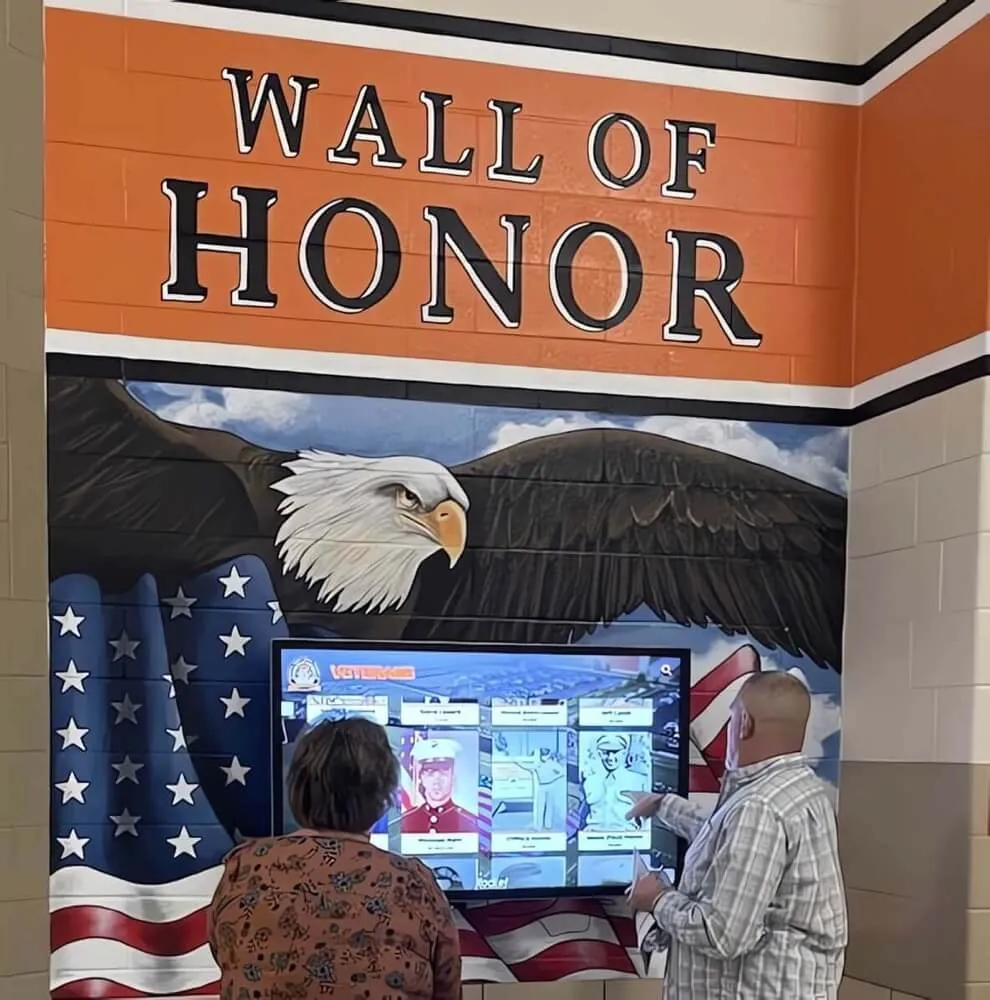
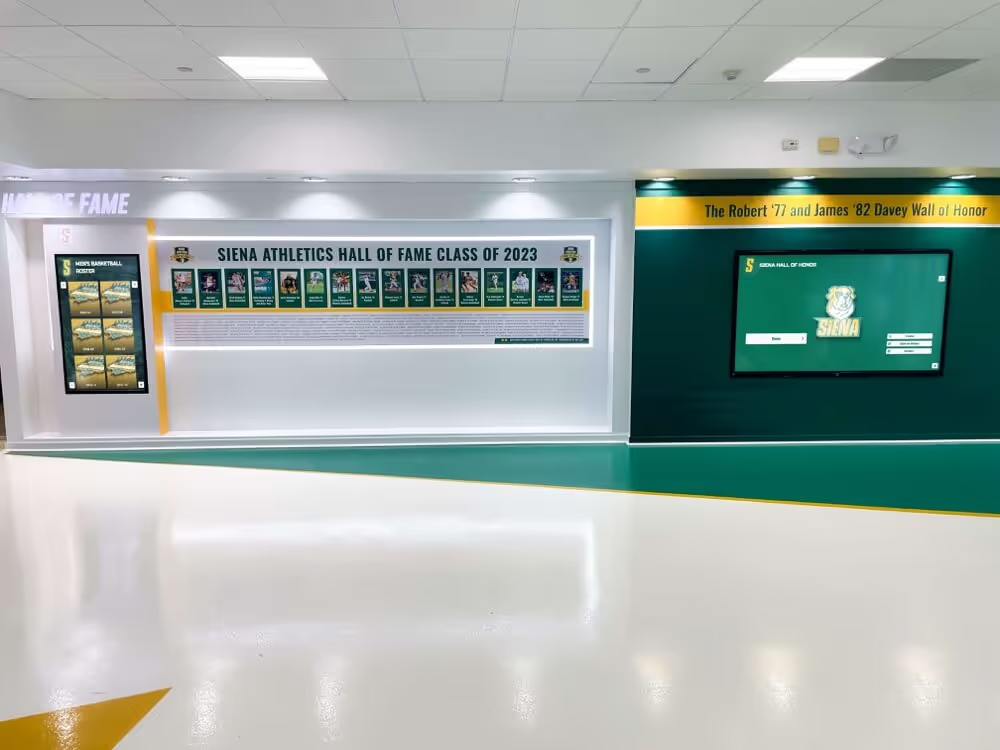
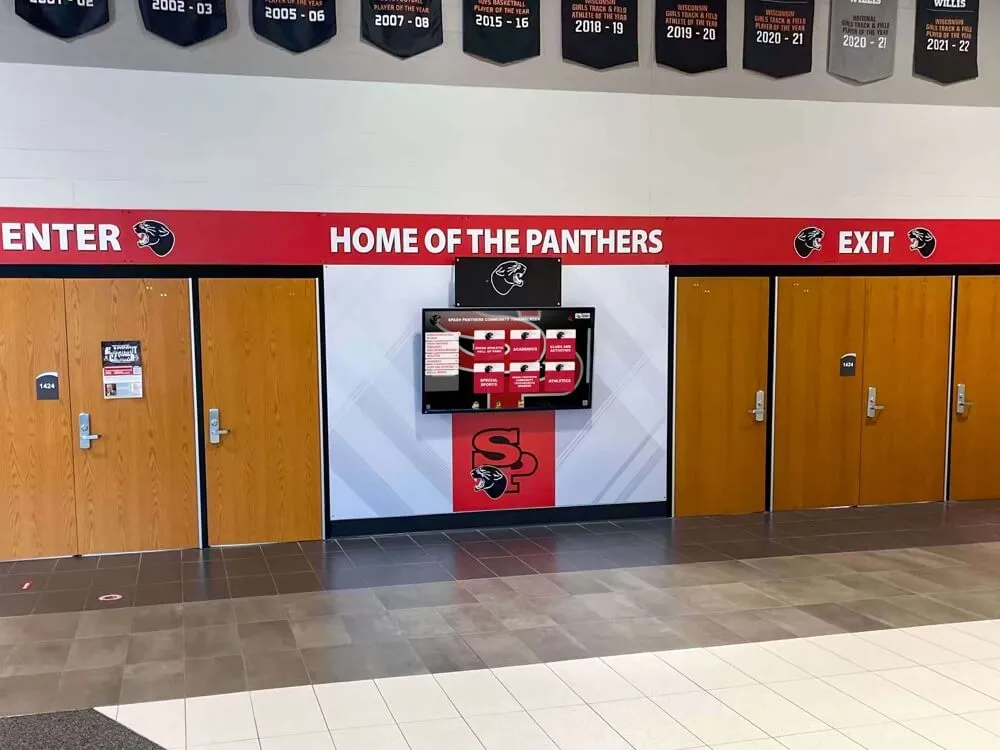
Schools that have moved toward digital recognition platforms can extend the same systematic documentation discipline to their digital infrastructure. While a digital display has no glass to inspect for safety stamps, it has its own operational checklist requirements — including accessibility and navigation verification for digital hall of fame installations that ensures every visitor can interact with the recognition content regardless of how they navigate the interface.
For schools evaluating how physical and digital recognition infrastructure work together, resources comparing touch-screen kiosk software options for school environments help facilities and technology teams understand what a well-specified digital display requires from the building infrastructure alongside it — power, network, wall backing, and ADA-accessible positioning requirements that parallel the structural requirements for physical trophy case installation.
The discipline of verification — systematic, documented, and escalated when findings are uncertain — applies equally to physical glass panels and to digital display platforms. Both protect a school’s recognition history. Both benefit from staff who treat the inspection process as ongoing stewardship, not a one-time setup task.
Frequently Asked Questions
Is a safety-glazing stamp required on trophy case glass?
Safety-glazing standards specify requirements for glass used in hazardous locations as defined by those standards. Trophy case glass is not universally categorized under those standards in the same way that door glass or sidelight glass is. However, many schools and districts apply safety-glazing standards to trophy case installations as a best-practice facilities policy, and many trophy case manufacturers supply tempered glass as the standard panel material. The stamp verification checklist documents what is present — it does not assert a code requirement for any particular installation. Contact your local authority having jurisdiction (AHJ) or facilities compliance team for guidance on applicable requirements in your jurisdiction.
How often should stamp verification be conducted?
Stamp verification is primarily a one-time documentation task per panel, because a panel’s tempered-glass status does not change over time — the glass either was or was not tempered when manufactured. Follow-up verification is warranted when a panel is replaced, when an inspection record is lost, when a new facilities team inherits undocumented cases, or when a panel is suspected to have been replaced without documentation. Annual review of the verification log to confirm it matches current case inventory is sufficient maintenance for most school facilities programs.
Can we confirm tempered glass without seeing a stamp?
In the field, a stamp is the standard method. A glazing professional can use additional assessment methods — edge examination for stress patterns visible under polarized light, observation of the glass edge surface finish, and assessment of panel thickness uniformity — but none of these field methods provide the same documentary confirmation as a legible, permanent safety-glazing mark. If professional assessment cannot confirm tempered fabrication, replacement with documented tempered glass is the definitive resolution.
What should we do with the stamp verification log?
The log should be stored with the facility’s physical maintenance records and, ideally, in a digital format accessible to future facilities staff. A paper log that lives in a single binder has limited utility when staff turn over. Include a brief summary entry in the building’s maintenance management system or work order system referencing where the full log is stored, and attach photographs to the digital record so future staff can confirm stamp appearance without conducting a full re-inspection.
Are all tempered glass panels in trophy cases the same thickness?
No. Trophy case panel thickness varies by case manufacturer and installation date. Common thicknesses include 3mm, 4mm, and 6mm tempered glass, with thicker panels used in larger cases and cases specifying higher impact resistance. The stamp verification checklist does not require recording panel thickness unless the facility has a specific thickness standard — but including a thickness estimate in the log provides useful context for any future replacement sourcing.
See How Schools Move Recognition Beyond the Glass Panel
Rocket Alumni Solutions builds touchscreen digital trophy cases, interactive halls of fame, athletic record boards, and scholar-athlete recognition systems for schools of every size. When physical cases have been verified, maintained — and eventually maxed out — a digital platform gives every achievement permanent, searchable, unlimited visibility that no glass panel can provide.
Book A DemoA completed school trophy case tempered glass stamp verification checklist gives facilities teams documented confidence in what the building’s recognition displays actually contain — not assumed confidence based on how the glass looks. Panels with legible stamps in the log are confirmed. Panels with missing or unreadable stamps have a documented status and an assigned follow-up action. Nothing is assumed, nothing is classified by appearance alone, and the record is available to the next facilities team member who inherits responsibility for the building’s recognition infrastructure. That is what systematic documentation produces: not certainty that every panel meets every standard, but certainty about what is known, what is not, and what needs to happen next.