



Spontaneous glass breakage in a school trophy case is the fracture of a glass panel in the absence of any observed direct impact — a panel that was intact at the end of one school day is found shattered at the start of the next, or breaks during a quiet hallway period when no collision was witnessed. A school trophy case spontaneous glass breakage investigation is the structured process of documenting the failure scene, reading the fracture pattern to identify the most probable cause category, preserving physical evidence for glazier or manufacturer review, and determining what corrective action is required before the case is returned to service. Three cause categories account for the overwhelming majority of spontaneous failures in school display cases: thermally induced contact stress from inadequate glass-to-metal clearance, edge damage introduced during original installation or subsequent hardware handling, and — in tempered glass panels — delayed fracture triggered by nickel sulfide (NiS) inclusions that expand microscopically over time until the glass’s internal tension is exceeded. This checklist guides facilities staff through each investigation phase in the order that preserves the most diagnostic information.
When a trophy case panel fails without impact, the instinct is to clean up the glass, call for replacement, and move on. That instinct destroys the diagnostic evidence that would prevent the next breakage event — and in a school corridor where students pass a trophy case dozens of times each week, preventing the next event is the goal that matters most. Spontaneous breakage investigations are not forensic exercises for their own sake. They answer the question every facilities director and athletic director needs answered: did this happen because of a one-time manufacturing anomaly in one panel, or because of a systematic condition that will produce the same result in the case next to it?

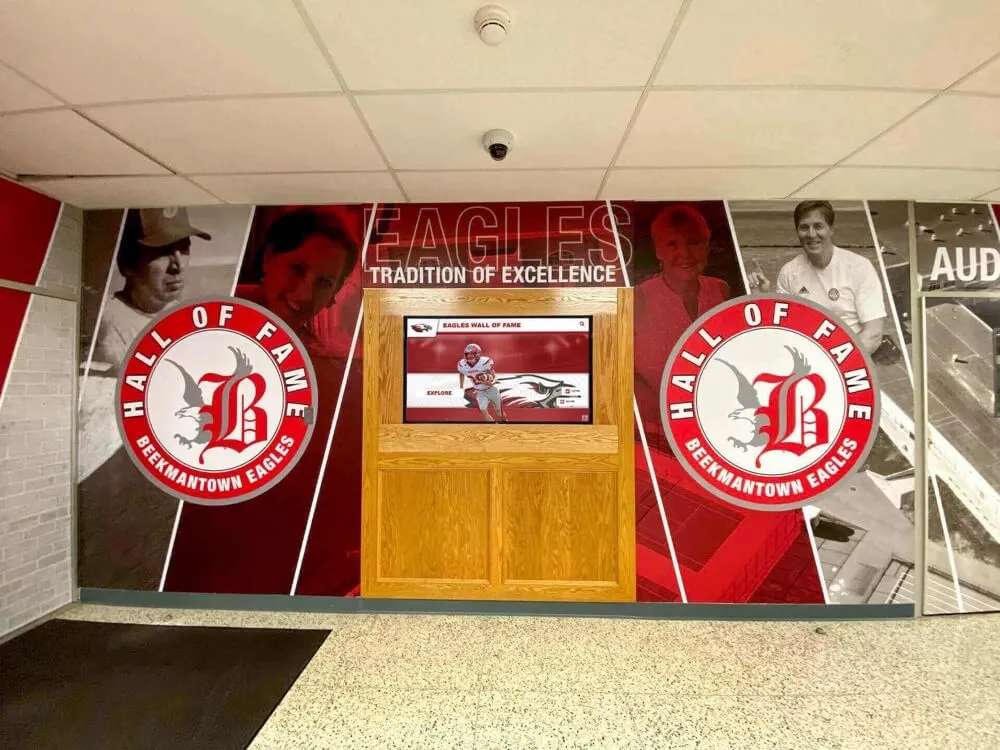
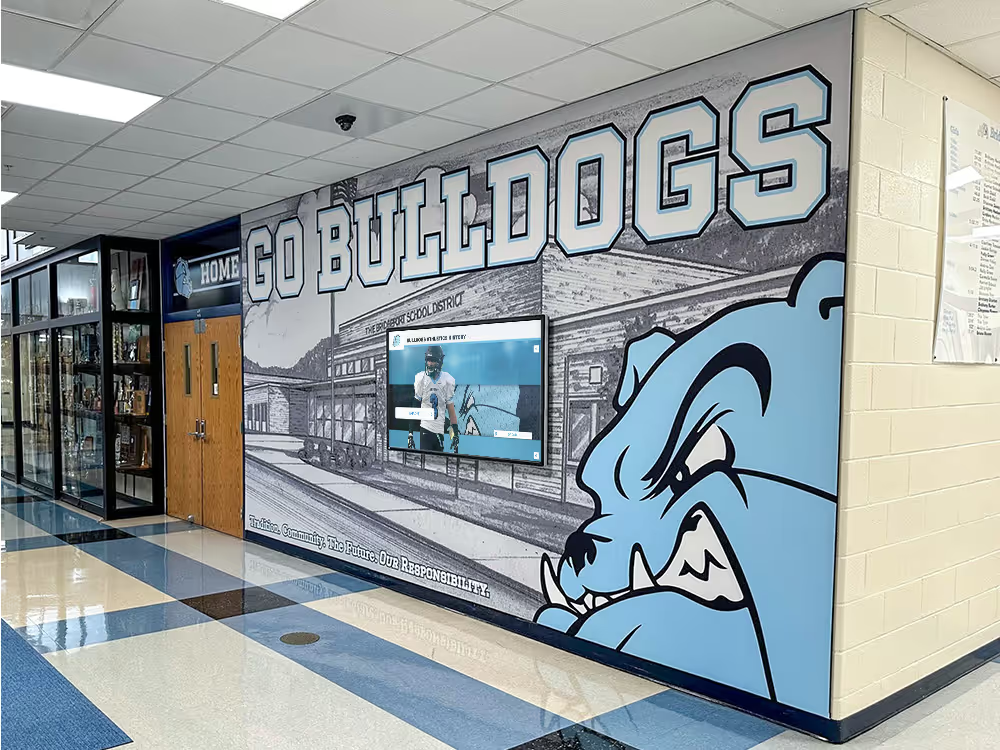
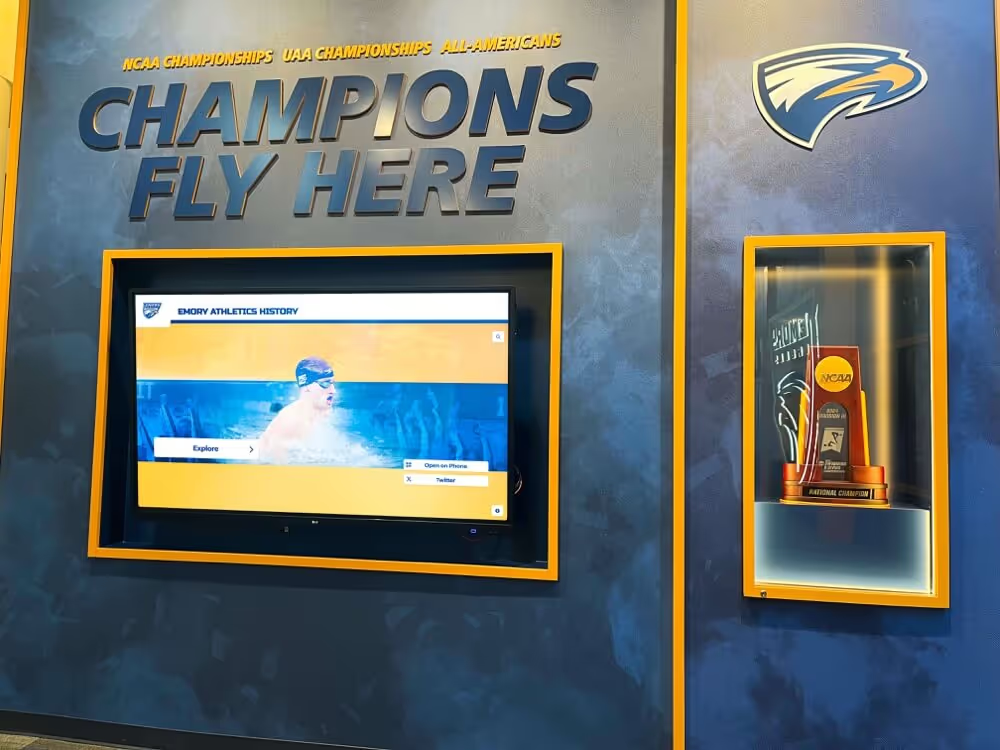
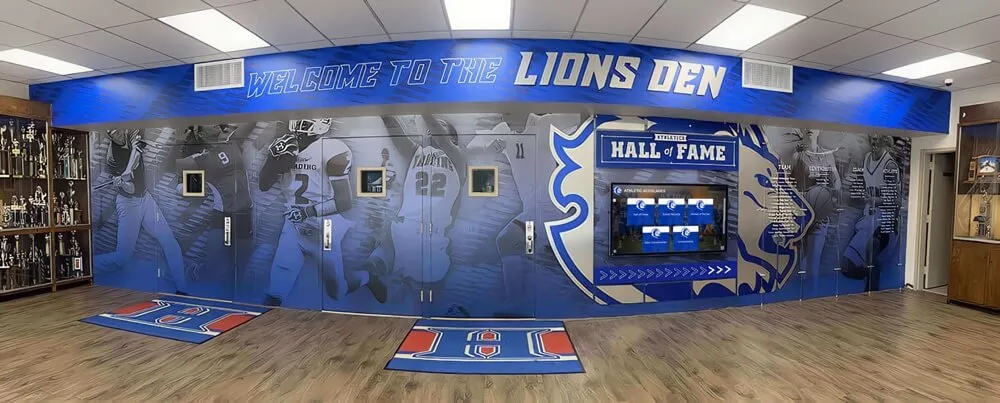
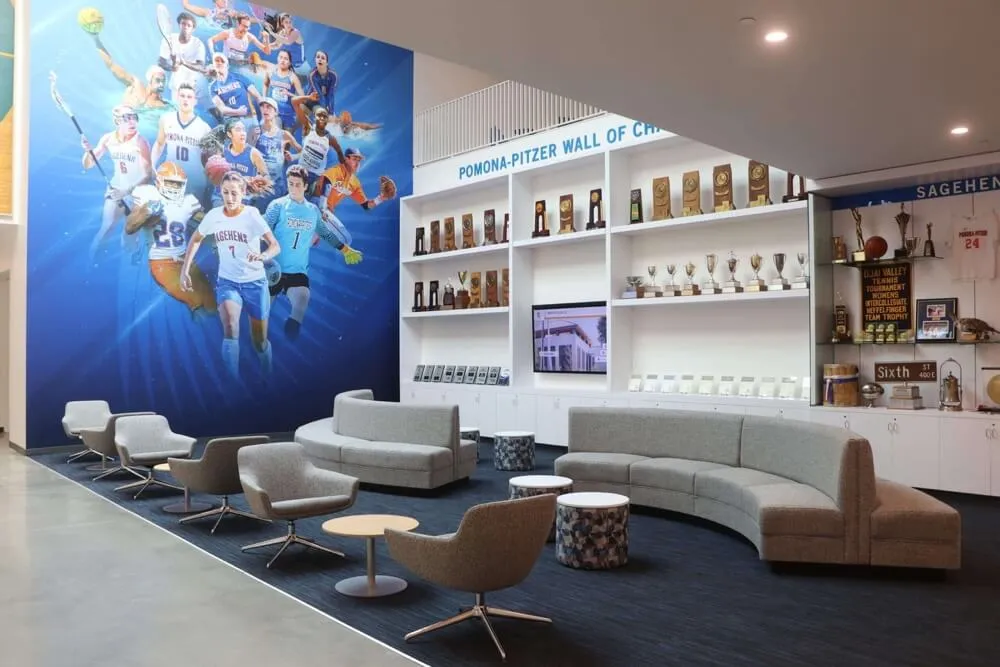
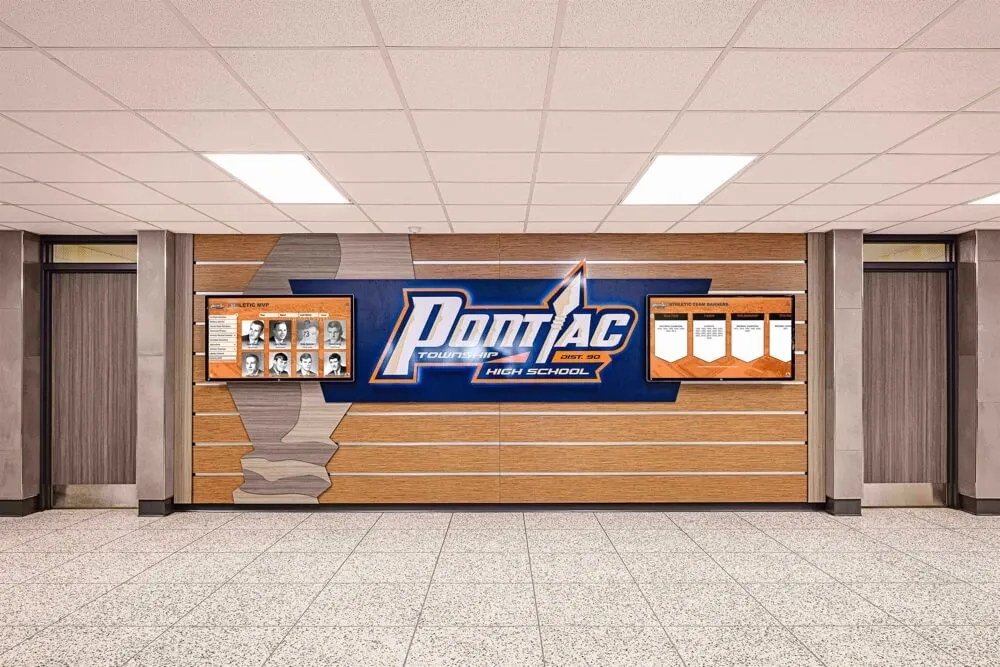
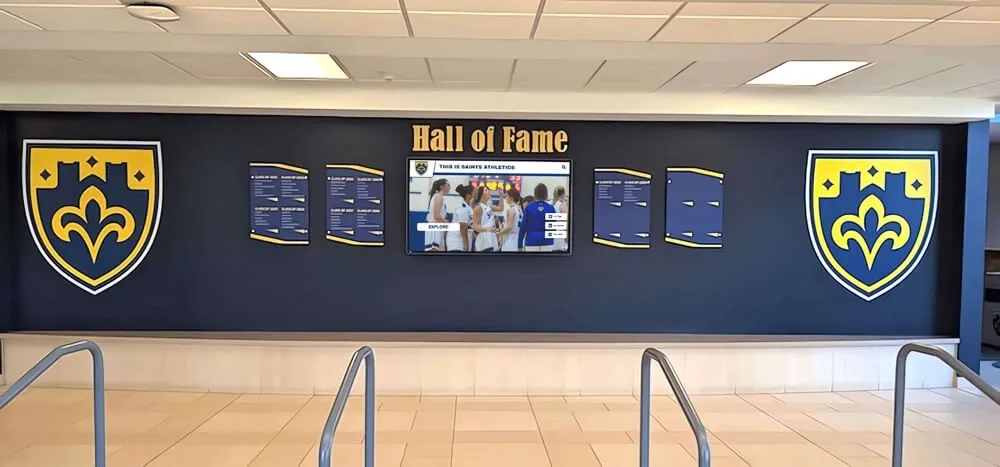
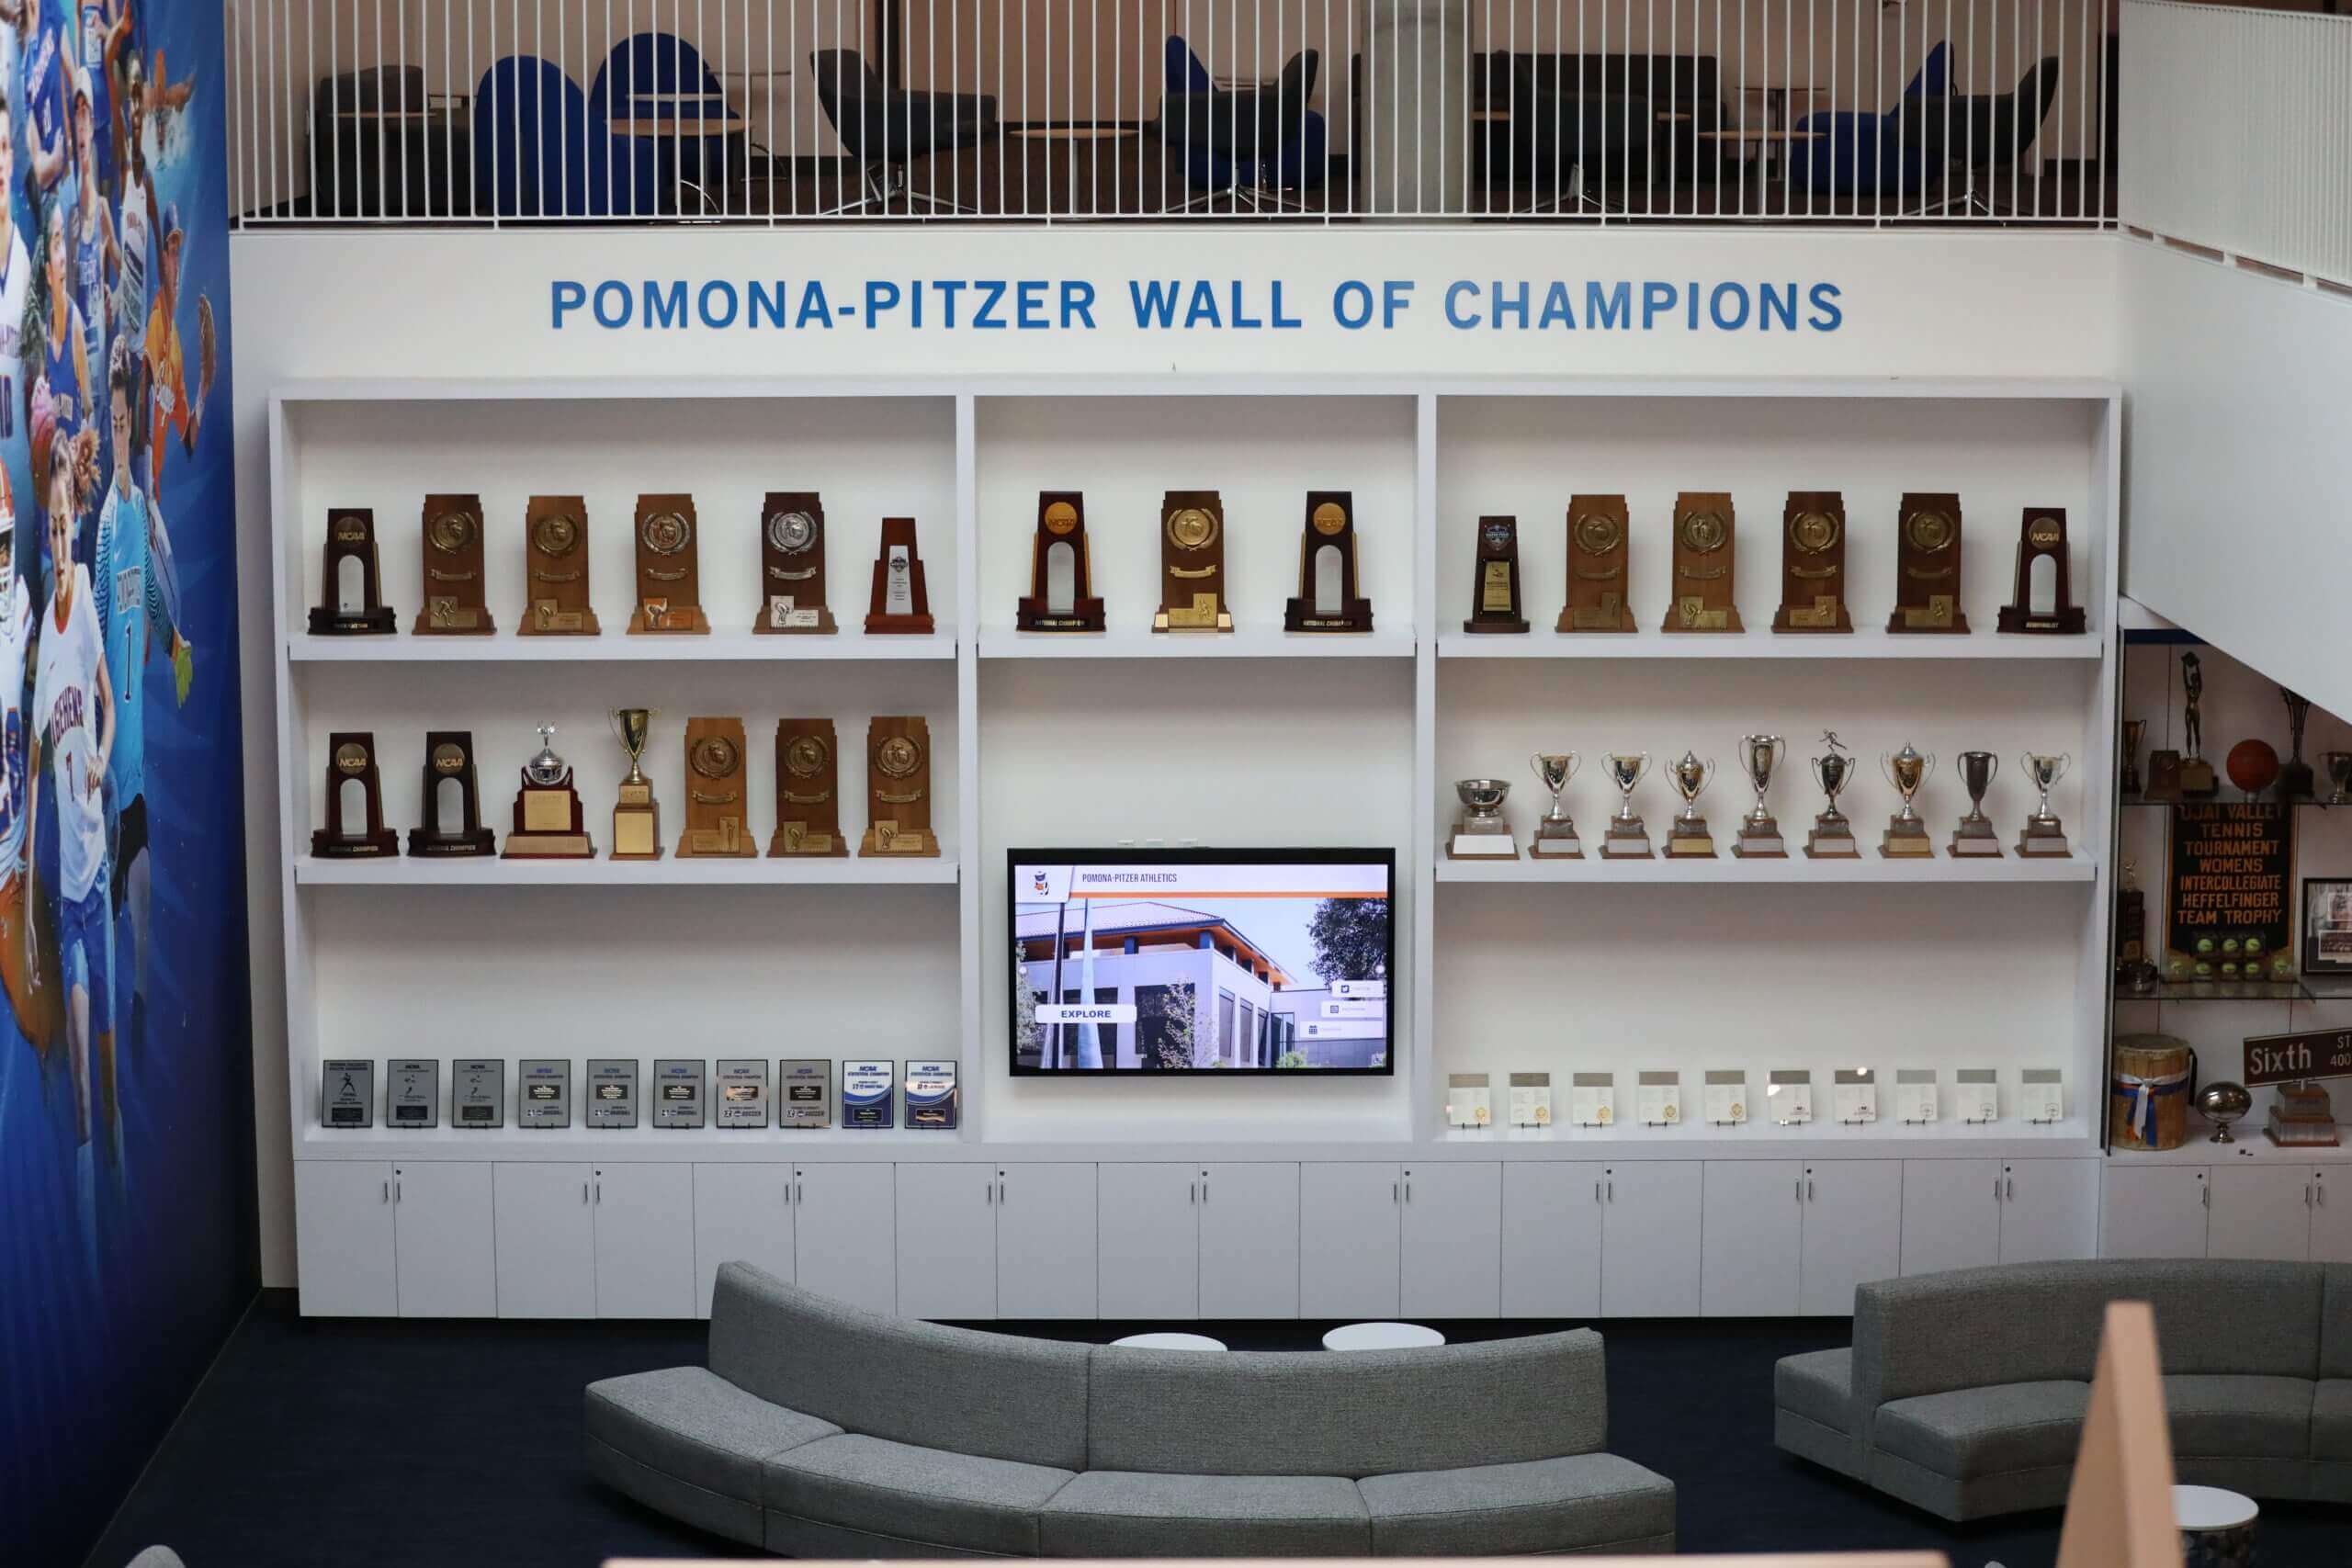
Trophy display lounges with multiple enclosed cases require spontaneous breakage investigation to determine whether a single-panel event is isolated or whether adjacent cases share the same causal conditions
What Spontaneous Glass Breakage Is — and What It Is Not
Spontaneous glass breakage means the panel failed without a discrete mechanical impact at the time of failure. It does not mean no external cause exists. It means the cause was a pre-existing condition — a stress concentration, a clearance deficiency, or an internal inclusion — that progressed to failure under ordinary environmental loading: thermal expansion, low-frequency corridor vibration, or the slow pressure of a glass panel migrating within its frame.
The three cause categories for spontaneous trophy case glass failure differ in where the initiating condition originates:
Thermal contact stress (most common in older installations): A glass edge or face that has reached hard contact with a metal frame member, shelf lip, hinge body, or corner fitting accumulates compressive stress each time the aluminum frame expands relative to the glass during heating. When the accumulated stress exceeds the glass edge strength at the contact point, the panel fractures. The failure may appear to happen on a warm afternoon, though it has been building across multiple thermal cycles.
Installation or handling edge damage: Glass edges are significantly weaker than glass faces. A chip, nick, or scratch introduced during manufacturing, cutting, shipping, or installation creates a stress concentration at the damaged point. The edge damage may not cause immediate failure; it reduces the margin between the edge strength and the ambient stress field until thermal or mechanical loading closes the gap. The panel breaks weeks, months, or years after the damage was introduced.
Nickel sulfide (NiS) inclusion failure (specific to tempered glass): Tempered glass contains residual compressive stress in the outer zones and residual tensile stress in the interior. NiS particles — a manufacturing inclusion that can form in the raw glass batch — expand slowly after tempering as they undergo a phase transformation. When an inclusion expands enough to overcome the surrounding compressive zone and reach the tensile interior, the stored energy in the tempered glass releases instantaneously. The resulting fracture produces a characteristic pattern of small, roughly cubic particles. NiS failure can occur at any time from months to years after installation, and cannot be predicted by visual inspection of the intact panel.
Distinguishing among these three categories is the purpose of the investigation.
The Concise Answer: What to Do Immediately After Discovery
Do not disturb the glass. Restrict foot traffic past the case. Photograph the fracture pattern before any glass is moved. Look at the origin point — where the fracture began. That single piece of information determines which cause category to investigate first and what corrective action the remaining intact cases in the building require.
School Trophy Case Spontaneous Glass Breakage Investigation Checklist
Step 1: Secure the Area and Restrict Access
Immediately after discovering the broken panel:
- Close off foot traffic within 1 meter of the case — glass particles may have traveled beyond the visible debris field.
- Do not open the case door or move any interior items until the investigation is complete.
- If the case is in an active corridor (gymnasium entrance, main lobby), contact administration to redirect student traffic during the inspection window.
- Note the discovery time, the person who discovered the breakage, and whether any other person witnessed the failure event or heard a sound at a specific time.
Discovery timing can help differentiate a thermal failure (more common during afternoon temperature peaks) from a delayed NiS event (which can occur at any time of day or night).
Step 2: Photograph the Scene Before Touching Anything
Before any glass is moved, document:
- Wide view of the full case showing which panel failed and the general debris pattern.
- Close-up of the fracture origin — the point from which cracks radiate. The origin is typically visible as a small area with a distinctly different crack density or morphology than the surrounding fracture pattern.
- Fracture pattern overall — whether the glass broke into large shards, medium fragments, or small roughly-cubic pieces (the last pattern is characteristic of tempered glass).
- All four glass edges at the frame — photograph each edge-to-frame clearance point while the glass is still in position, before handling causes edges to shift.
- Any hardware in proximity to the failure zone — shelf fronts, hinge bodies, corner fittings, or cam lock housings near the fracture origin.
- Adjacent panels — photograph the glass edges and hardware clearances on each panel next to the failed one, in case a systematic condition is present across multiple panels.
Photographs taken at this stage are the primary evidence record. Once glass is removed for cleanup, the origin evidence cannot be reconstructed.
Step 3: Read the Fracture Pattern
Fracture pattern analysis does not require specialized training for the initial cause-category determination. Three observable patterns map to three cause categories:
| Fracture Pattern | Panel Type | Most Probable Cause | Investigation Priority |
|---|---|---|---|
| Cracks originating at one edge, propagating inward across the panel | Annealed or heat-strengthened | Thermal contact stress at that edge | Measure clearance at the origin edge; inspect all contact points in the case |
| Cracks originating at one edge at a point of visible chipping or discoloration | Any | Installation or handling edge damage | Document the chip; assess whether the same handling process applies to other panels |
| Fracture into small roughly-cubic fragments from an interior origin point | Tempered only | NiS inclusion failure | Retain a sample of glass fragments; notify the glass supplier; inspect remaining tempered panels in the building for surface stress anomalies |
| Cracks originating at a hardware contact point (hinge, shelf, corner fitting) | Any | Localized hard-contact stress | Measure clearance at the contact point; inspect all hardware-to-glass gaps in the case |
| Cracks originating at a cam lock cutout or fastener hole | Any | Inadequate cutout clearance or stress concentration at drilled opening | Assess all cutout and drilled-hole clearances in the case |
| No identifiable origin; multiple crack paths of similar intensity | Annealed or heat-strengthened | Large-area thermal stress from severe temperature differential | Review HVAC proximity, heating vent placement, and direct sunlight exposure at the case location |
Origin identification is the highest-value single observation in the investigation. A fracture that begins at an edge and travels inward is a different failure mode — with a different correction — than a fracture that begins in the interior and radiates outward.
Step 4: Measure and Document Glass-to-Metal Clearance at the Origin Zone
After photographing and reading the fracture pattern:
- Using a feeler gauge set (0.5 mm to 3 mm blades), measure the clearance between the glass edge and the glazing channel back wall at the edge nearest the fracture origin.
- Measure the face clearance between the glass face and any stop or frame lip at the same location.
- Measure the clearance between any hardware component (shelf front, hinge body, corner fitting) that is near the fracture origin and the adjacent glass surface.
- Record all measurements in the inspection log. A clearance reading of less than 3 mm at an edge near the fracture origin, or a hardware contact reading of less than 2 mm near the origin, is consistent with a thermal contact stress failure.
If measurements show adequate clearance at the origin zone, the thermal contact stress cause category becomes less probable and the investigation shifts toward edge damage or NiS inclusion. Document the clearance measurements either way — they establish that the contact-stress cause was assessed, not assumed absent.
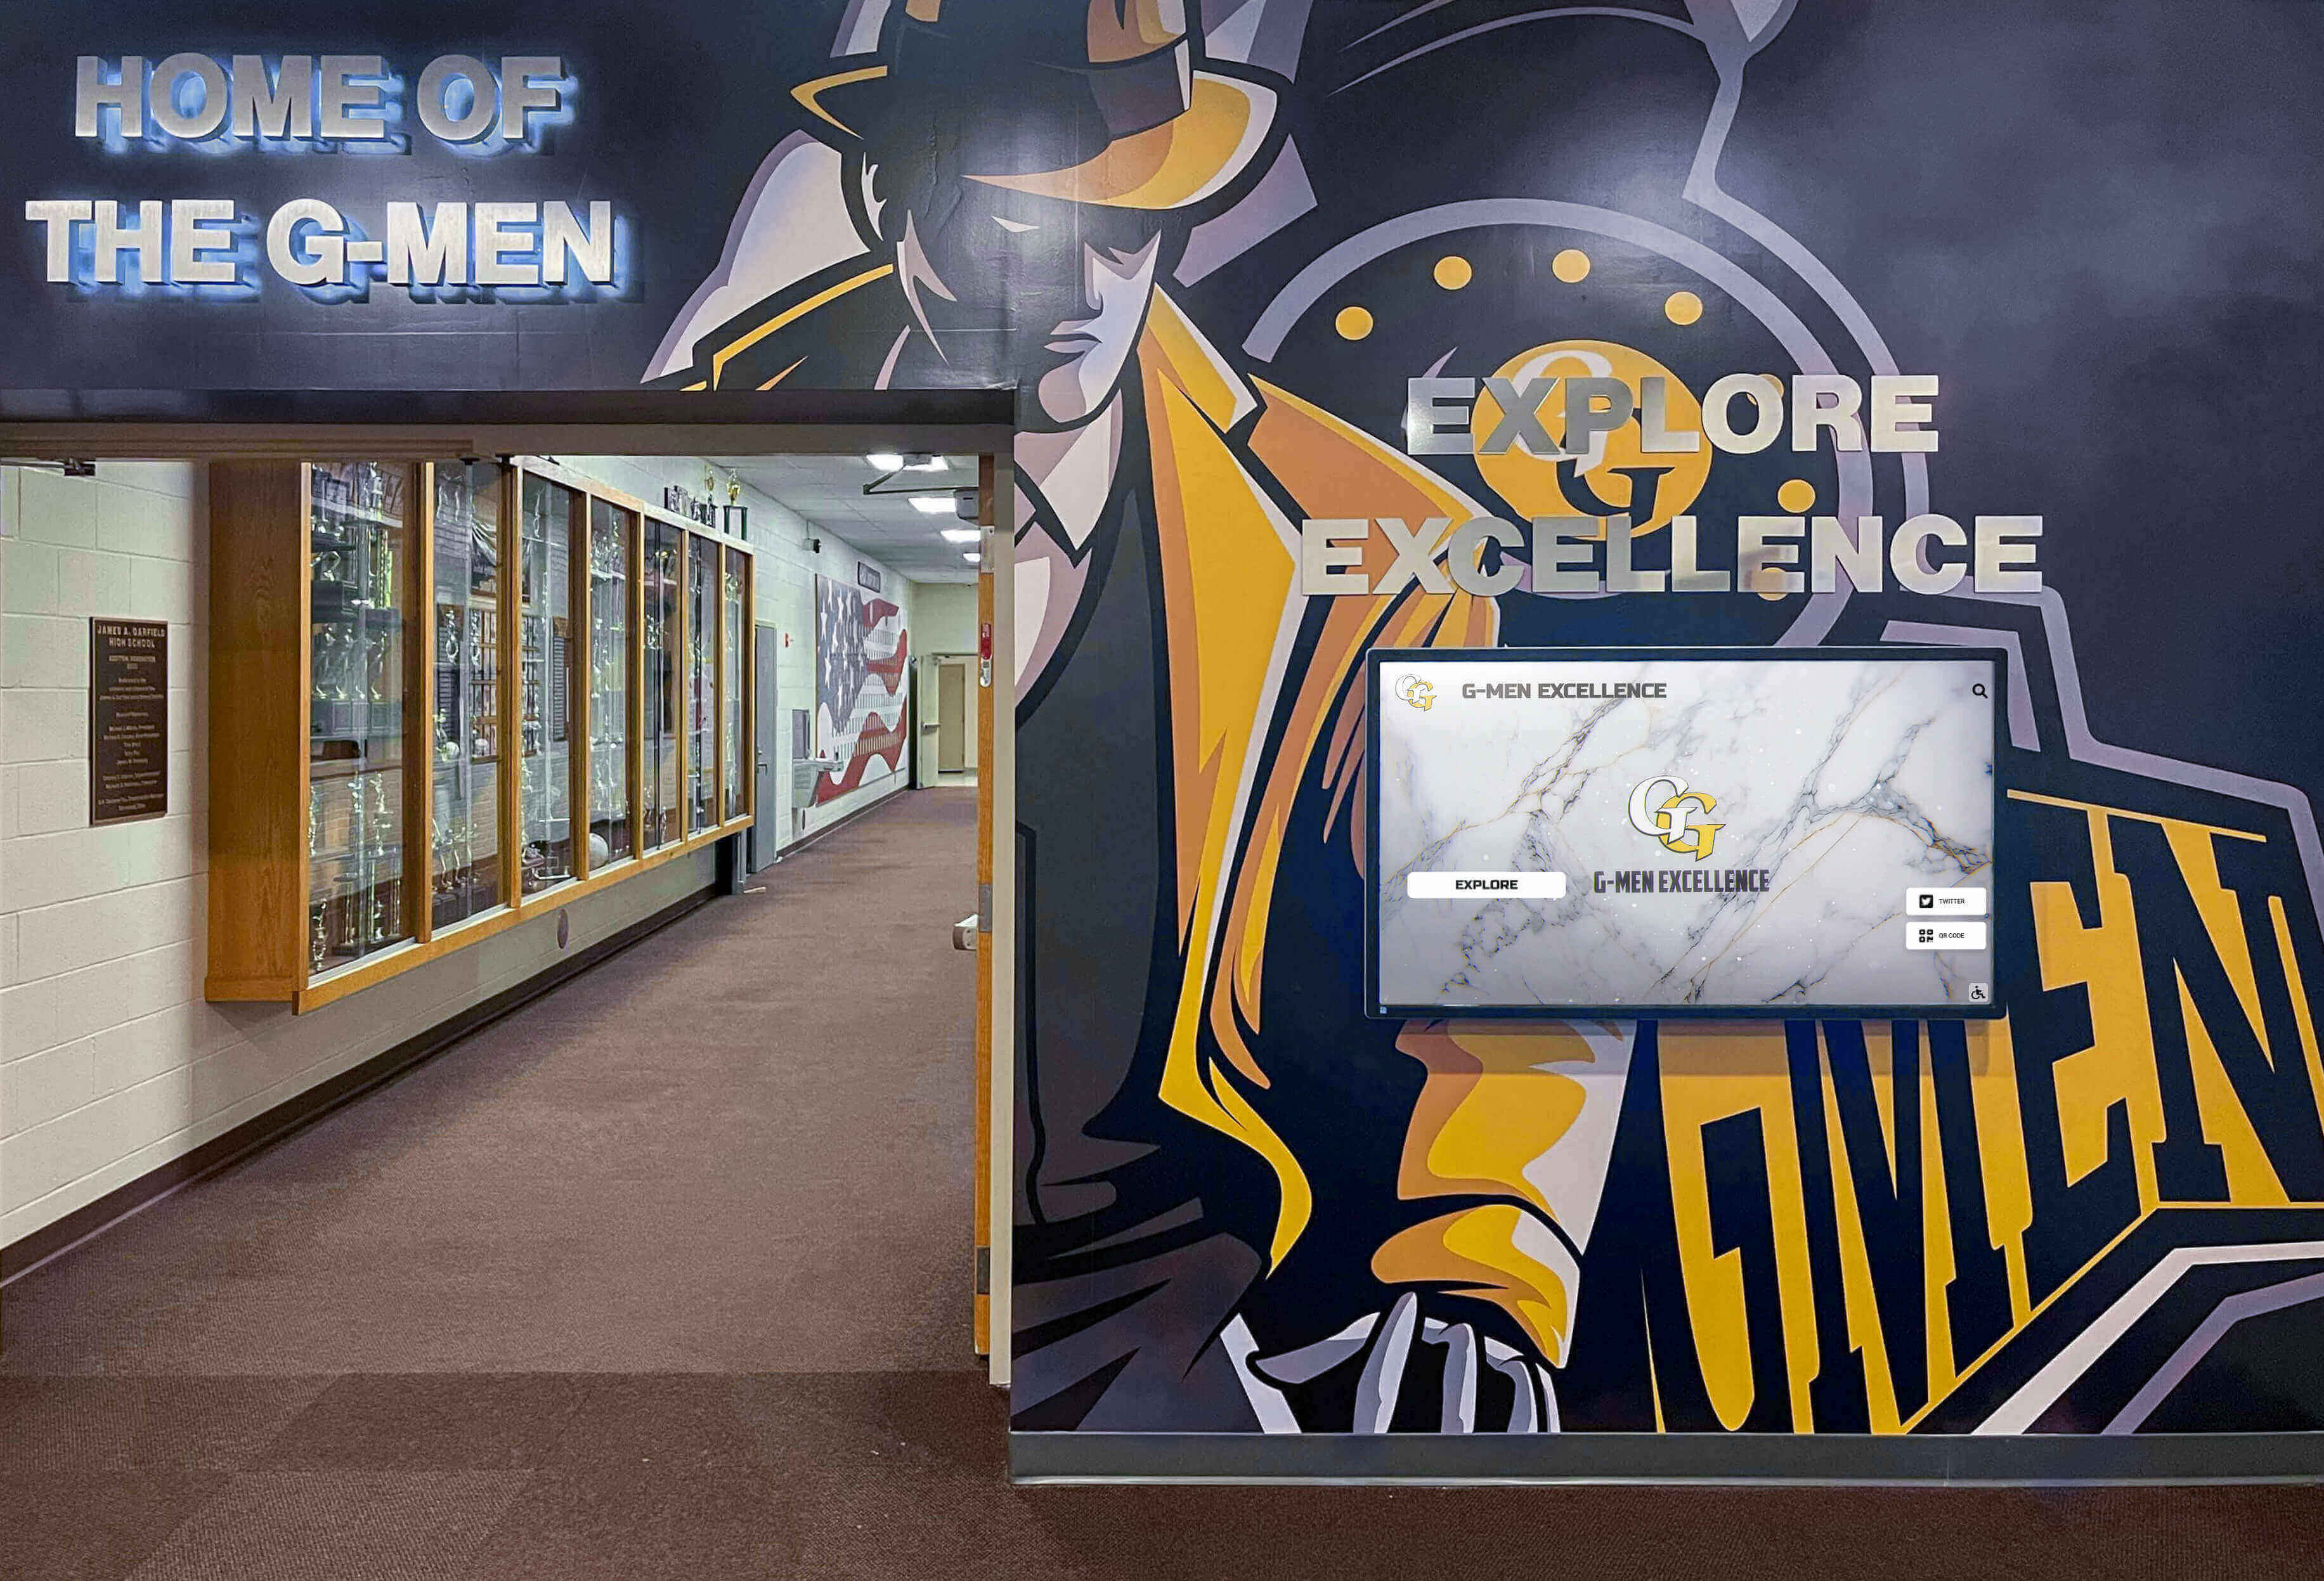
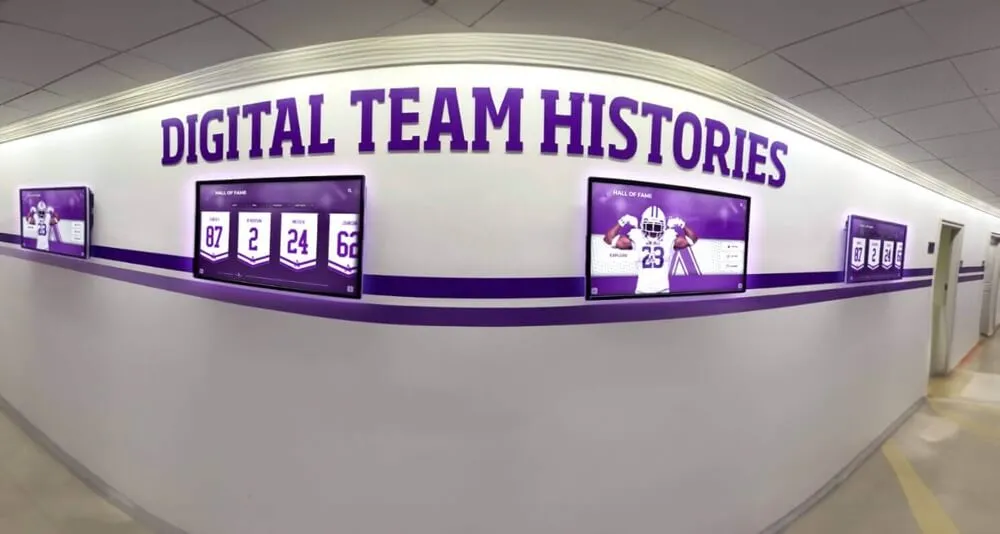
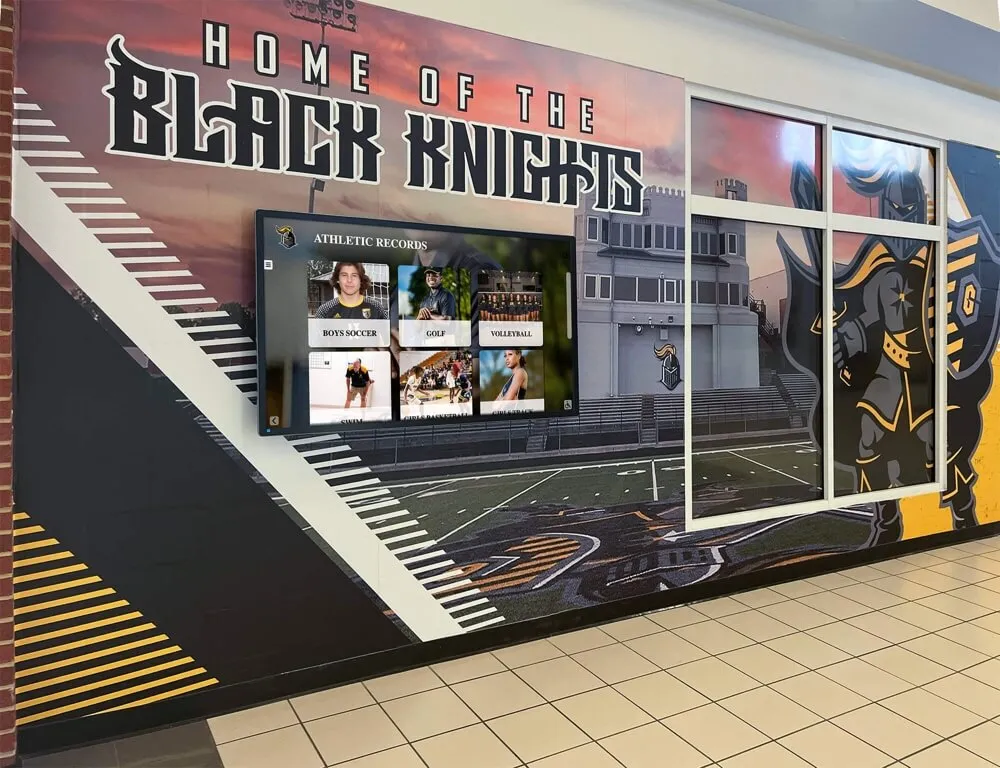
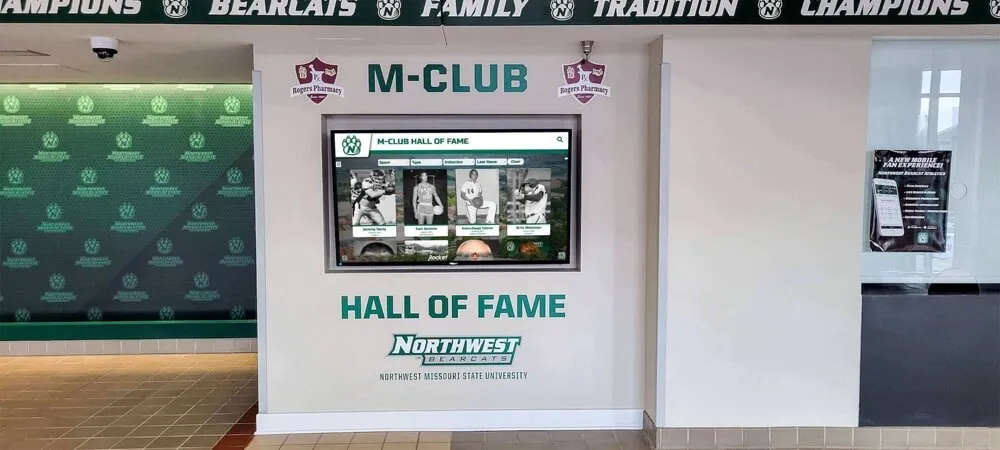
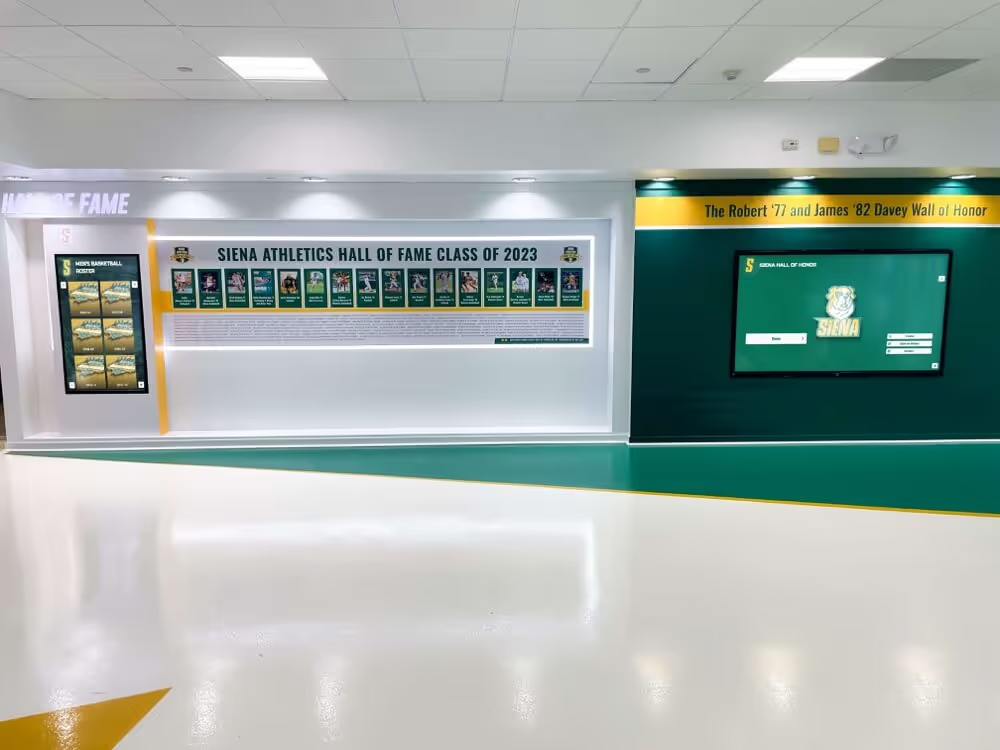
Trophy case corridors where physical glass cases are combined with digital displays require clearance and origin investigation after any spontaneous breakage event before returning the physical case to service
Step 5: Examine the Failed Panel’s Edges for Pre-Existing Damage
Before the glass is removed, examine all four edges of the failed panel for:
- Chips, nicks, or grinding marks at the edge nearest the fracture origin
- Metallic discoloration on the edge surface (indicating prior contact with a metal component)
- Old cracks or micro-fractures that do not appear fresh — distinguished from the current fracture by the absence of the bright reflective surfaces that fresh glass fractures display
Pre-existing damage at the origin edge, combined with no hardware clearance deficiency at that location, points to installation or handling damage as the cause. This finding is important because it changes the corrective scope: the response is a handling and installation protocol review for all future panel work, not a hardware adjustment of the existing cases.
If the fracture is in a tempered glass panel and the pattern is the small-cubic-fragment pattern described above, collect a sample of fragments from the interior of the fracture pattern — not the perimeter, which may include fragments from secondary impact against the frame. Place the sample in a sealed bag and label it with the case identifier, panel position, date, and discovery time. This sample may be useful to the glass supplier in determining whether a manufacturing defect investigation is warranted.
Step 6: Document the Recent Access and Maintenance History for This Case
For the specific case that failed, interview the facilities team member or athletic director who most recently accessed it and record:
- Date of last interior access — trophy additions, shelf repositioning, hardware adjustment, or cleaning
- Whether any shelf was moved at the last access — and if so, whether the new shelf position was checked for clearance against adjacent glass panels
- Whether the panel showed any visible edge damage, discoloration, or unusual appearance at the last access
- Whether any renovation, HVAC modification, or furniture movement near the case has occurred in the past twelve months
A shelf repositioning at the prior access, combined with a fracture origin at the rear panel face near the shelf front lip, provides a consistent causal narrative even if the clearance at the time of investigation cannot be directly confirmed (because the broken panel is no longer in position to be measured).
Recognition programs that rotate trophies and plaques seasonally — particularly active athletic programs that update wrestling awards and team recognition hardware at the end of each season — access their cases frequently enough that recent access history is always worth documenting after a failure event.
Step 7: Inspect Adjacent Cases for the Same Causal Conditions
After completing the investigation on the failed case, extend the clearance inspection to every adjacent case in the same corridor:
- Measure edge clearance at the same contact-point types that were deficient in the failed case.
- Inspect shelf front lips, hinge bodies, corner fittings, and cam lock housing clearances in each adjacent case.
- Note whether the adjacent cases were manufactured and installed by the same vendor and at the same time — if so, systematic clearance deficiency from the original installation is a credible explanation for the failure, and all cases from that installation warrant comprehensive re-inspection.
- Document the condition ratings for each adjacent case using the four-tier condition scale: Condition 1 (sound, ≥ 3 mm edge clearance), Condition 2 (monitor, 2–3 mm), Condition 3 (action required within 30 days), and Condition 4 (immediate glazier contact, case access restricted).
A spontaneous breakage event in one panel of a multi-case installation should be treated as a building-wide trigger for clearance inspection, not as an isolated event unless the investigation clearly identifies a one-time cause — such as a panel from a different manufacturing batch, or a panel that received confirmed edge damage from a specific handling event.
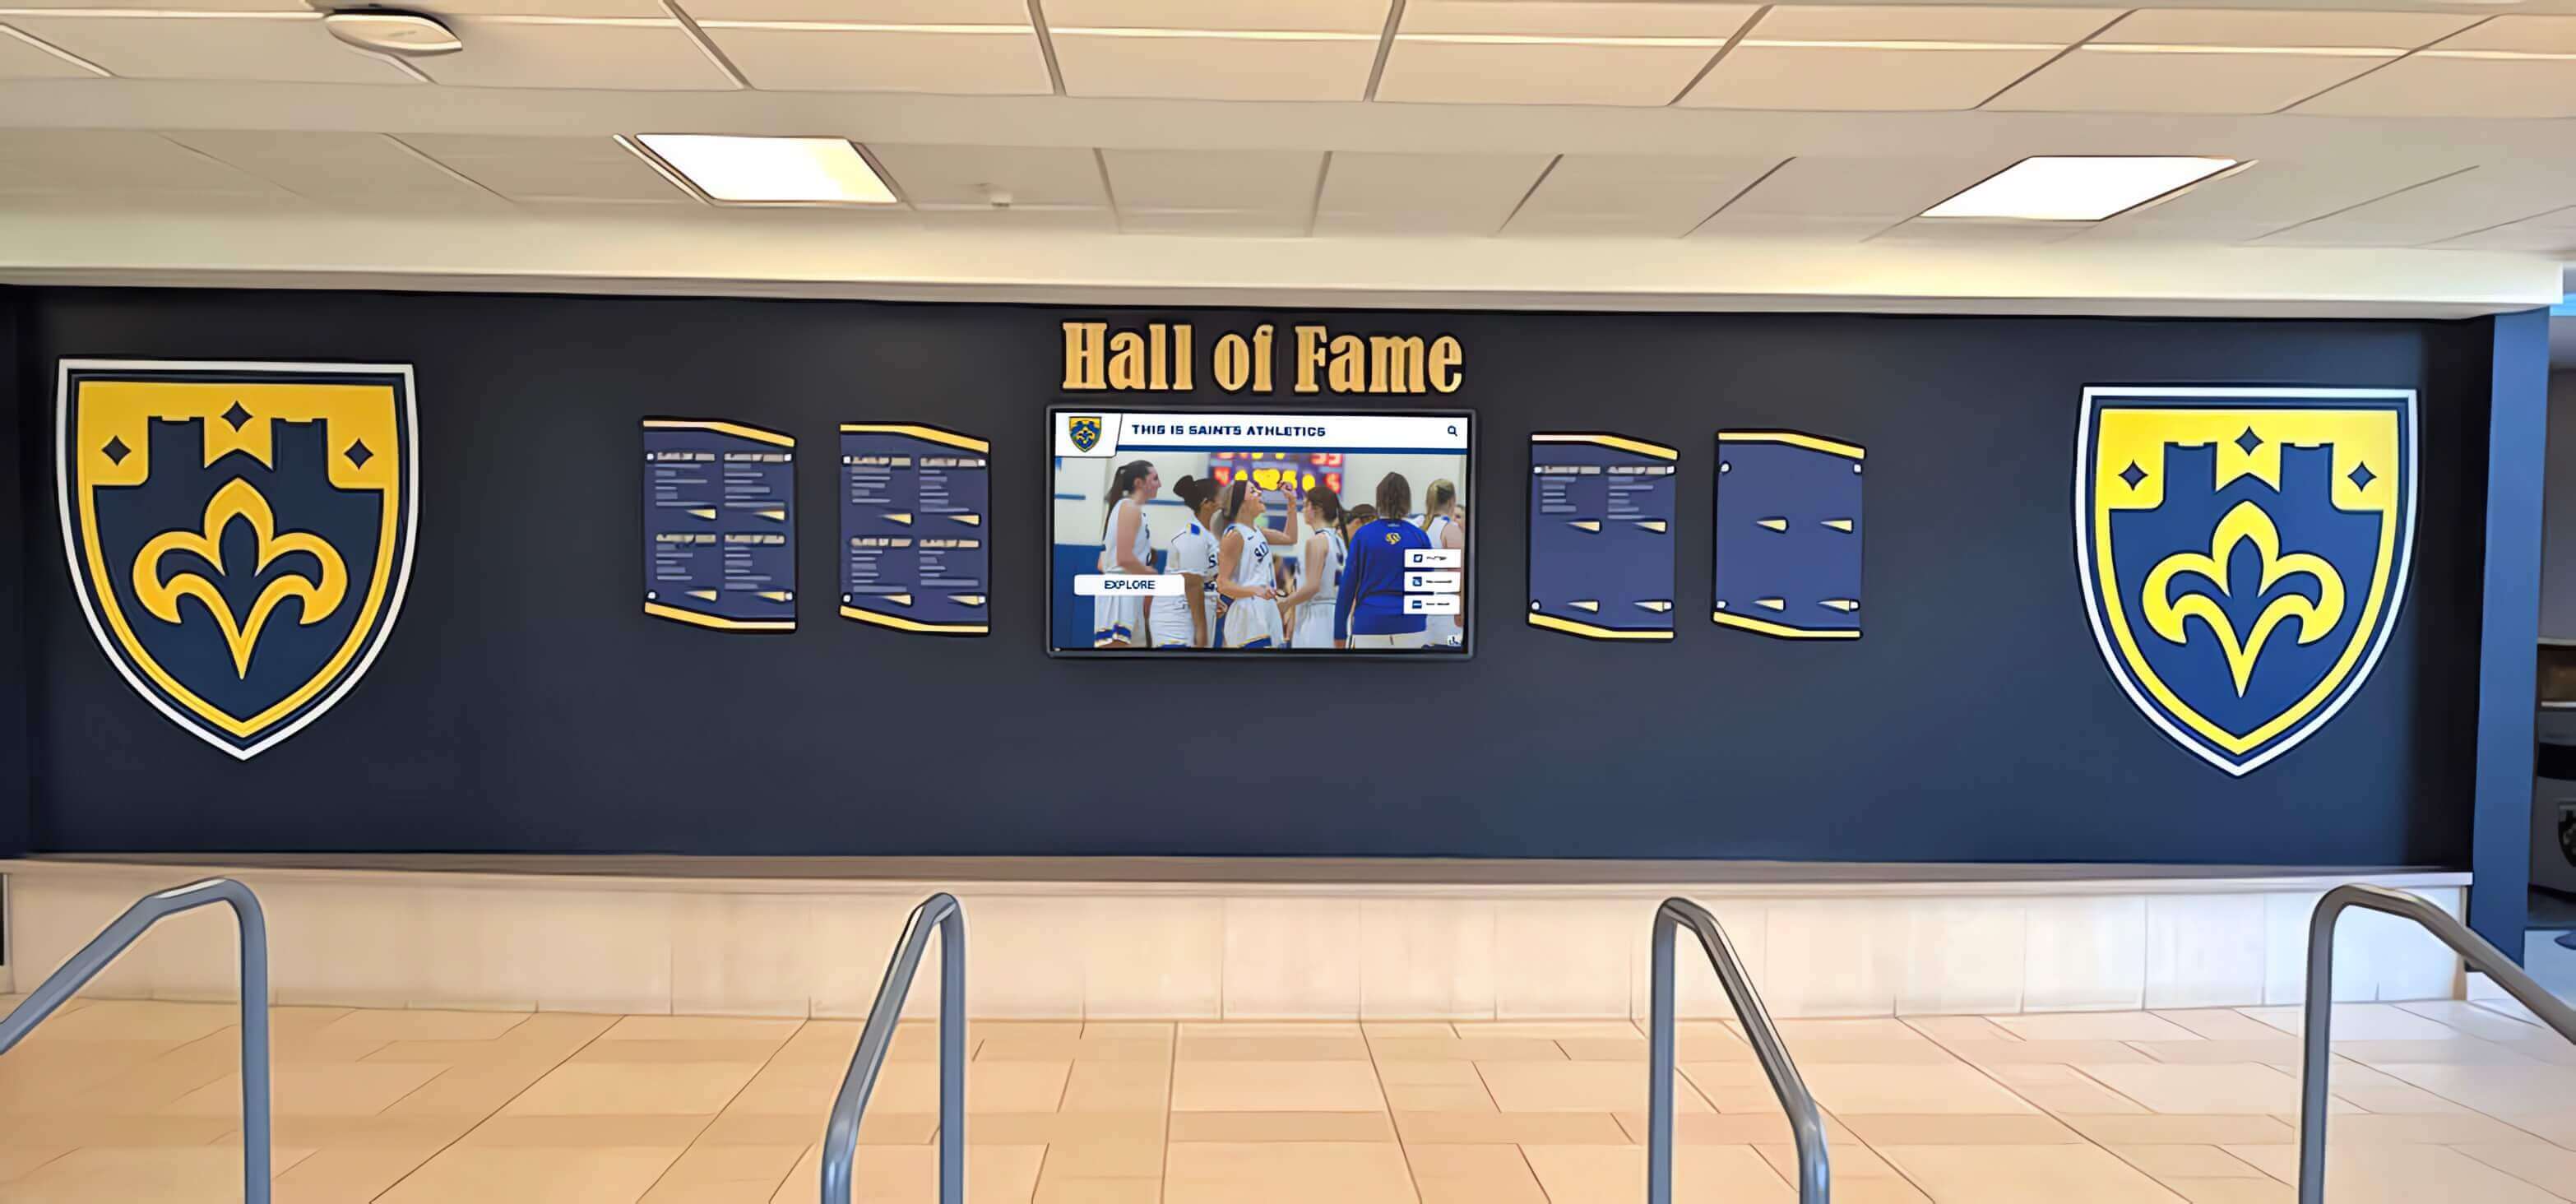
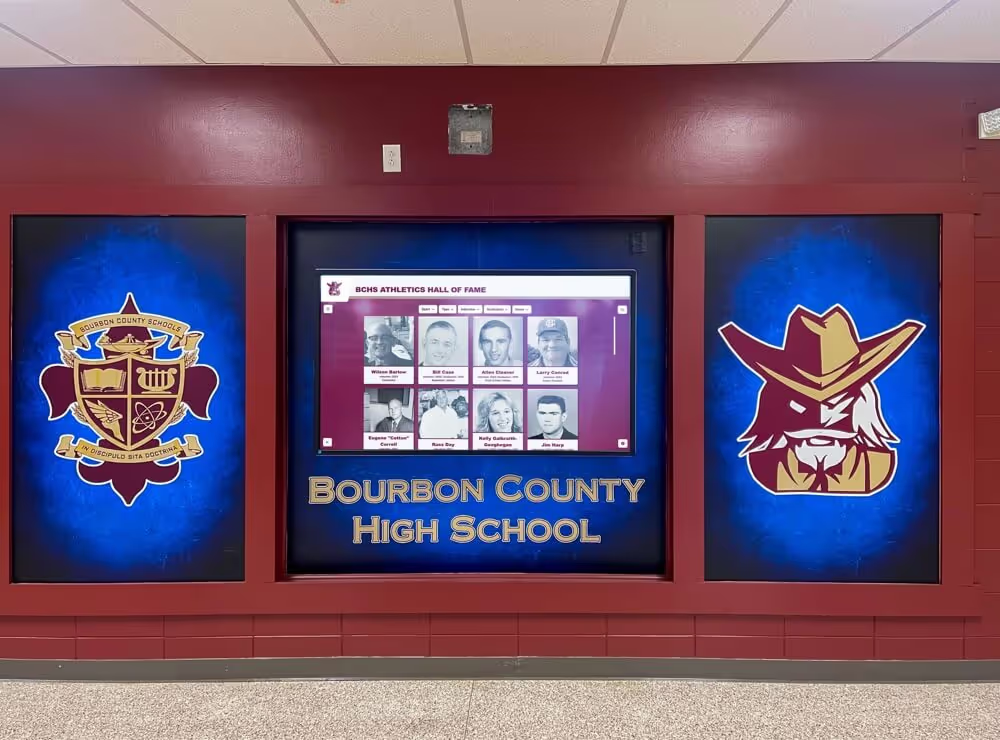
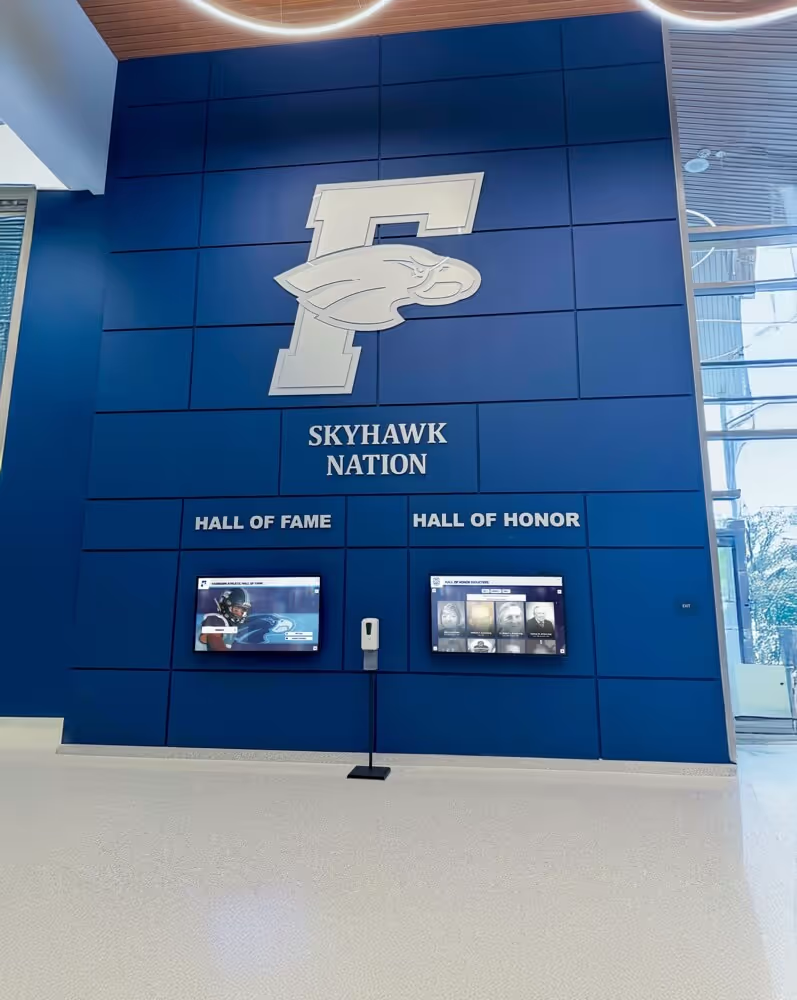
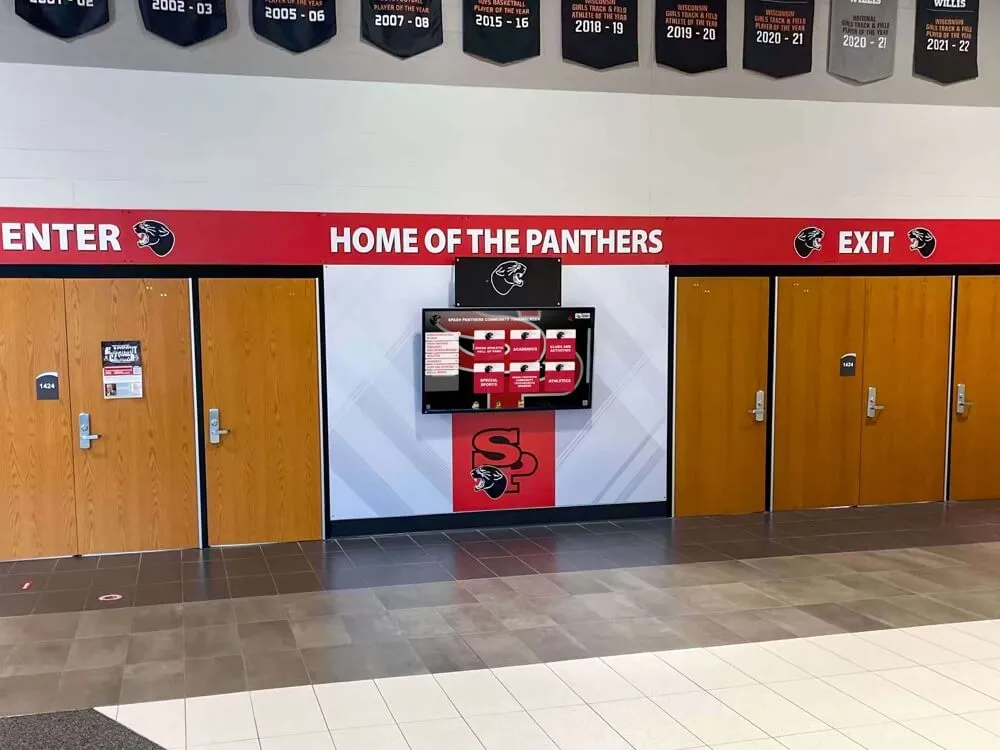
Multi-case installations in athletic lobbies require systematic adjacent-case inspection after any spontaneous breakage event — the causal condition identified in one panel is often present in neighboring cases
Step 8: Complete the Investigation Log Entry
Before returning the case to service, create a dated written record that includes:
- Case identifier and panel position
- Discovery time and discovery circumstances (who, when, what activity was occurring)
- Photographs taken (file names or attachment references)
- Fracture origin description and pattern category
- All clearance measurements recorded with gauge size or rule reading
- Edge condition at the origin zone (no prior damage / visible chip / metallic discoloration)
- Recent access history summary
- Probable cause category (thermal contact stress / installation edge damage / NiS inclusion / undetermined)
- Adjacent case inspection summary and condition ratings
- Corrective action required and scheduled date
- Whether a glazier has been contacted and the expected response date
- Whether case access has been restricted pending repair
This log entry is the institutional record of the event. It enables future facilities teams to identify whether the same case has had multiple spontaneous failures — a pattern indicating a systematic cause that individual panel replacements will not resolve.
Step 9: Determine Corrective Action Scope
Based on the investigation findings, corrective action falls into one of four categories:
Staff-level correction: If the fracture origin is at a shelf front lip and the shelf can be repositioned away from the glass face without glazier involvement, the facilities team moves the shelf and restores adequate clearance. Document the corrected position. No additional glazier work is required unless the glass panel itself requires replacement.
Glazier-required correction: If the fracture origin is at a glazing channel edge with deficient clearance, a hinge body in contact with the glass face, or a corner fitting with no measured clearance, a qualified glazier must reposition the replacement panel within the channel, add or replace glazing gaskets, or adjust hardware fittings. Facilities staff should not attempt to move glass panels within their channels or adjust hardware clearance without glazier training.
Supplier review: If the fracture pattern and origin are consistent with NiS inclusion failure in a tempered panel, retain the glass sample and contact the glass supplier or case manufacturer. Document whether the case is still within warranty or within the glass manufacturer’s standard documentation period.
Full case re-inspection and possible replacement: If the investigation reveals that a systematic clearance deficiency from original installation is present across multiple cases in the building, a glazier should assess the entire case inventory before the next recognized recognition season. Cases with Condition 3 or Condition 4 findings at any contact point should be taken out of regular service access until corrected.
What Facilities Staff Can Do vs. What Requires a Glazier
| Investigation or Correction Task | Facilities Staff | Glazier Required |
|---|---|---|
| Secure the area and restrict foot traffic | Yes | — |
| Photograph fracture scene and origin | Yes | — |
| Read fracture pattern and identify origin zone | Yes | — |
| Measure clearance with feeler gauge and millimeter rule | Yes | — |
| Examine edges for pre-existing damage | Yes | — |
| Document access and maintenance history | Yes | — |
| Inspect adjacent cases for same causal conditions | Yes | — |
| Reposition adjustable shelves away from glass | Yes (shelf only, no glass movement) | — |
| Reposition glass panel within glazing channel | — | Yes |
| Add or replace glazing gaskets | — | Yes |
| Adjust hinge hardware clearance | — | Yes |
| Replace failed glass panel | — | Yes |
| Grind or relieve stressed glass edge | — | Specialist only |
The division is the same as in any glass inspection protocol: identify, document, and preserve findings; do not attempt glass repositioning or hardware-to-glass clearance correction without glazier qualification.
Connecting Breakage Investigation to School Recognition
Spontaneous glass breakage does not occur in isolation from the recognition environment that the case exists to support. Trophy cases in athletic corridors are opened regularly as programs grow — new championship trophies, updated plaques, additional banners, and rotating seasonal displays each represent an access event that cycles the door hardware and creates an opportunity for shelf repositioning to reduce glass clearance.
Schools developing youth athlete recognition programs and building out trophy case displays across multiple seasons are precisely the schools whose cases accumulate the most hardware adjustments per year — and therefore the most clearance risk from incremental shelf movements. Building a spontaneous breakage investigation protocol into the same recognition-season calendar that governs trophy additions ensures that investigation readiness is maintained without a separate administrative process.
Programs that maintain visual recognition traditions like yearbook displays and athletic hallway exhibits as part of their school culture often have a richer physical case environment — more panels, more hardware, more interior hardware components — than programs that limit physical display to a single case. A richer physical environment is a more important context for systematic glass inspection, including investigation readiness.
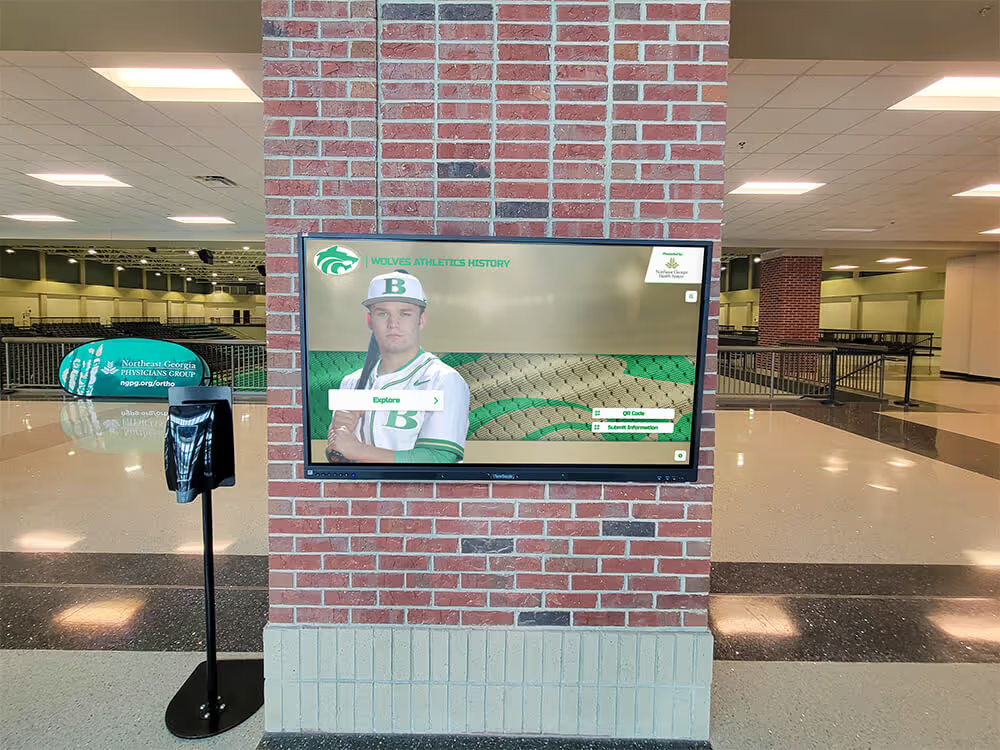
Schools that have moved part of their recognition record to digital platforms — digital yearbooks and online recognition archives — find that the pressure on physical trophy case access decreases over time. When the dynamic recognition record (current honorees, season results, individual awards) lives on a cloud-managed touchscreen platform, the physical case is opened primarily to add permanent items — trophies, retired jerseys, signed equipment — rather than to update plaques and labels that have been superseded. Fewer access events per year means fewer hardware adjustment opportunities, fewer shelf repositioning events, and a clearance condition that changes more slowly.
Frequently Asked Questions
What causes spontaneous glass breakage in school trophy cases without any impact?
Three causes account for most events: thermal contact stress from glass edges or faces that have reached hard contact with metal frame components during thermal expansion; pre-existing edge damage from installation or handling that reduces edge strength until ordinary stress levels exceed it; and — only in tempered glass — nickel sulfide (NiS) inclusion failure, where a microscopic inclusion expands slowly after manufacturing until the glass’s internal tension releases. Fracture pattern analysis and clearance measurement at the origin zone determine which cause is most probable for a specific event.
How do I tell whether broken trophy case glass was tempered or annealed?
Tempered glass produces a characteristic fracture pattern of small, roughly-cubic fragments — the “dice” pattern — because the entire panel is under pre-stress and shatters uniformly when the stress releases. Annealed glass fractures into larger irregular shards. Heat-strengthened glass produces an intermediate pattern. The fragment size and shape from the failed panel provide the first indication of glass type; the case documentation or installation records may confirm the specification if fragment analysis is ambiguous.
Does spontaneous glass breakage in one panel mean the other panels in the case will also fail?
Not automatically, but the event is a trigger for adjacent-case inspection. If the investigation identifies thermal contact stress from clearance deficiency as the cause, the clearance conditions in adjacent cases from the same installation should be measured, because systematic installation deficiency is a common cause. If the investigation identifies a one-time event — such as NiS failure in a single panel from a specific manufacturing batch, or confirmed edge damage from a specific handling event — adjacent panels may not share the causal condition. The investigation findings determine whether the corrective action scope is limited to the failed panel or extends to the building’s full case inventory.
What should we do with championship trophies and awards inside the failed case?
Do not remove the interior contents until the investigation photographs and clearance measurements are complete, because disturbing the contents before documentation can dislodge glass evidence near the origin zone or shift shelf positions that are relevant to the investigation. After documentation is complete, remove all awards carefully, wearing cut-resistant gloves, and inspect each item for glass particle contamination before storing or displaying it elsewhere during repair.
Can we replace the failed panel ourselves without calling a glazier?
Panel replacement — inserting a new glass panel into the glazing channel with appropriate clearances, face clearances, and gasket material — requires glazier qualification. Facilities staff can remove broken glass fragments for cleanup using appropriate PPE, but should not install the replacement panel. Improper installation of the replacement panel creates the same clearance conditions that may have caused the original failure.
How does a spontaneous breakage investigation connect to the glass-to-metal clearance inspection protocol?
The spontaneous breakage investigation includes all the clearance measurements performed in a standard glass-to-metal clearance inspection, but applies them after a failure event rather than before one. The pre-failure inspection is designed to catch clearance deficiencies before they produce breakage. The post-failure investigation uses the same measurements to determine whether clearance deficiency caused the event. Schools that conduct annual pre-failure clearance inspections have existing clearance data for each case — data that becomes diagnostically useful after a spontaneous breakage event by revealing whether the origin-zone clearance has decreased since the last inspection.
When Investigation Findings Point Toward Digital Recognition
Schools that complete systematic spontaneous glass breakage investigations sometimes find that the same cases require repeated glazier attention across multiple school years — clearance restoration, gasket replacement, or hardware realignment that is necessary but recurring. Recurring corrective costs at the same case are one of the operational signals that facilities directors and athletic directors use to evaluate whether a physical trophy case’s ongoing maintenance burden is justified by its recognition value relative to available alternatives.
Digital recognition platforms installed alongside physical trophy cases remove the glass-maintenance requirement from the dynamic portion of the recognition record. Championship trophies, retired numbers, and irreplaceable physical items remain in the physical case — which can be monitored with reduced access frequency since it no longer needs to be opened to update plaques and labels. The digital platform holds the complete, searchable recognition record — every honoree, every season, every award — without glass panels, frame hardware, or clearance margins to inspect.
This configuration does not eliminate the need for physical case glass inspection or spontaneous breakage investigation. It reduces the frequency and severity of the conditions that drive thermal contact stress failures by lowering door-cycling frequency, and it provides a recognition continuity layer so that awards visibility is not interrupted during a physical panel repair period.
See How Digital Recognition Works Alongside Your Trophy Cases
Rocket Alumni Solutions builds cloud-managed touchscreen recognition platforms for schools of every size. When a physical trophy case panel is under investigation or repair, digital recognition keeps every athlete, scholar, and honoree visible. When the physical case is back in service, the digital platform reduces the access pressure that accelerates glass-to-metal clearance degradation over time.
Schedule a DemoQuick-Reference Investigation Checklist
Use this summary at the scene. Transfer full documentation to the investigation log.
Scene control:
- Foot traffic restricted within 1 meter of failed case
- Case door not opened; interior contents not disturbed
- Discovery time, discoverer name, and any witness information recorded
Photography (before touching glass):
- Wide view of full case — which panel failed, general debris pattern
- Close-up of fracture origin
- Full fracture pattern — fragment size and shape documented
- All four glass-to-frame edges photographed in position
- Hardware near origin zone photographed
- Adjacent panels photographed
Fracture pattern analysis:
- Origin location identified (edge, interior, hardware contact point, cutout)
- Fragment size noted (large shards = annealed; small cubic = tempered)
- Cause category recorded: thermal contact stress / edge damage / NiS inclusion / undetermined
Clearance measurements at origin zone:
- Edge clearance measured at origin edge (target ≥ 3 mm)
- Face clearance measured at nearest stop or frame lip (target ≥ 1 mm)
- Hardware clearance measured at any component near origin (target ≥ 2 mm)
Edge condition at origin:
- Pre-existing chip, nick, or metallic discoloration at origin edge: yes / no
Access and maintenance history:
- Date of last interior access recorded
- Most recent hardware adjustment (shelf repositioning, bracket addition) noted
- Any renovation or HVAC work near case in past 12 months noted
Adjacent case inspection:
- Clearance measurements completed for each adjacent case
- Condition rating recorded for each adjacent panel
NiS investigation (tempered glass only):
- Glass fragment sample collected from interior fracture zone and labeled
- Supplier contact initiated
Corrective action:
- Corrective action category recorded (staff-level / glazier-required / supplier review / full inventory re-inspection)
- Glazier contacted and expected response date noted
- Case access restriction status documented