



Intent: research — a school trophy case laminated glass delamination inspection is a structured assessment of the interlayer bond condition in multi-ply laminated glass panels installed in enclosed display cases used to house school recognition collections. Laminated glass — constructed from two or more glass plies bonded by an interlayer of polyvinyl butyral (PVB), ethylene vinyl acetate (EVA), or structural ionomer film — is the only common glass type that holds its fragments in place when broken, a safety characteristic that depends entirely on the integrity of the bond between the interlayer and each glass ply. When that bond fails in a condition called delamination, the laminate no longer behaves as a unified panel: edge bubbles form along the perimeter, haze spreads inward from the glass margins, moisture infiltrates the gap between plies, and the safety performance that distinguishes laminated glass from other glass types degrades silently behind an otherwise intact exterior surface. This guide explains what laminated glass delamination is, how to identify it through visual inspection, how to apply a repair-versus-replace framework to findings at each severity level, and how to use a structured checklist to document condition and assign correct follow-up actions for every laminated glass panel in a school’s trophy case inventory.
Not every school trophy case contains laminated glass. Most older institutional cases use tempered glass panels; many use standard annealed glass in lower-risk applications. But schools that have upgraded to safety-glazed cases in high-traffic corridors, replaced broken panels with laminated alternatives, or installed purpose-built display cases specified for laminated glazing now carry a glass type with a failure mode that differs fundamentally from cracking or shattering: delamination, a bond failure inside the glass itself that produces no structural breakage and no obvious hazard on the surface while systematically dismantling the feature that makes the glass safe.
A school trophy case laminated glass delamination inspection makes this invisible failure mode visible. It identifies where bond failure has begun, how far it has progressed, and whether a given panel warrants monitoring, a glazier assessment, or immediate replacement — before a compromised panel reaches the point where its safety function can no longer be assumed.

Trophy case corridors with laminated glass panels require periodic delamination inspection — a panel that appears intact from the hallway may have bond failure progressing from its edges inward without any visible surface change
What Laminated Glass Is and Why It Appears in School Trophy Cases
Laminated glass is a composite glazing product manufactured by bonding two or more glass plies together using an interlayer film under controlled heat and pressure. The interlayer bonds to each glass surface, creating a sandwich panel that behaves as a single unit under normal conditions. When the glass is broken, the interlayer retains the fragments, preventing the large sharp shards produced by annealed glass breakage and the explosive scatter associated with tempered glass failure.
The three interlayer types most commonly found in school-grade laminated glazing are:
Polyvinyl butyral (PVB): The most widely used interlayer in architectural laminated glass, PVB is a flexible thermoplastic film with strong adhesion to glass surfaces, good optical clarity, and moderate UV resistance. PVB is the baseline interlayer material specified in ASTM C1172, the Standard Specification for Laminated Architectural Flat Glass. Its primary vulnerability is moisture — edge infiltration of water can migrate between the glass ply and the interlayer, initiating delamination from the perimeter inward.
Ethylene vinyl acetate (EVA): An alternative interlayer with better moisture resistance than PVB, EVA is used in some specialty laminated panels and decorative glazing applications. EVA delamination follows a similar progression to PVB failure but typically at a slower rate due to its superior edge-sealing characteristics.
Structural ionomer film (SentryGlas and similar products): A stiffer, higher-strength interlayer used in structural and hurricane-rated glazing applications. Ionomer interlayers are significantly more resistant to delamination than PVB and are rarely found in standard school trophy case glazing outside of purpose-specified safety installations.
In school buildings, laminated glass appears in trophy cases when: safety glazing is required by applicable building code at the installation location; a case was originally installed with laminated panels by a manufacturer specifying safety glazing; or a broken original panel was replaced by a glazier who substituted laminated glass for the original tempered or annealed panel. Because replacement panels are not always documented, a trophy case may contain a mix of glass types — some original tempered panels alongside replacement laminated panels — without any record indicating which panels are which.
| Glass Type | Construction | Breakage Pattern | Delamination Risk | Common Trophy Case Context |
|---|---|---|---|---|
| Annealed | Single ply, no treatment | Large sharp irregular shards | None — no interlayer | Older cases; lower-traffic locations |
| Tempered | Single ply, heat-treated | Small pebble-like fragments | None — no interlayer | Most common in institutional cases |
| Laminated (PVB) | Two plies + PVB film | Fragments held by interlayer | Yes — moisture at edges initiates bond failure | Safety-glazed installations; some replacement panels |
| Laminated (EVA) | Two plies + EVA film | Fragments held by interlayer | Yes — slower onset than PVB | Specialty decorative installations |
| Laminated (ionomer) | Two plies + ionomer film | Fragments held by interlayer | Low — highly resistant to edge moisture | Structural or hurricane-rated installations |
Identifying whether a trophy case contains laminated glass is the first step of the inspection. Tempered glass typically carries a permanent safety mark (a stamp or label in the corner indicating ANSI Z97.1 or CPSC 16 CFR 1201 compliance). Laminated glass may carry a different mark indicating its laminated construction. When a glass type cannot be confirmed from markings or case documentation, the inspection should treat the panel as potentially laminated and apply the delamination checklist as a precaution.
Visible Warning Signs: Leading Indicators of Laminated Glass Delamination
Laminated glass delamination produces a set of visual indicators that a trained facilities inspector can identify without tools in most cases. These indicators are the primary evidence base for the inspection checklist, and they follow a generally predictable progression from early-stage edge initiation to advanced structural compromise.
High-Priority Warning Signs
The following signs warrant immediate escalation and should not be left without documented action:
Visible moisture or condensation between glass plies: Water droplets, streaks, or moisture trapped between the two glass layers — visible from the front face of the panel as a wetness between the panes — indicates complete edge seal failure and active water infiltration into the interlayer space. This is an advanced finding. The interlayer bond at the affected edges is no longer functional, and the moisture present will accelerate further delamination.
Central clouding or opacity in the panel interior: White, gray, or silver clouding in the center zone of a panel — away from the edges — indicates delamination has progressed past the perimeter zone and is affecting the central bond area. A panel at this stage has lost a significant portion of its lamination performance and requires replacement assessment.
Visible separation between plies at the edge: If the two glass plies can be seen to have separated at the panel edge — a visible air gap, or the ability to see into the gap between layers — the laminate has delaminated to a point where the edge is fully open. This condition requires same-day escalation.
Rainbow or iridescence across large panel area: A broad rainbow-like interference pattern visible across a significant portion of the panel face when viewed in reflected light at an oblique angle indicates large-area interlayer separation. Localized iridescence near a small edge bubble is an early-stage finding; iridescence covering more than 20 percent of the panel face is an advanced-stage finding.
Early-Stage Warning Signs
These signs are consistent with initial delamination and warrant documentation and scheduled follow-up:
Edge bubbles: Small, rounded translucent or white bubbles along one or more edges of the panel — inside the glass itself, not on its surface — are the most common early indicator of PVB interlayer delamination. The bubbles are areas where the interlayer has separated from the glass surface, trapping an air pocket. They may appear singly or in clusters, and they are most common at corners where UV exposure and thermal cycling are concentrated. Edge bubbles 1–3 mm in diameter at a single corner location are an early-stage finding. Multiple bubbles on two or more edges, or bubbles larger than 5 mm, indicate active progression.
Peripheral haze band: A band of white or silver haze running parallel to one or more glass edges, typically 5–25 mm wide and inset from the glass perimeter, is characteristic of moisture that has infiltrated the edge and begun to break down the PVB-to-glass bond in that zone. The haze is the optical result of microscopic voids between the interlayer and glass surface. A haze band visible on one edge is an early-to-intermediate finding; haze bands on multiple edges indicate more advanced moisture infiltration.
Yellowing or amber discoloration: PVB interlayers exposed to prolonged UV light — particularly in cases near windows or skylight corridors — may develop a yellow or amber tint. Mild yellowing without accompanying bubbles or haze indicates UV degradation without active delamination but should be monitored as the UV-degraded bond is more susceptible to subsequent moisture-initiated failure.
Localized iridescence at corner or edge: A small rainbow-like interference pattern visible in reflected oblique light at one corner or along a short section of one edge is an early visual indicator of localized interlayer separation. This is distinct from the broad iridescence of advanced delamination; it is typically associated with a discrete bubble cluster.
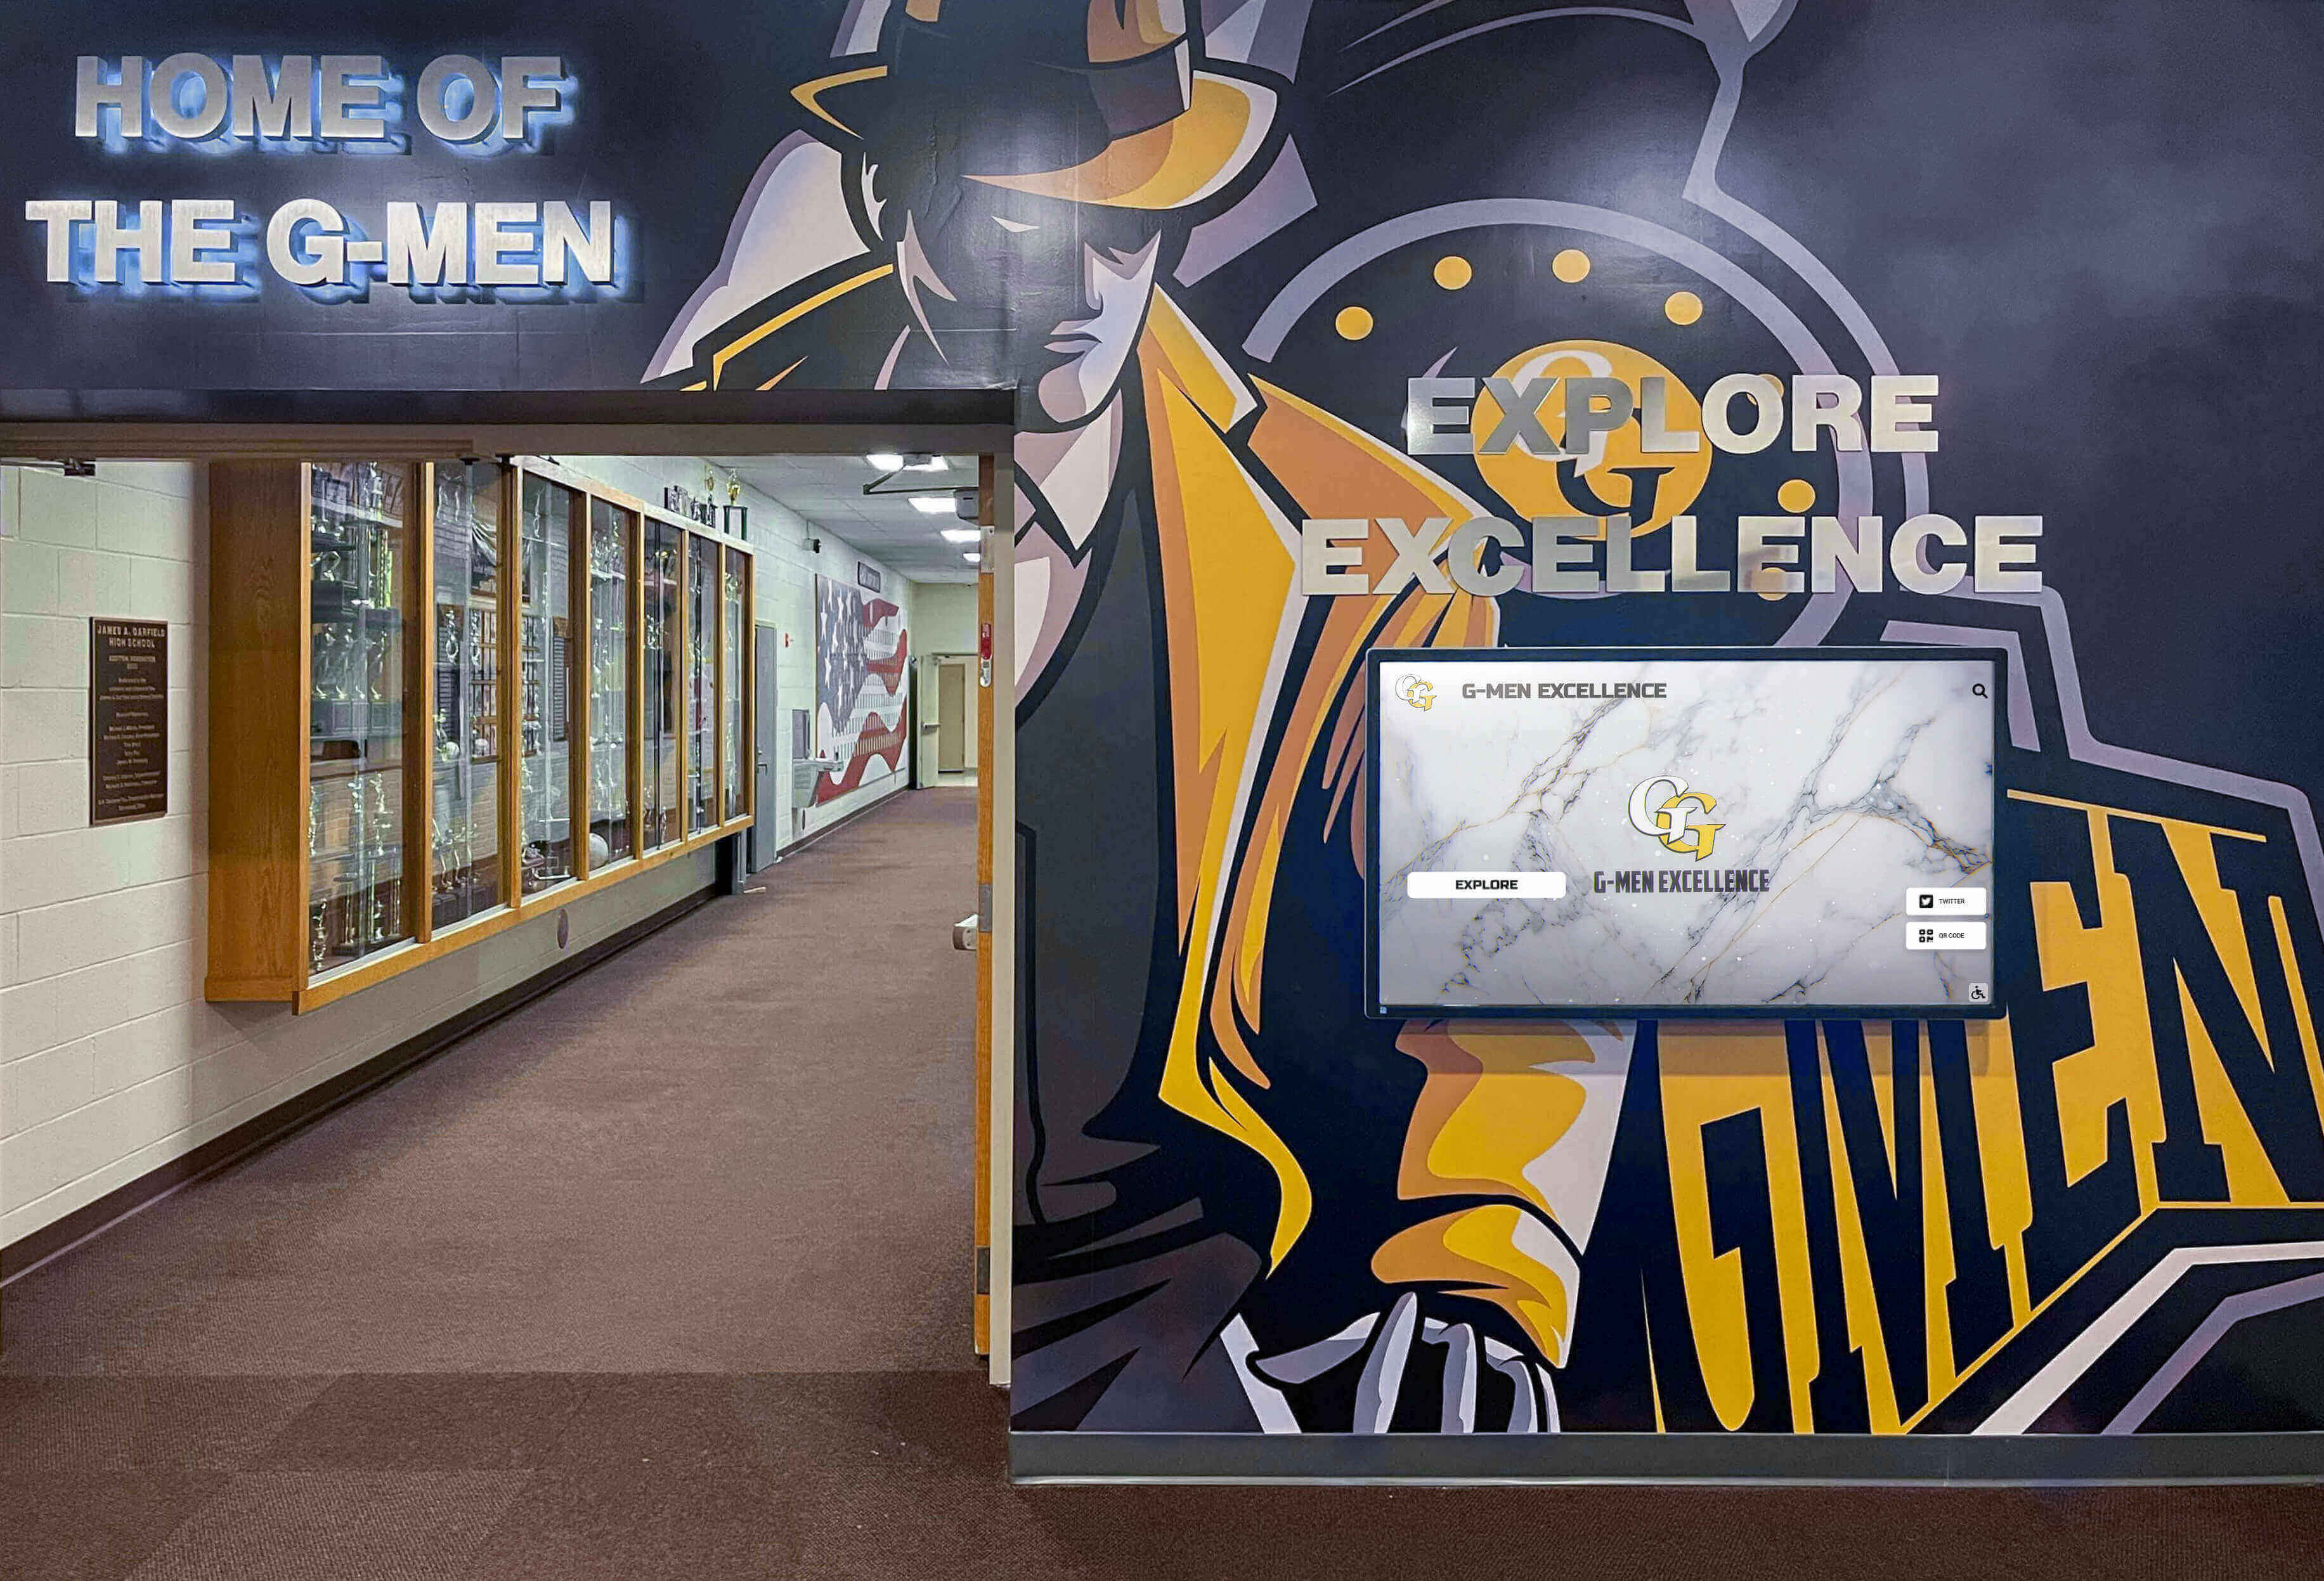
Hallway trophy cases containing laminated glass panels benefit from annual delamination inspection — edge bubbles and haze banding that begin at the corner of a single panel will progress over successive thermal cycles if not identified and escalated
Pre-Inspection Preparation
A laminated glass delamination inspection requires no specialized tools, but systematic preparation improves the quality of findings and the consistency of documentation across inspection rounds.
Items to bring:
- Flashlight or headlamp — oblique lighting directed at the glass surface at a low angle reveals haze bands and surface iridescence more reliably than overhead corridor lighting
- Millimeter ruler or small engineer’s scale — for estimating bubble diameter and haze band width; not required for every panel but useful for documenting measurements on findings rated 3 or higher
- Inspection log with columns for case ID, panel position, glass type confirmation, delamination condition rating, finding description, and escalation status
- Digital camera or smartphone — required for photographic documentation of any finding rated 3 or higher
- Building case inventory noting which panels are confirmed or suspected laminated glass
Timing considerations: The progression of PVB delamination accelerates with temperature cycling. Inspections conducted in early fall (before heating season begins) capture the cumulative effect of summer UV and temperature exposure — the period most likely to have initiated or advanced edge bubble formation in cases near exterior walls or windows. Early spring inspections capture the effect of the winter heating season, during which humidity management failures in case interiors may have contributed to edge moisture infiltration.
Identify laminated panels before inspecting: Before assessing any individual panel, confirm or attempt to confirm whether the panel is laminated. Look for safety glazing stamps in the corner, check any available case documentation, and examine whether the panel visibly appears to be a two-ply construction (laminated glass has a slightly greenish or grayish cast at the edge visible from the side, and may appear marginally thicker than a comparable single-ply panel). Note the glass type in the inspection log before completing the condition assessment. If the type cannot be confirmed, record it as unknown and apply the delamination checklist as a precaution.
School Trophy Case Laminated Glass Delamination Inspection: Step-by-Step Protocol
Step 1: Record Case Identification
Before examining any panel, record:
- Case identifier (corridor, wing, sequence — e.g., ATH-07)
- Location in building (hallway designation and landmark reference)
- Date, time, and inspector name
- Known case age or installation year
- Glass type confirmation status for each panel (confirmed laminated, confirmed tempered, unknown)
Cases without assigned identifiers should be labeled at this inspection. Consistent naming across all inspection rounds is the foundation of condition-trend analysis — identifying whether a specific case is deteriorating between inspection cycles requires records tied to the same case identifier over multiple years.
Step 2: Standing-Distance Visual Survey
Step back two to three feet from the case face and survey each panel from a normal standing position before moving closer:
- Does any panel appear discolored, yellowed, or cloudy compared to adjacent panels?
- Is there visible haze banding along any panel edge visible from this distance?
- Does any panel appear to have a milky or opaque zone near any edge or corner?
- Is moisture or condensation visible between the plies of any panel?
Standing-distance findings are typically advanced-stage conditions. A delamination finding visible from two feet has been progressing long enough to produce a significant visual effect — escalation is almost always warranted for any anomaly identified at standing distance.
Step 3: Close-Up Perimeter Examination
Move to within 12 inches of the case face. Using the flashlight held at an oblique angle to the glass surface, examine the perimeter of each laminated panel:
- Trace the inspection light slowly along all four edges of each panel
- Look for small bubbles at or near the edge — any size from 1 mm upward
- Look for a haze band running parallel to the edge, set back 5–25 mm from the glass perimeter
- At each corner, look for corner-specific bubble clusters — corners experience concentrated UV and thermal stress and are the most common delamination initiation point
- Note the approximate position of any bubbles (which edge, which corner area, estimated distance from edge) and their approximate size
Step 4: Oblique Reflected-Light Check for Iridescence
Hold the flashlight or direct a hallway light source so that it reflects off the face of the panel at an oblique angle — typically about 30 to 45 degrees from the glass surface. Move the light slowly across the panel face while watching for:
- A rainbow or iridescence pattern in the reflected image
- Any zone where the reflection appears broken up, mottled, or cloudy in a way that is not present on adjacent panels
- Edge or corner zones where the reflected light appears different from the adjacent panel area
Localized iridescence at a single corner area is consistent with early-stage delamination. Broad iridescence covering 10 percent or more of the panel face warrants a higher-severity rating.
Step 5: Examine Panel Interior for Central Conditions
For panels where the previous steps have identified any edge finding — bubbles, haze, or iridescence — extend the inspection to the interior of the panel:
- Does the haze band extend more than 25 mm from the edge? If so, it has progressed from a perimeter condition to a condition affecting the interior zone.
- Is there any clouding, whitening, or opacity in the center of the panel that is not associated with the edge zone?
- Are there any bubbles visible in the interior of the panel rather than at the perimeter?
- Does the central area of the panel appear optically clear and undisturbed?
Central conditions in an otherwise edge-only finding indicate faster-than-expected progression and raise the escalation urgency.
Step 6: Check for Physical Edge Separation
For panels where an edge bubble cluster or wide haze band has been identified, examine the panel edge itself if accessible from the side:
- Is a visible gap or separation between the two glass plies visible at the edge?
- Does the edge appear to have a clean uniform seal, or does it appear disrupted in any section?
- On door panels: when the door is opened, examine the edge face of the glass directly — this is typically only visible from this angle
Physical edge separation visible at the panel edge is a critical finding requiring same-day escalation regardless of what the face inspection has shown.
Step 7: Document Before Moving to the Next Panel
Record findings for each panel before moving to the next. Required fields:
- Panel position (door L, door R, fixed side, fixed top, fixed back)
- Glass type (confirmed laminated / confirmed tempered / unknown — apply checklist if unknown)
- Delamination condition rating using the five-point scale below
- Specific finding: location on panel, approximate bubble diameter, estimated haze band width, any central condition
- Photograph taken (yes/no — required for ratings 3, 4, and 5)
- Escalation required (yes/no)
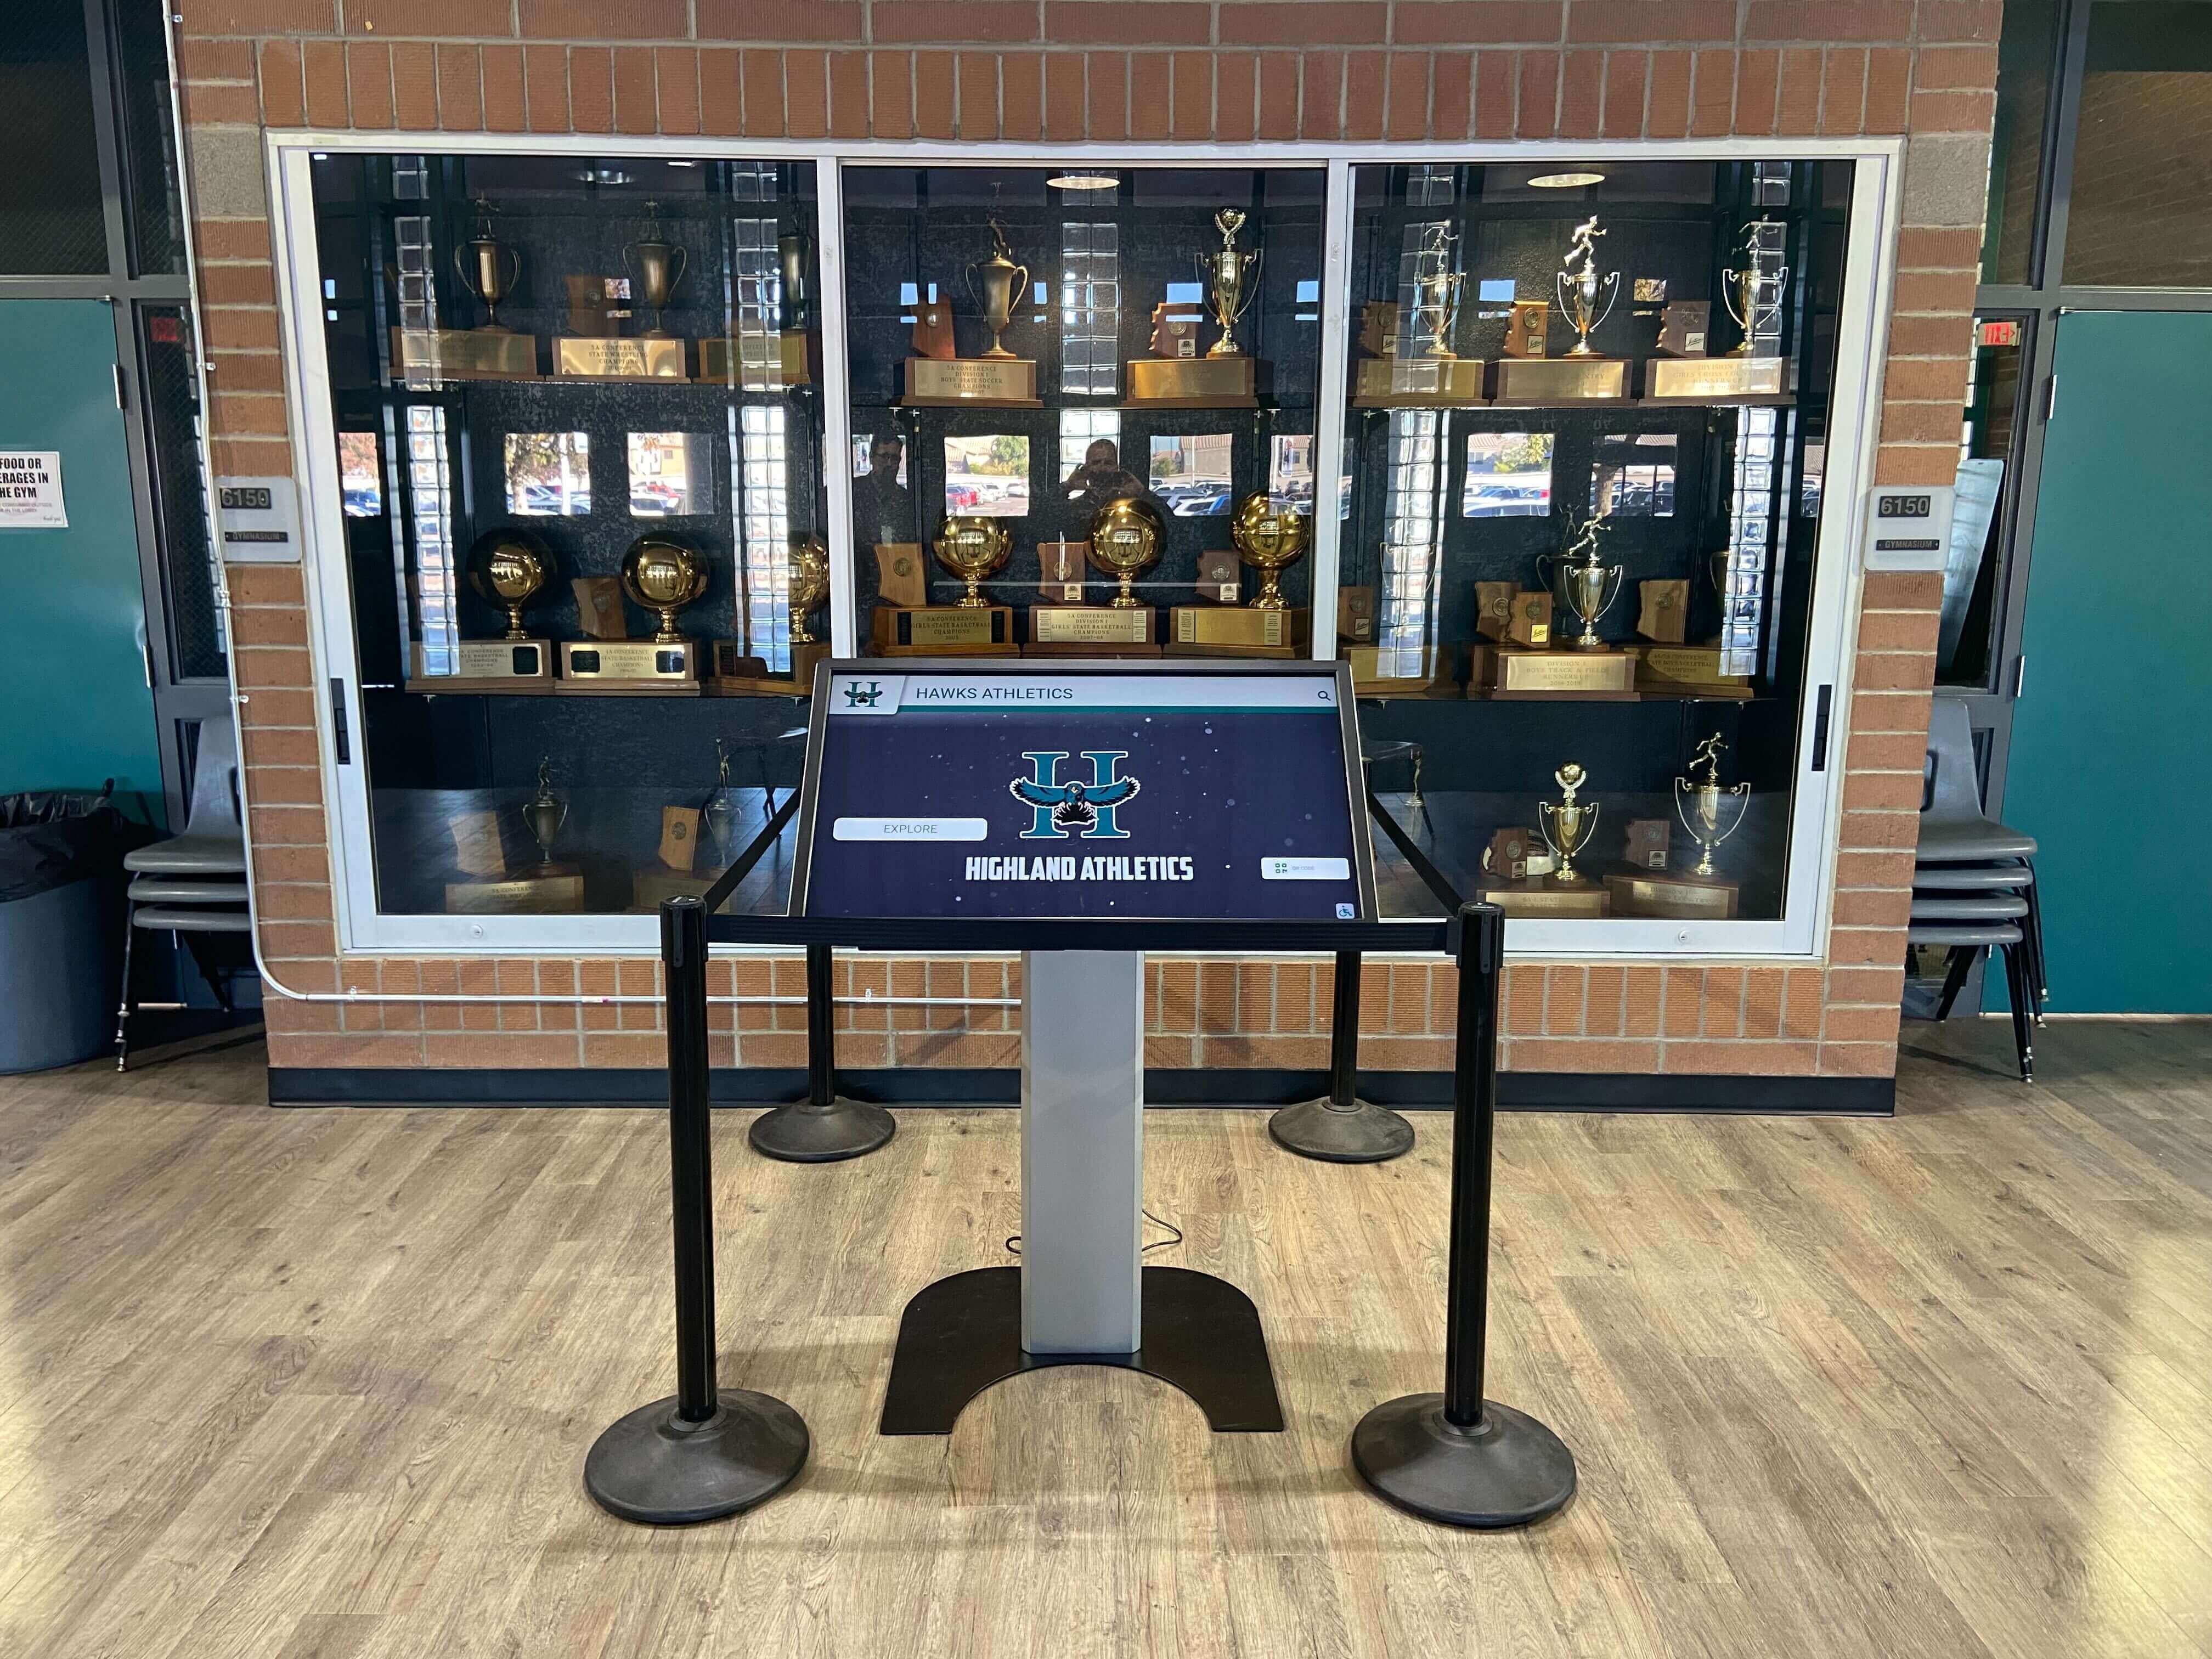
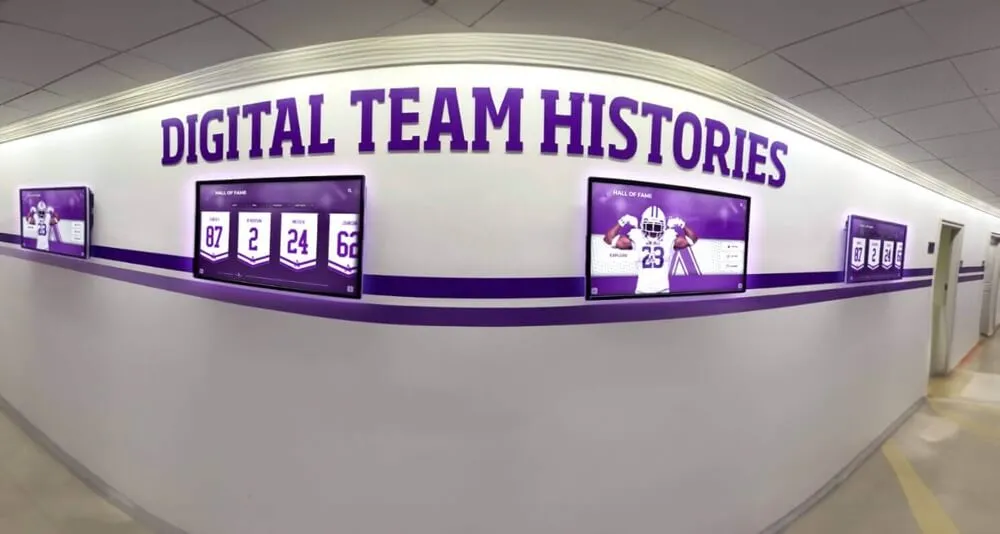
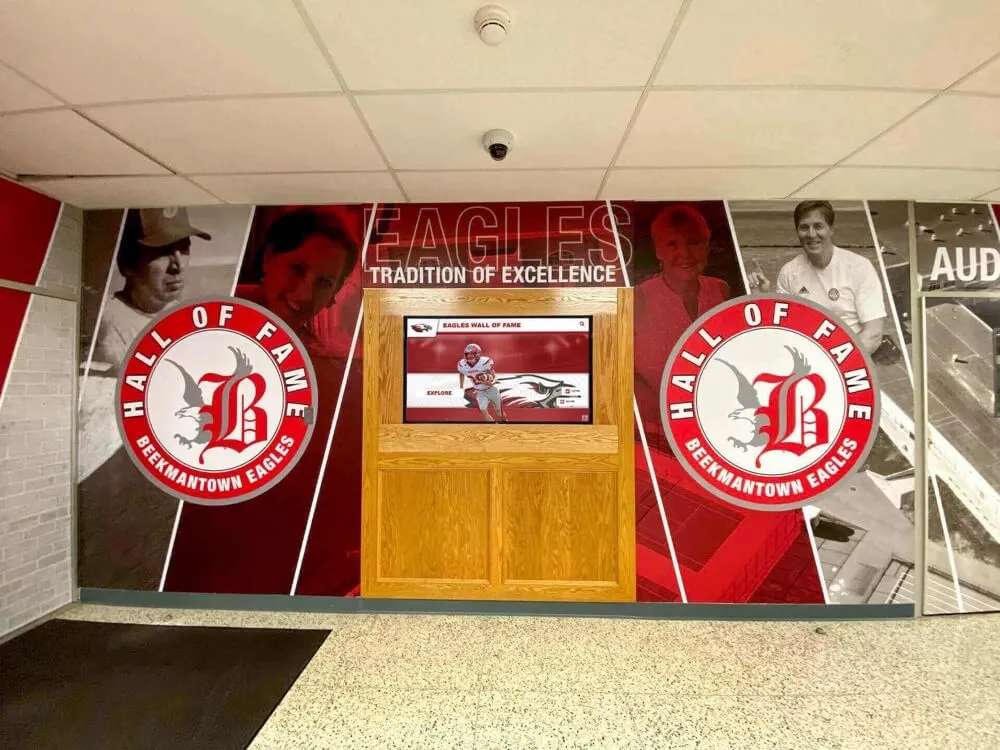
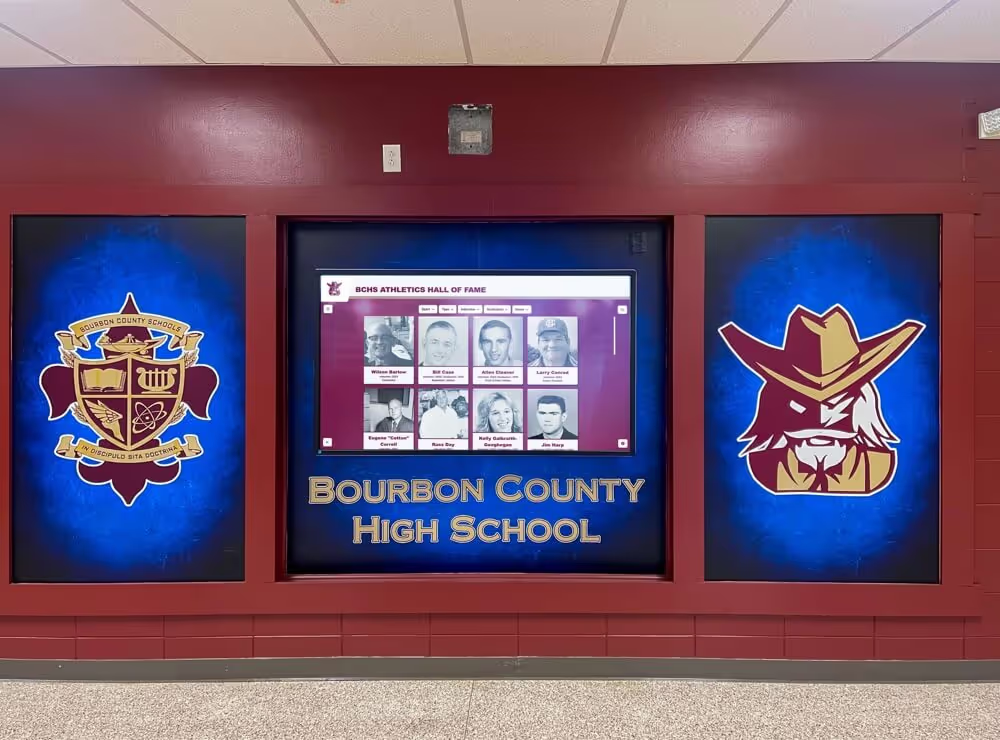
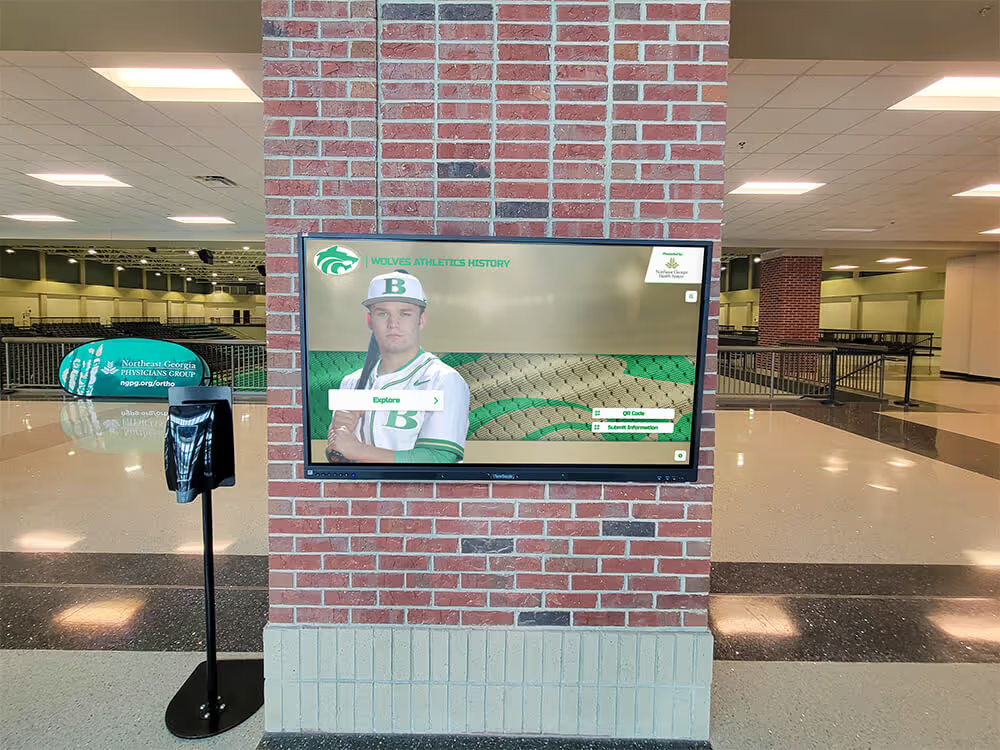
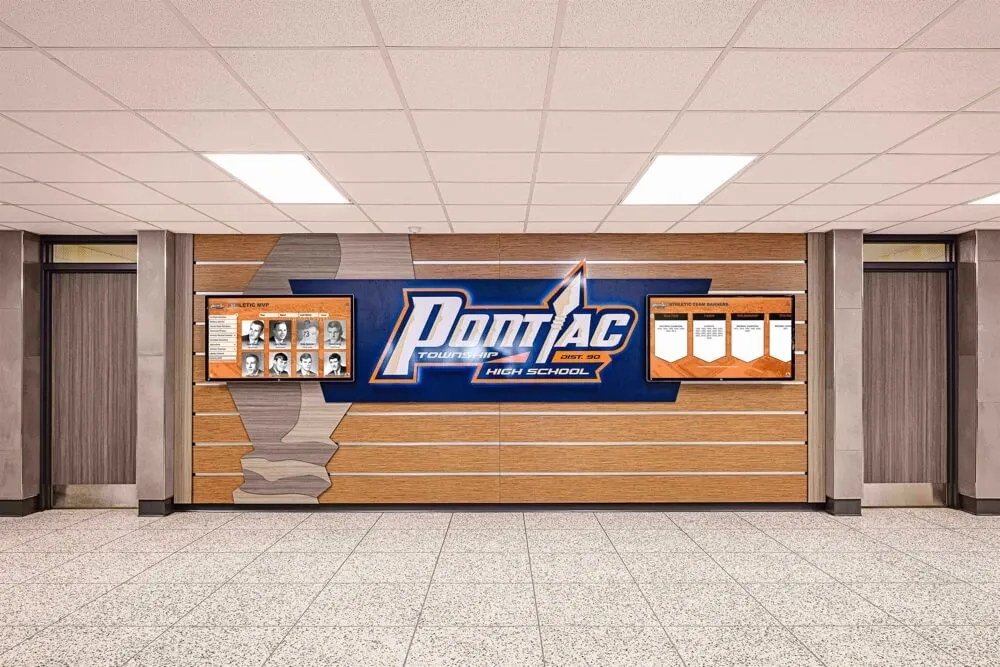
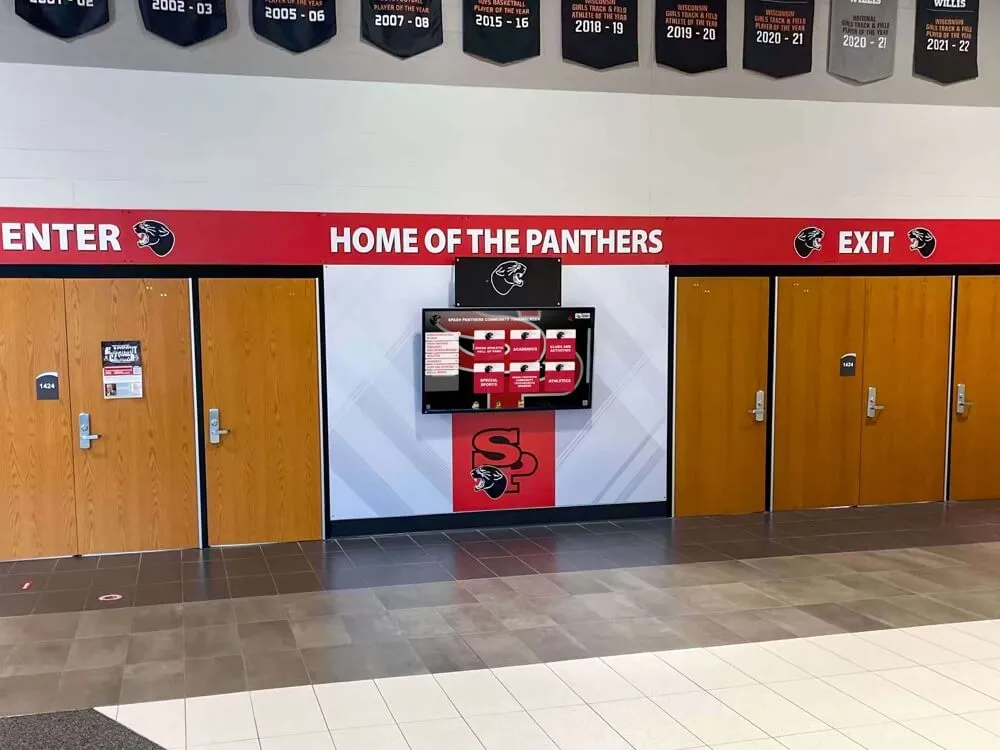
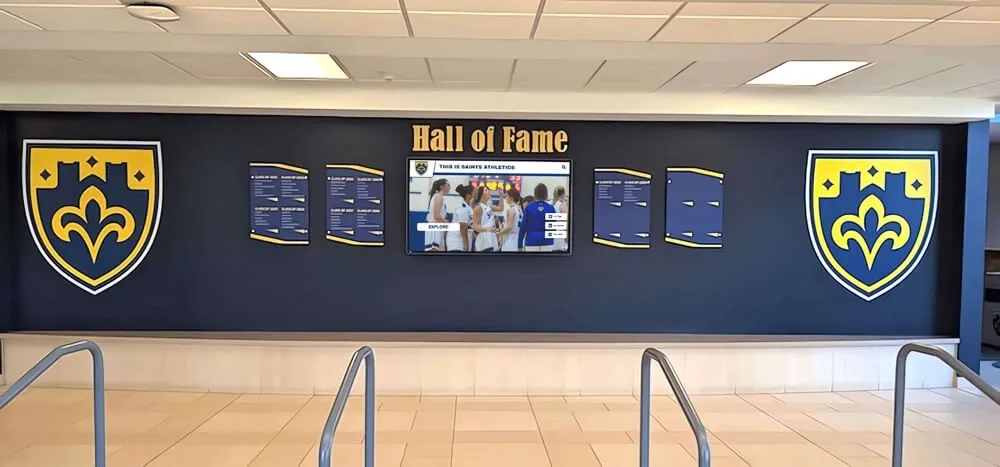
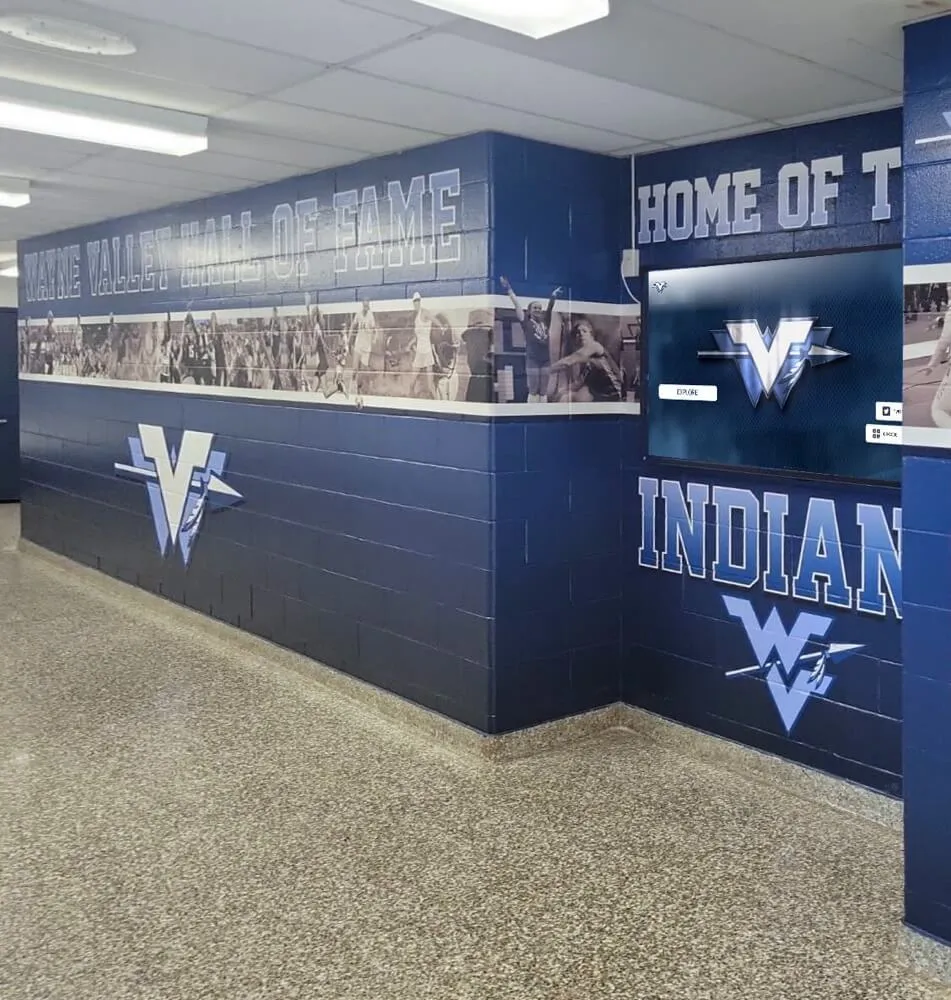
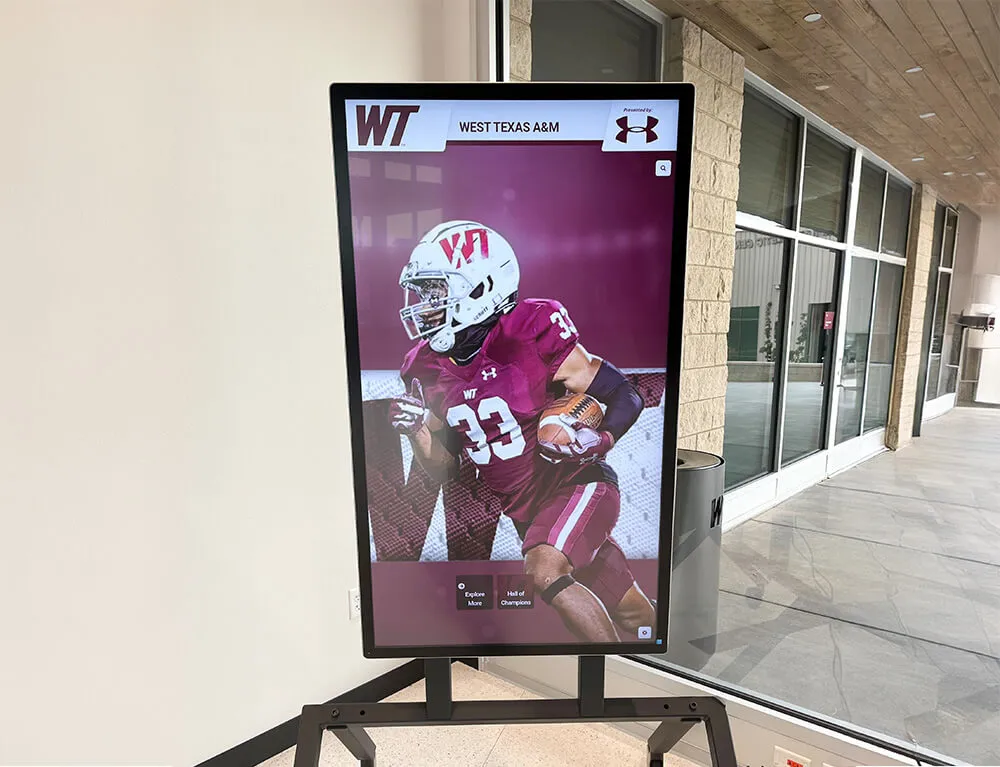
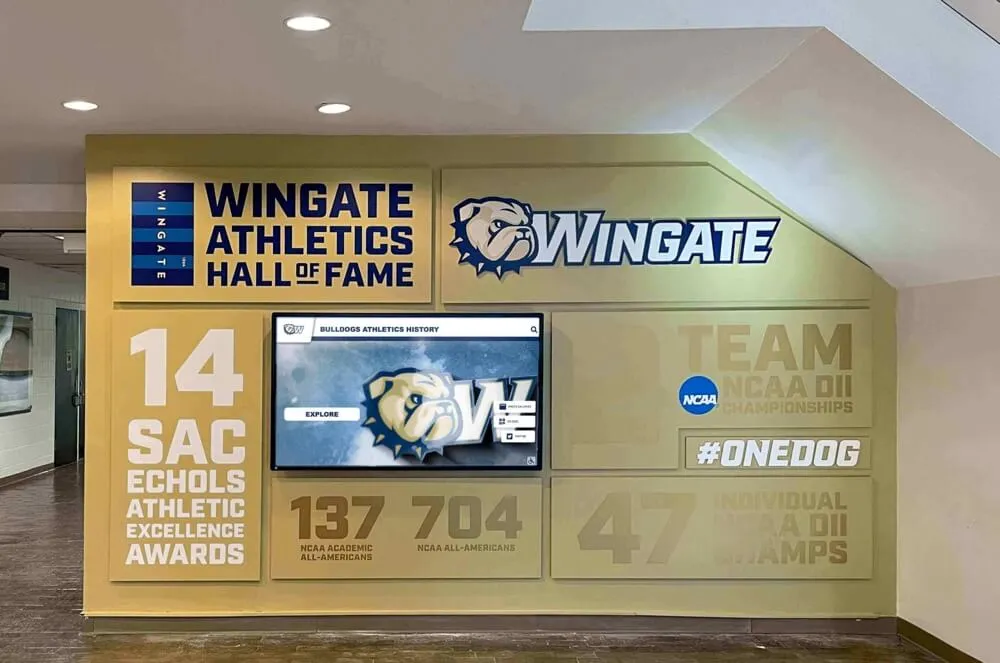
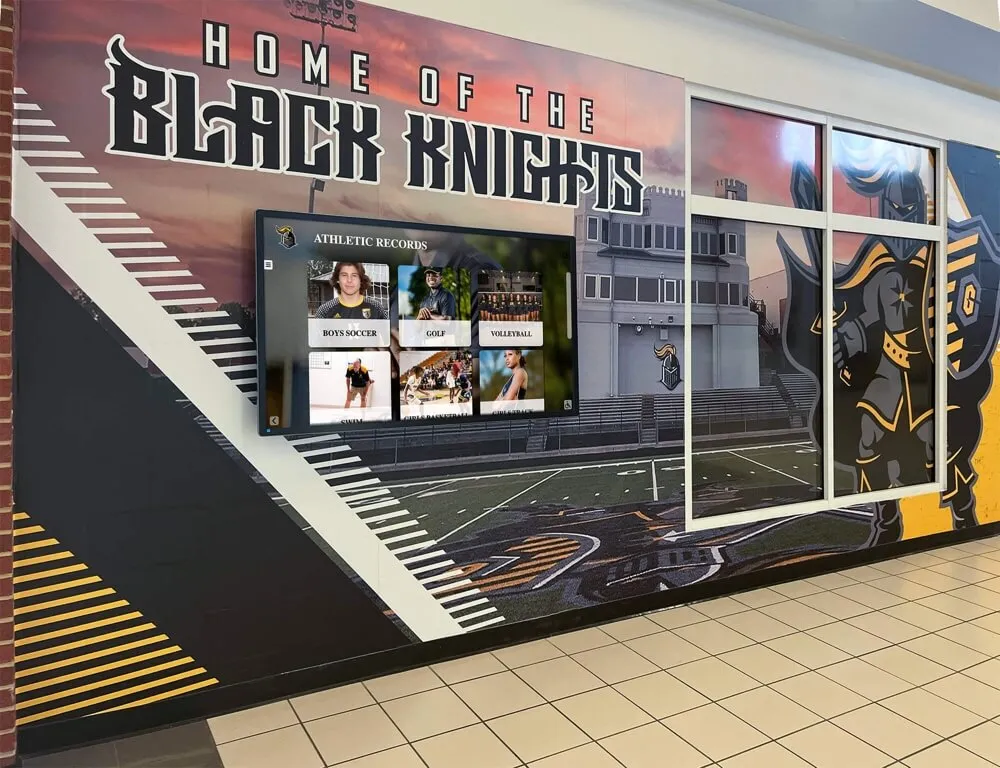
Recognition corridors that combine physical trophy cases with digital display installations require documented maintenance programs for both — delamination inspection covers the physical glass; digital display health checks cover the interactive platform
Delamination Condition Rating Scale
A consistent five-point rating scale produces comparable records across inspection rounds and across case units, and supplies the escalation threshold for each finding category.
| Rating | Description | Recommended Action |
|---|---|---|
| 1 — Sound | No bubbles, haze banding, iridescence, yellowing, or central clouding on any edge or in the panel interior; glass type confirmed as laminated and interlayer appears fully bonded | Document as confirmed sound; no follow-up required until next scheduled inspection |
| 2 — Monitor | One to three small isolated bubbles (under 3 mm) at a single corner location; no haze band; no iridescence beyond immediate bubble vicinity; no central condition | Document with location and bubble count; re-inspect within 60 days or at next scheduled round; photograph for baseline |
| 3 — Action needed | Bubble cluster (4+ bubbles or any bubble 3 mm or larger) at one or more edges; peripheral haze band up to 10 mm wide on one edge; localized iridescence at one corner; mild yellowing with no accompanying edge finding | Schedule glazier assessment within 30 days; document in maintenance work order system; photograph |
| 4 — High priority | Peripheral haze band wider than 10 mm on one or more edges; bubble clusters on two or more edges; visible moisture or condensation between plies at any location; central clouding beginning to appear; broad iridescence visible without oblique lighting | Restrict case to read-only access; glazier assessment within 5 business days; escalate to facilities supervisor same day; photograph and notify administrator |
| 5 — Immediate | Active moisture between plies visible from standing distance; central clouding or opacity affecting significant panel area; visible physical separation between plies at panel edge; iridescence covering 20 percent or more of panel face | Do not use case; secure area from student contact; contact glazier same day; notify building administrator and facilities director; photograph and document |
Laminated Glass Delamination Inspection Checklist
Use this checklist for each confirmed or suspected laminated glass panel in each case unit. Flag any row with a positive finding before moving to the next case.
| Inspection Item | What to Assess | Flag If… | Priority |
|---|---|---|---|
| Glass type confirmed or suspected laminated | Is this panel confirmed or suspected laminated glass? | Panel type is unknown — apply checklist as precaution | Low — documentation; determines whether checklist applies |
| No visible edge bubbles | Are any bubbles visible along any of the four panel edges when examined with oblique light? | Any bubble of any size visible at any edge | Moderate — early stage if small and isolated; escalate if 3 mm+ or clustered |
| No corner bubble clusters | Are corners free of bubble concentrations? | Any cluster of 2+ bubbles at any corner | Moderate to High — corners are highest-initiation-probability location |
| No peripheral haze band | Is there a band of haze or whitening running parallel to any edge, set back from the glass perimeter? | Haze band of any width on any edge | Moderate — high priority if wider than 10 mm |
| Haze band under 10 mm if present | If a haze band is identified, is it narrower than 10 mm? | Haze band 10 mm or wider | High — glazier assessment within 5 business days |
| No yellowing of interlayer | Does the panel appear optically clear without yellow or amber tint? | Visible yellow or amber tint to the panel | Moderate — document; re-inspect within 60 days; assess UV exposure of case location |
| No iridescence visible at normal viewing angle | In normal overhead lighting, does the panel appear free of rainbow interference patterns? | Any iridescence visible at normal viewing angle | High — indicates large-area interlayer separation |
| No iridescence beyond local bubble area | Under oblique reflected light, is iridescence confined only to the immediate area of any identified bubble? | Iridescence extending beyond the immediate vicinity of a bubble | High — indicates wider delamination area than surface bubble count suggests |
| No central clouding or opacity | Is the interior panel area (away from edges) optically clear? | Any clouding, whitening, or opacity in the center zone | High — delamination has progressed past edge zone |
| No moisture or condensation between plies | Looking through the panel face, is there any visible moisture, condensation, or water between the two glass layers? | Any visible moisture between plies at any location | Critical — complete edge seal failure; immediate escalation |
| No visible ply separation at panel edge | Where the edge of the glass is visible, do the two plies appear bonded with no gap? | Any visible gap between plies at the edge | Critical — physical separation confirmed; immediate escalation |
| Panel appears optically clear overall | From standing distance, does the panel appear clear with no obvious discoloration or haze? | Any anomaly visible at standing distance | High — standing-distance visibility indicates advanced condition |
| Edge condition documented with photograph | For any finding rated 3 or higher, has a photograph been taken? | No photograph for a rating-3+ finding | Low — documentation requirement; photograph required before moving to next panel |
| Prior inspection record exists | Is there a documented prior inspection finding for this case on record? | No prior record — baseline being established at this inspection | Low — note as first inspection; flag case for priority tracking |
Repair vs. Replace: Decision Framework for Delaminated Trophy Case Panels
Laminated glass delamination cannot be reversed or repaired by restoring the interlayer bond — once the bond between the PVB film and a glass surface has failed, the separation is permanent. The question of whether a delaminated panel can remain in service, be treated by a glazier using an edge-sealing approach, or must be replaced depends on the severity and location of the delamination.
| Severity Level | Typical Finding | Field Repair Possible? | Glazier Intervention Options | Recommended Decision |
|---|---|---|---|---|
| Stage 1 — Edge Initiation | 1–3 isolated bubbles under 3 mm at one corner; no haze band; no moisture | No field repair | Monitor; document baseline photographs | Retain panel; re-inspect every 60 days; establish photographic baseline |
| Stage 2 — Edge Progression | Bubble cluster or haze band under 10 mm on one edge; no moisture between plies | No field repair | Glazier may apply edge re-sealing compound to slow moisture ingress; does not restore existing delamination | Glazier assessment within 30 days; ask about edge re-sealing viability for the specific interlayer type; plan for replacement if re-sealing is not viable |
| Stage 3 — Active Moisture Infiltration | Haze band wider than 10 mm; visible moisture between plies; bubbles on multiple edges | No field repair | Edge re-sealing no longer effective once moisture is between plies; replacement is the correct path | Restrict case access; glazier assessment within 5 business days; begin replacement planning and budgeting |
| Stage 4 — Central Delamination | Clouding in panel interior; moisture in center zone; broad iridescence | No field repair | Replacement only | Do not use case; glazier consultation for replacement panel specification and installation timeline |
| Stage 5 — Structural Compromise | Visible ply separation at edge; iridescence covering 20%+ of panel face; plies flex independently | No field repair | Emergency replacement | Secure area immediately; contact glazier same day; do not allow case access until replacement is installed |
The key decision point at stages 2 and 3 — whether edge re-sealing is a viable short-term option — depends on factors the glazier must assess: the specific interlayer material, how far moisture has progressed, and whether the edge seal failed due to mechanical damage or aging. A glazier who has assessed the panel directly can provide a reasoned opinion on whether edge treatment will meaningfully extend service life or whether it will provide a false sense of remediation while the delamination continues to advance beneath a resealed perimeter.
The Glass Association of North America (GANA) technical guidance on laminated glass performance notes that edge delamination in PVB-interlayer panels is fundamentally a moisture-management problem at the perimeter. For school facilities teams, this translates to one practical principle: ensuring that the case’s door seal and glazing system minimize humidity fluctuation inside the case reduces the moisture gradient that drives edge infiltration. A trophy case with confirmed laminated glass panels benefits from desiccant management and door seal inspection on the same schedule as the delamination inspection — the systems are interdependent.
What Facilities Staff Can Safely Assess vs. What Requires a Glazier
The boundary between staff-level delamination inspection and glazier work mirrors the boundary that applies to every glass safety assessment: trained facilities staff identify and document conditions; qualified glazing professionals assess, advise on, and repair or replace glazing components.
Facilities Staff Can Safely Perform
- Visual inspection of all panel perimeters for bubbles, haze bands, yellowing, and iridescence using the checklist above
- Oblique-light reflected examination for iridescence extent
- Documentation of condition ratings and specific findings with photographs
- Standing-distance survey for visible clouding or moisture conditions
- Application of the repair-versus-replace framework to findings to identify the escalation path
- Restriction of case access for findings rated 4 or 5
- Communication of findings to facilities supervisors, glazing contractors, and building administrators
Glazier Work — Do Not Attempt Without Training
- Removing glazing beads or stops to access or assess the panel edge directly
- Applying edge re-sealing compounds to the panel perimeter
- Removing and reinstalling glass panels for replacement
- Confirming glass type through direct edge examination or testing when safety markings are absent
- Specifying replacement panel dimensions, glass type, and interlayer specification for procurement
Schools that have invested in academic recognition programs that place plaques, honor boards, and scholar-athlete awards alongside championship hardware in trophy cases understand that the glass protecting those items must be maintained with the same care applied to the items themselves. Escalating glazier work to trained professionals is the same principle applied to the glass that applies to the awards inside: each element of the system is the responsibility of the person qualified to handle it.
Inspection Log Format
A standardized log format is the foundation of a delamination inspection program that produces useful information across multiple years and multiple inspectors.
| Field | Format | Notes |
|---|---|---|
| Inspection Date | YYYY-MM-DD | ISO format to prevent date ambiguity across academic-year changeovers |
| Building / Wing | Text | Include hallway designation and nearest corridor landmark |
| Case ID | Text or code | Assign consistent labels at first inspection if not previously labeled (e.g., ATH-07) |
| Panel Position | Door L / Door R / Fixed Side L / Fixed Side R / Fixed Top / Fixed Back | Record each panel independently — same case may have panels at different ratings |
| Glass Type | Confirmed Laminated / Confirmed Tempered / Unknown | Affects whether delamination checklist applies and escalation urgency |
| Interlayer Type (if known) | PVB / EVA / Ionomer / Unknown | Affects moisture susceptibility and edge re-sealing viability discussion with glazier |
| Delamination Rating | 1 / 2 / 3 / 4 / 5 | Use the five-point scale above |
| Specific Finding | Text | Required for ratings 2+; describe edge affected, bubble count and size, haze band width, any central condition |
| Bubble Location | Text | Corner designation (e.g., top-right) and approximate distance from edge |
| Haze Band Width (est.) | mm | Estimate to nearest 5 mm; record which edges are affected |
| Moisture Between Plies | Yes / No | Record separately; any “Yes” is immediately a rating 4–5 |
| Photograph Taken | Yes / No | Required for ratings 3, 4, and 5 |
| Escalation Required | Yes / No / Immediate | Yes for rating 3 within 30 days; 5-business-day for rating 4; Immediate for rating 5 |
| Follow-Up Action | Text | Specific next step with responsible party named |
| Inspector Name | Text | Full name for accountability |
Maintain the inspection log with the facility’s maintenance records and note the file location in the building’s maintenance management system. A paper log stored in a single binder is not useful when facilities staff changes — digital records with attached photographs allow incoming staff to assess current panel appearance against a documented prior baseline without repeating a full inspection.
When to Schedule Laminated Glass Delamination Inspections
Delamination progresses continuously and accelerates with UV exposure, temperature cycling, and humidity fluctuation. It is a recurring maintenance activity, not a one-time documentation task.
At installation or building takeover: Document delamination condition on all confirmed or suspected laminated panels when a new case is installed, when an existing case inventory is inherited without prior documentation, or when any panel has been replaced and the replacement glass type is not confirmed on record.
Annually — start of school year: A full-building inspection round before the fall academic and athletic season establishes baseline condition before the heavy-use period begins. Cases in main lobby areas, athletic corridors, and gymnasium entry zones — where trophy cases receive the most access events — benefit from confirmed-sound documentation entering the fall season.
After summer: For cases near exterior walls or windows with significant summer solar loading, delamination inspection in late August or early September captures the cumulative UV and temperature effect of the season most likely to have advanced edge bubble formation or interlayer yellowing.
When adjacent glazing work is performed: A case where glazing bead replacement, gasket work, or door seal repair has been performed should receive a delamination inspection during the same glazier visit — the glazier access provides the opportunity to examine the panel edge directly from the side, which is the most definitive confirmation of the edge seal condition and any physical ply separation not visible from the panel face.
Schools that present recognition across both athletic and academic programs — including recognition for academic decathlon teams and other competitive scholarly achievement — often have case inventories that expand steadily as new hardware and plaques are added each year. Academic decathlon programs and similar scholar recognition initiatives contribute framed certificates, competition awards, and honor plaques that administrators add to case interiors through access events that cycle the door panels repeatedly. Each opening-and-closing cycle is a load event on the glazing system, and cases that are accessed multiple times per month accumulate fatigue at their edge seals over time — a factor that argues for more frequent inspection intervals in active-use cases than the annual baseline.
Connecting Delamination Inspection to the School Recognition Program
The reason laminated glass delamination inspection is a safety priority is the same reason it matters to a school’s recognition program: the glass being inspected protects irreplaceable objects. A panel that has been delaminating quietly for two seasons may appear intact from the hallway while its interlayer bond has progressively failed — and when that panel is eventually broken, the fragment retention it was specified to provide may not perform as designed. Championship trophies, retired numbers, honor plaques from programs spanning decades — none can be reproduced if a glass failure damages the collection.
Schools with active recognition programs access their trophy cases more frequently than facilities inspection schedules typically assume. Athletic directors add championship hardware after banquet season. Coaches photograph case contents for program media. Student aides reposition items during event setup. Staff open cases for reunions, alumni events, and donor visits. Each access event applies load to the door panels and their glazing system.
Schools that plan events including alumni reunions and award ceremony programming are particularly likely to prepare trophy cases for visibility — opening them to add new recognitions before the event, cleaning interiors, and repositioning contents for photographs. These are high-access periods that stress glazing components and make pre-event inspection a practical timing for documenting current delamination status.
The inspection checklist provides the documentation discipline that keeps pace with program growth. A well-maintained case that has been inspected, rated, and confirmed sound at the start of each school year is an institutional asset whose physical integrity is documented — not assumed. Neither the award inside nor the glass in front of it maintains itself; systematic documented inspection is what keeps both in confirmed condition.
When Physical Cases Are Maintained — and Still Running Short on Capacity
A trophy case with confirmed-sound laminated glass panels, functional door seals, and intact glazing gaskets is still a fixed-capacity physical object. Schools that have completed their physical case maintenance program and turned their attention to the recognition capacity question find the same outcome in every building: the current championships can be displayed, and the historical ones cannot.
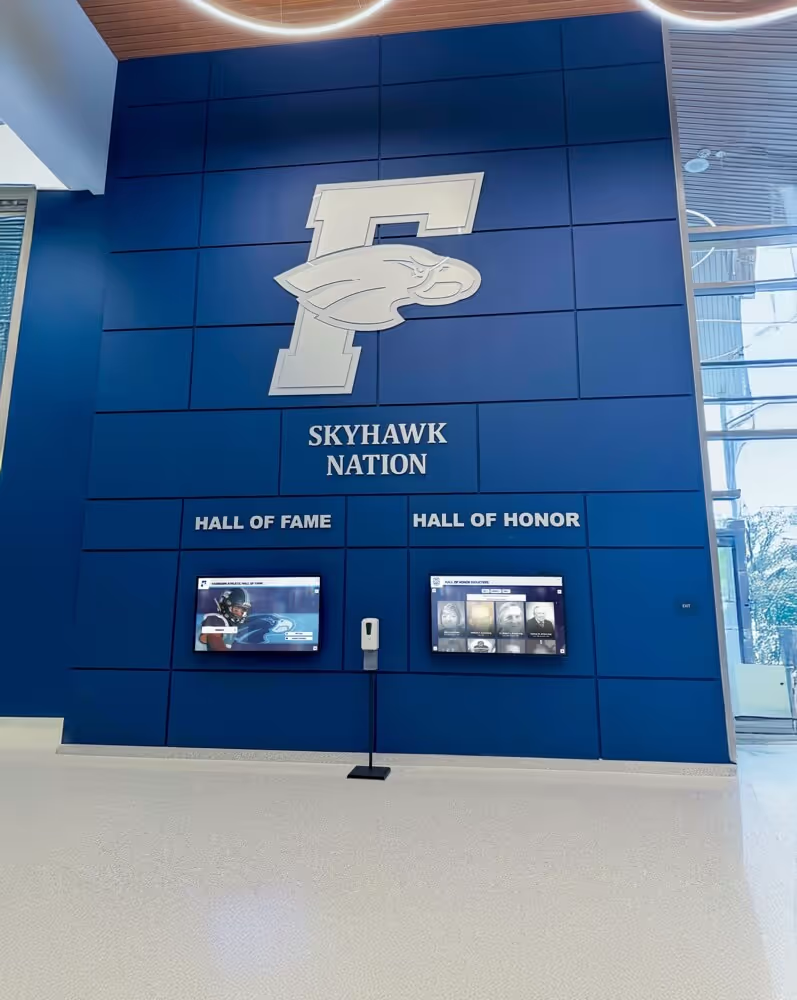
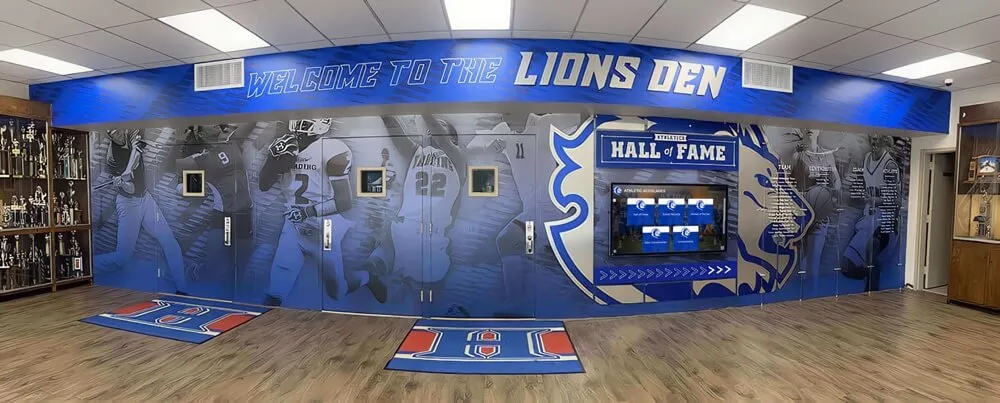
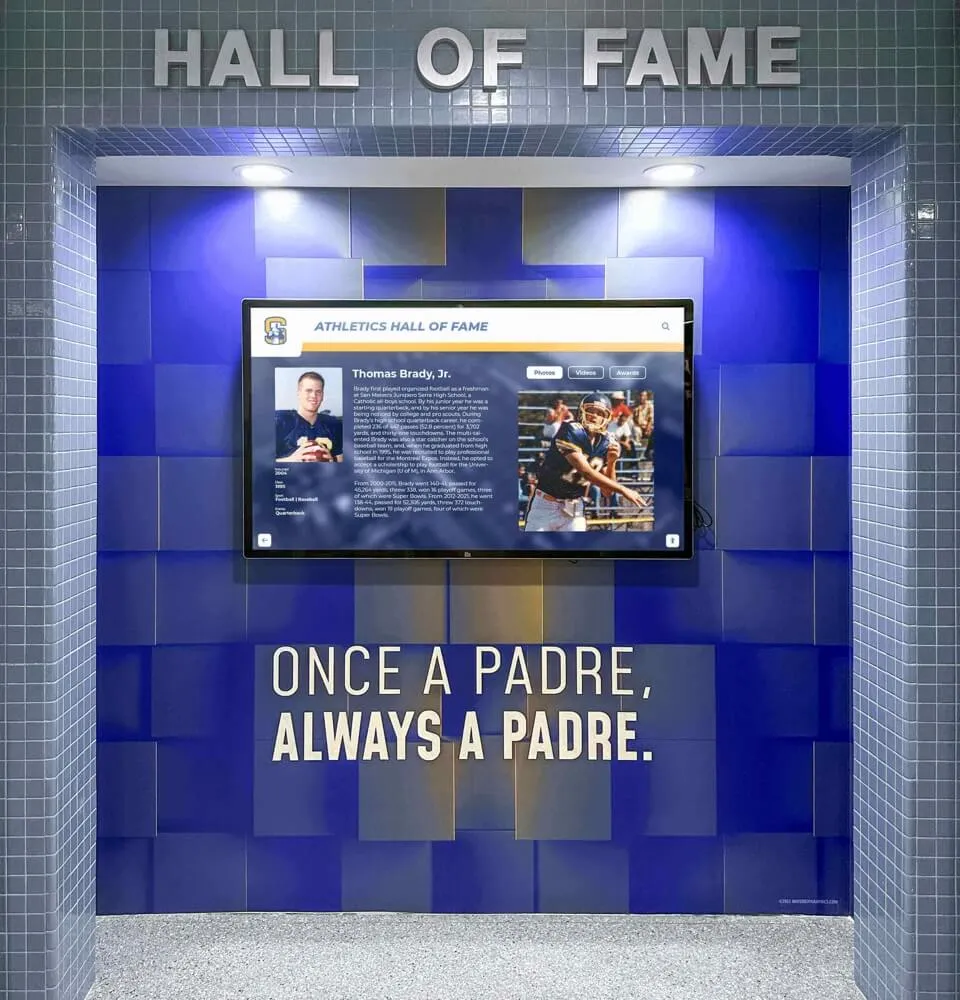
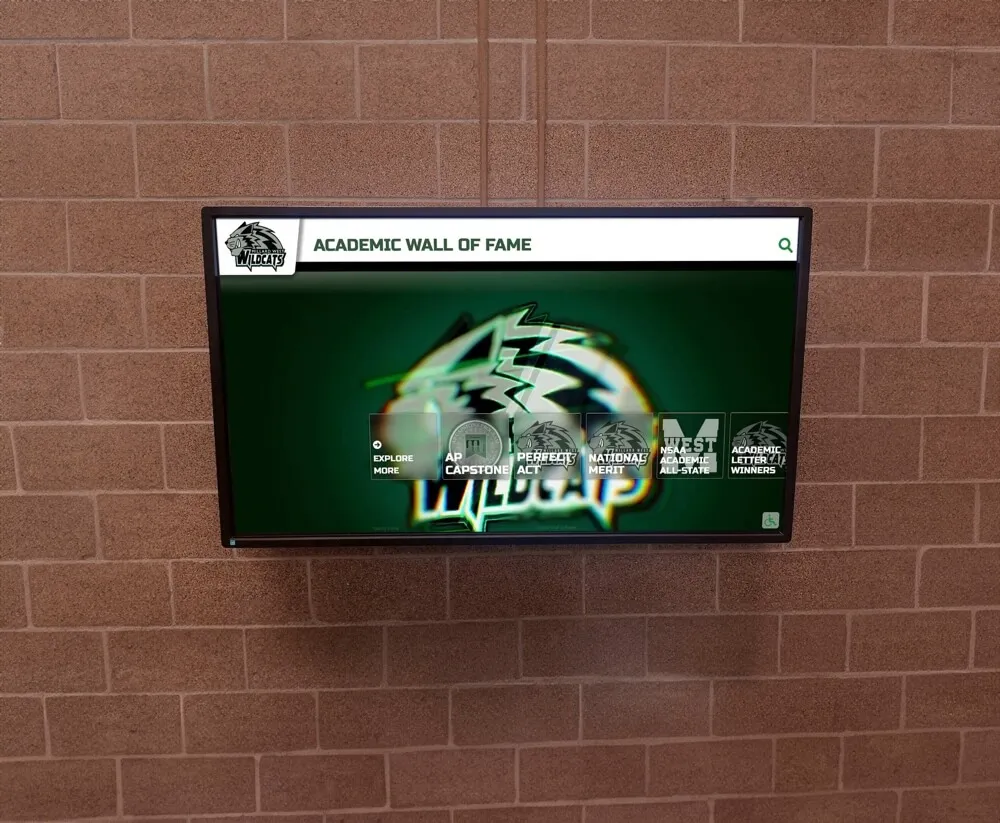
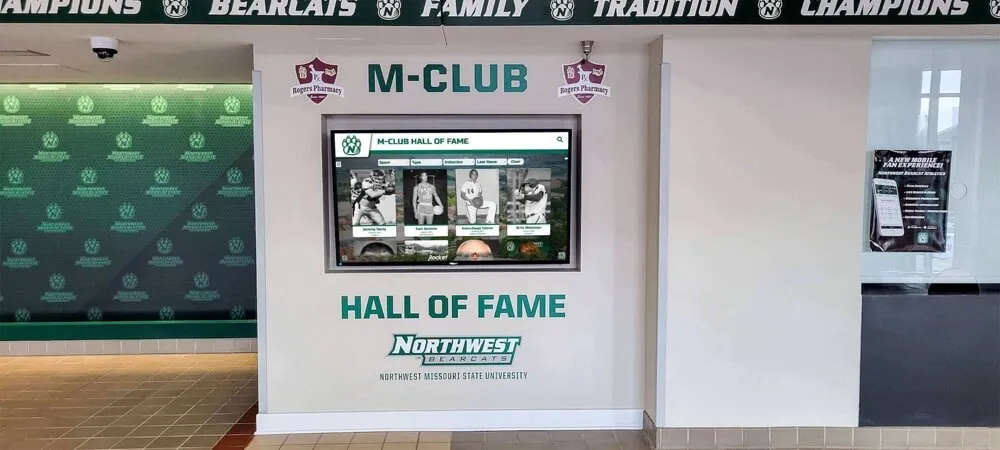
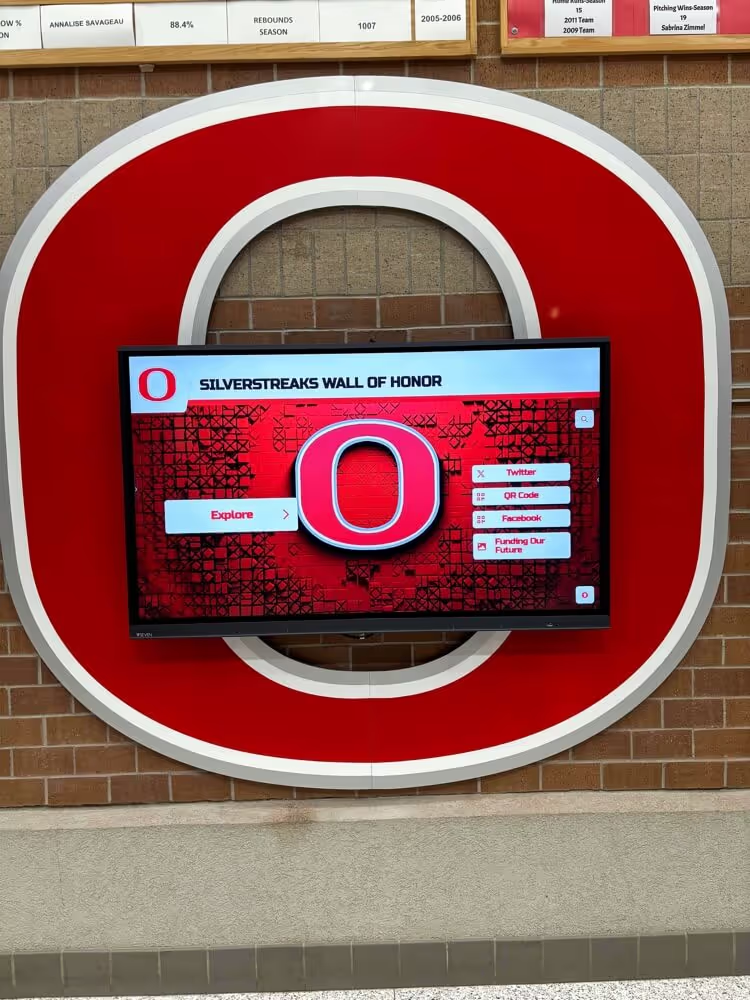
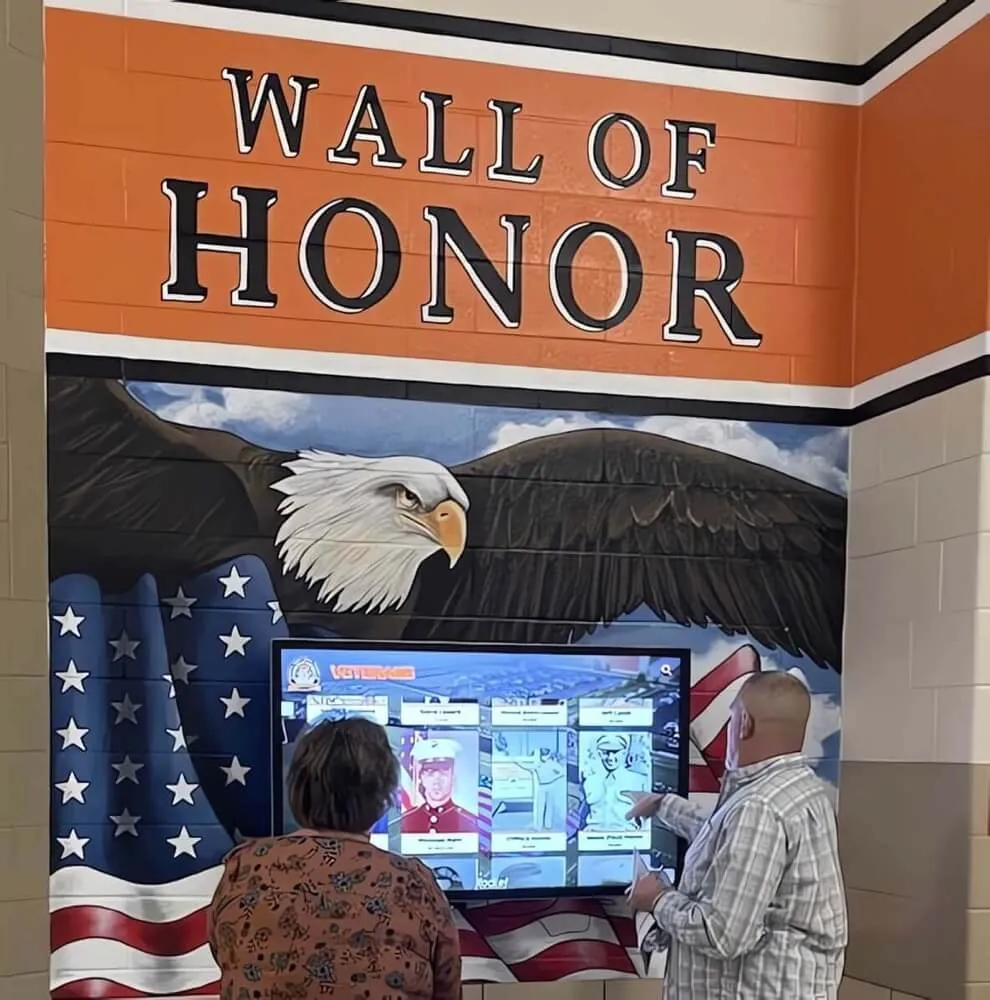
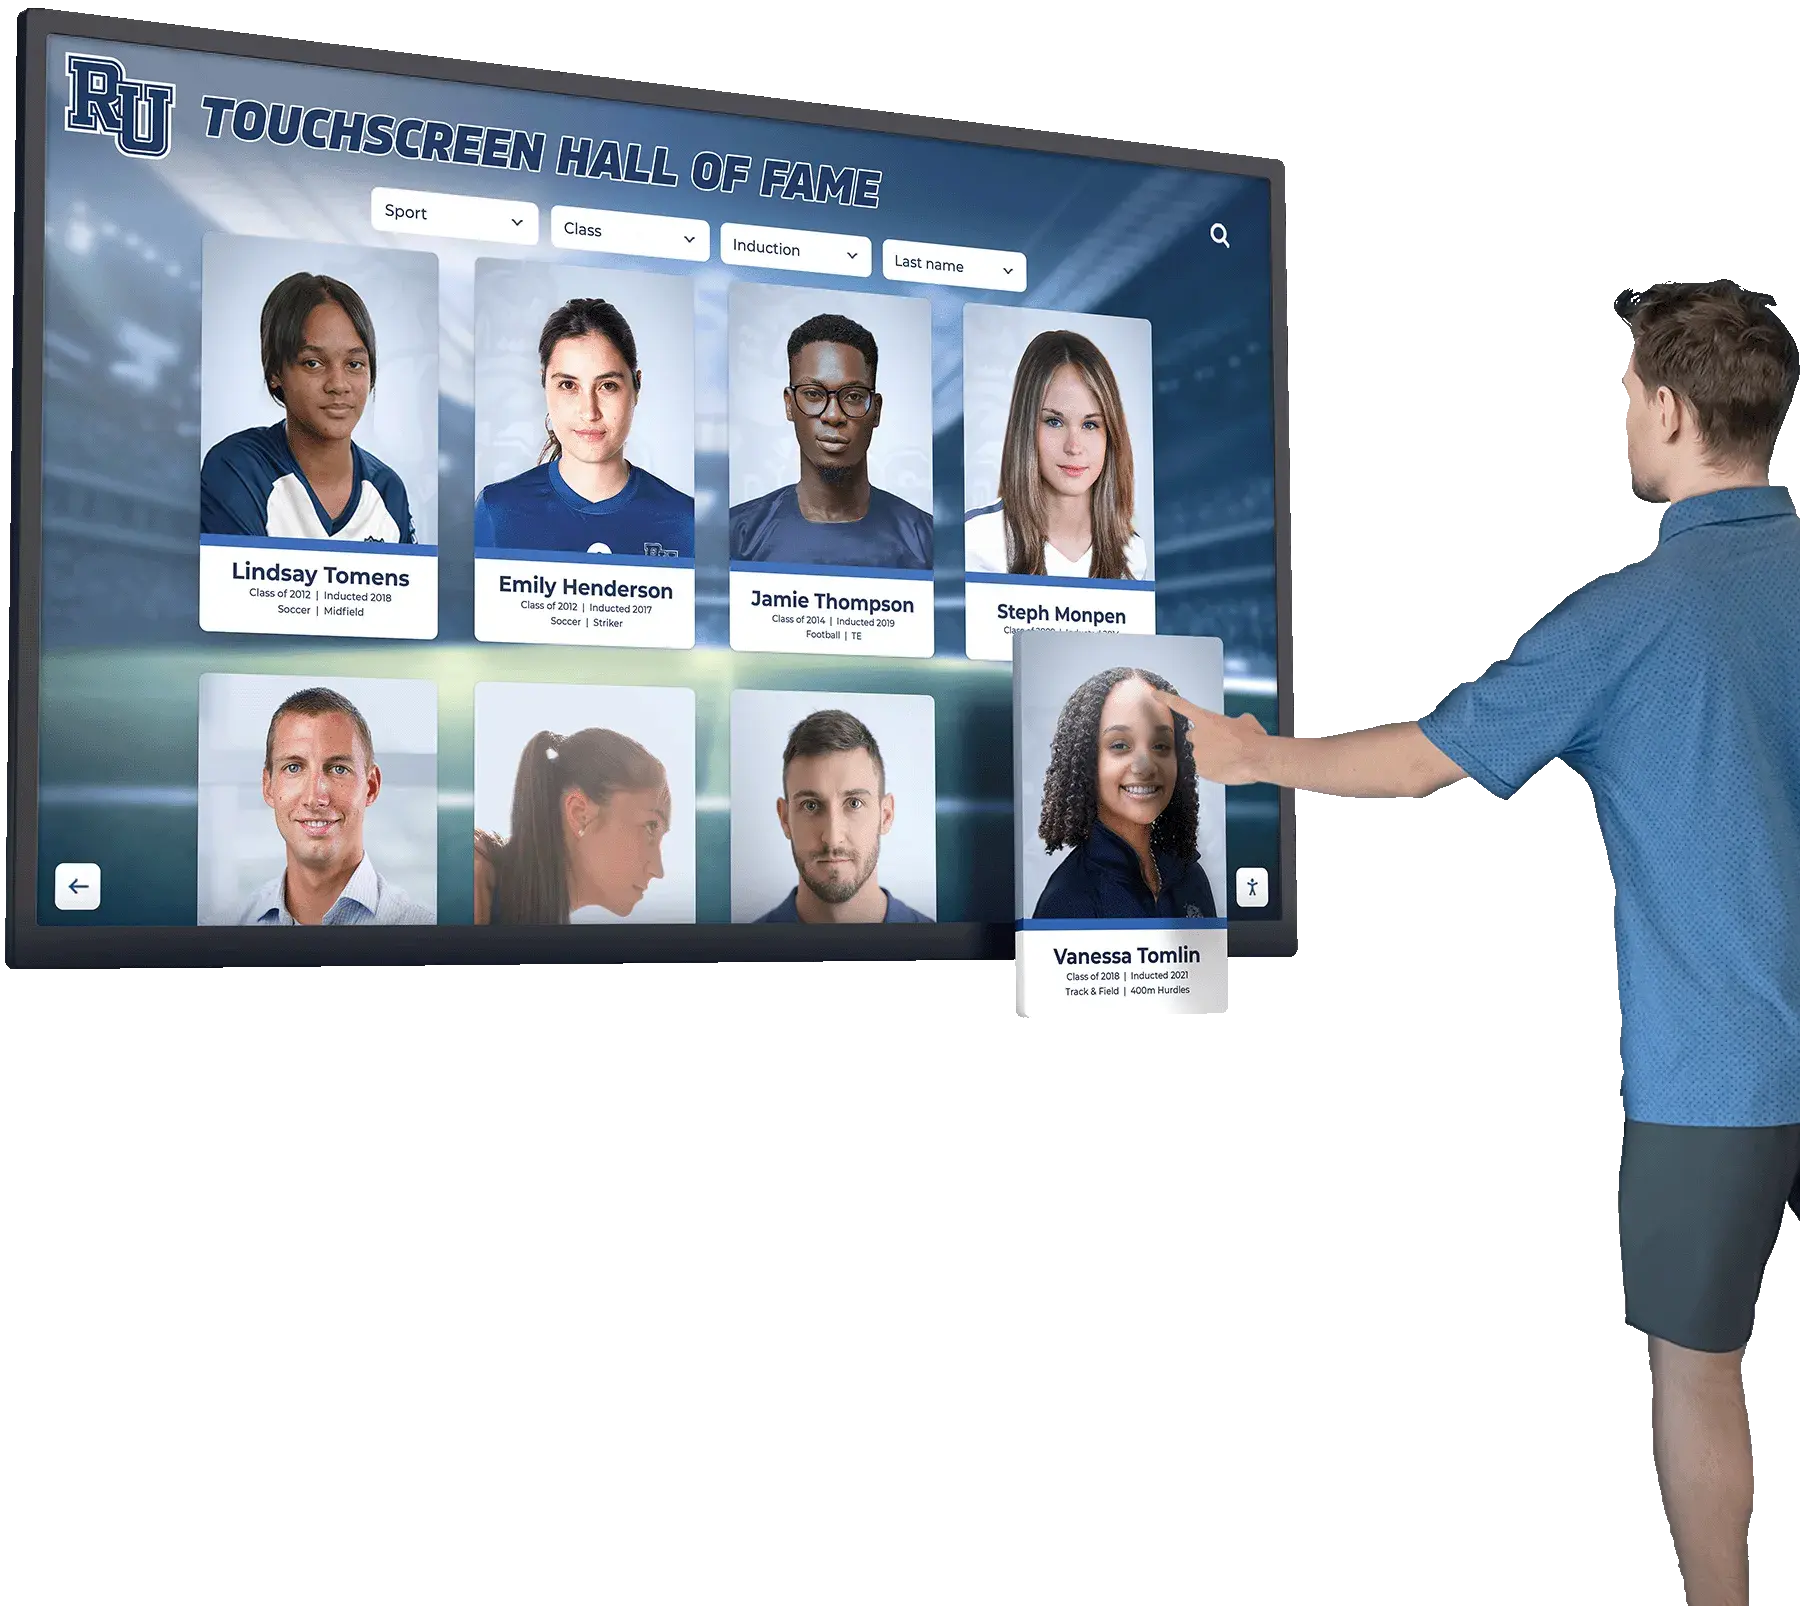
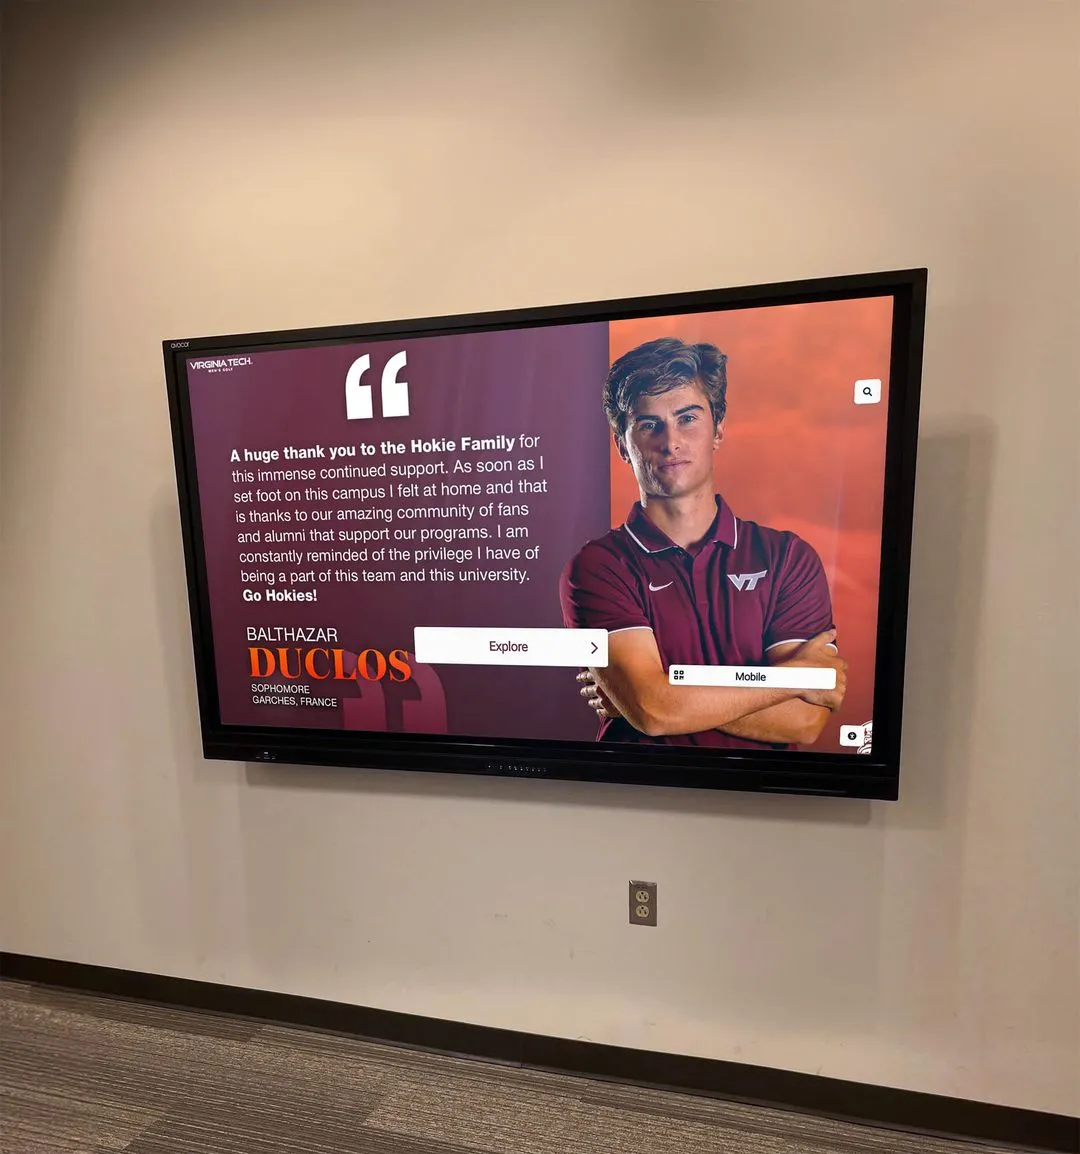
Schools exploring the capacity question have increasingly moved to supplementing physical cases with digital recognition platforms. A digital wall of honor kiosk places the complete institutional record — every athlete, every season, every academic honor — in the same corridor as the physical case, accessible through touchscreen interaction and QR code mobile access for families and alumni visiting outside school hours. Schools evaluating tools for building out this digital layer will find a range of hall of fame platform options for athletics, donors, arts, and history programs to compare against their specific recognition program structure.
The physical case and the digital display serve different functions: the case holds the irreplaceable objects, the original trophies and actual plaques; the digital platform holds the unlimited, searchable institutional record that the physical collection represents.
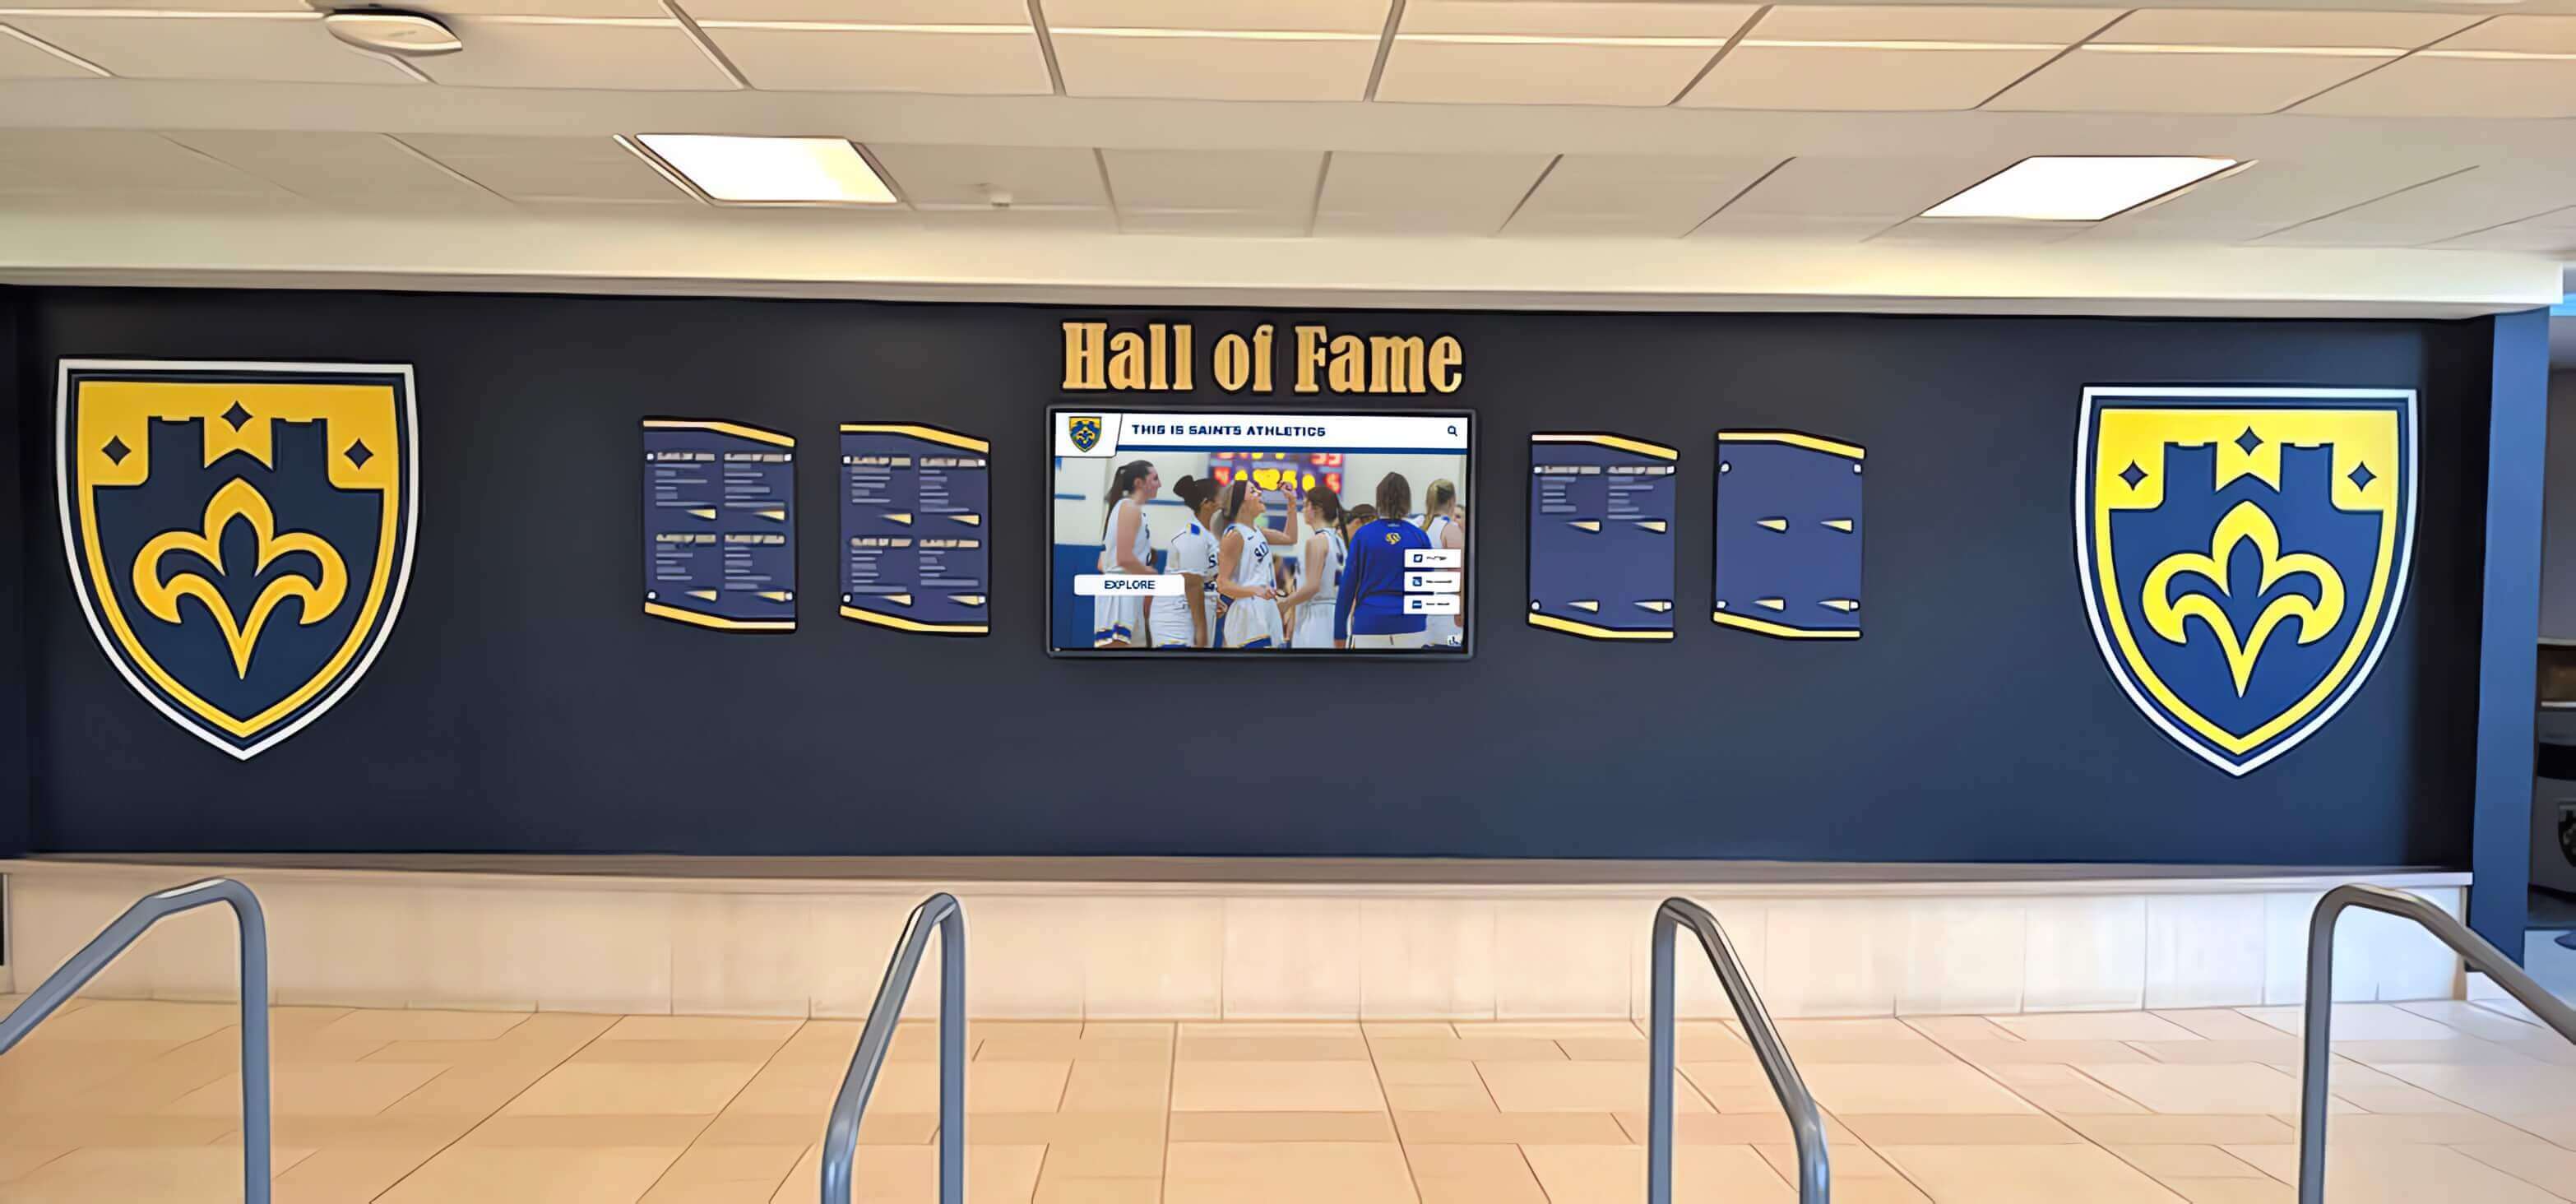
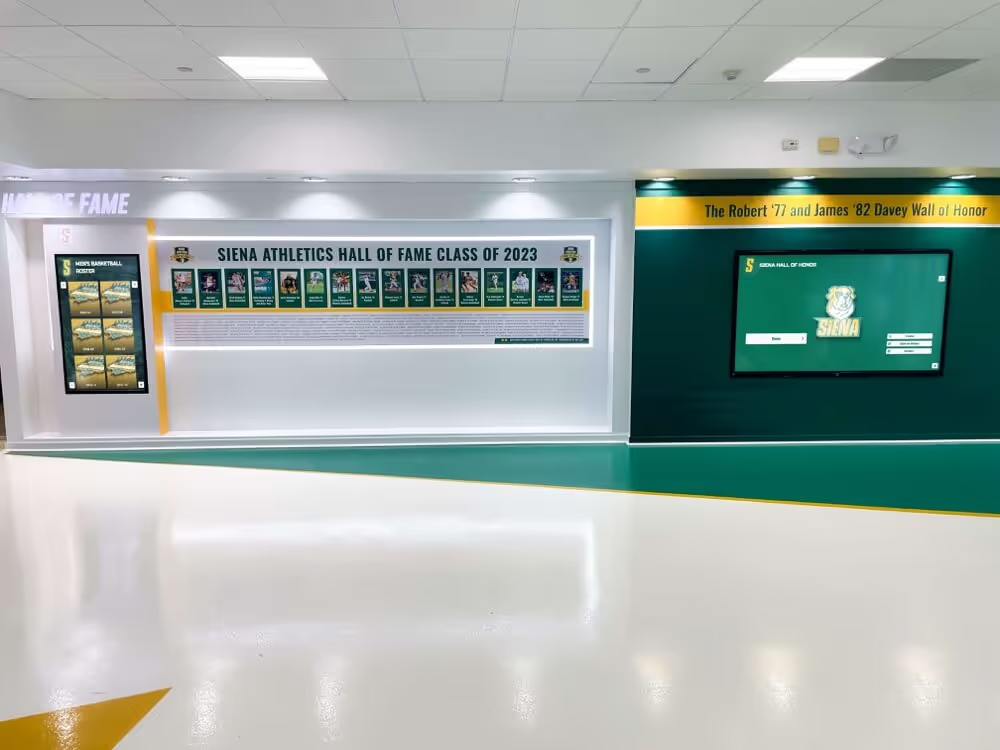
Lobby recognition displays combining physical glass enclosures with digital screens represent two parallel maintenance tracks — delamination inspection and digital display health checks, documented separately but scheduled on the same annual facilities calendar
The facilities teams responsible for trophy case glass maintenance are the same teams that recognize when physical capacity has been reached. Schools that have established digital hall of fame programs alongside their physical cases treat the delamination inspection as part of a complete recognition infrastructure maintenance program — one that covers the glass protecting the hardware and the digital platform preserving the record of every honoree in the building’s history.
Recognition programs that span academic and athletic achievement across multiple levels of competition accumulate display items at a rate that can exceed the capacity of the current case inventory within a few years of the program’s growth. Schools that have addressed this through both physical case maintenance and digital recognition investment find that the comprehensive tool landscape for recognition programs extends well beyond the physical case to support searchable, updatable, and remotely managed recognition content on the same hallway where the glass cases stand.
FAQ: School Trophy Case Laminated Glass Delamination Inspection
What is laminated glass delamination and how is it different from glass cracking?
Laminated glass delamination is the failure of the adhesive bond between the glass plies and the interlayer film — typically PVB, EVA, or ionomer — that bonds them together in a laminated panel. The glass itself does not crack during delamination; instead, the interlayer separates from one or both glass surfaces, creating voids visible as edge bubbles, haze banding, or clouding. Glass cracking, by contrast, is a fracture of the glass ply itself — a structural failure that laminated glass is designed to contain by keeping fragments adhered to the interlayer. Delamination undermines the fragment-retention function without cracking the glass, which is why it can be present at significant severity while the panel appears visually intact at a glance.
Can facilities staff repair a delaminated laminated glass panel?
No. Delamination is a permanent bond failure — once the PVB-to-glass adhesive has failed and separated, the bond cannot be restored in the field or by a glazier working on the panel in place. The only available interventions are: monitoring with no action (appropriate for early-stage isolated edge bubbles), edge re-sealing by a glazier to slow further moisture ingress (appropriate for stage 2 findings where moisture has not yet infiltrated between the plies), or panel replacement (the correct path for stage 3 and above). A glazier who assesses the panel directly can advise on whether edge re-sealing is viable for the specific interlayer material and the extent of existing delamination.
How do I know if a trophy case panel is laminated glass versus tempered glass?
Laminated glass typically carries a safety glazing label in the corner indicating its laminated construction and compliance with applicable standards such as ASTM C1172. Tempered glass carries a different mark indicating tempering and compliance with ANSI Z97.1 or CPSC 16 CFR 1201. If no safety marking is present, the panel type may be determinable from case documentation, the original installation records, or glazier identification at the edge. For inspection purposes, if a panel type cannot be confirmed, apply the delamination checklist as a precaution — early-stage findings will be unremarkable for a non-laminated panel, and false positives from applying the checklist unnecessarily are preferable to missing a delamination finding in an unidentified laminated panel.
What is the correct escalation for a rating-4 delamination finding?
Restrict the affected case to read-only access — do not open the door and advise students and staff to avoid contact with the case. Document the finding with photographs before leaving the case location. Contact the facilities supervisor and request a glazier assessment within five business days. Notify the building administrator that the case is restricted from normal use and that a glazier assessment is scheduled. A rating-4 condition means that moisture is actively present between the plies or that delamination has progressed to the point where the panel’s safety glazing performance can no longer be assumed — continued normal use is inappropriate until a glazier has assessed the panel and provided guidance on replacement timing.
How often should laminated glass delamination inspections be performed?
Most school facilities programs benefit from annual full-building inspection rounds, with targeted re-inspection after significant events. Cases rated 2 (monitor) at a prior inspection should be re-inspected within 60 days. Cases near exterior walls or windows with direct solar loading — where UV exposure accelerates PVB yellowing and edge bond degradation — warrant inspection in both early fall and early spring. Cases that have had edge re-sealing work performed should be re-inspected within 90 days of that intervention to confirm whether the treatment has been effective in slowing visible delamination progression.
Does delamination affect the structural strength of the trophy case panel?
Delamination primarily affects the fragment-retention function of laminated glass — the characteristic that keeps fragments adhered to the interlayer when the glass breaks. It does not typically reduce the panel’s resistance to breakage under normal display case use until it reaches an advanced stage where plies can flex independently. However, because the safety purpose of laminated glass is specifically the fragment-retention function, a panel whose lamination has failed to a significant degree is no longer performing as specified safety glazing — even if it appears intact. The replacement decision should be driven by safety glazing performance, not by whether the glass has yet broken.
What should I do if I cannot identify whether a panel is laminated during an inspection?
Apply the delamination checklist to the panel as a precaution. Record the glass type as unknown in the inspection log. If the inspection finds no anomalies, the precautionary application of the checklist produces a finding of no delamination indicators — consistent with either a non-laminated panel (which would not exhibit delamination) or a sound laminated panel. If the inspection finds bubbles or haze, escalate to a glazier assessment, which will include identification of the glass type as part of the assessment. It is always appropriate to request glass type confirmation from a glazier at the next scheduled case visit.
Building a Documented Safety Culture Around Laminated Glass in Trophy Cases
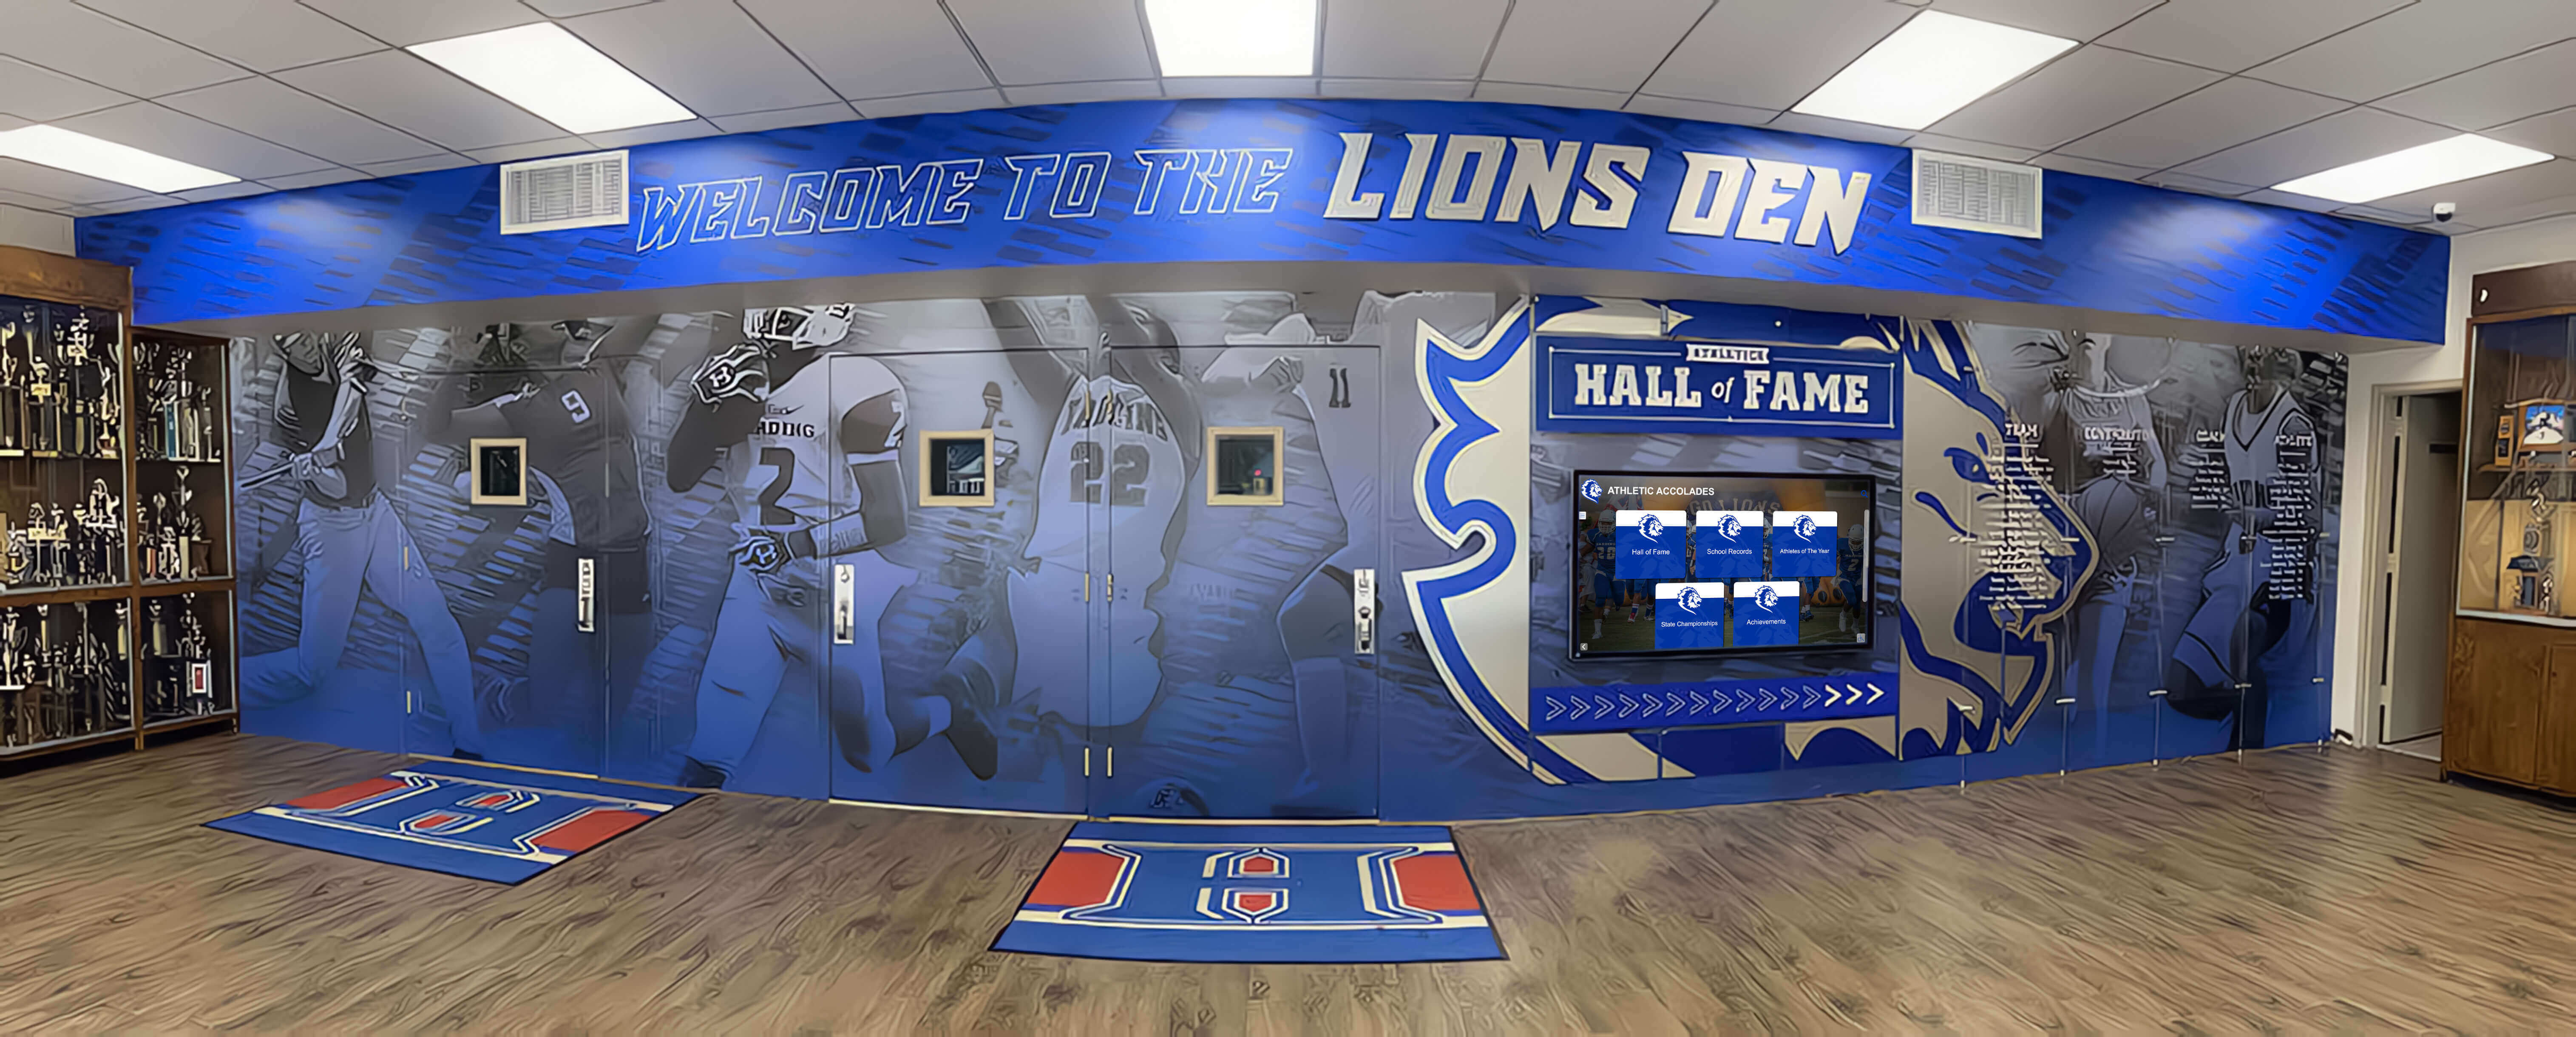
Complete trophy case inventories include units in secondary corridors and alcoves that may receive less frequent facilities attention — applying the delamination inspection checklist consistently across the full building ensures that no panel is assumed sound because it has not been recently assessed
A completed laminated glass delamination inspection log tells the facilities team something that no amount of corridor observation can provide: which panels have been specifically assessed for interlayer bond condition, which are confirmed sound, and which have documented findings requiring follow-up. A panel that appears intact from two feet away and has never been systematically inspected is not a confirmed-sound panel. It is an unassessed panel — one that may have progressed through stages 1 and 2 of delamination without triggering any routine observation.
Schools that have built recognition programs spanning multiple decades accumulate case inventories across multiple buildings, corridors, and use periods. Not all of that inventory was specified with the same glass type; replacement panels may have been installed at any point without documentation; cases near exterior windows may have received more UV exposure than cases in interior corridors. The delamination inspection checklist applies a consistent, systematic assessment to every case in the inventory — treating each panel as a documentation subject rather than a background element of the hallway.
This documentation discipline extends naturally to digital recognition infrastructure in the same spaces. Schools that have paired physical trophy cases with digital display platforms find that the systematic maintenance habits that apply to physical glass — inspection, documentation, escalation, resolution — transfer directly to digital display health monitoring. Schools evaluating hall of fame display tools for implementation alongside their physical cases often discover that the combination of physical and digital creates a recognition environment that is both more complete and more maintainable: the physical case holds the irreplaceable objects; the digital platform holds the unlimited, searchable institutional record; and documented maintenance programs cover both.
The glazing gasket inspection, the glazing bead inspection, the door seal assessment, and the laminated glass delamination inspection together address every layer of what a trophy case must do to function correctly and safely: retain the glass in its frame, cushion the glass from direct frame contact, seal the interior environment, and — for laminated panels specifically — maintain the interlayer bond that makes the glass safe when broken. Each inspection targets a distinct failure mode, produces a distinct condition rating, and routes through a distinct escalation path. Together, they form the documentation record that demonstrates institutional care for the recognition infrastructure that schools have built over decades and depend on for every event, every season, and every new class of honorees.
Ready to Preserve Every Honor on a Platform That Never Runs Out of Space?
Rocket Alumni Solutions builds interactive digital trophy cases and halls of fame for schools nationwide — cloud-managed displays with unlimited record capacity, ADA WCAG 2.1 AA compliant touchscreens, QR code access for mobile viewing, and remote content updates without IT tickets. When physical cases are fully inspected and maintained and still reaching capacity, a digital recognition platform gives every athlete, every scholar, and every program milestone permanent, searchable visibility alongside the physical collection.
Schedule a Demo