



Intent: research — a school trophy case glazing gasket inspection is a structured safety evaluation of the compressible elastomeric seals seated in the glazing channels of enclosed display case frames. Glazing gaskets — typically extruded EPDM rubber, neoprene, or silicone profiles — sit directly inside the frame channel in contact with the glass edge and face, cushioning the pane against the surrounding metal or wood structure, filling the annular void between the glass edge and channel wall, and distributing clamping load uniformly along the panel perimeter. When these gaskets harden, crack, compress permanently, or pull away from the channel, the glass moves toward direct contact with the metal frame — a condition that transfers concentrated thermal expansion stress to the glass edge, creates the conditions for stress cracking and spontaneous panel failure, and removes the protective cushion that absorbs vibration from door slams, foot traffic, and HVAC cycling. This guide explains what glazing gaskets are, how they differ from door perimeter seals and glazing beads, how to conduct a step-by-step inspection, and how to use a structured safety checklist to document findings and assign the correct follow-up action for each case in a school building.
The glass panel in a school trophy case sits in a channel. Between the glass edge and the metal frame walls that surround it, a glazing gasket fills the gap — compressing slightly under the glass’s weight and the bead’s clamping force, absorbing the differential thermal movement that occurs when the steel or aluminum frame expands and contracts at a different rate than the glass, and preventing the direct edge contact that concentrates stress on the most vulnerable part of a glass panel. When the gasket is sound, it is invisible and unremarkable. When it has aged to the point where it no longer fills the channel, the consequences accumulate silently: rattling panels under corridor traffic, glass edges resting on metal, and a case that looks completely normal from the hallway while the glass it holds is approaching failure conditions that no external inspection will catch without knowing where to look.
A school trophy case glazing gasket inspection makes these conditions visible. Conducted systematically as part of a facilities safety calendar, it closes the gap between “the glass appears intact” and “the glazing components holding the glass are confirmed functional.”

Trophy case corridors with multiple enclosed glass units depend on sound glazing gaskets in every frame channel — a gasket failure in one panel does not announce itself until the stress has been building for an extended period
What Glazing Gaskets Are — and How They Differ from Related Components
Three distinct sealing and retention components work together in a glazed trophy case panel. Inspectors who understand the difference between them can assign the correct inspection criteria to each, rather than treating all rubber and vinyl components as interchangeable.
Glazing gasket (this inspection’s subject): A compressible seal made from extruded EPDM rubber, neoprene, or silicone that is installed inside the frame channel before the glass panel is set. The gasket lines the channel walls and base, wrapping the glass edge in compressible material so that the glass never contacts the metal directly. Glazing gaskets bear the glass’s dead load at the base (as a setting block or channel gasket) and distribute the clamping force applied by the glazing bead uniformly around the glass perimeter. In some configurations, the gasket runs continuously on all four edges; in others, separate base-setting blocks carry load and face gaskets seal the glass-to-frame gap on the sides and top.
Glazing bead or stop: The mechanical retaining strip — rubber, vinyl, aluminum, or PVC — that is pressed or snapped into the outermost edge of the glazing channel to hold the glass in the frame. The bead applies clamping force to the glass face; the gasket sits between the glass edge and the channel wall behind the bead. These are separate components, typically installed in sequence, and subject to different failure modes. Glazing bead inspection covers bead detachment, corner separation, and glass displacement risk; glazing gasket inspection covers the cushioning and load distribution layer beneath the bead.
Door perimeter seal / weatherstripping: The gasket or compression strip on the door frame edge that creates the enclosure seal when the case door is closed. This seal controls dust infiltration and humidity exchange between the case interior and the hallway. It does not contact the glazing directly and is not part of the glazing channel system.
Understanding this distinction matters practically: a case can pass a door seal inspection (tight perimeter, no infiltration gaps) and simultaneously have failed glazing gaskets producing glass-contact conditions inside the frame — two separate failure modes with separate inspection protocols and separate escalation paths.
| Component | Location | Primary Function | Inspection Focus |
|---|---|---|---|
| Glazing gasket | Inside glazing channel, in contact with glass edge | Cushion glass from frame; distribute load; fill channel void | Hardening, cracking, compression set, pull-out, missing sections |
| Glazing bead / stop | Outermost edge of glazing channel, glass face contact | Mechanical glass retention; prevent displacement | Detachment, corner gaps, bead pull-out, glass movement |
| Door perimeter seal | Door frame / frame face contact point | Closure seal; dust and humidity infiltration control | Compression loss, corner gaps, surface cracking, adhesion failure |
| Setting block | Bottom of glazing channel only | Bear glass dead load; prevent base contact | Crushing, slippage, missing blocks at base corners |
Why Glazing Gasket Condition Is a Safety Issue
The consequence of a failed door perimeter seal is a deteriorating interior environment. The consequence of a failed glazing gasket is stress on the glass itself — a distinction that places glazing gasket inspection squarely in the safety category.
Differential thermal expansion: Glass and metal frames expand and contract with temperature at different rates. A glass panel set in a metal frame with a functional glazing gasket has compressible material absorbing the differential movement across every temperature cycle. A panel set without effective gasket cushioning transmits that differential movement as direct load to the glass edge — a load that accumulates as micro-fractures at the edge before becoming a visible crack or spontaneous panel failure.
Point load concentration: Where glass edge contacts metal frame directly, the contact force concentrates at a very small surface area rather than distributing across the gasket’s full face. Glass is significantly weaker in tension at edge contact points than across its flat surface. Edge point loads are the mechanism behind many glass failures that appear sudden but have been developing through repeated thermal cycles for months or years.
Vibration fatigue: School corridor environments generate continuous vibration — foot traffic, locker activity, HVAC equipment cycling, and door activity all transmit low-amplitude vibration to adjacent wall-mounted and freestanding case units. A glass panel cushioned by a sound gasket absorbs this vibration at the elastomer interface. A panel resting directly on metal or rattling against a hardened gasket that no longer follows the glass surface experiences this vibration as cyclic fatigue loading at its edges. Cases near gymnasium exit doors, main entrance lobbies, or athletic corridor intersections with heavy traffic warrant particular attention.
Weight distribution at the base: Trophy case glass panels are heavy. A standard 3/16-inch tempered glass panel in a 24-inch-wide by 48-inch-tall door weighs approximately 10–12 pounds. The glazing channel base must support this dead load without the glass edge contacting the channel floor directly — which is the function of the setting block or base gasket. Setting blocks that have been crushed by years of dead load, or gaskets that have permanently compressed below the level of the glass edge, allow direct glass-to-frame contact at the highest-stress location in the assembly.
Schools that display significant athletic collections — including the championship hardware, retired jerseys, and historical plaques associated with programs that have developed decades of recognition traditions and award archives — benefit from the reassurance that the glass protecting irreplaceable hardware is not approaching edge-contact failure conditions.
Common Failure Modes for Trophy Case Glazing Gaskets
| Failure Mode | Description | Visual Indicators | Risk Level |
|---|---|---|---|
| Compression set | Gasket has permanently deformed under load and no longer returns to its original cross-section when pressure is released | Gasket appears flattened or narrower than the frame channel; visible gap between glass edge and gasket face | Moderate — glass moving toward frame contact |
| Hardening (age-related) | Elastomer has lost flexibility due to UV exposure, chemical off-gassing from case interior, or simple aging; gasket no longer conforms to glass surface under thermal cycling | Gasket surface is rigid when probed; may show surface cracking or brittleness; discoloration from natural tan/black to gray-white | Moderate to High — thermal loads no longer absorbed |
| Cracking through cross-section | Gasket has cracked through its full depth, dividing the sealing surface into separate sections | Visible crack perpendicular to gasket profile running through the visible face of the gasket material | High — load distribution interrupted at crack location |
| Pull-out from channel | Gasket has migrated outward from the glazing channel, leaving part of the channel void unfilled | Gasket lip or edge is visibly displaced from the frame channel; glass edge visible in the gap; gasket material bunched at channel opening | High — direct glass-to-frame contact possible at pull-out location |
| Missing section | A section of gasket is absent — either removed during a prior repair, fallen out, or never installed in the affected channel section | Visible gap in the gasket perimeter; frame channel visible with no gasket material present | Critical — direct glass-to-frame contact confirmed |
| Setting block failure (base) | Load-bearing pads at the glass panel base have been crushed, displaced, or are absent | Glass rests visibly lower in the frame than the adjacent panels; base channel gap; glass may contact the frame bottom | Critical — full panel dead load on metal frame |
| Adhesive separation | In gaskets bonded with adhesive, the bonding has failed and the gasket floats in the channel without positive retention | Gasket can be displaced by light finger pressure without springing back; moves independently of the frame | Moderate — gasket no longer reliably positioned |
Pre-Inspection Preparation
A glazing gasket inspection does not require specialized tools, but completing it systematically for a multi-case building inventory requires preparation before the inspection walk begins.
Items to bring:
- Flashlight or headlamp (oblique lighting at a low angle across the gasket face reveals compression set and surface cracking more reliably than overhead corridor lighting)
- Thin flexible probe or blunt dental pick — for light gasket probing without glass contact; do not use metal tools that could contact glass edges
- Inspection log with columns for case ID, panel position, gasket material, condition rating, finding description, and escalation status
- Digital camera or smartphone for photographic documentation of ratings 3 and above
- Reference sheet with the building’s case inventory, including case age, glass type, and prior inspection findings if available
Timing considerations: Temperature extremes reveal gasket failures most clearly. In schools located in climate regions with significant seasonal temperature variation, the best inspection windows are early fall (before heating season, after summer expansion cycles) and early spring (after heating season contraction). Cases near exterior walls or windows that experience direct solar loading in afternoon light are best inspected during or after a warm afternoon when differential expansion is at its daily peak.
Case inventory review: Before walking the building, confirm which cases contain glass panels (as opposed to acrylic), which are older institutional cases that may have original gaskets installed at manufacture, and which cases have been serviced for any glazing-related issue in the prior two years. Cases with a prior glazing repair history warrant closer attention to the replacement gasket condition at the repaired section boundaries, where original and replacement material may have been cut and joined.
School Trophy Case Glazing Gasket Inspection: Step-by-Step Protocol
Step 1: Record Case Identification
Before examining the glazing, record:
- Case identifier (wing, corridor, sequence — e.g., ATH-04)
- Location in building (distance from nearest landmark, hallway designation)
- Date, time, and inspector name
- Known case age or installation year
- Glass type if documented (tempered, annealed, laminated)
Cases without assigned identifiers should be labeled during this inspection. A consistent naming convention across all future inspection rounds is required for the condition-trend analysis that reveals whether specific cases are deteriorating at an accelerating rate.
Step 2: Standing-Distance Visual Survey
Step back two to three feet from the case and survey each glass panel from a normal standing position:
- Do all panels appear to sit at the same height within their frames, or does any panel sit noticeably lower or higher than adjacent panels?
- Is any gap visible between the glass edge and the surrounding frame on any panel?
- Does any panel appear to cock or tilt — sitting at a slightly different plane from the face of the frame?
- Is any gasket material visibly protruding from the frame channel face, bunched, or absent?
Note any observations before moving to close-up inspection. Standing-distance anomalies often indicate the most significant findings — problems visible from two feet are problems that have progressed beyond early-stage failure.
Step 3: Close-Up Perimeter Examination
Move to within 12 inches of the case face. Using the flashlight held at an oblique angle to the glass surface, examine the gasket perimeter on each accessible panel:
- Trace the gasket along all four edges of each panel where visible
- Look for gaps between the gasket face and the glass surface — a gap indicates either compression set or pull-out
- Look for gasket material that appears narrower than the channel it occupies, which indicates permanent compression deformation
- Look for cracks across the gasket face — fine surface checks (shallow, surface-only) are rated differently from through-depth cracks
- At base of each panel, look for the setting block or base gasket profile and confirm it appears to fill the channel base completely
Step 4: Corner and Joint Inspection
Corners are the highest-failure-probability location in any elastomeric gasket system. Temperature cycling stresses concentrate at the change-of-direction point. If the gasket is cut-and-joined at corners rather than formed in a continuous molded profile, the adhesive joint at each corner is also a failure point.
At each corner of each glass panel:
- Is the gasket material continuous through the corner, with no gap at the direction change?
- Does the corner joint appear bonded, or is there a visible separation between the two gasket legs?
- Is the gasket profile intact through the corner, or compressed/cracked specifically at the bend point?
Corner gaps under 1 mm are an early-stage finding. Gaps 1 mm or wider, or corner joints that have fully separated, are high-priority findings requiring a glazier assessment within 30 days.
Step 5: Light Gasket Probe (Fixed Panels)
For accessible fixed panel sections — side panels, top panels, back panels — use the blunt flexible probe to apply very light finger pressure to the visible gasket face. The gasket should offer compressible resistance and return to its position when pressure is released. A gasket that:
- Feels rigid with no give indicates hardening
- Depresses easily but stays depressed indicates compression set
- Moves freely in the channel without resistance indicates adhesive failure or pull-out
Do not probe the gasket adjacent to a panel edge where the probe could contact the glass edge. Limit probe use to sections where the gasket face is the only contact point.
Step 6: Check for Panel Rattle
For cases with openable door panels, gently press the center of the door glass with one open palm — do not push with force, just apply the light pressure a visitor might apply when touching the glass. A panel with sound glazing gaskets should feel solid with no perceptible movement or rattle. A panel that:
- Produces an audible click or rattle indicates the glass is not fully cushioned in the channel
- Moves perceptibly (lateral shift within the frame plane) indicates gasket failure has allowed clearance to develop between glass and channel wall
- Moves and does not return to its original position indicates the glass has migrated within the frame
Stop the assessment and escalate immediately if the panel moves and does not return.
Step 7: Document Before Moving to the Next Panel
Record findings for each panel before moving to the next one. Required fields:
- Panel position (door L, door R, fixed side, fixed top, fixed back)
- Gasket material type if identifiable
- Condition rating (using the five-point scale below)
- Specific finding description for any rating of 3 or higher
- Photograph taken (yes/no) — required for ratings 3, 4, and 5
- Escalation required (yes/no)
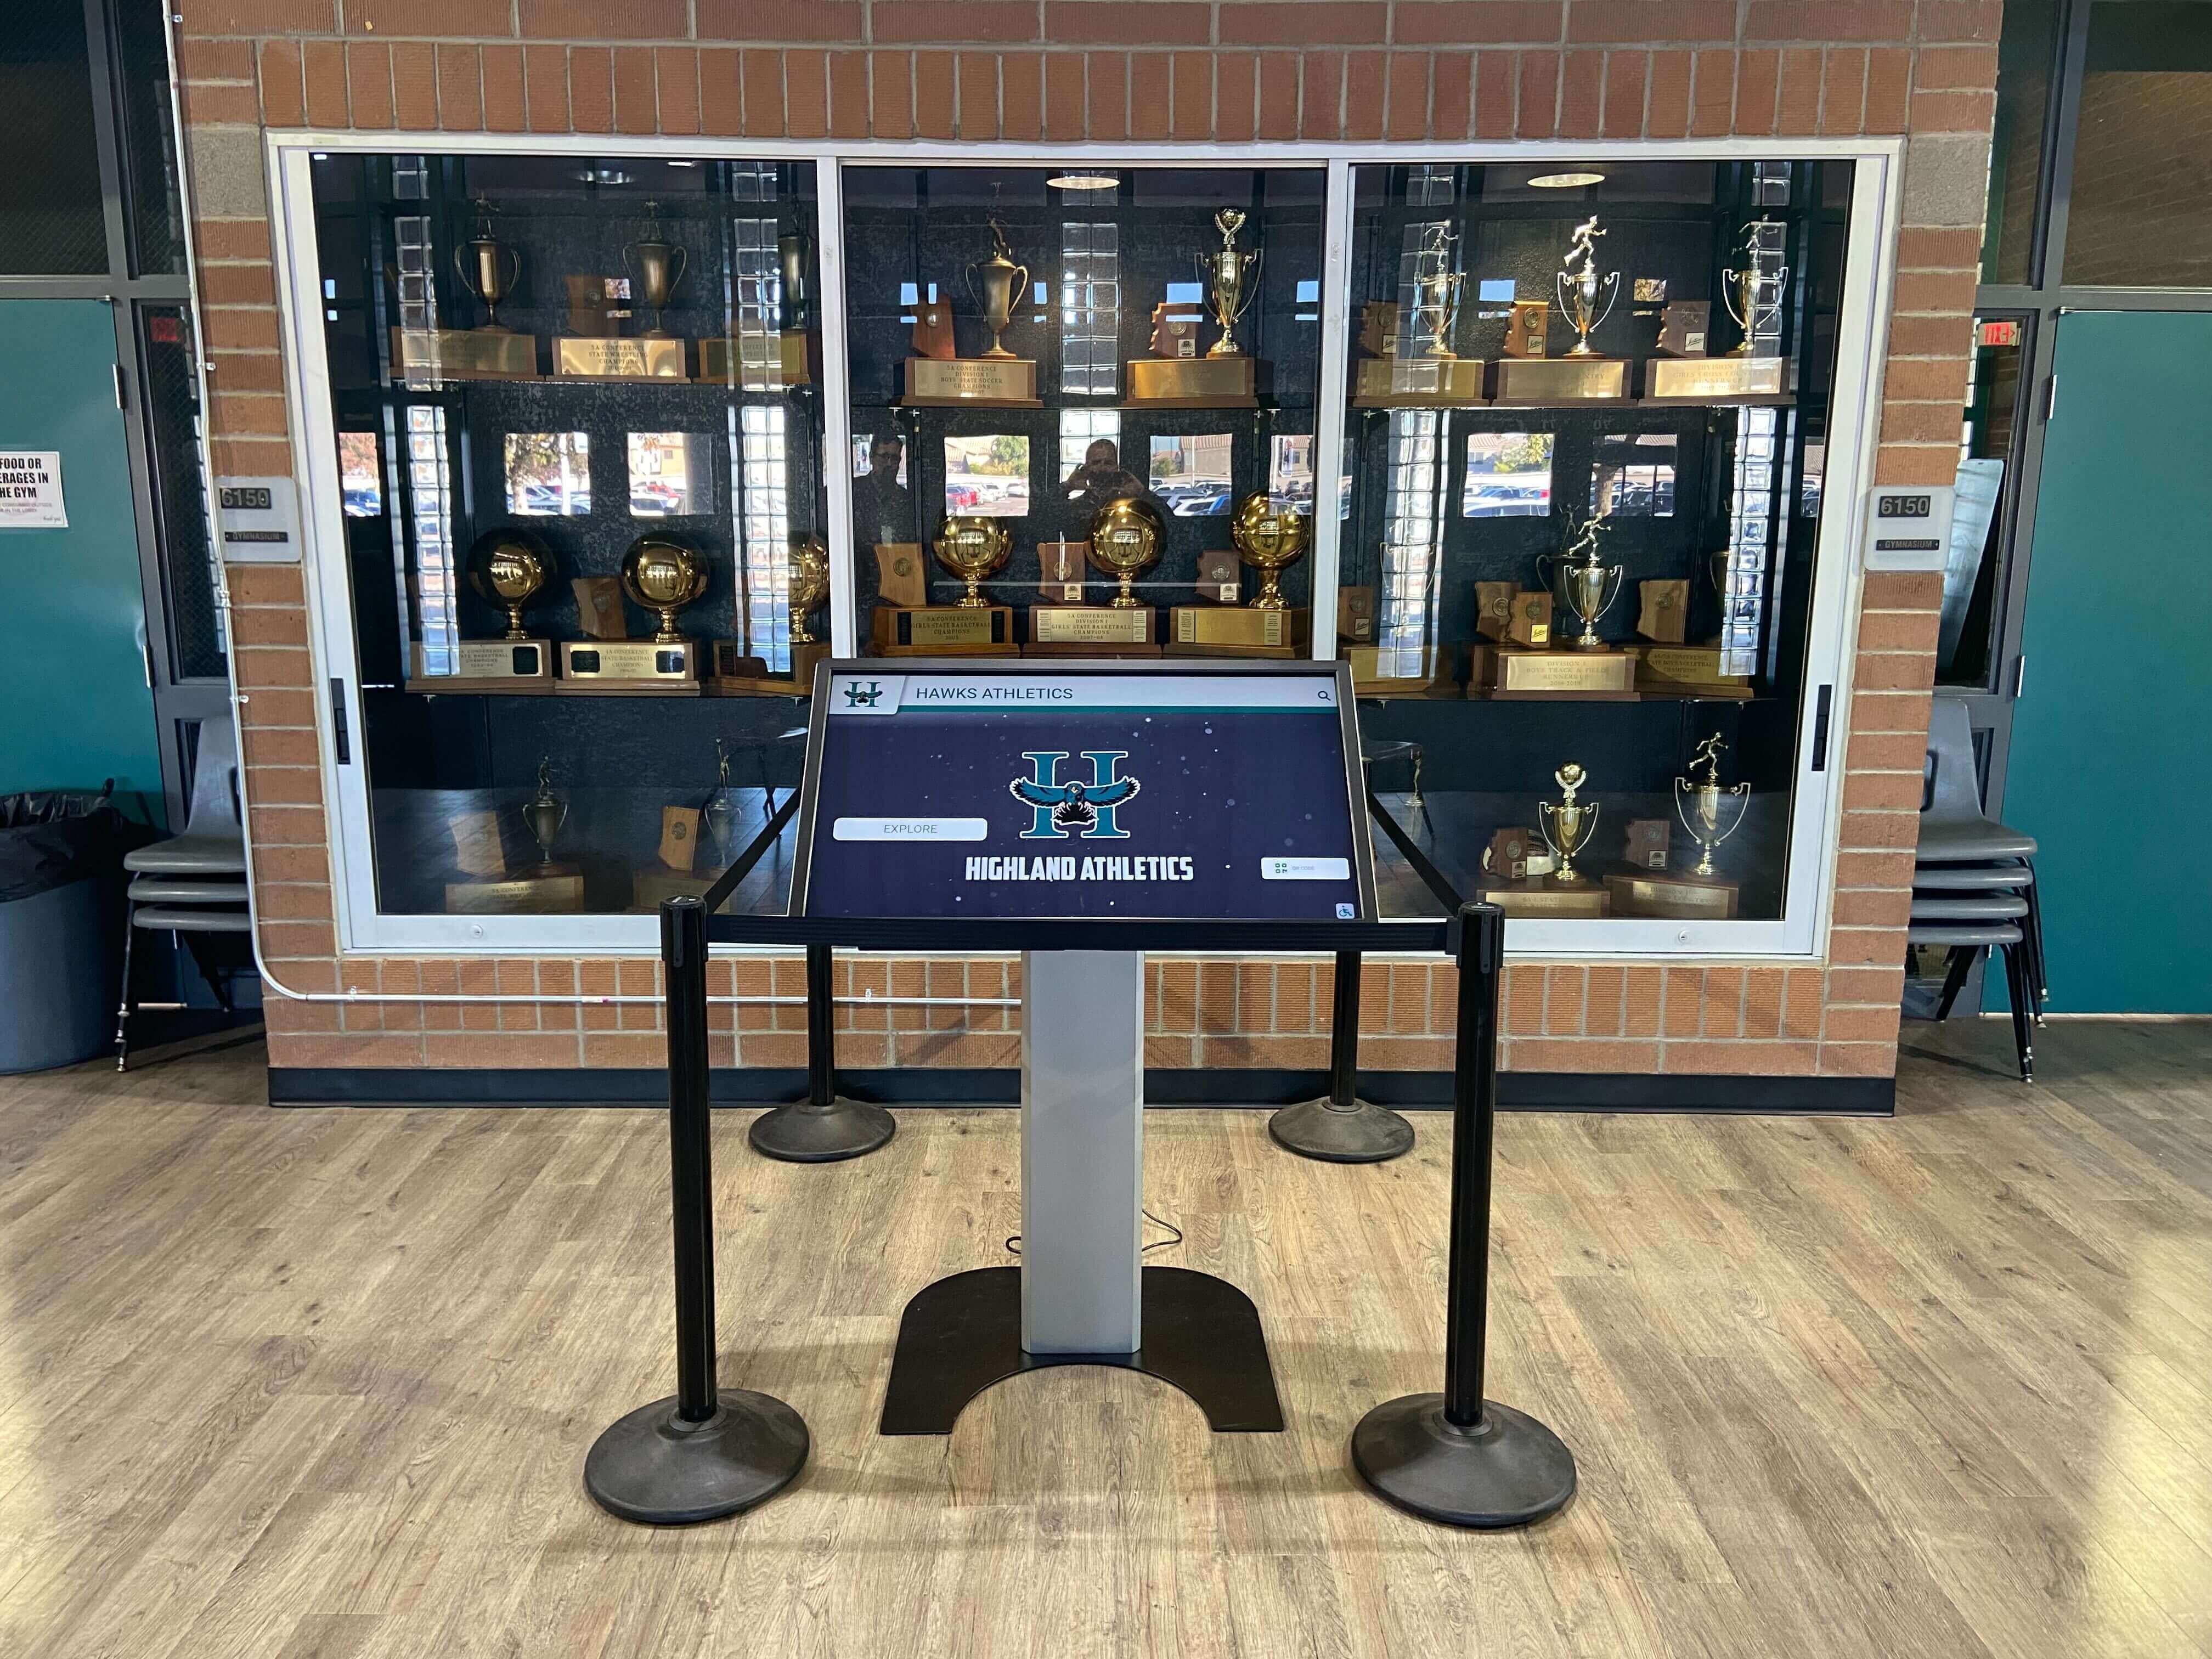
Trophy cases in recognition corridors alongside digital installations should receive glazing gasket inspections on the same schedule — glass panel condition and digital display condition are both part of a complete facilities maintenance program for recognition infrastructure
Glazing Gasket Condition Rating Scale
A consistent five-point rating scale enables comparison across inspection rounds and across case units, and provides the escalation threshold for each finding category.
| Rating | Description | Recommended Action |
|---|---|---|
| 1 — Sound | Gasket fully intact in channel on all edges; no compression set, cracking, pull-out, or missing sections; corners continuous; glass panel sits level with no rattle | Document as confirmed sound; no follow-up required until next scheduled inspection round |
| 2 — Monitor | Minor surface checking (fine cracks, surface-only, no depth); early compression set with gasket still occupying full channel width; corner joints showing early-stage (under 1 mm) gap | Document; re-inspect within 60 days or at next scheduled round; note specific panel location and finding for trend tracking |
| 3 — Action needed | Corner gaps 1 mm or wider; visible compression set narrowing gasket cross-section; gasket hardened with probe response absent or minimal; early pull-out evident at one channel section | Schedule glazier assessment within 30 days; document in maintenance work order system; photograph and include in facilities report |
| 4 — High priority | Through-depth cracking across gasket cross-section; gasket section partially pulled from channel; glass-to-frame gap visible on one or more edges; panel rattle confirmed under light palm pressure | Restrict case to read-only access — do not open door panel; glazier assessment within 5 business days; escalate to facilities supervisor same day; photograph and notify building administrator |
| 5 — Immediate | Setting block or base gasket absent or crushed with glass resting on frame; large gasket section missing from one or more channel edges; panel moves and does not return to position; glass visibly cocked or displaced | Do not access case; secure the area from student contact; contact glazier same day; notify building administrator and facilities director; photograph and document |
Glazing Gasket Safety Inspection Checklist
Use this checklist for each panel in each case unit. One row per inspection item. Flag any row with a positive finding before moving to the next case.
| Inspection Item | What to Assess | Flag If… | Priority |
|---|---|---|---|
| Panel sits level in frame | Does the panel appear to sit at the same height as adjacent panels? | Any panel sits noticeably lower or higher than adjacent panels | High — possible base gasket failure |
| No visible glass-to-frame gap | Is any gap visible between glass edge and frame channel on any edge? | Gap visible on any edge of any panel | High — glass-to-frame contact possible |
| Gasket material present on all four edges | Is gasket material visible and continuous on all accessible edges? | Any section of channel edge shows no gasket material | Critical — direct contact confirmed on that edge |
| Gasket seated in channel (no pull-out) | Does the gasket appear fully seated, with no section displaced outward? | Any section of gasket is bunched at channel opening or displaced from channel | High — glass no longer cushioned on that section |
| Gasket cross-section fills channel | Does the gasket appear to fill its full channel width, or does it appear compressed or narrowed? | Visible gap between gasket face and glass surface, or gasket appears narrower than channel | Moderate — compression set, glass approaching frame contact |
| No through-depth cracking | Are any cracks visible that appear to run through the full depth of the gasket cross-section? | Through-depth crack confirmed at any location | High — load distribution interrupted |
| No surface hardening (probe response) | Does the gasket surface offer compressible resistance when probed with light finger pressure? | Probe finds no resistance; gasket feels rigid | Moderate — hardened gasket no longer absorbs thermal loads |
| Corner joints continuous | Is the gasket material continuous through each panel corner with no separation? | Corner gap of any width | Moderate to High depending on gap width |
| Corner gap under 1 mm | If a corner gap is present, is it under 1 mm wide? | Corner gap 1 mm or wider | High — schedule glazier assessment |
| No panel rattle | Does the panel feel solid under light palm contact pressure, with no rattle or movement? | Audible rattle or visible panel movement | High — glass not fully cushioned in channel |
| Panel does not migrate on pressure | If pressed lightly, does the panel return to its original position? | Panel shifts and does not return to start position | Critical — lateral clearance has developed; escalate immediately |
| Setting blocks or base gasket intact | Is the base of each panel supported by intact setting blocks or base gasket? | Base channel visible with no block or gasket material; glass appears to rest on frame | Critical — full dead load on metal frame |
| No adhesive separation | If gasket is adhesive-bonded, does it stay in position when probed? | Gasket moves freely in channel under light probe pressure | Moderate — gasket no longer reliably positioned |
| Gasket condition documented | Is the gasket type and prior inspection rating recorded in the case maintenance log? | No prior inspection record exists for this case | Low — establish baseline at this inspection |
What Facilities Staff Can Assess vs. What Requires a Glazier
The boundary between staff-level inspection and glazier work is defined by the safety risk associated with disturbing glazing components while glass is in the frame.
Facilities Staff Can Safely Perform
- Visual inspection of all gasket perimeters using the checklist and rating scale above
- Oblique-light flashlight examination of gasket face condition and channel gaps
- Light probe assessment of accessible gasket sections (no contact with glass edges)
- Light palm-pressure rattle check on door panels
- Documentation of condition ratings, specific findings, and panel photographs
- Escalation of findings rated 3 or higher to the maintenance work order system
- Restriction of case access for findings rated 4 or 5
- Communication of findings to facilities supervisors, glazing contractors, and building administrators
Glazier Work — Do Not Attempt Without Training
- Removal of glazing beads or stops in order to access the gasket
- Extraction or replacement of glazing gaskets while glass remains in the frame
- Re-setting displaced setting blocks at the panel base
- Applying sealant or adhesive to gasket joints
- Removing and reinstalling glass panels for full gasket replacement
- Cutting and profiling replacement gasket material to match existing channel dimensions
This boundary protects both the inspector and the glass. A well-intentioned attempt to reseat a displaced gasket can shift the glass panel within the frame and create the displacement conditions the gasket is meant to prevent. Glaziers who receive a documented inspection record — with panel locations, rating assignments, specific findings, and photographs — can assess the repair scope accurately, bring the correct gasket profiles for the case manufacturer’s channel system, and complete the work in a single visit rather than a preliminary assessment plus a follow-up repair visit.
The same inspection discipline applies to digital display infrastructure in the same corridor. Facilities teams that document and escalate digital display anomalies — rather than attempting repairs without appropriate authorization — follow the same principle that governs glazing gasket work. Schools using digital recognition platforms alongside physical cases can integrate both into the same inspection workflow; the color temperature calibration of recognition displays in school lobbies and gyms is one example of a systematic display-health check that mirrors the structured gasket inspection approach.
Inspection Log Format
A standardized log allows multiple inspectors to produce compatible records and enables future staff to read prior inspection history without guessing at conventions or abbreviations.
| Field | Format | Notes |
|---|---|---|
| Inspection Date | YYYY-MM-DD | ISO format to prevent date ambiguity across academic-year changeovers |
| Building / Wing | Text | Include hallway designation and corridor landmark |
| Case ID | Text or code | Assign consistent labels at first inspection if not previously labeled (e.g., ATH-01 through ATH-12) |
| Panel Position | Door L / Door R / Fixed Side L / Fixed Side R / Fixed Top / Fixed Back | Record each panel independently — same case can have panels at different rating levels |
| Glass Type | Tempered / Annealed / Laminated / Unknown | Record from prior documentation or glazier confirmation; affects escalation urgency |
| Gasket Material | EPDM / Neoprene / Silicone / Unknown | Record from visual appearance or case documentation |
| Condition Rating | 1 / 2 / 3 / 4 / 5 | Use the five-point scale |
| Specific Finding | Text | Required for ratings 3, 4, and 5; include location within panel perimeter and extent of affected area |
| Gap Measurement (est.) | mm | Estimate corner gaps to nearest millimeter; not required for ratings 1–2 |
| Rattle Test Result | Sound / Rattle / Movement | Record door-panel rattle check result |
| Photograph Taken | Yes / No | Required for ratings 3, 4, and 5 |
| Escalation Required | Yes / No / Immediate | Yes for rating 3 within 30 days; High Priority for rating 4 within 5 days; Immediate for rating 5 same day |
| Follow-Up Action | Text | Name the specific next step and the responsible party |
| Inspector Name | Text | Full name for accountability |
Maintain this log with the facility’s maintenance records and note its location in the building’s maintenance management system. A paper log stored in a single binder without digital backup has limited continuity when facilities staff turns over. Photographs attached to a digitally maintained record allow incoming staff to verify current gasket appearance against a prior baseline without repeating a full inspection to establish context.
When to Schedule Glazing Gasket Inspections
Unlike a one-time documentation task such as tempered glass stamp verification, glazing gasket inspection is a recurring maintenance activity because elastomeric materials age continuously and the rate of aging varies by gasket material, case location, and building environmental conditions.
At installation or building takeover: Document gasket condition on all panels when a new case is installed, when an existing case inventory is inherited without prior documentation, or when building renovation work adjacent to trophy case locations may have affected the glass units.
Annually — start of school year: A full building inspection round before the fall academic and athletic season establishes baseline condition before heavy-use periods begin. Cases in athletic corridors, gymnasium lobbies, and main entrance areas receive the highest traffic during fall athletic seasons and benefit from confirmed-sound documentation entering that period.
After significant events: Cases should receive inspection after renovation or construction work adjacent to trophy case locations (vibration and impact during construction can displace gaskets and setting blocks), after events involving sustained high foot traffic near case units, and after any observed physical impact to a case.
When a related finding triggers it: A case where the glazing bead inspection identified displaced or damaged beads should receive a glazing gasket inspection during the same glazier visit, since the bead removal required for bead replacement provides access to the gasket channel. Combining both inspections — physical gasket condition and mechanical bead retention — in a single access event is more efficient than scheduling separate assessments.
Schools that serve students from elementary through secondary grade levels, including smaller cases designed for elementary school recognition boards and hallway displays, often overlook these lower-profile units in annual inspection rounds. Elementary building cases may contain awards, academic honor plaques, and community recognition items behind glass that receives the same thermal cycling and vibration loads as athletic corridor cases in secondary buildings — and the same glazing gasket inspection schedule applies.
Connecting Glazing Gasket Inspection to the Recognition Program
The reason glazing gasket inspection is a safety priority is the same reason it matters to a school’s recognition program: the glass being inspected protects irreplaceable objects. Championship trophies from title seasons, retired jerseys from alumni who went on to professional careers, framed photographs from programs spanning multiple decades — none of these can be reproduced. A glass panel failure that results from a heat-stress crack initiated at a frame contact point is a conservation emergency with no recovery path for the affected items.
Schools that have built comprehensive recognition programs — athletic and academic — accumulate display cases faster than their facilities teams can keep up with inspection schedules designed around a smaller inventory. A trophy case at capacity with championship hardware is opened and closed more frequently than an empty case: athletic directors adding new hardware after banquet season, coaches photographing contents for social media, student aides repositioning items during event setup. Each access event is a load event on the glazing system. Programs with established academic recognition components that add academic plaques, honor boards, and scholar-athlete recognition alongside athletic hardware make this access cycle even more frequent.
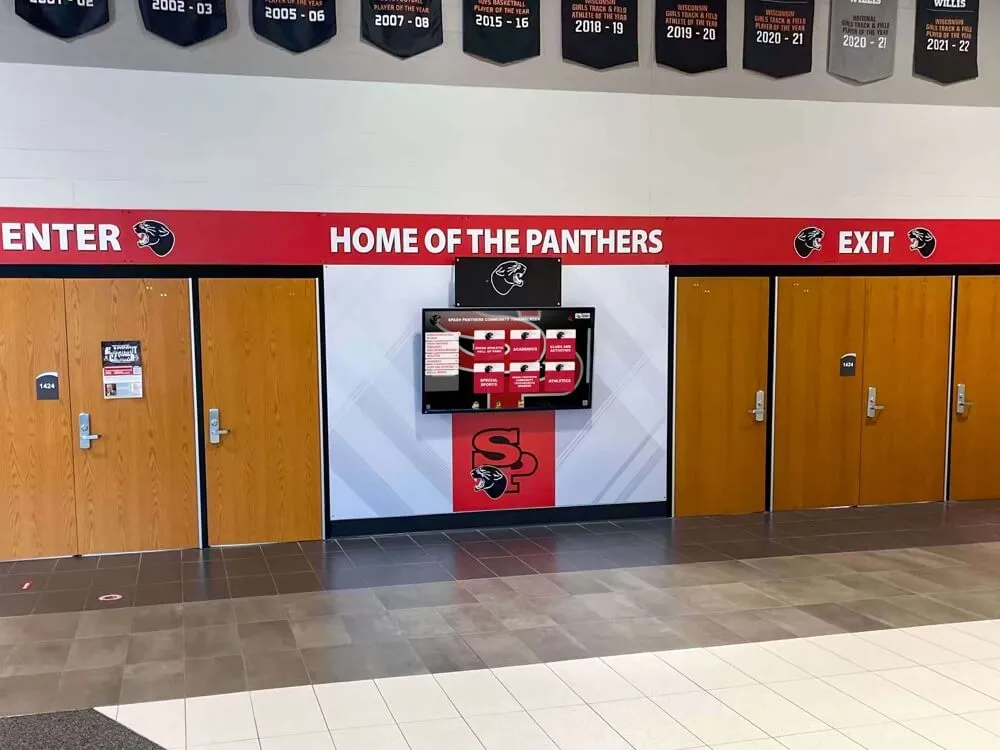
The glazing gasket inspection checklist provides the documentation discipline that keeps pace with program growth. A well-maintained case that has been inspected, rated, and confirmed sound at the start of each school year is an institutional asset whose physical integrity is documented — not assumed. Schools developing recognition programs that include digital hall of fame displays, donor walls, and sponsor recognition alongside their physical cases understand that both components require documented maintenance programs. The digital platform is maintained through software updates, content refreshes, and display hardware checks. The physical case is maintained through gasket inspection, bead assessment, and glass condition documentation.
Neither system maintains itself, and neither replaces the other’s maintenance requirement.
When Physical Cases Are Maintained — and Still Running Short on Space
A trophy case with confirmed-sound glazing gaskets, functional door seals, and properly retained glass panels is still a fixed-capacity object. Schools that have completed their physical case maintenance program and turned their attention to the recognition capacity question find that the math of one new award per season against a finite case inventory eventually reaches the same outcome in every building: the current achievements can be displayed, and the historical ones cannot.
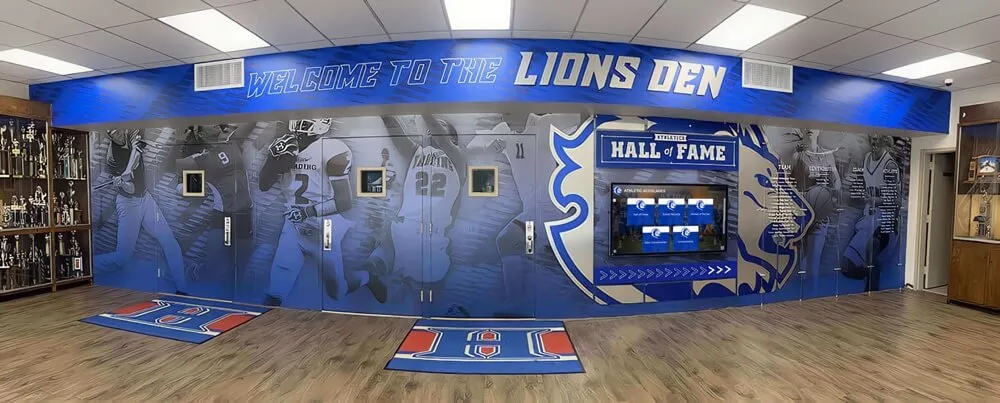
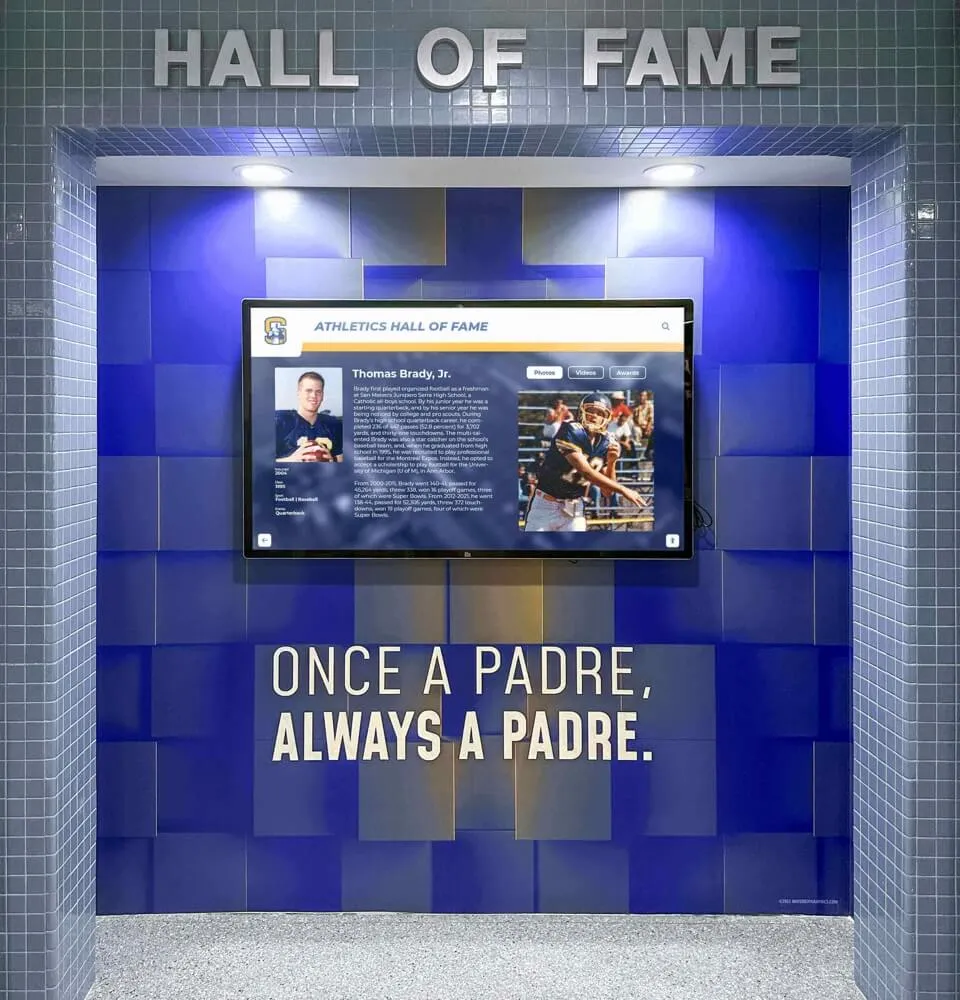
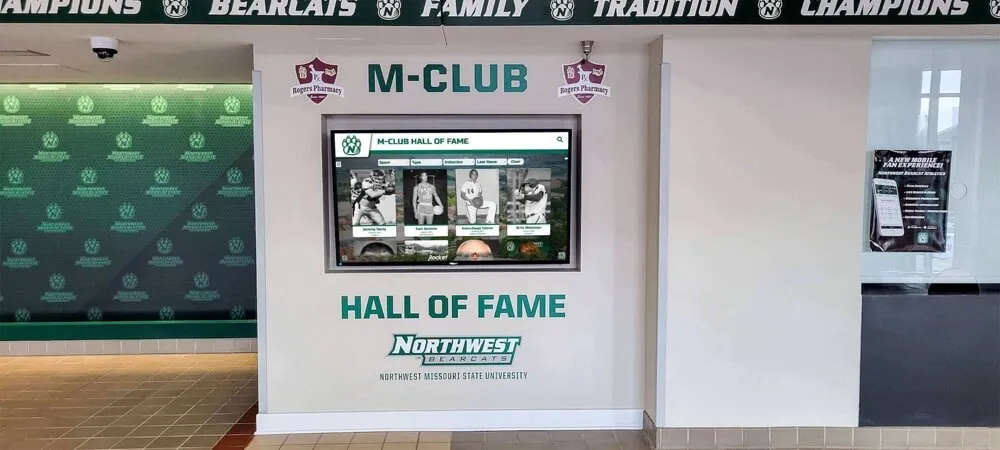
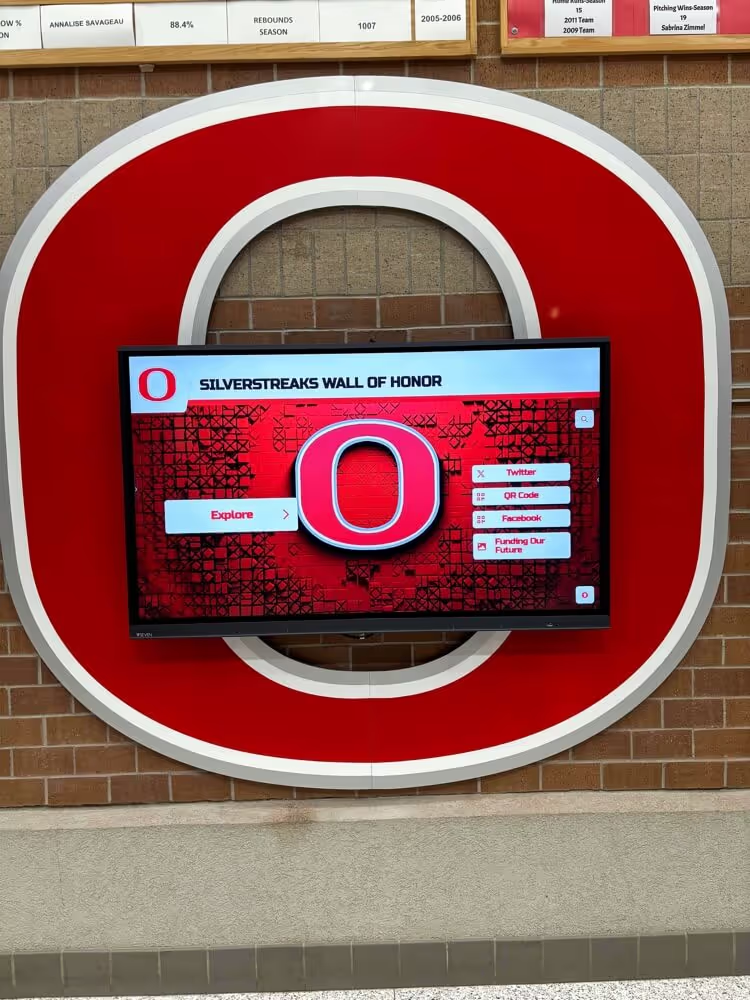
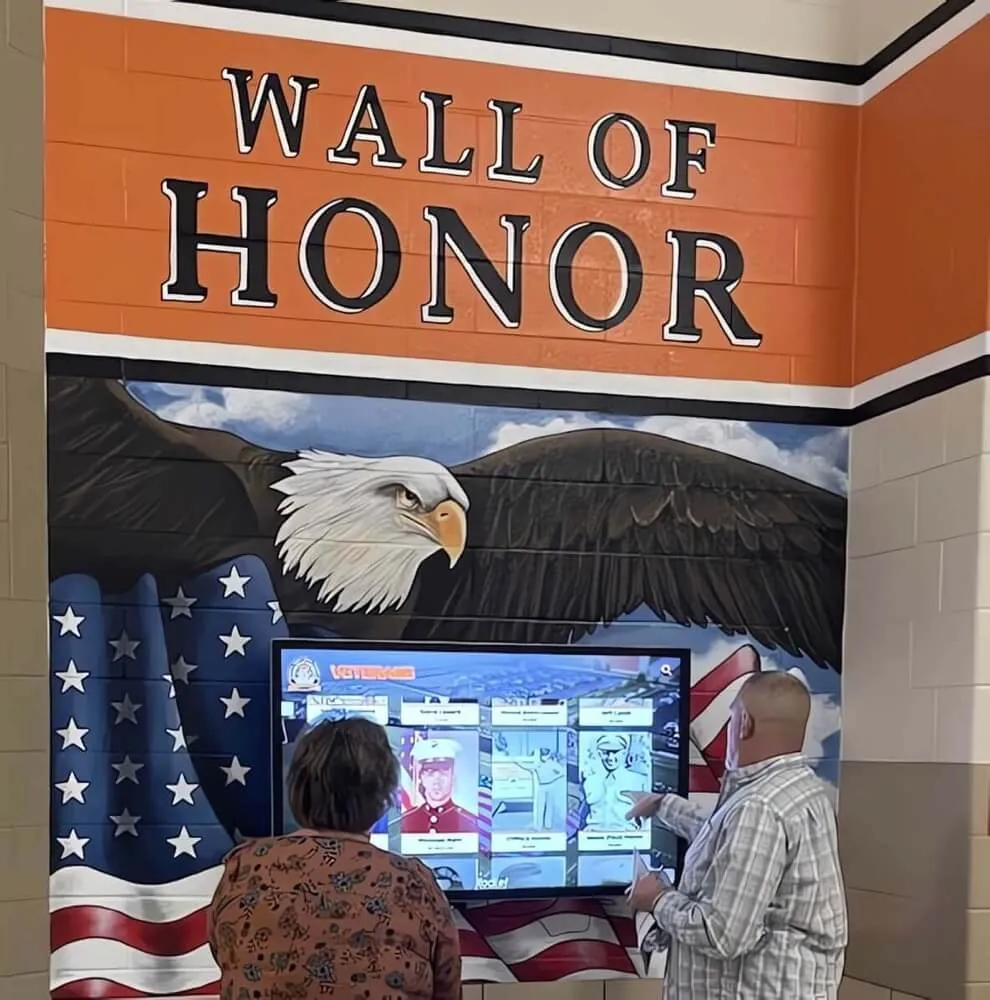
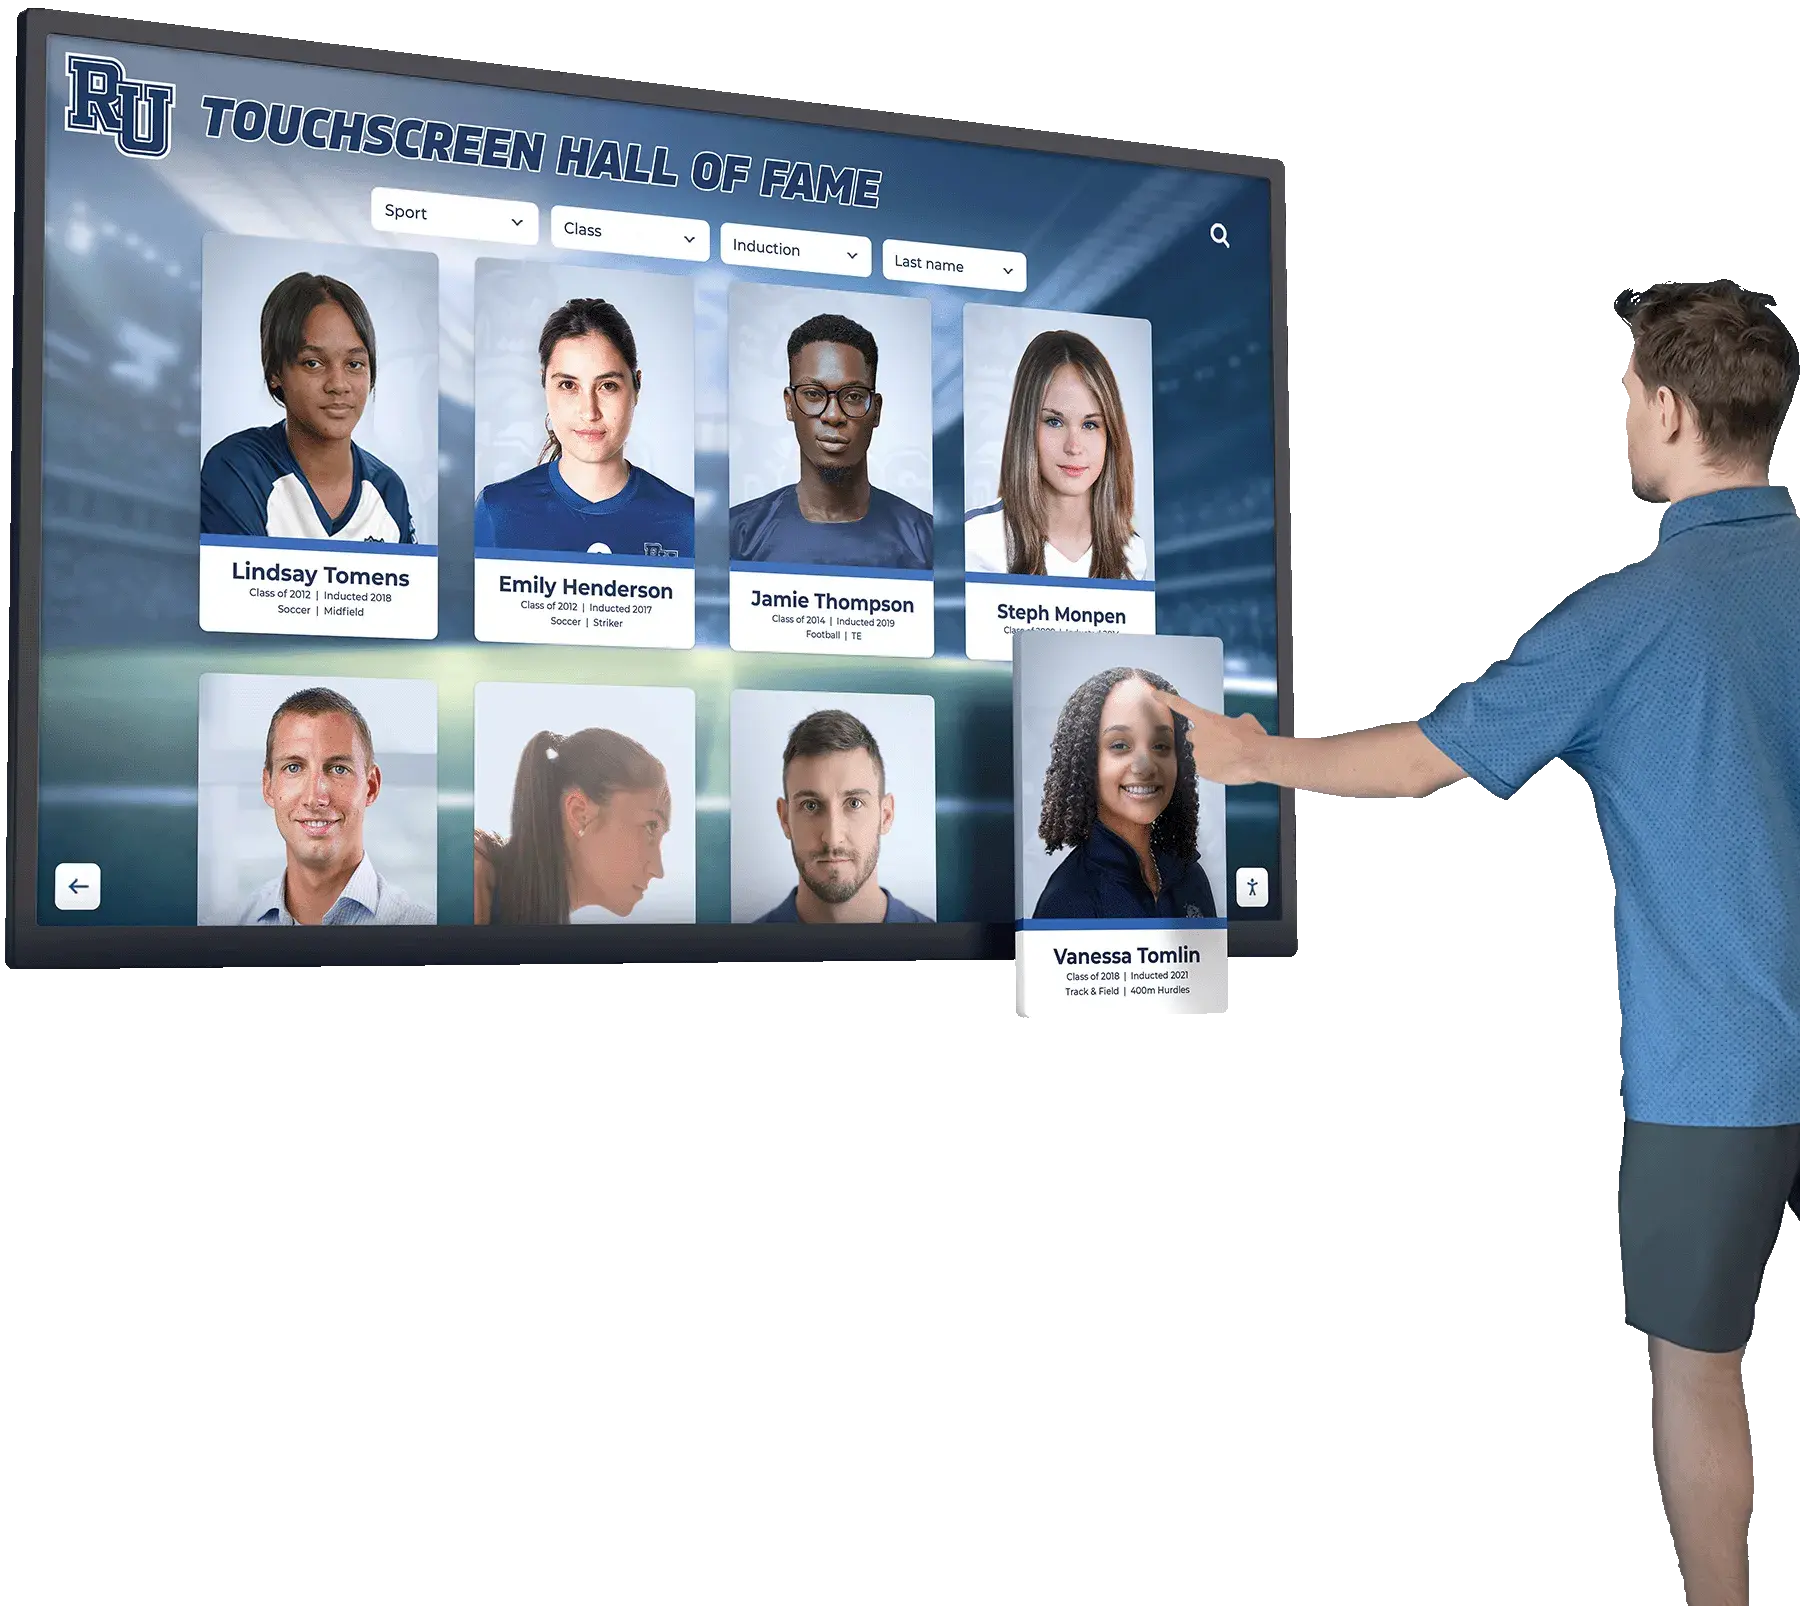
Schools that have resolved the maintenance question increasingly supplement physical cases with digital recognition platforms that place the complete institutional record — every athlete, every season, every academic honor — in the same corridor as the physical case, accessible through touchscreen interaction. Programs exploring digital wall of honor displays as a complement to physical trophy cases find that the two systems serve different functions: the physical case holds the irreplaceable objects; the digital display holds the searchable, unlimited record those objects represent.
Recognition programs that cover a broad range of sports — including awards from programs at every competitive level — generate hardware across sports with very different display item profiles. A soccer awards program from youth through varsity levels might contribute individual trophies, team plaques, game balls, framed photographs, and commemorative items to a case over multiple seasons. Each new item type means a different shape and weight distribution inside the case, a different access event to add it, and one more reason for facilities staff to confirm the case’s glazing system is sound before the next awards cycle.
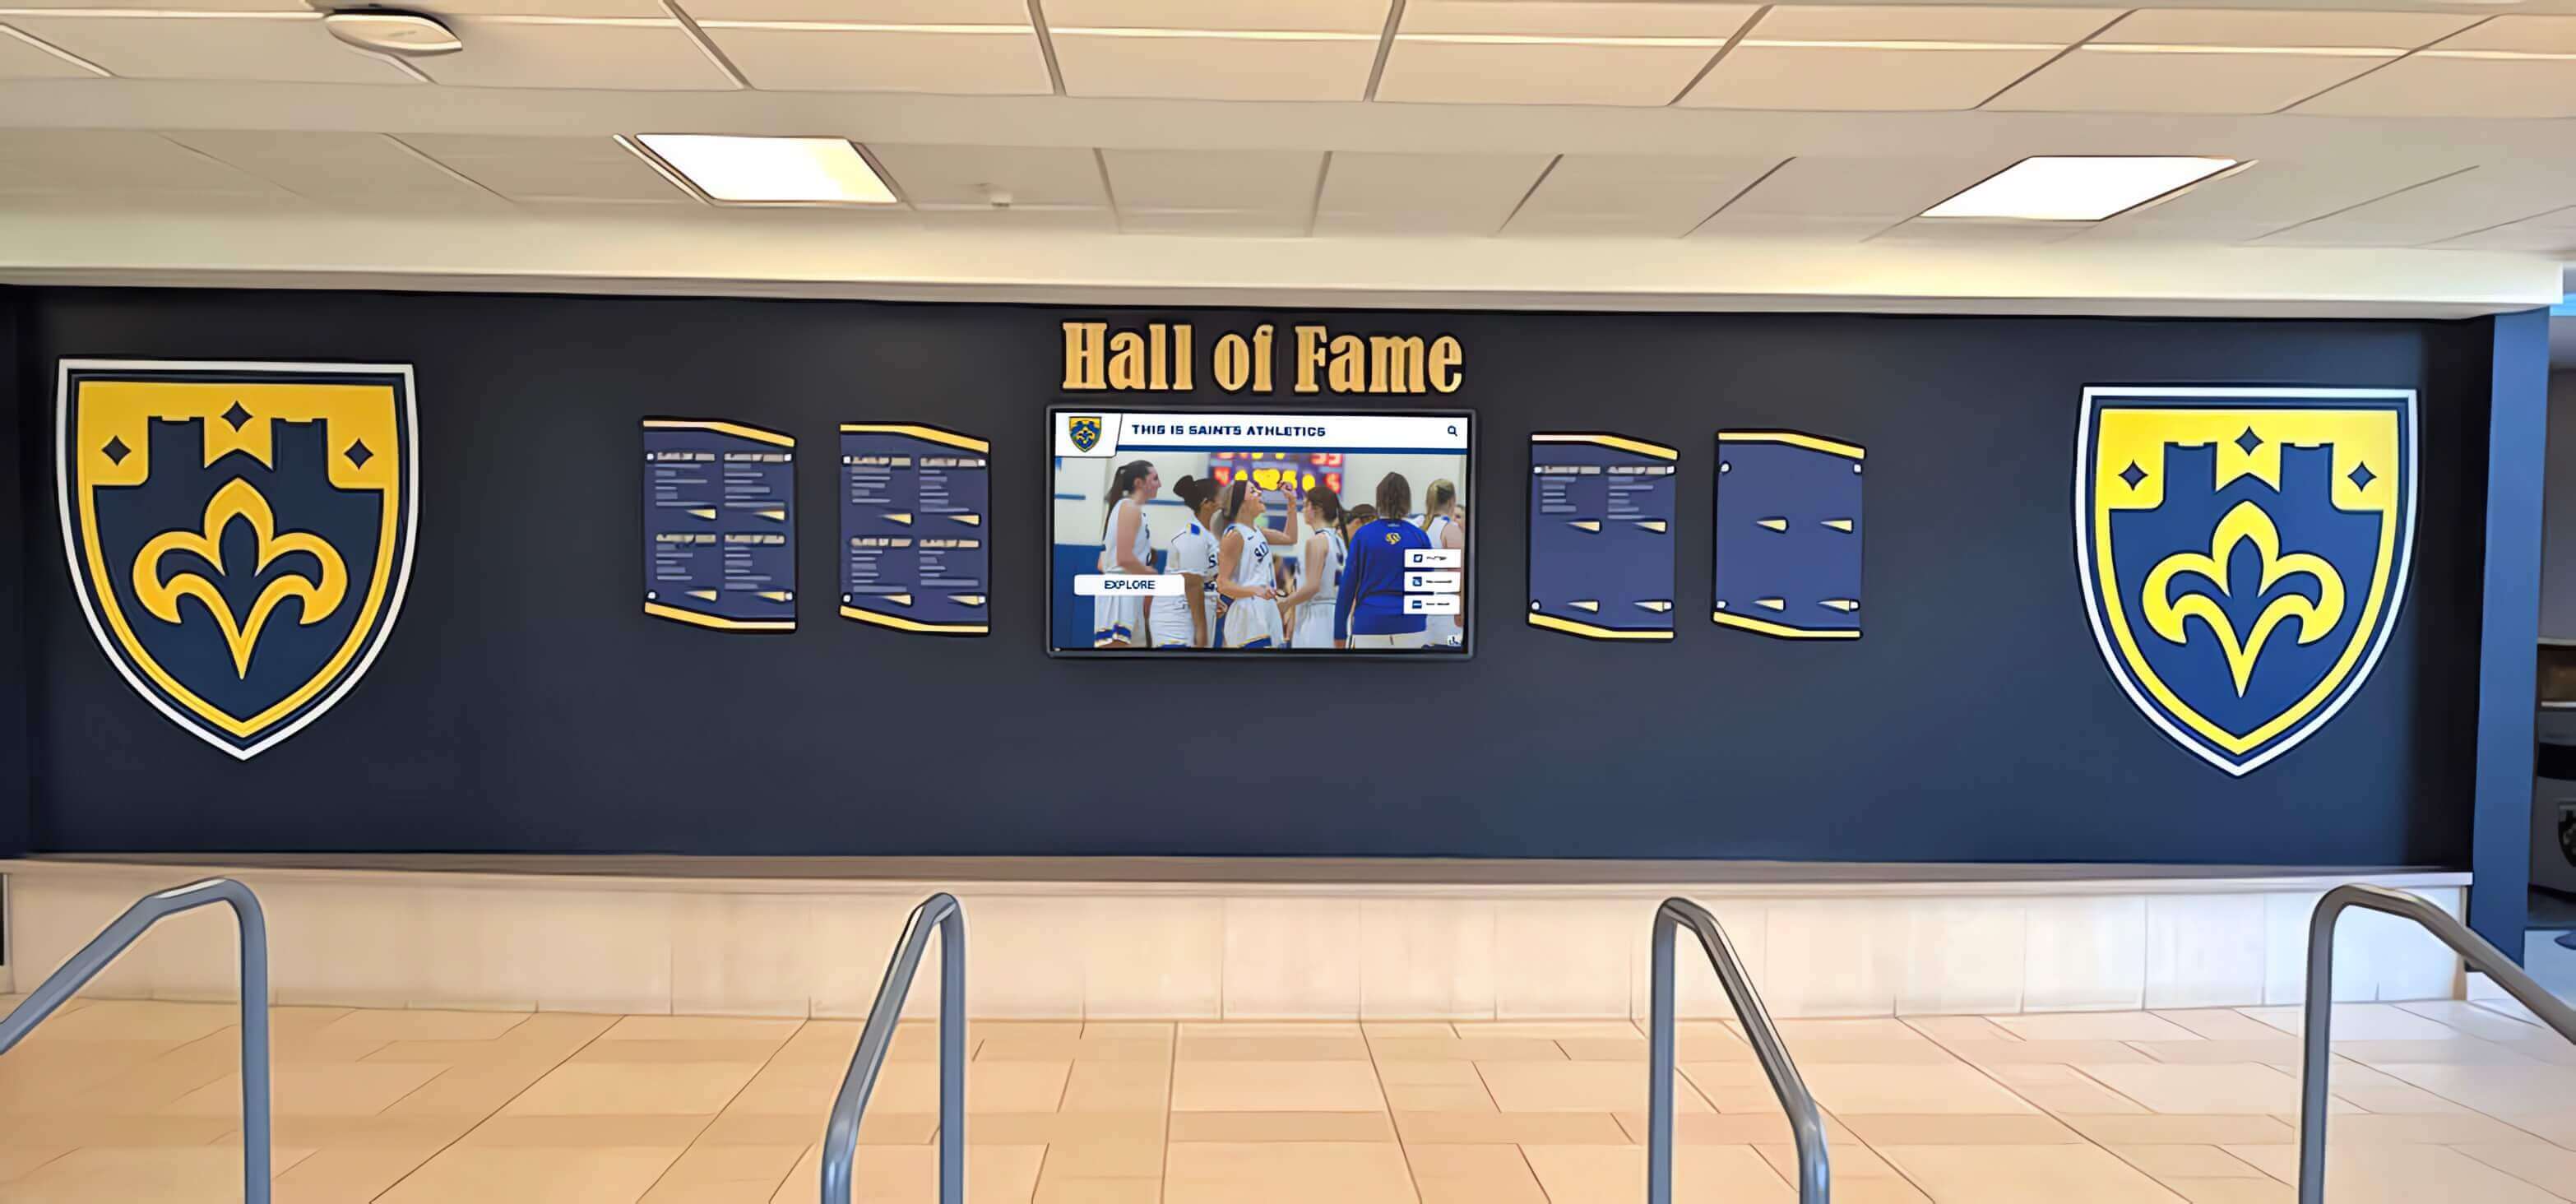
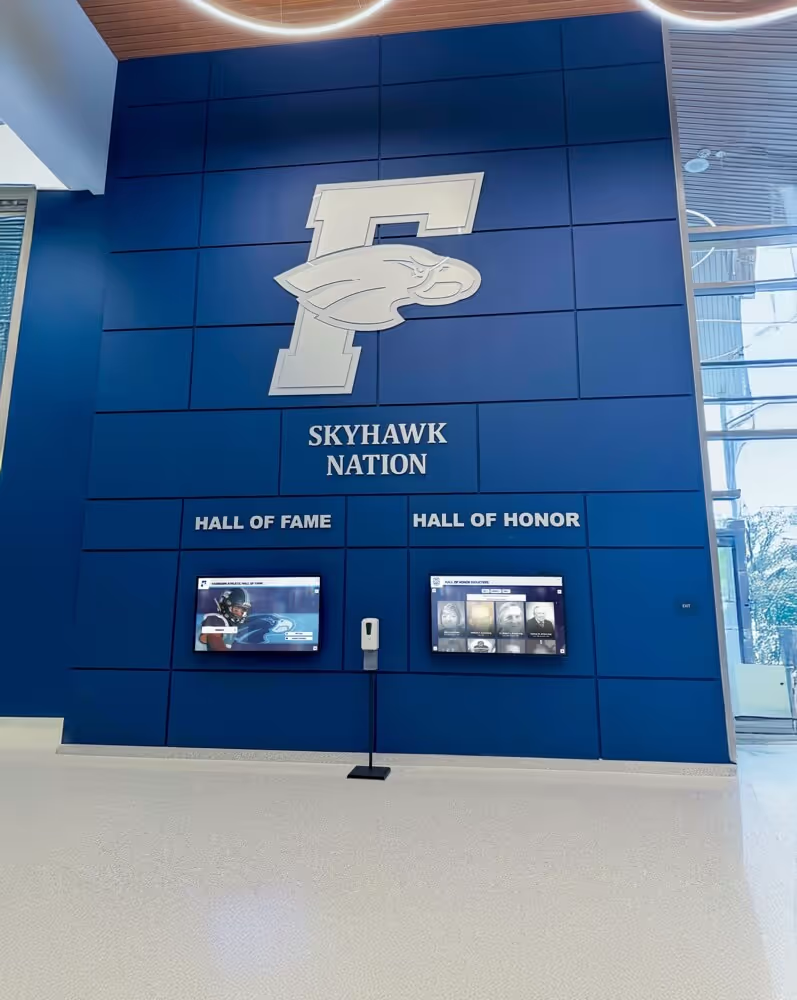
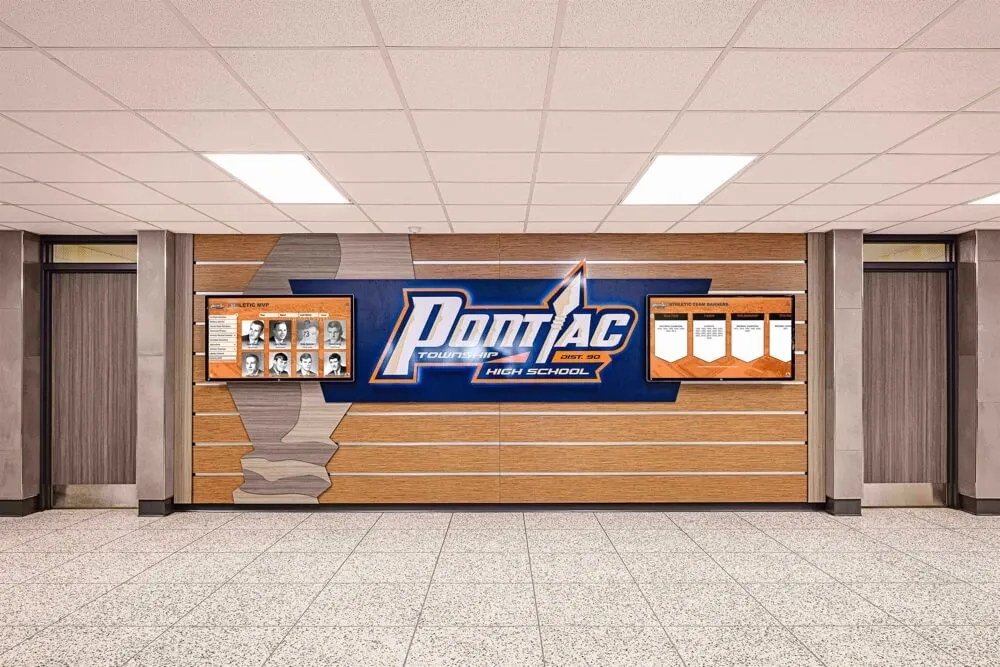
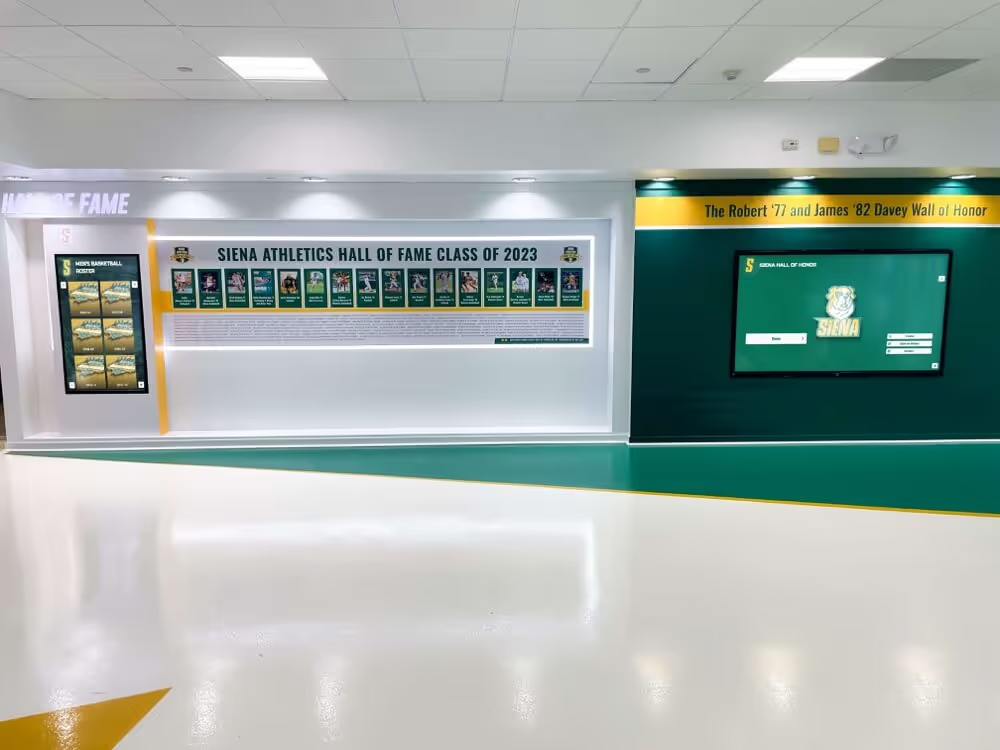
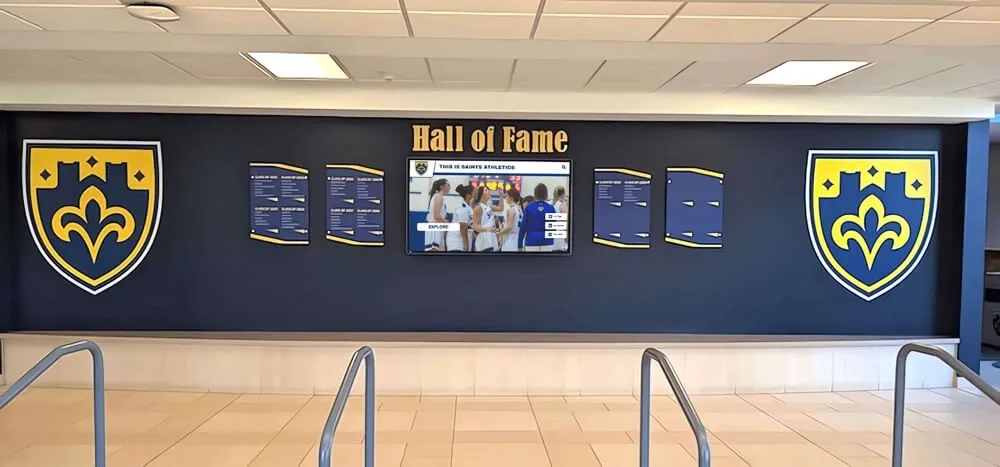
Lobby recognition displays that combine physical glass enclosures with digital screens represent two parallel maintenance tracks — glazing gasket inspection and digital display health checks, documented separately but on the same annual facilities calendar
FAQ: School Trophy Case Glazing Gasket Inspection
What is a glazing gasket in a school trophy case, and why does it matter?
A glazing gasket is the compressible elastomeric seal — typically made from EPDM rubber, neoprene, or silicone — that sits inside the glazing channel of the trophy case frame, in contact with the glass edge and face. Its function is to cushion the glass from direct contact with the metal or wood frame, fill the void between glass edge and channel wall, and distribute the clamping force of the glazing bead uniformly around the glass perimeter. When the gasket fails — through hardening, compression set, pull-out, or cracking — the glass moves toward direct frame contact, which concentrates thermal expansion stress at the glass edge and can initiate cracking or spontaneous panel failure over time.
How is a glazing gasket different from a door seal or a glazing bead?
A glazing gasket is positioned inside the glazing channel itself, in contact with the glass. A door perimeter seal is on the door frame edge, creating the closure seal when the door is shut — it controls dust and humidity infiltration but does not contact the glass directly. A glazing bead is the mechanical retaining strip that holds the glass in the frame by clamping it from the outside face — it applies the force that the gasket distributes. All three are distinct components with separate inspection protocols. Confirming one is sound does not confirm the others are functional.
Can facilities staff see glazing gasket condition without tools?
Most glazing gasket conditions can be identified through visual inspection with a flashlight held at an oblique angle to the glass surface — pull-out, missing sections, corner gaps, and hardening with surface cracking are all visible with this technique. Light probe assessment of accessible gasket sections adds confirmation for hardening and compression set that may not be visible from the surface. Panel rattle under light palm contact pressure is the most direct functional test available without tools. Removal of glazing beads to access the channel is glazier work and is not part of staff-level inspection.
What is the correct escalation for a trophy case with a rating-4 glazing gasket finding?
Restrict the affected case to read-only access — the door should not be opened and staff should advise students and visitors to avoid contact with the case. Document the finding with photographs. Contact the facilities supervisor and request a glazier assessment within five business days. Notify the building administrator that the case is restricted from normal use. A rating-4 condition does not mean glass failure is imminent, but it means that the conditions allowing glass failure have developed to the point where continued normal use is inappropriate until a qualified glazier has assessed and repaired the gasket.
How often should glazing gasket inspections be conducted in a school building?
Most school facilities programs benefit from an annual full-building inspection round at the start of each school year, with targeted re-inspection after significant events. Cases rated 2 (monitor) at a prior inspection should be re-inspected within 60 days. Cases in high-traffic locations — main lobbies, gymnasium entry corridors, athletic hallway intersections — warrant more attention than cases in secondary corridors with lower foot traffic. Cases adjacent to exterior walls or windows with direct solar loading benefit from inspection in both early fall and early spring, when seasonal temperature transitions produce the highest thermal differential loads on glazing gaskets.
What should I do if I can’t identify the gasket material in a case?
If the gasket material cannot be identified visually and no case documentation is available, treat it as EPDM rubber for inspection purposes — this is the most common material in school-grade institutional display cases and the most conservative baseline for failure-mode assessment. Note the unknown status in the inspection log. When the case is next accessed by a glazier for any reason, request that the gasket type be identified and documented so that future inspections can apply material-specific criteria. If the case is older and the gasket material appears to be original from installation, age-related hardening is the most likely finding regardless of exact material type.
Does the type of glass in the panel affect the glazing gasket inspection?
The glazing gasket inspection applies to any glass type — tempered, annealed, or laminated — because gasket failure creates edge-contact and load-concentration conditions that affect all glass types. However, the glass type affects the escalation urgency when contact conditions are found. Annealed glass is more vulnerable to edge stress and can crack from relatively low sustained contact loads. Tempered glass is more resistant to surface stress but fails catastrophically when it does fail. Laminated glass retains its pane when it fails but still presents a safety concern if the interlayer is compromised. If the glass type is unknown and a rating-4 or rating-5 condition is identified, treat escalation as if the panel is annealed until the glass type is confirmed by a glazier.
Building a Documented Safety Culture Around Trophy Case Glass
A completed glazing gasket inspection log tells the facilities team something that no amount of corridor observation can confirm: which glass panels have been systematically assessed, which have been found sound, and which require follow-up at a documented level of urgency. Panels confirmed sound at rating 1 are not assumed to be fine because they look undisturbed — they are confirmed to be fine because a trained inspector examined the gasket perimeter, checked the corners, assessed the compression response, and documented the finding.
This distinction matters more in a school building than in most other facilities environments. Students, coaches, parents, and administrators interact with trophy cases routinely. The cases are often positioned in the highest-traffic circulation areas in the building. They are opened repeatedly during awards seasons, displayed prominently during recruitment and alumni events, and photographed as backdrop for school pride content. The glass protecting championship hardware in these cases deserves the same systematic safety documentation that applies to any other glass panel in the building — not less, because it is inside a display case rather than a window or door.
Ready to Build a Digital Recognition Platform That Grows With Your Physical Trophy Case Program?
Rocket Alumni Solutions builds interactive digital trophy cases and halls of fame for schools nationwide — cloud-managed displays with unlimited record capacity, ADA WCAG 2.1 AA compliant touchscreens, QR code access for mobile viewing, and remote content updates without IT tickets. See how schools preserve every championship, retired jersey, and alumni milestone on a platform that complements their physical case maintenance program.
Book A DemoGlazing gasket inspection fits into a complete physical case maintenance program alongside door seal inspection, glazing bead assessment, desiccant management, and glass type verification. Together, these inspections address every layer of what a trophy case must do to function correctly: seal the interior environment, retain the glass safely, cushion the glass from frame contact, and control humidity around the collection it houses. No single inspection covers all of these simultaneously. Each targets a distinct failure mode, documents a distinct condition, and escalates through a distinct repair pathway.
Schools that treat these inspections as scheduled calendar items — rather than reactive responses to visible damage — protect their collections continuously, protect the students who walk past these cases daily, and build the documented maintenance history that demonstrates institutional care for recognition infrastructure. The glazing gasket inspection checklist is one component of that program: clear criteria, a consistent rating scale, a documented escalation path, and a log that makes future inspection rounds faster and more reliable because the prior baseline is on record.