



Intent: research — school trophy case glazing bite measurement is the process of quantifying how deeply a glass panel’s edge is captured within the surrounding glazing frame, stop member, or bead channel. Glazing bite — also called edge engagement or glass engagement depth — is measured from the visible glass edge inward to the back wall of the channel or to the stop face, and it represents the margin that prevents the glass from pulling free of the frame under lateral load, thermal cycling, or glazing bead failure. A panel with inadequate bite can appear secure while retaining only 4 or 5 millimeters of edge capture — well below the minimums that glazing industry guidance references for framed glass in regularly accessed display cases. This guide defines glazing bite precisely, describes the ruler-and-depth-gauge measurement method in step-by-step terms, provides a condition rating table referenced to glazing industry baseline minimums, and identifies the specific bite deficiencies that require immediate escalation — giving facilities teams and athletic directors a documented protocol for confirming that every glass panel in a school’s trophy case inventory is adequately engaged in its frame.
Glazing bite is among the least-inspected dimensions of school trophy case glass retention — not because it is unimportant, but because its failure mode is invisible from the hallway. A panel with 6 millimeters of frame engagement and a panel with 14 millimeters of frame engagement look identical from a corridor viewing position. The difference between them only becomes apparent under the lateral load of a door slam, the progressive relaxation of a glazing bead that has hardened over successive heating seasons, or the cumulative effect of repeated door-open-and-close cycles that apply rocking pressure to the glass edge. When the bite is adequate, those loads are distributed across a frame engagement margin wide enough to absorb them. When the bite is marginal or deficient, the same loads move the glass toward the point where nothing is preventing it from falling free.
A school trophy case glazing bite measurement inspection closes this visibility gap. It requires a millimeter ruler or depth gauge, access to the glazing channel edge, and a trained eye for the difference between measured engagement depth and the frame lip width that can mask a deficient bite from casual observation.

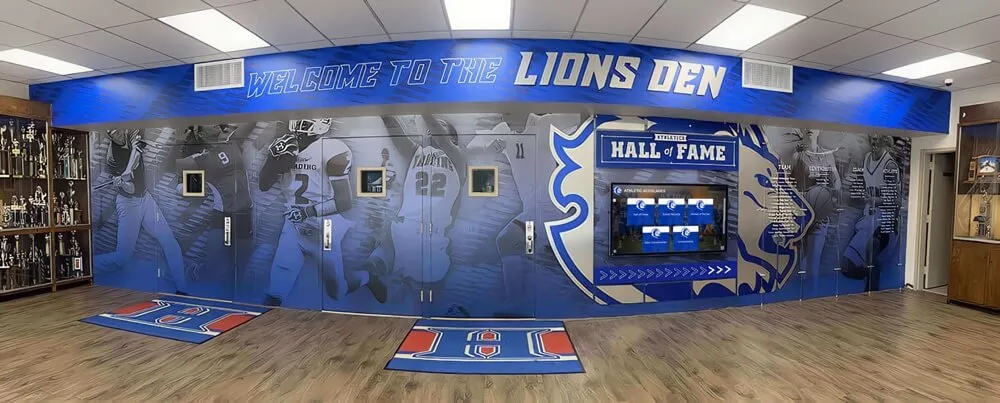
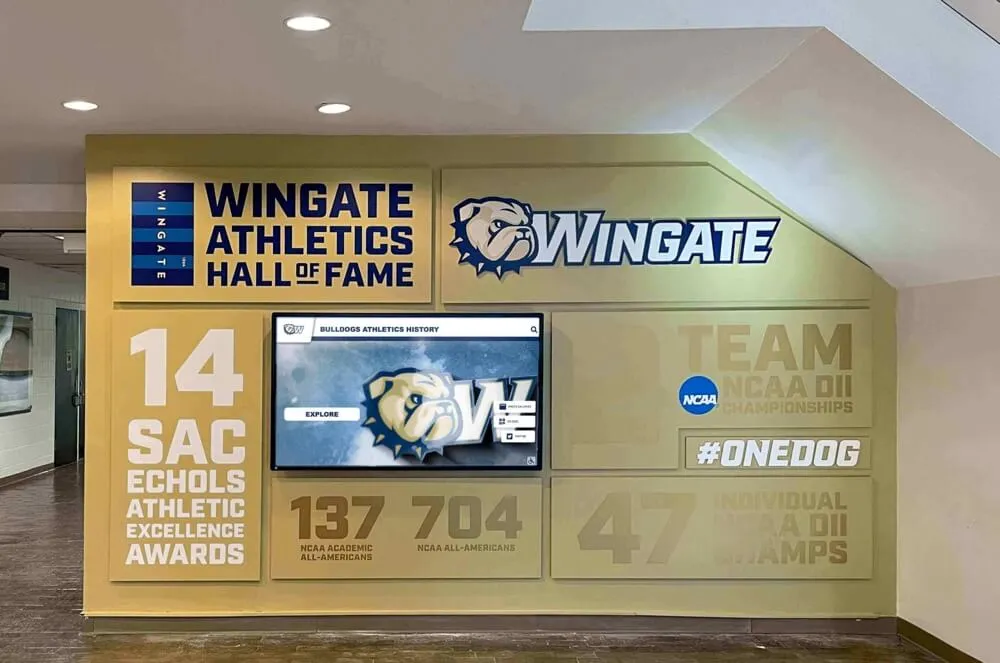
Trophy case corridors with multiple enclosed glass units depend on adequate glazing bite in every frame channel — a deficient bite can leave a panel visually secure while its edge engagement falls below the minimum needed to resist normal case loads
What Is Glazing Bite?
Glazing bite is the linear distance from the interior face of the glazing stop or frame member to the back wall of the glazing channel, measured along the plane of the glass. In practical terms, it is how far the glass edge extends into the frame before it reaches the end of the capture zone.
The term “bite” describes the frame’s grip on the glass: a frame that engages 12 mm of glass edge has a 12 mm bite. A frame that engages only 5 mm of glass edge has a 5 mm bite. The bite value represents the maximum lateral displacement the glass can sustain before the edge clears the stop and the panel falls free — which means it functions as a direct measure of residual retention margin in the as-installed condition.
| Term | Definition | Measured From | Measured To |
|---|---|---|---|
| Glazing bite | Depth of glass edge captured within the frame channel | Interior face of glazing stop or bead | Back wall of glazing channel |
| Face clearance | Gap between the glass face and the glazing stop face | Outer glass face | Stop or bead face (the overlap dimension) |
| Edge clearance | Gap between the glass edge and the channel back wall | Glass edge (as installed) | Back of channel |
| Channel width | Total depth of the glazing channel | Interior face of stop | Back wall of channel |
The relationship between these dimensions is fixed by geometry. Channel width equals glazing bite plus edge clearance. A channel that is 18 mm deep, with a 6 mm edge clearance behind the glass, has a 12 mm glazing bite. Reducing edge clearance — by moving the glass deeper into the channel — increases bite. Increasing edge clearance — the condition that results when glass has migrated toward the stop over time — reduces bite.
Why bite decreases over time in school trophy cases:
Glass panels do not stay exactly where they were installed. In cases with horizontal sliding door systems, routine door operation moves panels parallel to the frame plane. In cases with hinged glass doors, each opening cycle applies a slight rocking motion to the door panel. In cases where glazing beads have partially detached at the corners, the glass is no longer positively retained against migration in any direction. The cumulative effect of these forces — combined with the thermal cycling that expands and contracts both glass and frame — is that panels in service for several years may sit noticeably closer to one edge of their channel than they did at installation. A panel installed with 13 mm of bite can drift to 8 or 9 mm of bite after sustained directional loading, without any visible sign that the margin has eroded.
Why Adequate Glazing Bite Matters in School Trophy Cases
The Relationship Between Bite and Glass Retention Under Load
Glass retention in a framed display case depends on three interacting components: the glazing bead or stop (which holds the glass against displacement perpendicular to the panel plane), the glazing gasket (which cushions the glass edge and distributes load within the channel), and the bite depth (which determines how far the glass must travel in the panel plane before the frame no longer captures the edge). All three must be functional for the panel to remain secure under the range of loads a school trophy case experiences in normal use.
Glazing beads and gaskets are inspected under separate protocols for their own failure modes. Glazing bite measurement addresses the dimension that neither of those protocols captures: whether the frame has sufficient grip on the glass edge to prevent in-plane displacement, even when the bead and gasket are performing correctly.
When glazing bite is adequate, the panel cannot be displaced in the frame plane without overcoming the friction and compression of the gasket across the full bite depth — a significant resistance. When bite is deficient, the glass can slide within the frame channel with minimal resistance from the gasket, because the engagement zone is narrow enough that the glass can clear the stop with only a small displacement increment.
Thermal and Seasonal Loading
School buildings experience substantial indoor-to-outdoor temperature differentials — typically 20°C or more between a heated hallway in winter and the outdoor conditions on the other side of an exterior wall. Glass and aluminum expand and contract at different rates. A standard aluminum trophy case frame expands approximately 23 micrometers per meter per degree Celsius; glass expands approximately 9 micrometers per meter per degree Celsius. For a case installed in an exterior-facing corridor, one heating season produces measurable differential expansion between the frame and the glass panels it retains.
This differential expansion does not necessarily reduce bite, but it does load the glazing gasket at the temperature extremes. If the gasket has hardened and can no longer absorb this differential movement, the load is transferred directly to the glass edge — a condition that produces stress cracking when combined with low bite margins that prevent the glass from moving freely within the channel. Schools with recognition corridors facing east or west — where direct solar exposure is significant through part of each school day — benefit from more frequent bite checks than buildings where trophy cases are entirely interior.
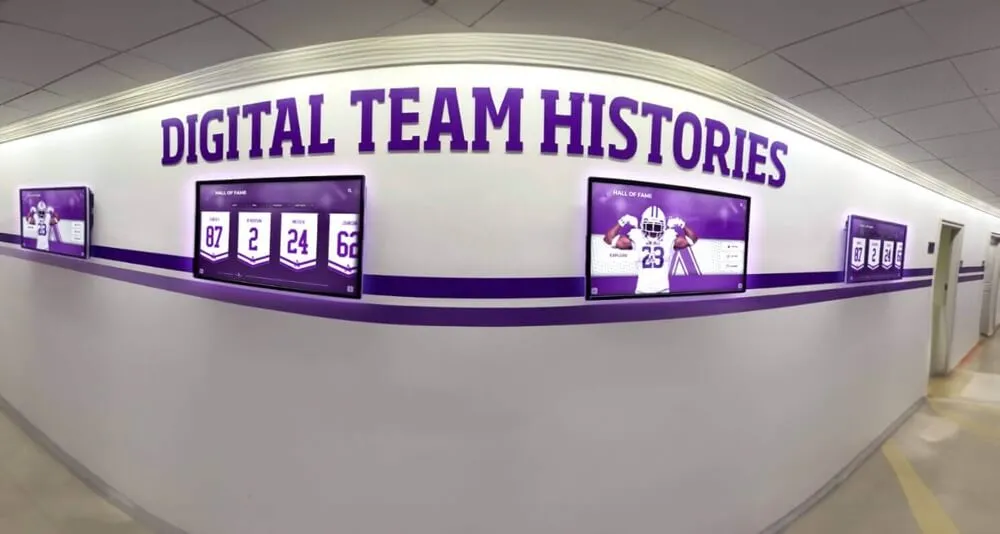
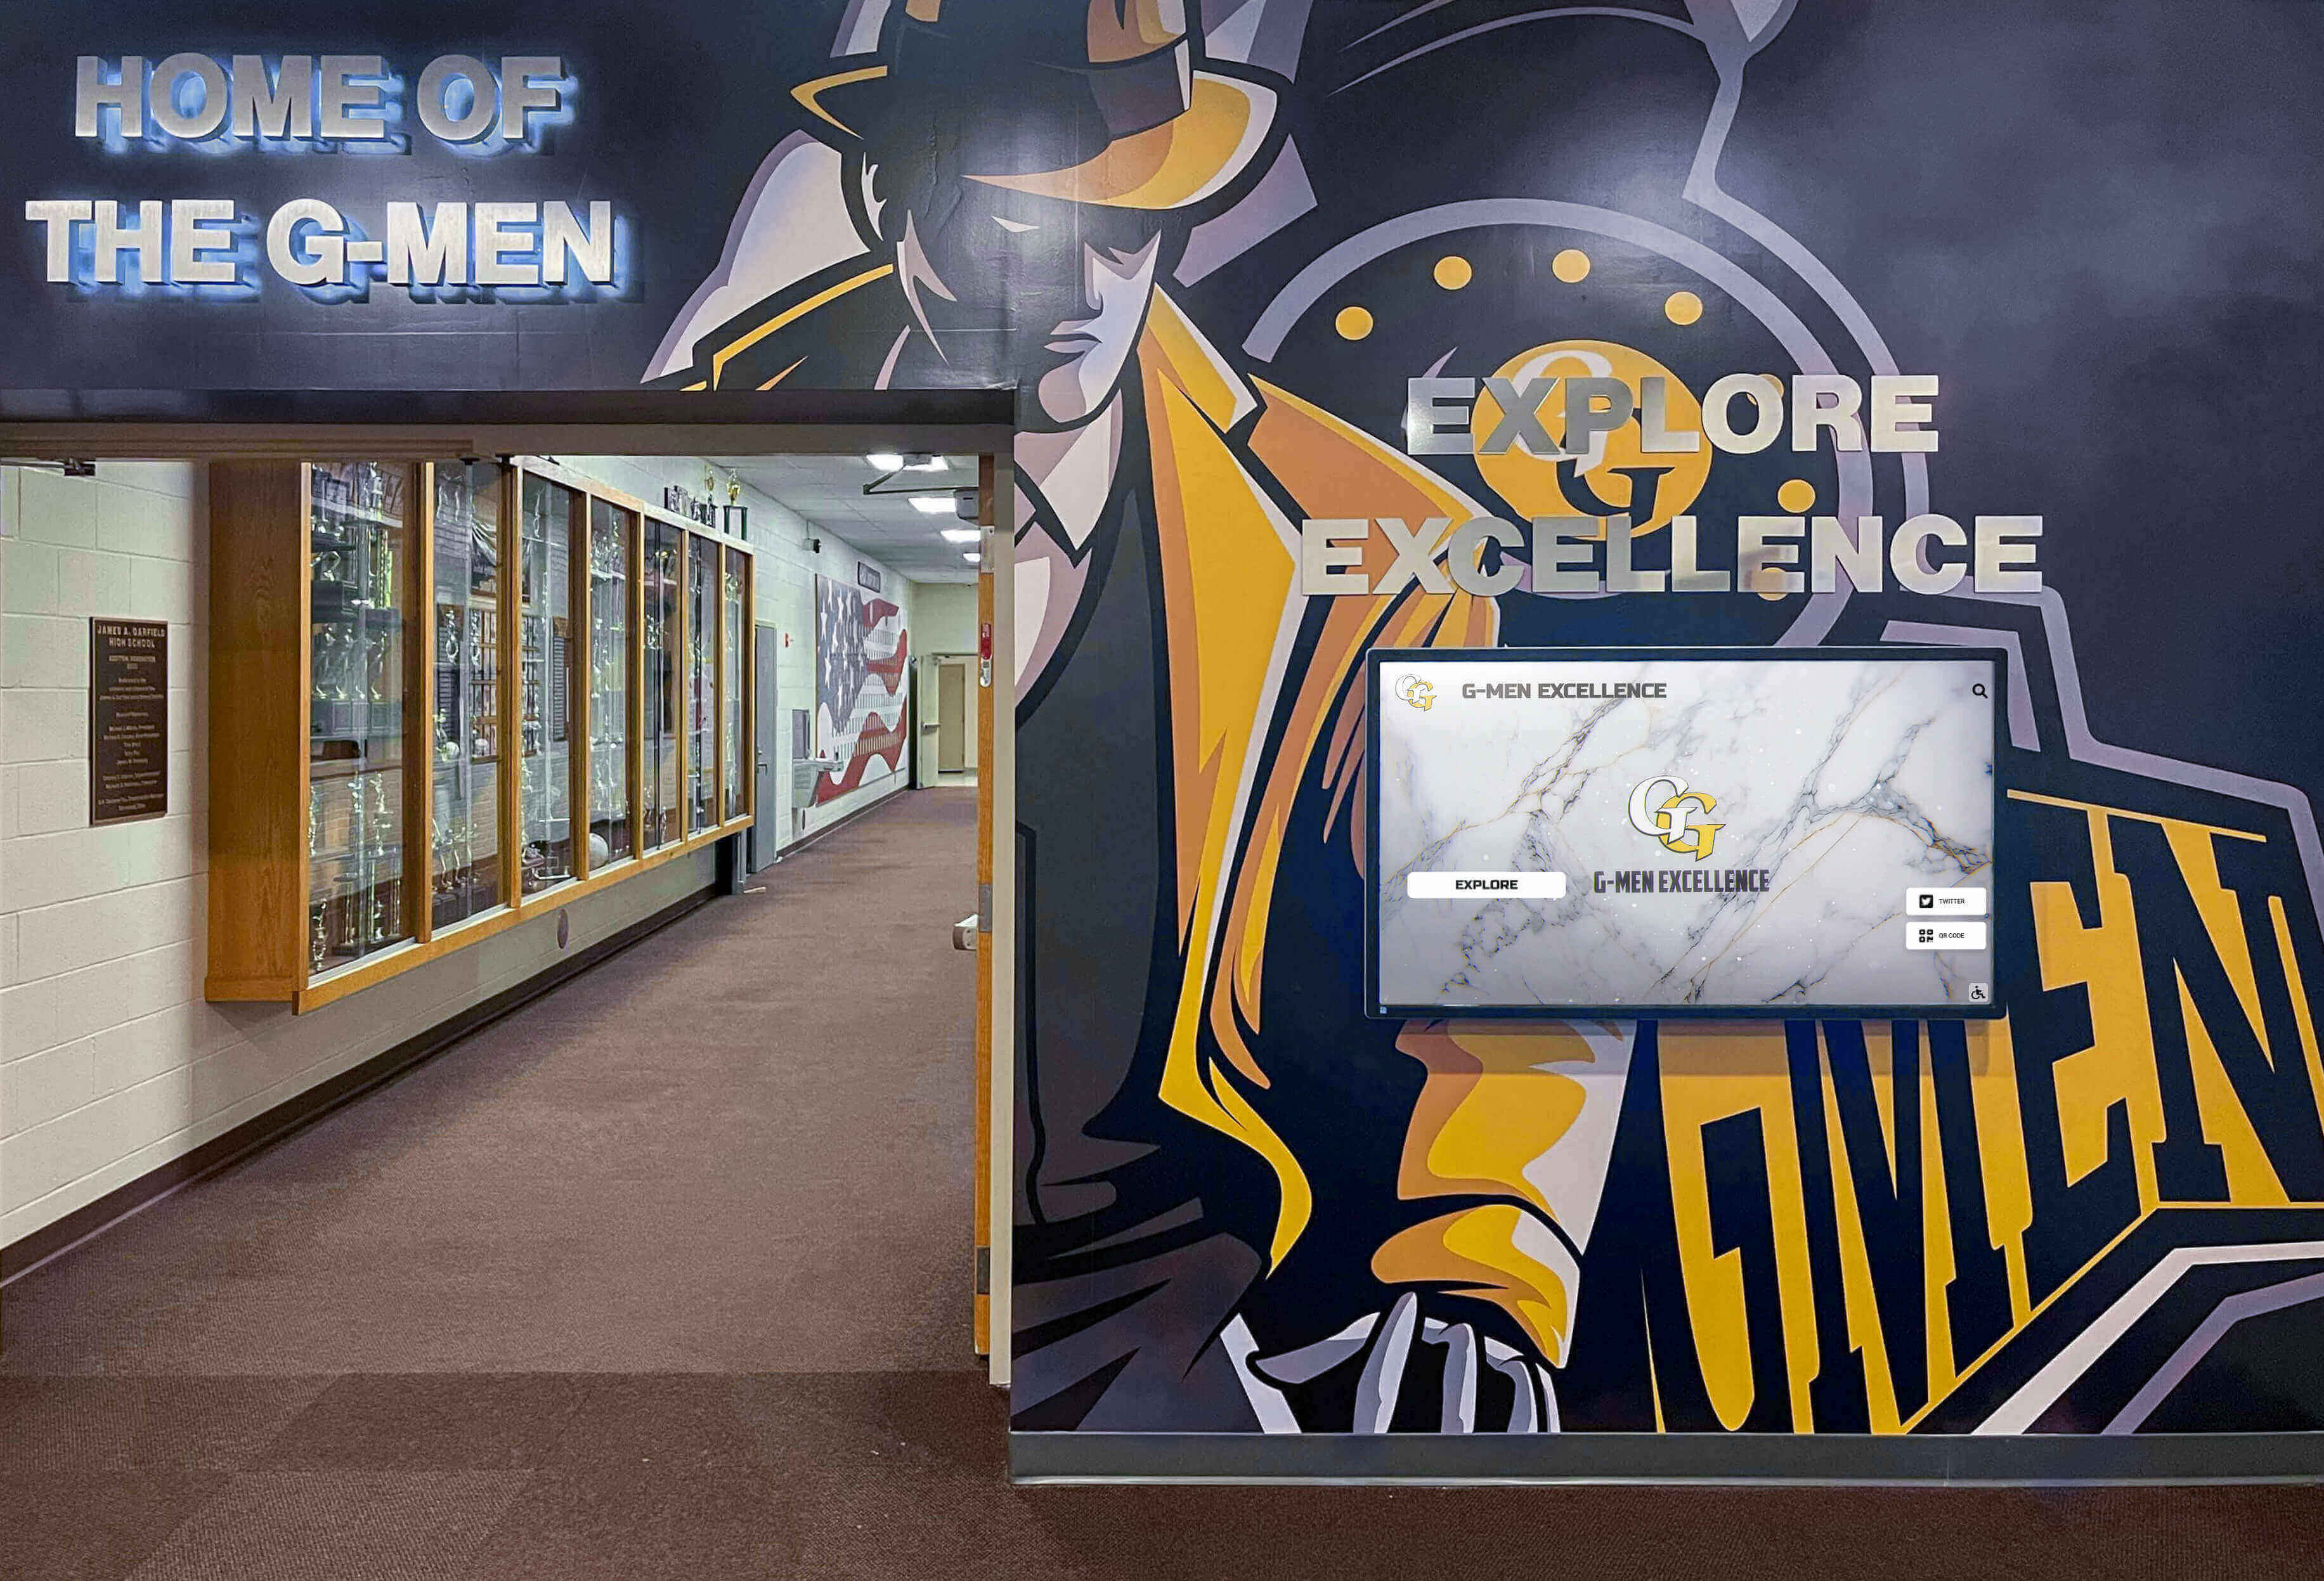
For school recognition displays integrating digital screens alongside physical trophy cases, the same exterior-corridor thermal considerations apply to both physical and digital infrastructure — coordinating inspection schedules reduces the number of separate site visits required.
Case Access and Cumulative Bite Reduction
Trophy cases in active athletic programs are accessed more often than facilities inspection schedules typically account for. Cases holding championship hardware are opened after each banquet season to add the current year’s awards. Cases housing academic recognition plaques for high school championship-level achievement may be accessed several times per year as new items are added and existing displays are adjusted. Each access event — particularly door opening on hinged-door case units — applies a rocking motion to the door panel as the door swings on its hinges.
The cumulative effect of repeated access events on a door panel with marginal bite is directional glass migration. The panel walks slowly toward the hinge side of the frame with each opening cycle, reducing bite on the hinge side while building edge clearance on the latch side. A case with symmetric 12 mm bite at installation may develop 8 mm of bite on one side and 16 mm on the other after several hundred door cycles — neither condition triggering a visual alarm, but the 8 mm condition sitting at the lower edge of acceptable range.
Tools Required for Glazing Bite Measurement
A glazing bite measurement inspection requires only three items beyond an inspection log:
Millimeter ruler or steel rule (minimum 150 mm length): Used to measure the channel depth directly at the glass edge. The ruler is inserted into the gap between the glass face and the glazing stop to determine how far the glass edge sits from the back of the channel. A rigid steel rule is preferable to a flexible tape; flexibility introduces parallax error when measuring into a narrow channel gap.
Depth gauge or feeler gauge set (optional but recommended): A depth micrometer or digital depth gauge allows more accurate readings in deep channels where the ruler cannot be positioned perpendicularly to the glass edge. Feeler gauges allow simultaneous measurement of edge clearance and face clearance where the glazing stop is accessible.
Flashlight with narrow beam: Required for illuminating the glazing channel interior when examining panels in recessed frames or when the ambient corridor lighting does not reach into the channel gap.
Inspection log: One entry per panel, recording case identifier, panel position, measured bite value on each edge, condition rating, and escalation action. Photographs of any panel with measured bite at or below 8 mm should accompany the log entry.
No specialized glazing tools are required. The measurement is a direct linear dimension — the depth of glass engagement in the frame channel — that a millimeter ruler can capture accurately when the inspector is positioned to sight along the channel axis.
Pre-Measurement Preparation
Case identification: Assign a unique identifier to each case before beginning (e.g., ATH-01, ATH-02). Record whether each case uses hinged door panels, sliding door panels, fixed panels, or a combination. Bite measurement protocol differs between panel types: hinged door panels are measured with the door in the closed, latched position; sliding door panels are measured with the panel centered in its travel range.
Panel identification within each case: Number each panel position within the case — door left, door right, fixed side left, fixed side right, fixed top, and fixed back. Use the same panel position designations across all inspections so records from different inspection dates can be compared directly.
Access to the glazing channel edge: Glazing bite is measured at the glass edge, which means the inspector must be positioned to see into the narrow gap between the glass face and the glazing stop. For most trophy case configurations, this gap is accessible without opening the case — the stop and glass edge are visible at the case perimeter with the door closed. For some configurations with overlapping frame members, the measurement requires opening the door to access the channel edge from inside.
Record the measurement direction: Bite should be measured on all four edges of each panel — top, bottom, left side, and right side. The minimum bite value across all four edges is the controlling value for condition rating. A panel with 14 mm of bite on three edges and 6 mm on the fourth is a panel with 6 mm bite, not 14 mm.
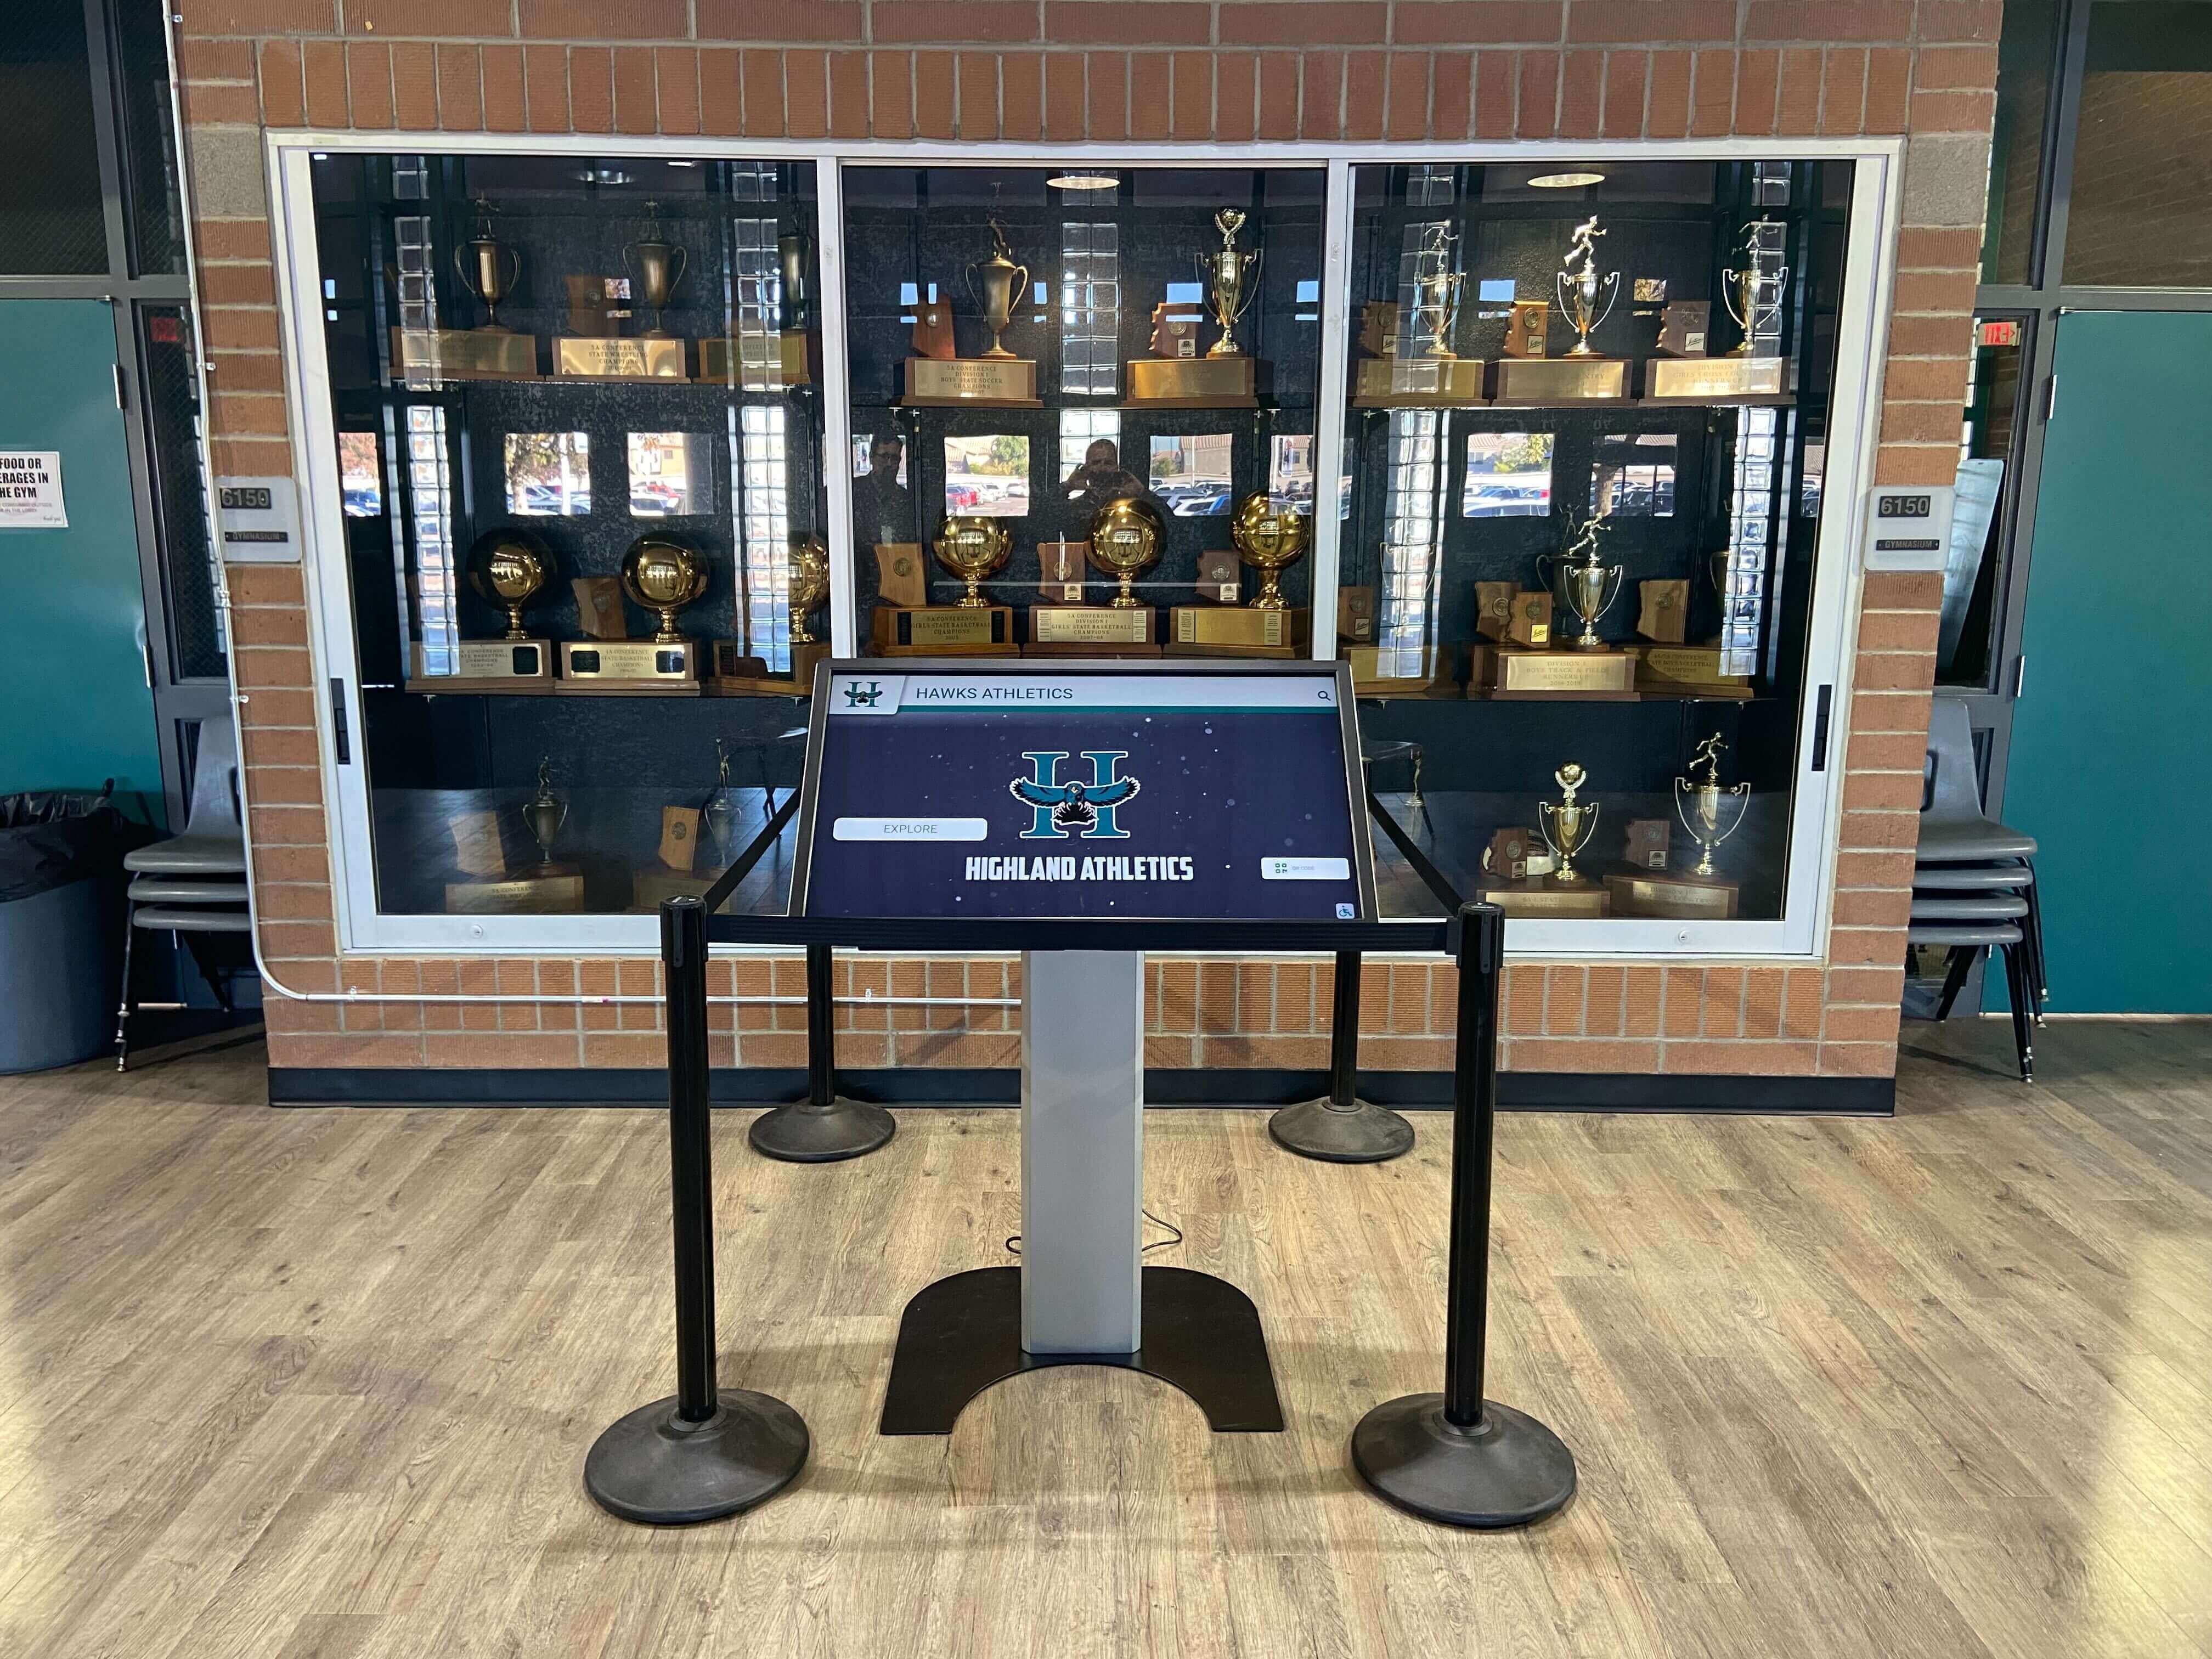
Athletic hallway trophy cases present varying channel access conditions depending on frame design — pre-measurement case review identifies which panels require door opening for accurate bite measurement and which can be assessed from the exterior perimeter
School Trophy Case Glazing Bite Measurement: Step-by-Step Checklist
Run through the following steps for each case and each glass panel during a scheduled facilities inspection. A trained inspector can complete glazing bite measurements on a standard single-bay trophy case — typically four to six glass panels — in under twenty minutes.
Step 1: Record Panel Identification and Baseline Data
Before measuring any panel, record in the inspection log:
- Case identifier and panel position (e.g., ATH-02 / Door Right)
- Panel type: hinged door, sliding door, or fixed
- Known glass type if documented (tempered, annealed, laminated) — record as “unknown” if not confirmed
- Approximate panel dimensions: height by width in millimeters
- Frame material: aluminum, steel, wood, or composite
- Date, inspector name, and ambient temperature conditions
- Previous bite measurement if this is a follow-up inspection
Step 2: Visual Survey of Stop and Channel Condition
Before measuring bite, survey the glazing stop and channel on all four panel edges:
- Does the glazing stop appear continuous and undamaged on all four edges?
- Is any section of the stop missing, bent, deformed, or pulled free from the frame?
- Is the glazing gasket visible between the glass edge and the channel walls? If so, does it appear intact and compressible, or hardened and cracked?
- Is the glass edge visible at the stop face — indicating that the glass has migrated forward until its edge contacts the stop on that side?
A panel where the glass edge is visible at the stop face on any side has effectively zero bite on that edge. Document this as a pre-measurement finding and assign Condition 4 (see rating table) before proceeding with measurement on the remaining edges.
Step 3: Measure Bite on the Bottom Edge
Position the ruler perpendicular to the glass face, inserting its end into the gap between the glass face and the glazing stop at the bottom edge of the panel. The ruler end should reach to the glass edge. Read the ruler at the point where the inner face of the glazing stop aligns with the ruler scale. The reading is the face clearance — subtract from the channel depth to determine bite, or measure directly from the glass edge to the back of the channel if access permits.
For a direct bite measurement: insert the ruler from the bottom of the channel, along the glass edge, until the ruler end contacts the channel back wall. The reading at the glass edge is the edge clearance. Subtract edge clearance from channel depth to obtain bite. Record all three values: channel depth, edge clearance, and calculated bite.
Bottom edge bite is typically the most important single measurement because glass migrates downward under gravity. Setting block placement determines initial bottom clearance; a setting block that has crushed or slipped allows the panel to drop, reducing bottom bite and increasing top bite simultaneously.
Step 4: Measure Bite on the Top Edge
Measure the top edge using the same ruler-insertion method, this time from above. Top edge bite is typically larger than bottom edge bite on well-installed panels (because the setting blocks push the glass toward the top of its travel range). A case where top edge bite is smaller than bottom edge bite may indicate that the glass has migrated upward — an unusual finding that warrants closer examination of the setting block condition and hinge alignment on door panels.
Step 5: Measure Bite on the Side Edges
Measure both side edges. On hinged door panels, the hinge side and latch side typically show different bite values, with the hinge side bite reducing over time from repeated opening loads. Record both values independently and flag any asymmetry greater than 4 mm — symmetric bite within 4 mm of each side is normal; asymmetry beyond 4 mm indicates directional migration that will continue unless the panel is repositioned.
For sliding door panels, measure both sides with the panel centered. Migration toward one side will show as reduced bite on the direction-of-travel side and increased bite on the opposite side.
Step 6: Identify Minimum Bite Value and Assign Condition Rating
Review the four bite measurements — bottom, top, left, and right — and identify the minimum value. This minimum controls the panel’s condition rating. Assign a rating from the condition table below and record it alongside the four individual measurements.
Step 7: Photographic Documentation
For any panel rated Condition 3 or higher, photograph:
- The panel from standing distance, showing its position in the case
- The specific edge where minimum bite was measured, with the ruler in place showing the dimension
- Any associated findings noted during Step 2 (missing stop section, visible glass edge at stop face, etc.)
| Step | Action | Record |
|---|---|---|
| 1 | Record case ID, panel position, type, dimensions, frame material | All fields in inspection log |
| 2 | Visual survey of stop and channel condition on all four edges | Note any pre-measurement findings |
| 3 | Measure bottom edge bite | Channel depth, edge clearance, bite (mm) |
| 4 | Measure top edge bite | Channel depth, edge clearance, bite (mm) |
| 5 | Measure left and right edge bite | Channel depth, edge clearance, bite (mm) each side |
| 6 | Identify minimum bite value; assign condition rating | Rating (1–4); minimum edge and value |
| 7 | Photograph Condition 3 and 4 panels | Photo reference numbers in log |
Schools integrating digital recognition kiosks alongside physical trophy cases find that coordinating physical glass inspection schedules with digital display maintenance rounds improves facilities efficiency without extending total inspection time
Glazing Bite Condition Rating Table
The following condition ratings use glazing industry practice baselines as reference minimums. The Glass Association of North America (GANA) glazing manual and related industry references for framed glass installations in institutional settings typically reference a minimum bite of 3/8 inch (approximately 10 mm) for standard framed glass. For display case glass — which is regularly accessed, lighter-duty framing than architectural glazing, and subject to the rocking loads of repeated door cycling — 10 mm represents a design minimum, not an operational comfort margin.
The condition ratings below reflect this context: a panel at exactly 10 mm of bite on its minimum edge is technically within the design minimum, but it has no margin for the migration that occurs over multiple door-opening seasons. Facilities programs that treat 10 mm as an acceptable ongoing operating condition — rather than a trigger for repositioning — will find panels below that threshold at later inspections without any intervening event to explain the change.
| Condition | Minimum Bite (Any Edge) | Visual Signs | Action Required | Timeline |
|---|---|---|---|---|
| 1 — Sound | 12 mm or greater on all four edges | No visible migration; glass centered in channel; stop continuous and undamaged | Document and re-inspect at next annual cycle | Annual |
| 2 — Monitor | 10–11 mm on one or more edges; all edges above 10 mm | Slight asymmetry in bite measurements; stop intact; no visible glass migration to stop face | Document with photograph; schedule glazier review within 90 days; increase inspection frequency to semi-annual | 90 days |
| 3 — Action required | 8–9 mm on one or more edges | Visible asymmetry in panel positioning within frame; stop intact but bite margin reduced; directional migration likely | Document with photograph; notify facilities supervisor; schedule glazier assessment within 30 days; do not add weight to case shelves near affected panel | 30 days |
| 4 — Immediate escalation | Less than 8 mm on any edge; OR glass edge visible at stop face on any edge; OR stop section missing or deformed | Glass edge at or near stop face; panel visibly off-center; stop damaged; panel may shift under hand contact | Restrict case access; post out-of-service notice; contact glazier same day; do not open case door or add recognition items | Same day |
Setting block note: A panel where the bottom edge bite falls below the top edge bite by more than 4 mm may have a failed or missing setting block at the base. Setting blocks bear the glass dead load at the base of the channel; a missing or crushed setting block allows the glass to sink, reducing bottom bite progressively over time. When a bottom-edge bite measurement falls into Condition 3 or 4 while other edges measure Condition 1, include setting block assessment in the glazier’s scope.
Size adjustment: For panels smaller than 300 mm in either dimension, treat the Condition 2 minimum as 8 mm rather than 10 mm — smaller panels have proportionally shorter edges that are less susceptible to in-plane migration from normal loads. For panels larger than 1,000 mm in either dimension, treat the Condition 1 minimum as 14 mm — larger panels have more glass mass and generate greater rocking loads under door-cycle and thermal loading.
Frame Configurations and How They Affect Bite Measurement
Not all trophy cases use the same glazing channel configuration. The measurement method is the same in each case, but the access point for the ruler and the interpretation of the measurement differ by frame type.
| Frame Configuration | Bite Measurement Access | Common Bite Range | Notes |
|---|---|---|---|
| Aluminum extruded frame with snap-in glazing bead | Gap between bead face and glass face, measured to channel back | 10–18 mm | Bead removal is not required for bite measurement — measure edge clearance from the channel edge visible at the glass perimeter |
| Wood frame with applied stop | Gap between stop face and glass face, measured to rabbet back wall | 10–16 mm | Applied stops can be measured from the exterior without case opening; note whether stop is fastened or glued |
| Sliding door track system | Depth of upper and lower track channels | 12–20 mm upper channel; 8–12 mm lower | Upper bite in sliding systems is intentionally larger than lower bite to allow panel removal — measure both and confirm lower bite is within range |
| Frameless or near-frameless (clamp-retained) | Clamp jaw depth on glass edge | 10–15 mm | Clamp-retained systems use a different retention mechanism; note clamp jaw width and fastener security in addition to engagement depth |
| Hinged all-glass door | Pivot hardware engagement at top and bottom | Varies by hardware — record manufacturer range if documented | Hardware manufacturer specifications govern minimum engagement for pivot systems; compare measured engagement to nameplate specs |
What Facilities Staff Can Measure Versus What Requires a Glazier
The distinction between staff-level glazing bite inspection and glazier-level work follows the same principle that governs other glass inspection protocols: trained staff can identify, measure, and document conditions; repair and repositioning belong to a qualified glazier.
Staff Can Safely Do
- Visual survey of glazing stop condition and channel access
- Bite measurement using a millimeter ruler inserted into the channel gap
- Documentation of all four edge bite values, minimum value, and condition rating
- Photographic documentation of Condition 3 and 4 panels
- Restriction of case access when a Condition 4 finding is confirmed
- Notification of facilities supervisor and glazier contact initiation
- Re-inspection at scheduled intervals for Condition 2 panels
Glazier Work — Do Not Attempt Without Training
- Removing glazing beads or stops to reposition glass within the channel
- Relocating setting blocks to correct a glass that has sunk in its channel
- Cutting and installing replacement setting blocks or face gaskets
- Removing a glass panel with deficient bite to reinstall it at correct position
- Replacing a glazing stop that has been bent, deformed, or damaged
- Applying sealant or shims to modify channel geometry
The documentation that facilities staff produce — four-edge bite measurements, panel dimensions, frame configuration type, and condition rating — is precisely the information a glazier needs to assess a panel efficiently and bring the correct materials to a repair visit. A glazier who arrives at a school with a log showing “ATH-02 door right, 7 mm bottom edge bite, Condition 4, aluminum snap-bead frame, 900 mm × 600 mm panel” can prepare for that repair accurately. A glazier who arrives with no documentation must assess the panel before scoping the repair — adding time to an already-prioritized visit.
Schools developing community recognition programs that honor coaches and long-term staff regularly add new plaques and awards to trophy cases over successive seasons. Each addition is an access event that applies load to the door panel’s hinge-side bite margin. A bite inspection program that tracks those values over multiple seasons reveals whether any particular case is experiencing bite reduction at a rate that warrants proactive glazier repositioning before a deficient condition develops.
Interpreting Bite Measurements Alongside Other Glass Inspection Results
Glazing bite measurement is most valuable when interpreted alongside the results of related trophy case glass inspections — not in isolation. A panel with 11 mm of bite that also shows Condition 3 glazing bead failure (bead partially detached from channel) is a more urgent situation than the bite reading alone suggests, because the bead failure removes the mechanical retention that compensates for limited bite. Conversely, a panel with 9 mm of bite that has sound glazing beads, intact gasket, and no visible migration may be safely scheduled for glazier assessment within 30 days rather than requiring same-day escalation.
The following table summarizes how bite condition ratings interact with findings from related glass inspection protocols. When two or more inspection findings combine on the same panel, escalate to the higher of the two individual condition ratings.
| Bite Condition | + Glazing Bead Condition | + Glazing Gasket Condition | Combined Escalation |
|---|---|---|---|
| 1 — Sound | Any | Any | Follow bead or gasket condition individually; no bite escalation |
| 2 — Monitor | 1–2 | 1–2 | Bite condition governs; schedule glazier assessment within 90 days |
| 2 — Monitor | 3–4 | Any | Escalate to Condition 3; schedule glazier assessment within 30 days |
| 3 — Action required | Any | Any | Condition 3 governs; schedule glazier assessment within 30 days |
| 3 — Action required | 4 | Any | Escalate to Condition 4; restrict access; contact glazier same day |
| 4 — Immediate | Any | Any | Condition 4 governs; restrict access; contact glazier same day |
Schools building a systematic glass inspection program benefit from running bite measurement concurrently with glazing bead and glazing gasket checks — three distinct failure modes addressed in a single inspection visit, each producing a condition rating that feeds into the combined escalation table. Athletic award display programs that standardize their recognition categories and naming conventions apply the same structured-record discipline to their inspection documentation, enabling consistent year-over-year comparison regardless of staff turnover.
When to Schedule Glazing Bite Measurements
Glazing bite changes over time in response to loads that are inherent to normal case use — door cycling, thermal expansion, and gravity acting on glass weight above setting blocks. Unlike glass type identification, which is a one-time documentation task, bite measurement is a recurring inspection activity.
At installation or case takeover: Measure and record bite on all panels when a new case is installed, when an existing case is inherited from a prior facilities team without documentation, or when a building undergoes renovation that may have involved moving or reinstalling cases. The installation record provides the baseline against which future measurements are compared.
Annually: A full-building bite measurement round at the start of each school year establishes condition before the heavy-use fall athletic season. Most schools schedule this concurrently with annual glazing bead and gasket inspections.
After significant events: Measure bite after any renovation work adjacent to trophy case locations, after events involving high traffic or physical contact with case units, after observed impacts, and after any case door that required unusual force to open or close.
When a related condition is found: A case where glazing bead inspection identifies Condition 3 or Condition 4 findings should also receive a bite measurement during the same maintenance event. Bead failure and bite reduction frequently co-occur — the bead that has detached was compensating for limited bite; without it, the bite margin becomes the only remaining retention factor.
Semi-annually for high-use cases: Cases at gymnasium entries, main lobby alcoves, and athletic corridor intersections — locations where door-cycling frequency is significantly higher than secondary corridors — warrant more frequent bite checks. Programs recognizing homecoming court members, alumni athletes, and scholarship recipients in high-traffic display cases may find these units warrant semi-annual measurement given the access frequency.
Frequently Asked Questions
What is glazing bite on a school trophy case?
Glazing bite is the depth to which a glass panel’s edge is captured within the surrounding frame channel or behind the glazing stop. It is measured from the interior face of the stop or bead to the back wall of the channel, along the glass edge. Adequate bite means the frame has a firm grip on the glass — the panel cannot slide out of the frame without displacing far enough to clear the stop. Deficient bite means the glass edge sits close to the stop face, and only a small lateral displacement is needed to free the panel from the frame.
What is the minimum acceptable glazing bite for a trophy case?
Glazing industry practice references a minimum bite of approximately 10 mm (3/8 inch) for framed glass in institutional settings. For trophy case display glass — which is lighter-duty than architectural storefront glazing but is regularly accessed and subject to repeated door loads — 10 mm is a design minimum, not an operating comfort margin. Facilities programs that maintain 12 mm or greater on all edges have a margin to absorb the migration that occurs over multiple seasons of normal use before reaching the 10 mm threshold.
How do I measure glazing bite without specialized tools?
A steel millimeter ruler inserted into the gap between the glass face and the glazing stop, with its end reaching to the glass edge, provides a direct edge clearance measurement that can be subtracted from the known channel depth to yield bite. If channel depth is not documented, measure from the interior face of the glazing stop to the back wall of the channel using the same ruler inserted from above or below the panel. Record all three values — channel depth, edge clearance, and calculated bite — in the inspection log.
Can a panel with adequate glazing beads have deficient bite?
Yes. Glazing beads and glazing bite are separate retention mechanisms addressing different failure modes. A bead in perfect condition prevents the glass from displacing perpendicular to its plane — pushing or pulling the panel inward or outward. Bite determines how far the panel can displace parallel to its plane before the edge clears the stop. A panel can have sound beads and deficient bite simultaneously, and in that configuration, a bead failure event — which removes perpendicular retention — would leave the panel with inadequate in-plane retention as well. Inspecting bite independently of bead condition ensures that both retention mechanisms are confirmed functional.
What happens to glazing bite on sliding door trophy cases?
Sliding door panels are designed to be removed from the case by lifting the panel upward into the upper track and swinging the bottom clear of the lower track. This means the upper track channel is intentionally deeper than the lower track channel — typically by 4 to 8 mm — to allow this removal motion. Both upper and lower channel bite values should be measured and recorded. The lower track bite is the controlling value for glass security in normal use: a lower track bite below 8 mm means the panel can be dislodged by lifting it the upper channel’s extra depth and swinging the base free, even without intentional disassembly.
Should glazing bite be checked on fixed panels as well as door panels?
Yes. Fixed panels — side panels, top panels, and back panels — do not experience the repeated door-cycling loads that affect door panels, but they can still develop deficient bite from thermal cycling, building movement, or improperly placed or missing setting blocks. Fixed panels are often installed and never re-examined because they are not accessed like door panels. In some buildings, fixed panels in older cases have been in place since installation with no documentation of their bite condition. Including fixed panels in the bite measurement round ensures the complete glass inventory of each case is assessed.
Can schools track recognition program growth and glass inspection on the same schedule?
Many schools find that scheduling glass inspection at the start of the school year — before new hardware is added after summer banquet events — aligns naturally with the recognition program calendar. A bite inspection completed before new trophies and plaques are added confirms that the case is in safe condition to receive new items. National Honor Society induction seasons and similar academic recognition milestones that drive high volumes of new display items into trophy cases are also useful scheduling anchors for confirming case glass condition before access frequency increases.
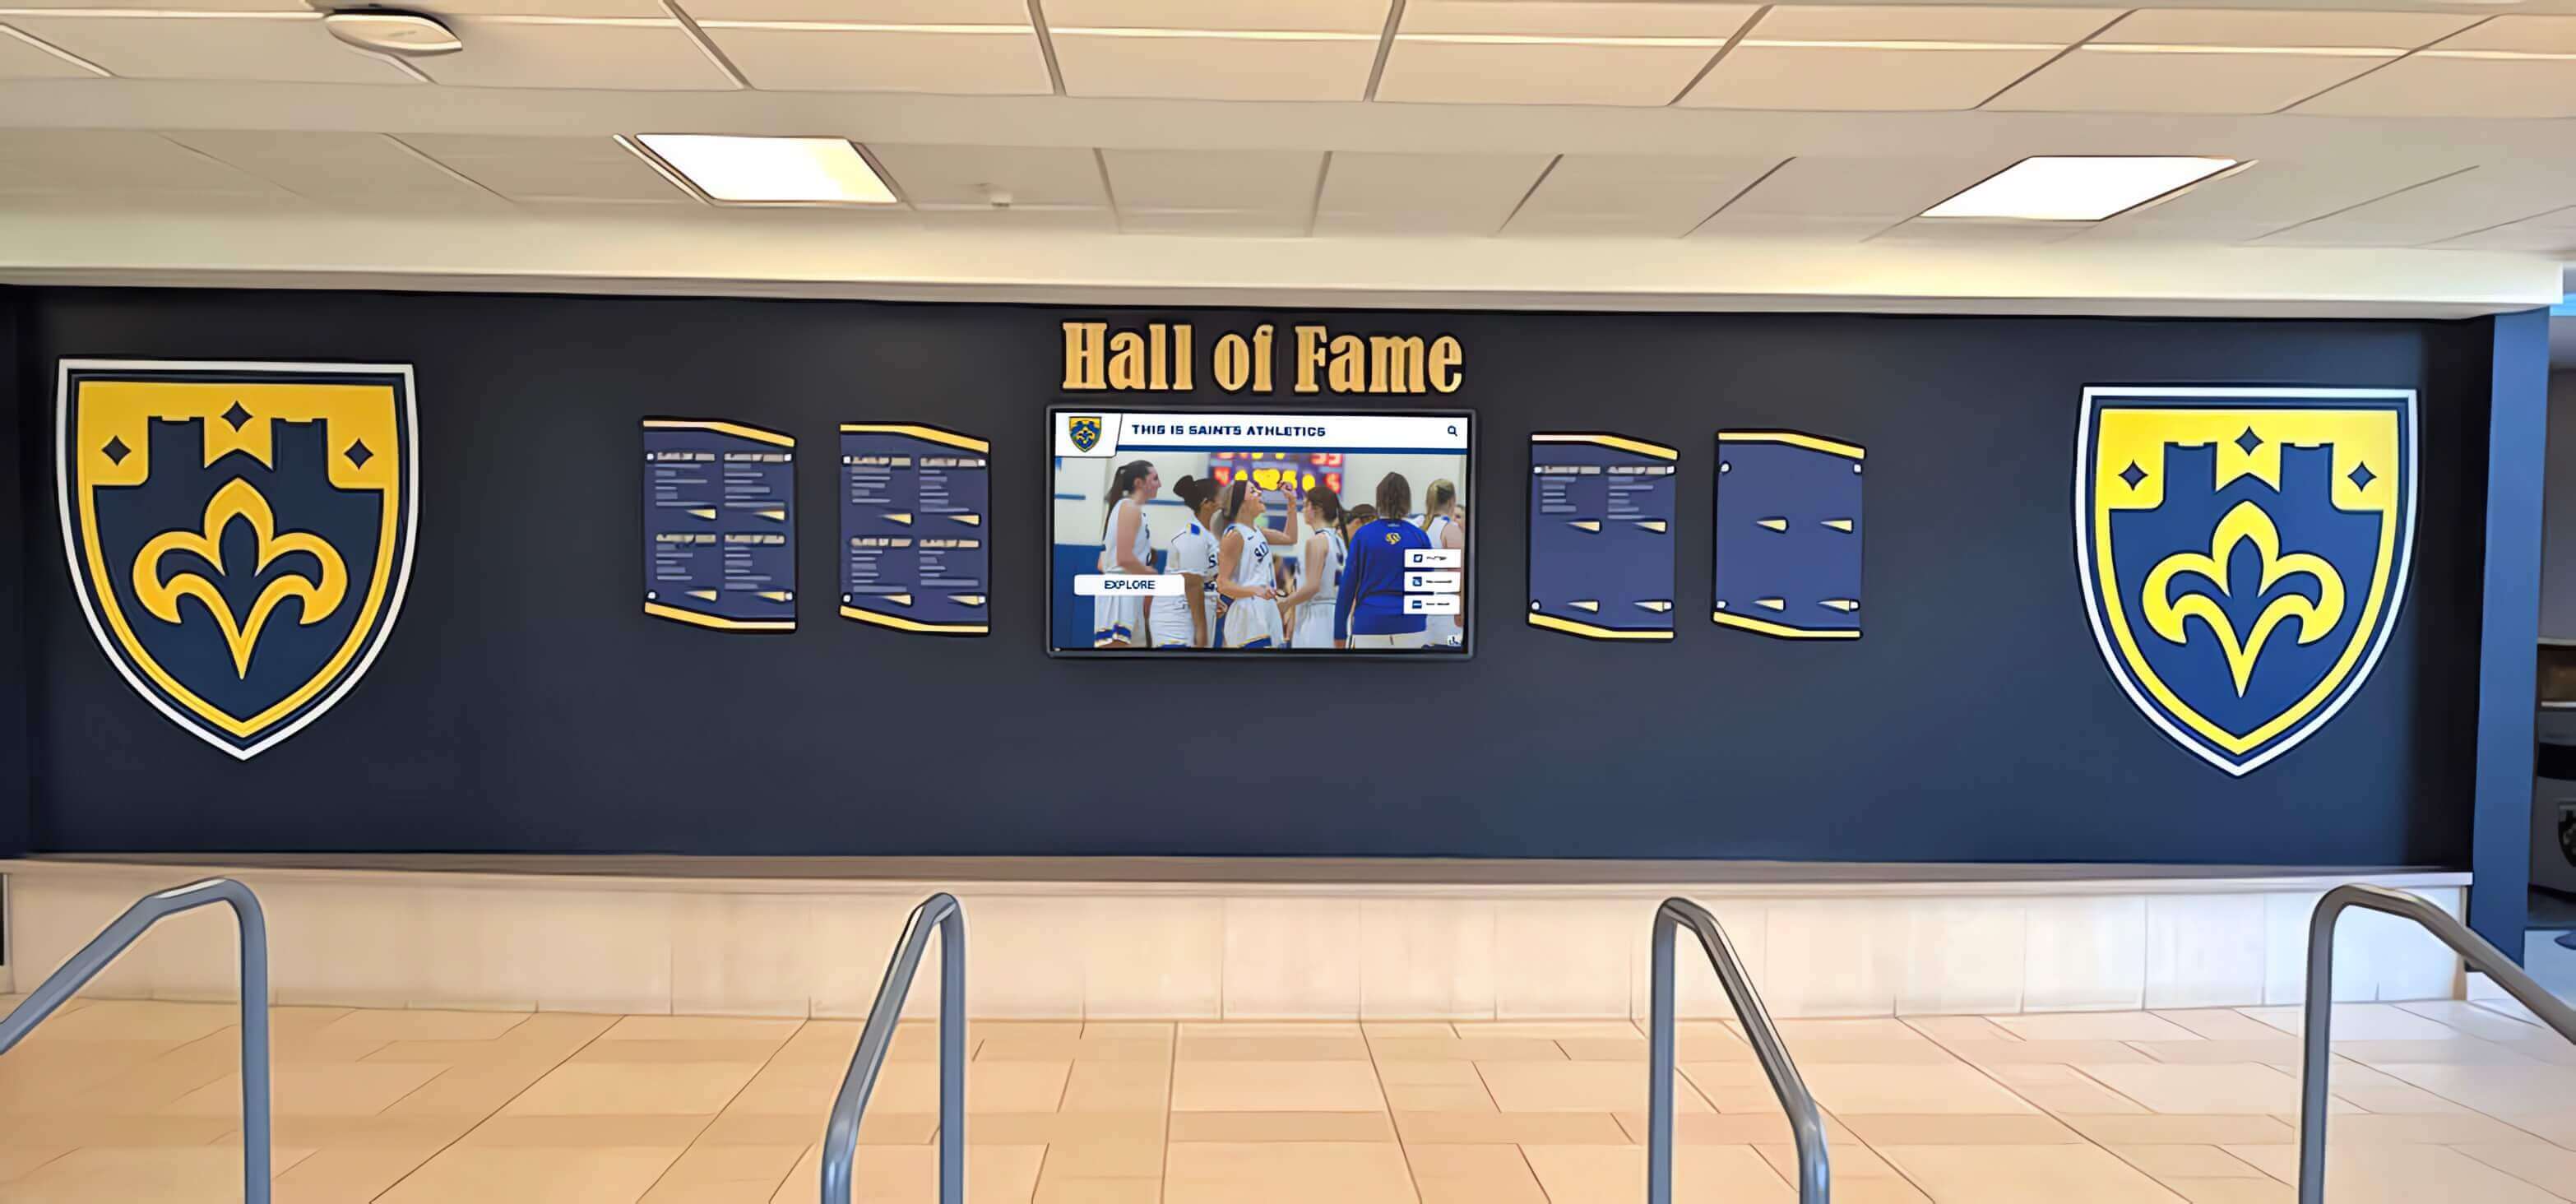
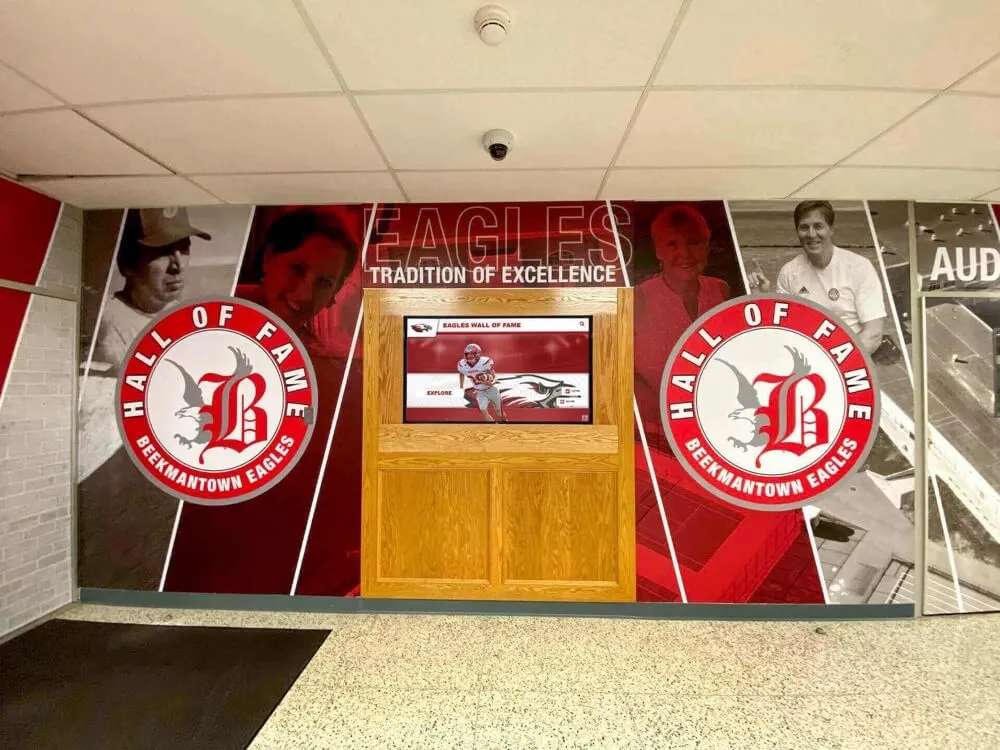
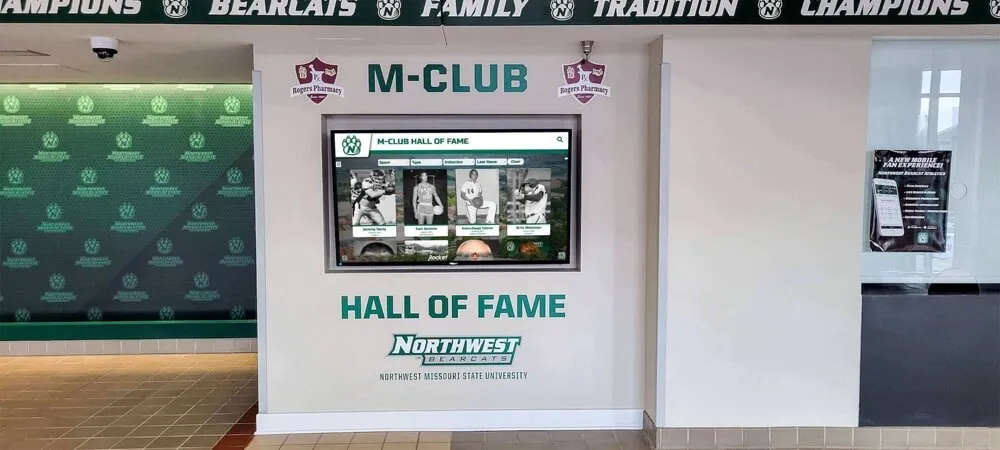
Lobby recognition environments that combine physical trophy cases with digital recognition displays represent two distinct maintenance tracks — glazing bite measurement covers physical glass engagement, while digital display documentation covers the touchscreen platform
Integrating Bite Measurement with the Full Recognition Infrastructure Inspection
A complete trophy case glass inspection program covers several distinct conditions, each requiring a separate measurement or observation protocol. Glazing bite addresses in-plane glass retention. Glazing bead inspection addresses perpendicular retention and bead detachment. Glazing gasket inspection addresses the cushioning and load-distribution layer between the glass edge and the frame metal. Glass bow measurement addresses flatness deviation under thermal and mounting loads.
No single inspection covers all of these conditions. A facilities program that runs only one or two of them has documented some of the glass retention picture but not all of it. The most complete programs run all four inspections on the same annual schedule — different protocols, same panels, same inspection visit.
Documentation discipline that covers bite, bead, gasket, and bow condition for each panel by identifier creates a glass inventory record that supports three functions simultaneously: maintenance planning (which panels need glazier attention and when), liability documentation (systematic inspection shows that the school maintains its glass infrastructure), and trend analysis (year-over-year comparison of bite values identifies cases where migration is progressing faster than the annual schedule assumes, warranting semi-annual measurement).
Schools investing in systematic recognition infrastructure documentation often find that the same attention to structured records applies to their digital recognition platforms. Digital recognition displays in school lobbies and athletic corridors have their own maintenance documentation requirements — hardware condition, display calibration, content update records — and schools that already maintain detailed physical case inspection logs adapt naturally to the same discipline for digital infrastructure.
When Physical Trophy Cases Reach the Limits of Maintained Glass Safety
Glass bite measurement, like all physical glass inspection activity, exists because physical trophy cases are maintained structures with materials that age, move, and eventually require replacement. Setting blocks crush. Glazing beads harden. Frames develop permanent deformation from years of sustained asymmetric loading. At some point in a physical case’s service life — often identifiable by a pattern of repeated Condition 3 and Condition 4 findings across successive inspections — the combination of aging frame geometry, degraded gasket material, and accumulated glass migration makes the cost of continued repair exceed the cost of replacement.
At that point, the conversation in facilities planning shifts from “when does this case need glazier attention” to “what replaces this case in the recognition environment.” Digital trophy case platforms eliminate the glass bite, bead, gasket, and bow maintenance chain entirely. A cloud-managed touchscreen platform holds every athlete, every season, and every academic honor the physical case was meant to showcase — with remote content updates, no glass panels to inspect, and unlimited capacity that grows with the recognition program rather than running out of shelf space.
The Physical and Digital Case Working Together
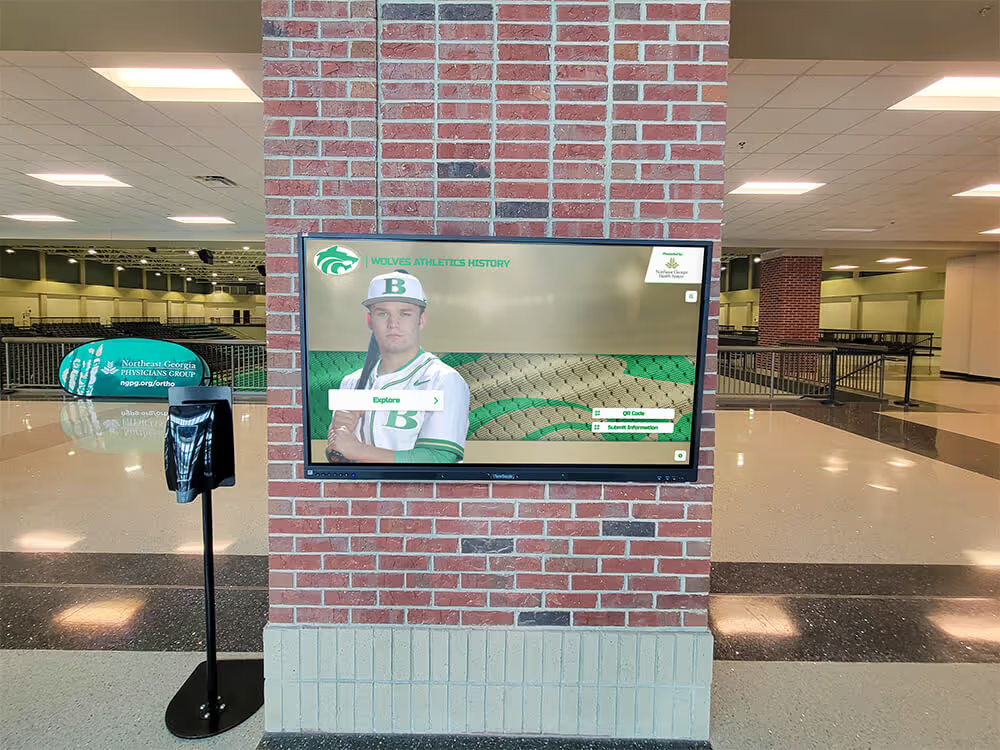
Many schools reach the point where physical cases hold the irreplaceable objects — the actual trophy, the original plaque, the signed jersey retired in a frame — while a digital platform alongside them holds the complete institutional record: every honoree sorted by sport, season, and award type, accessible via touchscreen interaction and QR code mobile viewing for families and alumni who visit outside school hours.
In this configuration, glazing bite measurement remains a relevant maintenance activity for the physical case — the objects inside it are irreplaceable, and the glass protecting them should be confirmed secure. The digital platform removes the capacity and access-frequency pressure that drives bite reduction in cases accessed repeatedly to add new items each season.
Exploring Digital Recognition Alongside Physical Case Maintenance
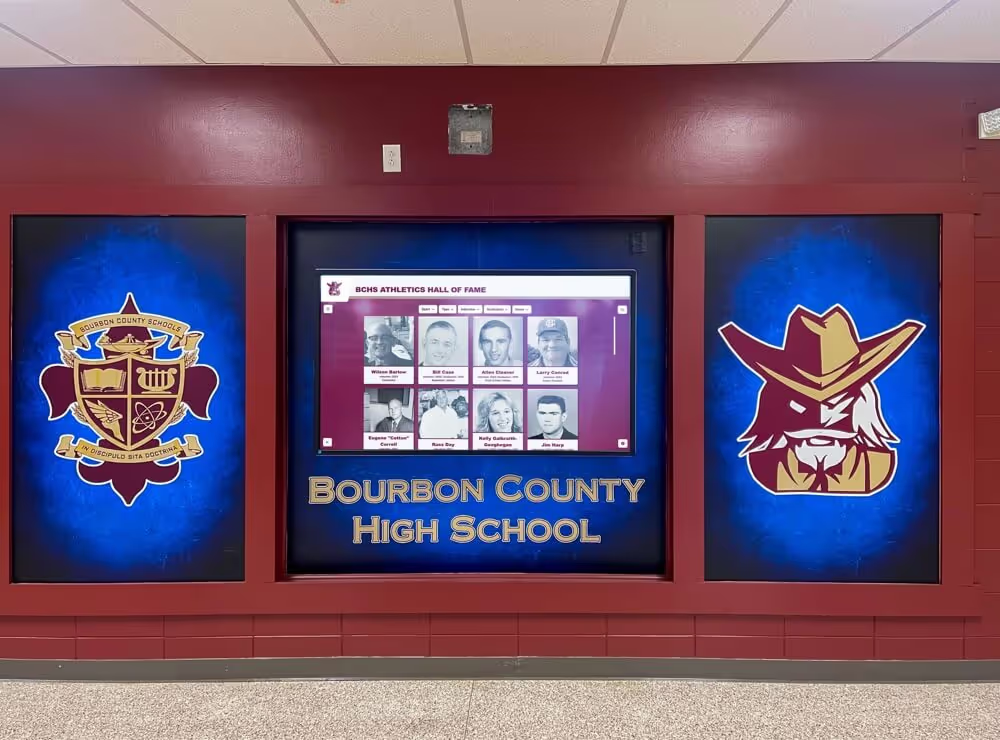
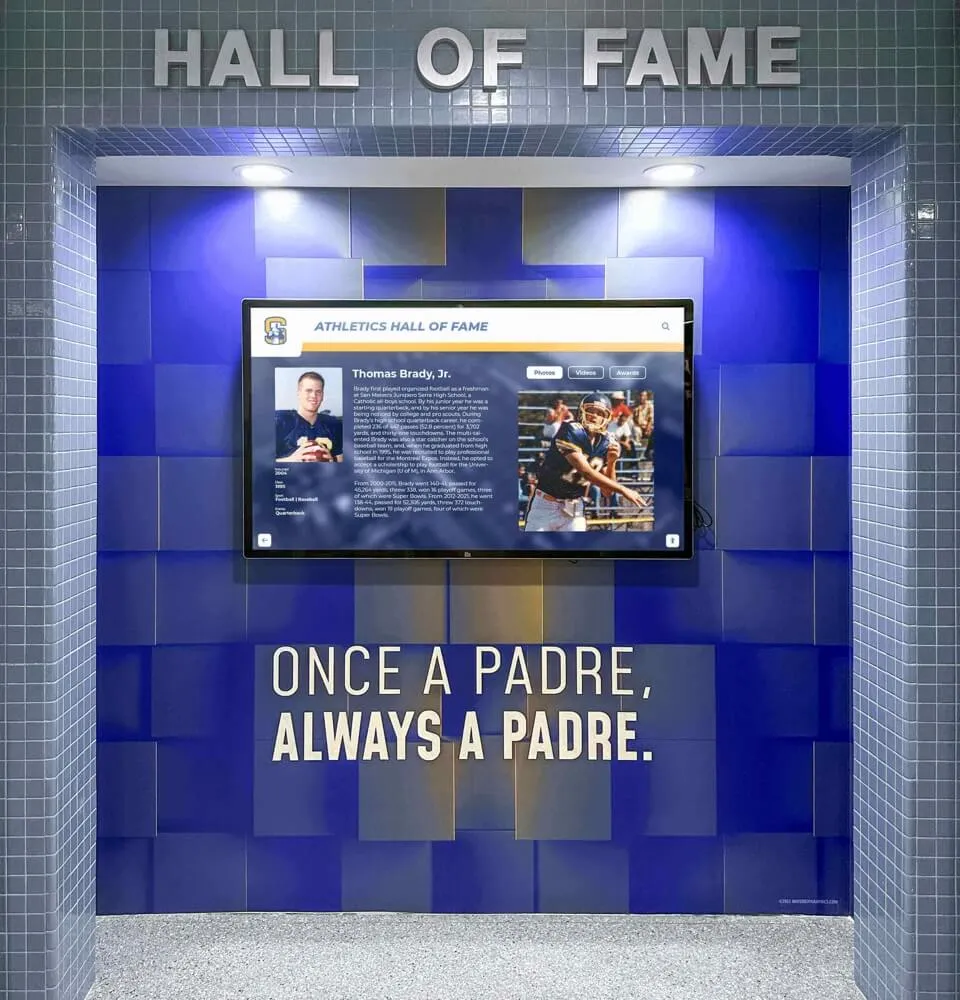
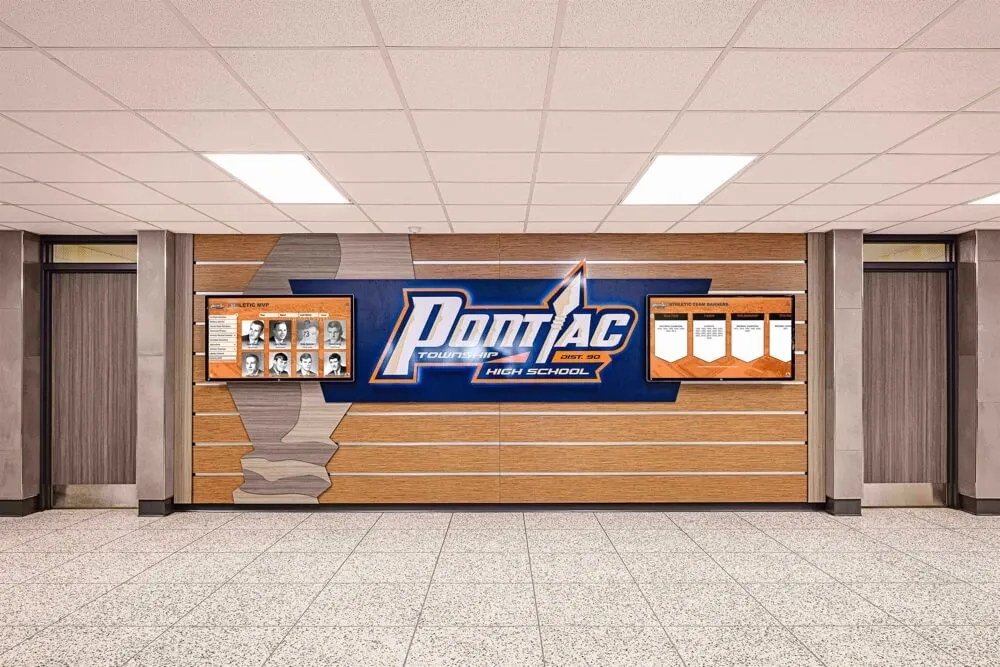
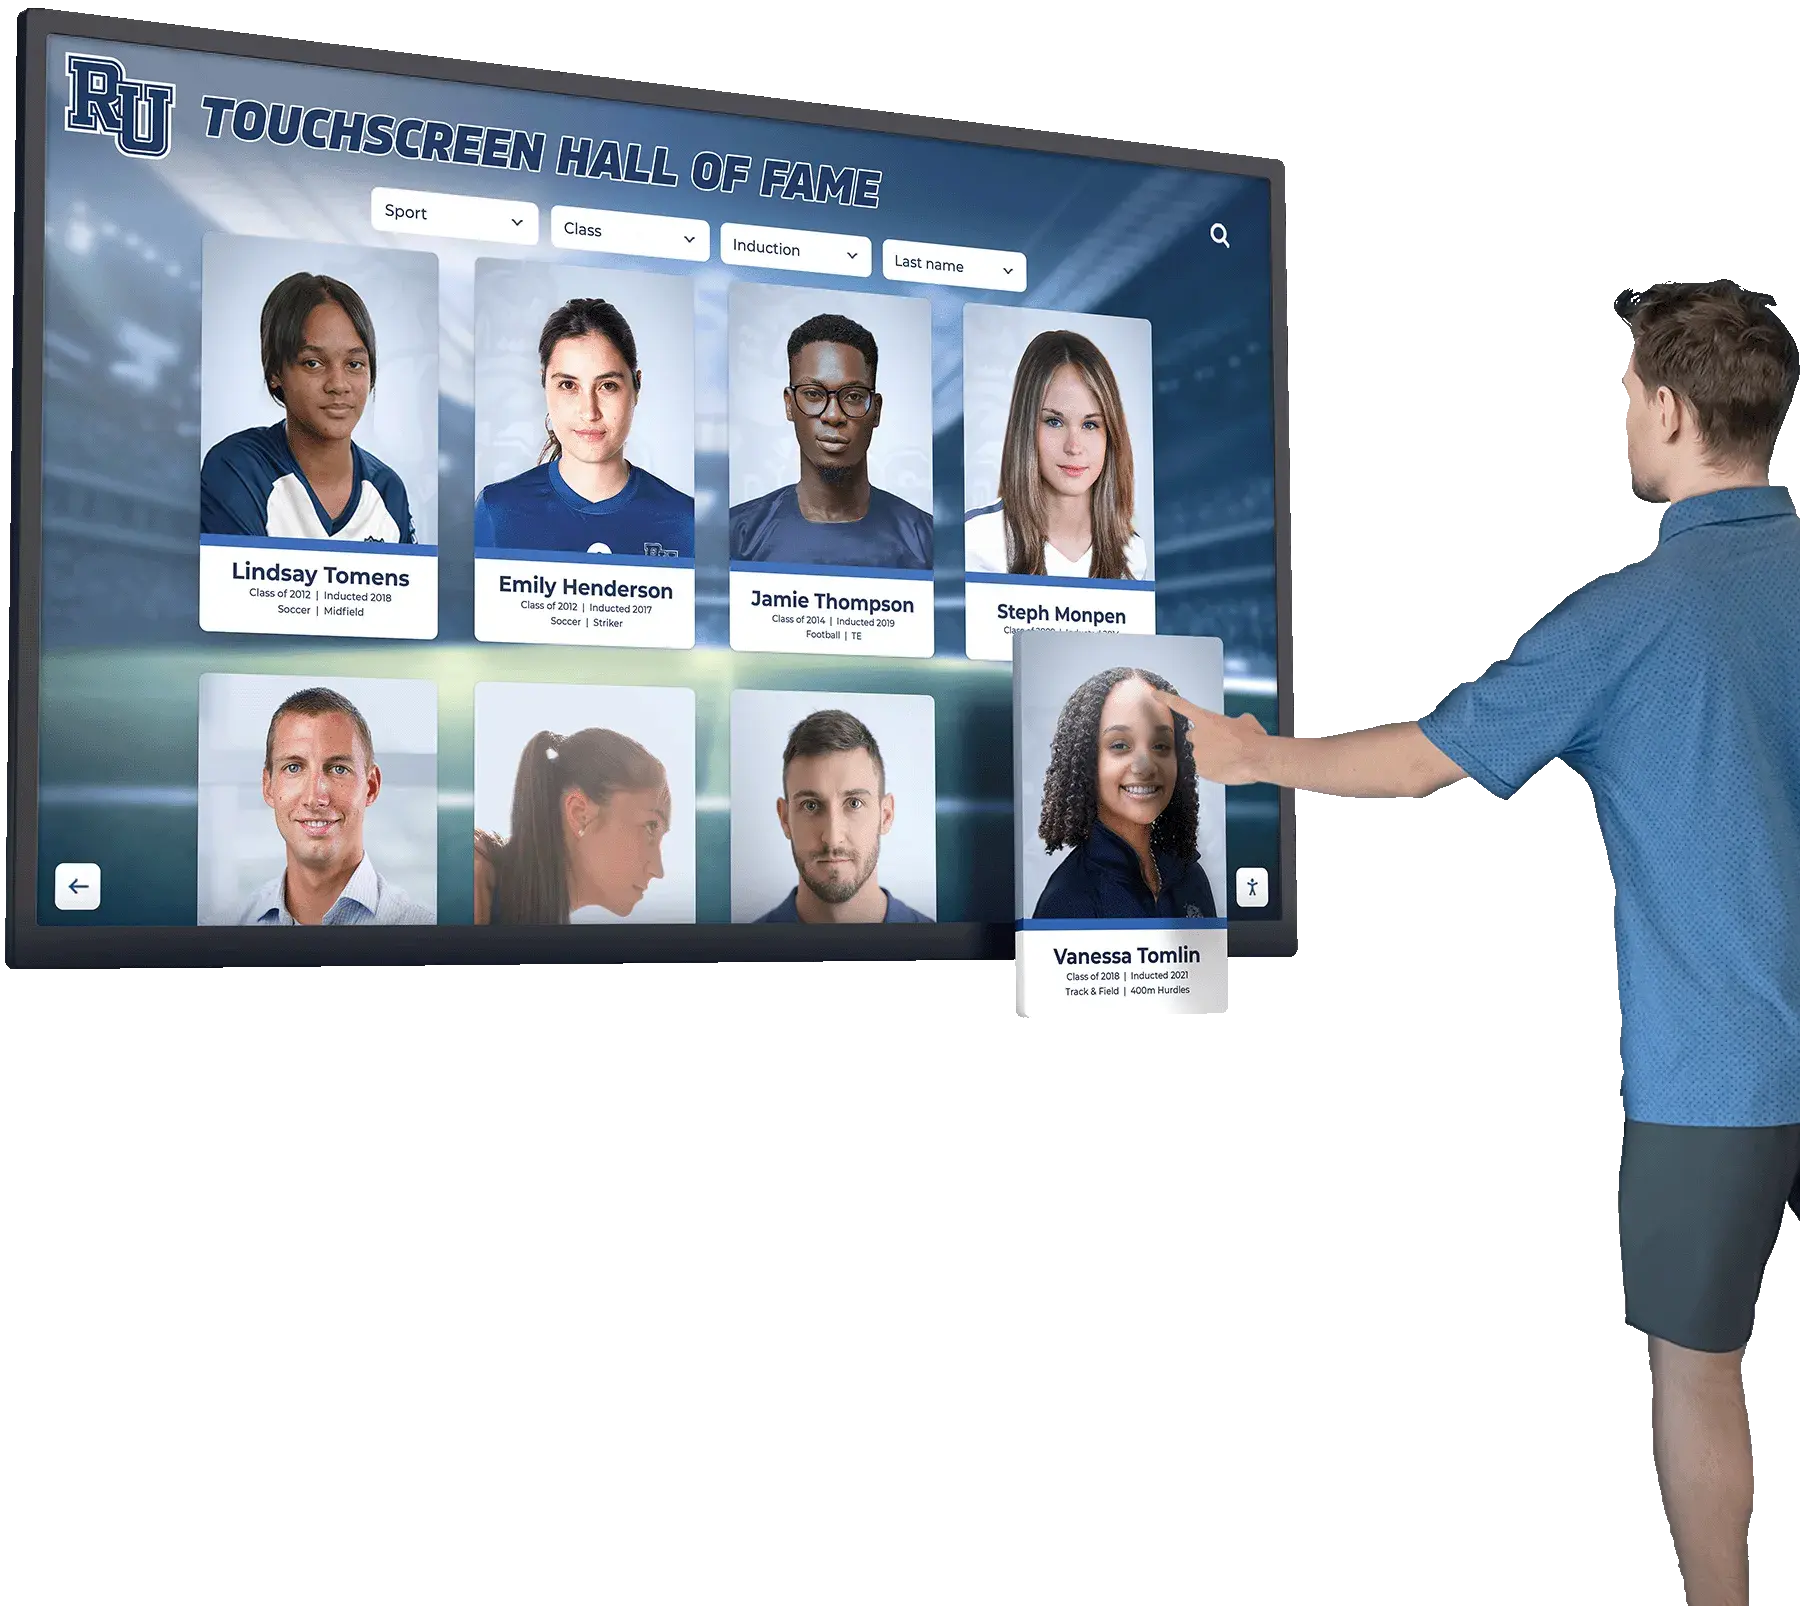
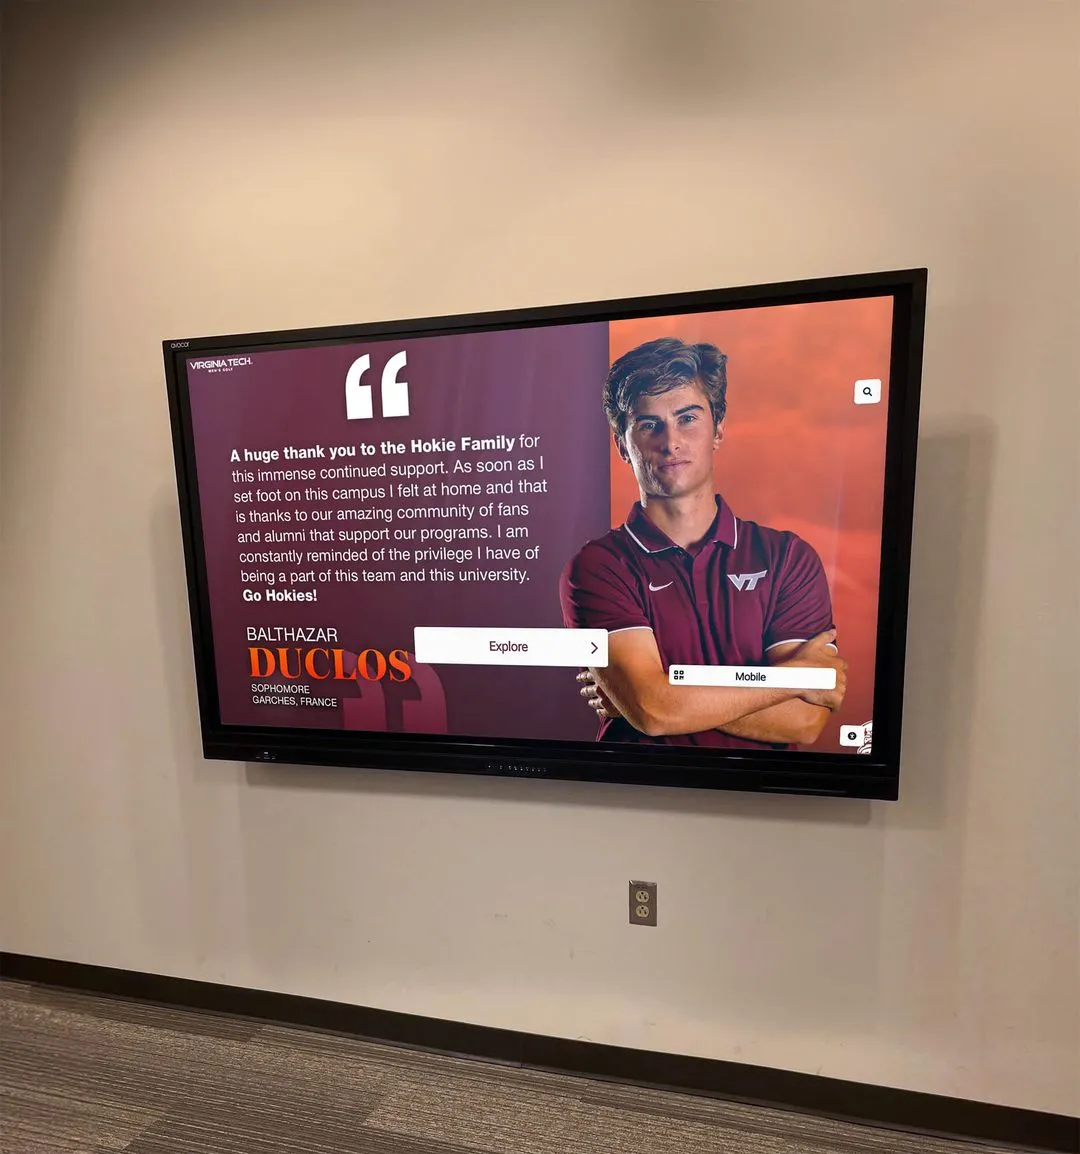
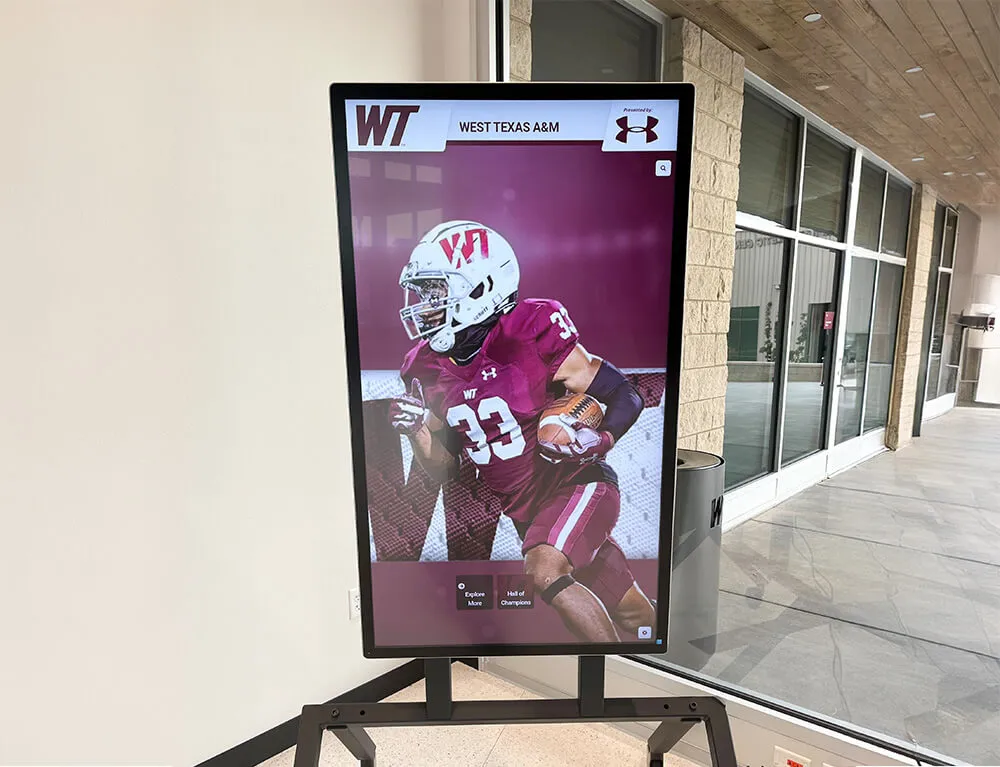
A digital wall of honor kiosk places unlimited recognition content in the same hallway as the physical case, without glass panels, frame channels, or bite margins to maintain. Rocket Alumni Solutions builds touchscreen recognition platforms for schools of every size, with cloud-managed content updates, ADA WCAG 2.1 AA accessibility compliance, QR code mobile access, automatic ranking and sorting by achievement type, and scheduled publishing that makes content management available to any authorized staff member without an IT work order.
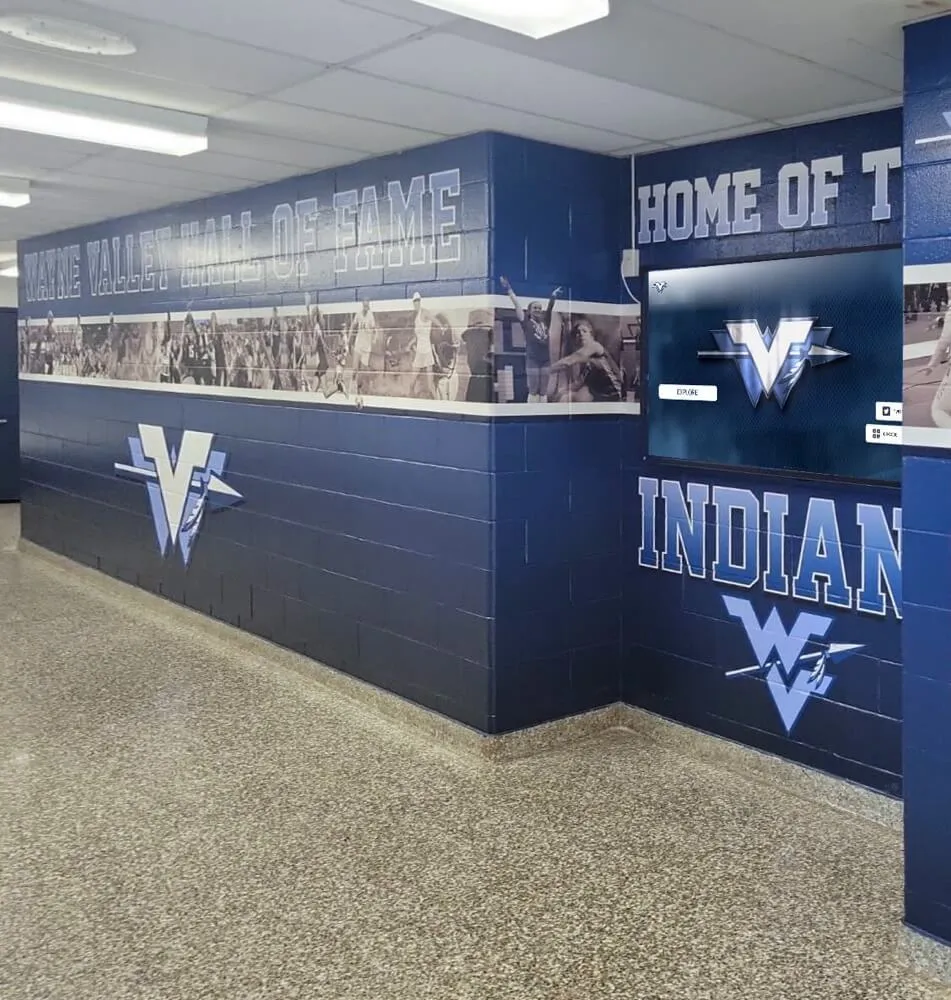
Schools whose glazing bite inspection results are showing repeated Condition 3 findings — or whose physical cases are running out of display space while new recognition hardware accumulates — can see what a digital recognition environment looks like in the same hallway as the cases they currently maintain.
See What Digital Recognition Looks Like Next to Your Trophy Cases
Rocket Alumni Solutions builds interactive touchscreen trophy case displays, digital halls of fame, and scholar-athlete recognition systems for schools of every size — no glass panels, no bite margins, no glazier visits. When physical cases are fully inspected and maintained, a digital platform gives every honoree, every season, and every achievement permanent, searchable, unlimited visibility alongside the trophies behind the glass.
Request a DemoQuick-Reference Bite Measurement Checklist
Use this summary during each inspection round. Transfer detailed measurements to the full inspection log.
Pre-measurement:
- Case and panel identifiers assigned and recorded
- Panel type documented (hinged door, sliding door, fixed)
- Panel dimensions recorded
- Frame configuration type noted
- Previous bite measurements available for comparison
Per-panel measurements:
- Bottom edge: channel depth, edge clearance, bite (mm) recorded
- Top edge: channel depth, edge clearance, bite (mm) recorded
- Left edge: channel depth, edge clearance, bite (mm) recorded
- Right edge: channel depth, edge clearance, bite (mm) recorded
- Minimum bite value across four edges identified and recorded
- Glazing stop visual condition noted on all four edges
- Setting block condition noted at bottom edge
- Condition rating (1–4) assigned based on minimum bite value
- Escalation action recorded with responsible party and timeline
- Photographic documentation completed for Condition 3 and 4 panels
Post-measurement:
- Inspection record filed with previous records for trend comparison
- Glazier contact initiated for any Condition 3 or 4 panel
- Access restriction posted and athletic director notified for any Condition 4 panel
- Combined condition rating assessed against glazing bead and gasket findings for same panels
- Next inspection date scheduled and calendar entry confirmed
Glazing bite minimum values in this checklist are referenced to glazing industry practice baselines for framed glass in institutional settings, including GANA (Glass Association of North America) glazing manual guidance for framed glass installations. Condition ratings and escalation timelines are guidelines for facilities planning purposes — a qualified glazier is the appropriate authority for glass repositioning, setting block replacement, and stop repair on individual panels. Stop-work criteria apply regardless of bite measurement status when visual conditions alone indicate that a panel is at immediate displacement risk.