



Glass-to-metal clearance is the measured gap that must exist between a glass panel’s edge or face and any adjacent metal component — including frame lips, shelf fronts, door corner fittings, hinge bodies, cam lock housings, and strike plates — to prevent direct hard contact under normal use conditions. When that gap is absent or has closed to zero through thermal movement, gradual panel migration, or hardware misalignment, the glass edge or surface presses directly against metal, concentrating stress at precisely the point where glass is most vulnerable to fracture. A school trophy case glass-to-metal clearance inspection systematically checks every contact point where glass and metal come within measurable proximity, assigns a condition rating to each, and identifies findings that require glazier attention before hard contact produces a crack or a shattered panel in an occupied hallway. This guide defines glass-to-metal clearance precisely, explains why inadequate clearance is a safety concern specific to school environments, describes the measurement procedure for each contact-point type, and provides a condition rating table and escalation framework facilities teams can apply to every enclosed trophy case in a school’s inventory.
When a trophy case glass panel fractures without obvious impact, the cause is rarely mysterious to a glazier called to assess the damage. Hard contact between the glass edge and a metal frame lip — visible as a chip or compression crack at the panel perimeter — is among the most common causes of spontaneous glass failure in framed display cases. The glass did not break because it was struck. It broke because it was in contact with metal at a point that could not absorb the load of routine thermal expansion, door vibration, or the minor rocking force of a door swinging open. Clearance inspection does not wait for that failure. It locates the contact conditions before the glass knows they are there.

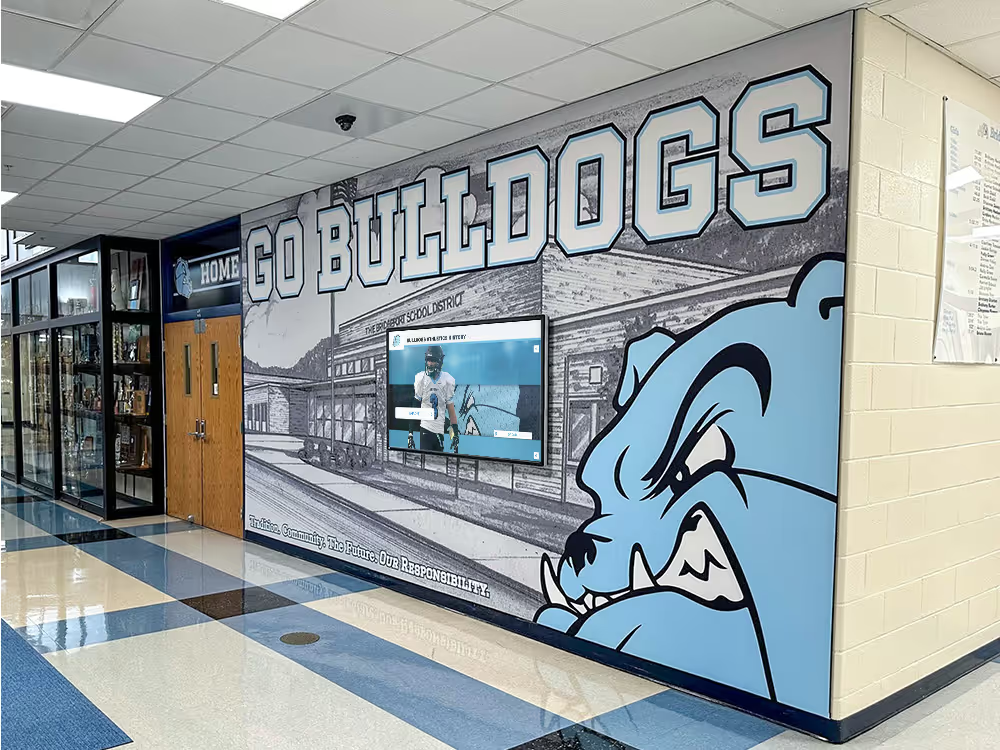
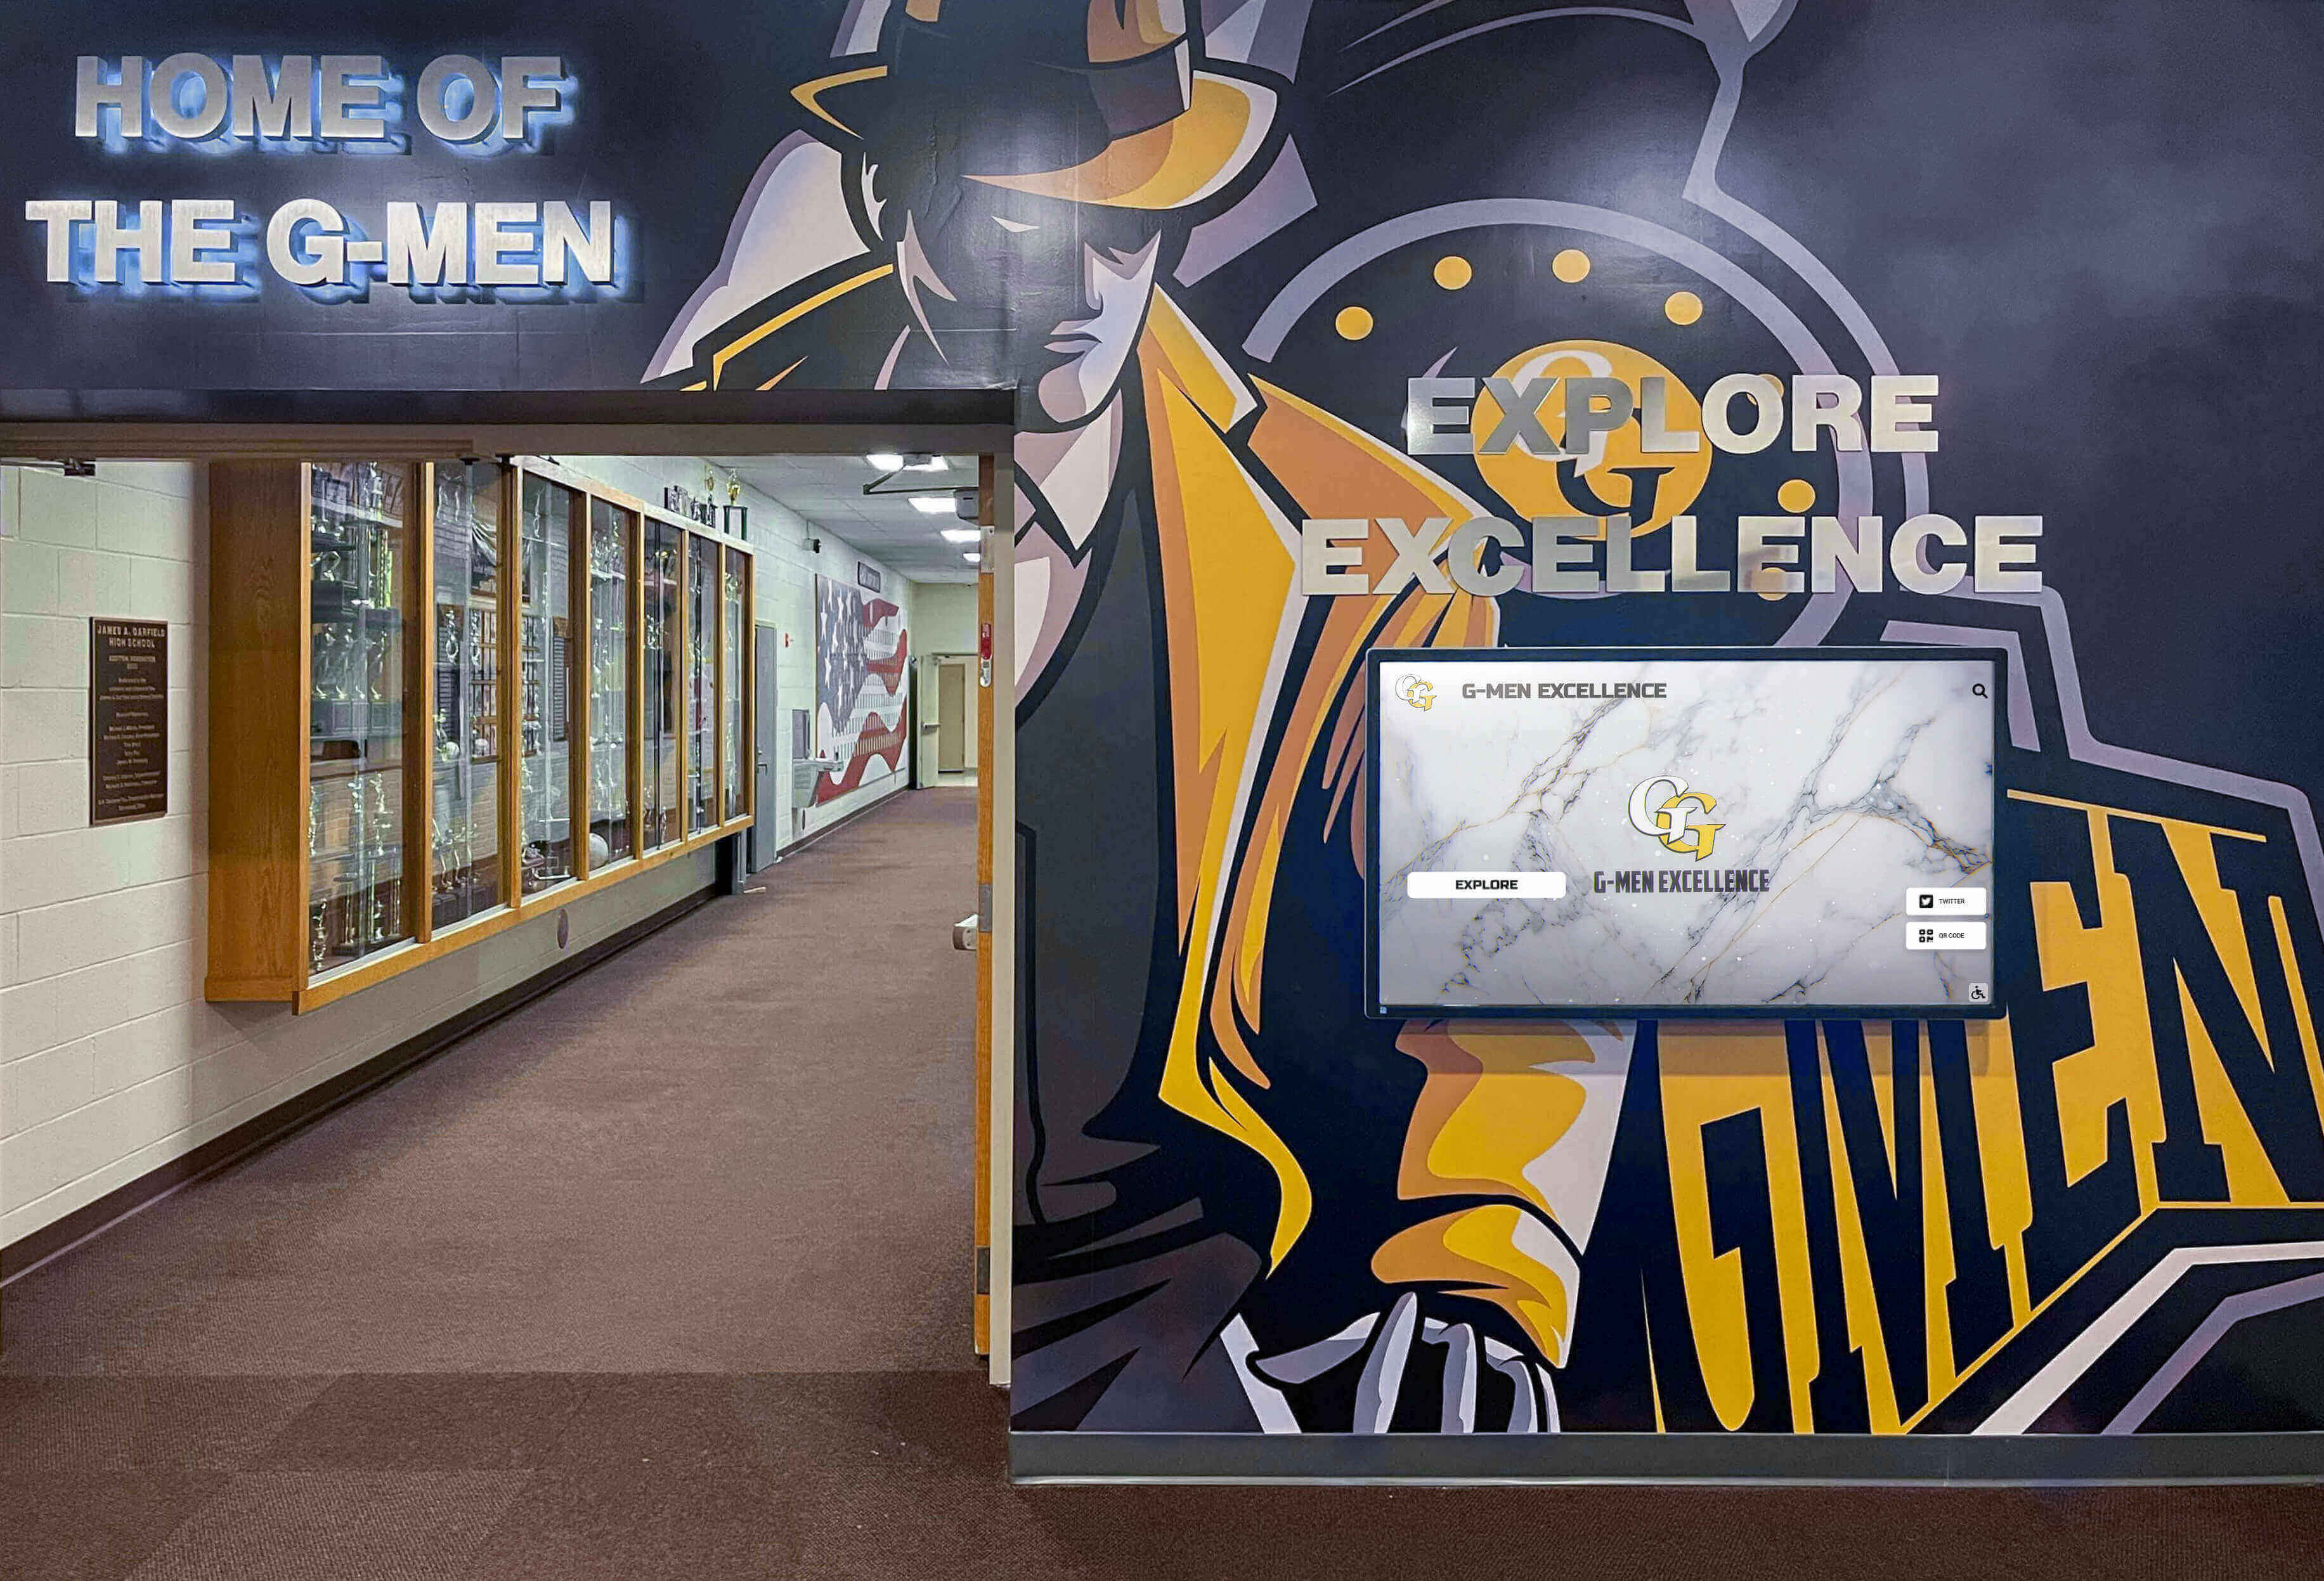
Enclosed trophy cases in athletic corridors combine metal frames, hinged or sliding glass doors, interior shelf hardware, and corner fittings — each of which must maintain adequate clearance from adjacent glass surfaces to prevent contact-induced stress fractures
What Is Glass-to-Metal Clearance?
Glass-to-metal clearance is the linear distance between a glass surface — either the panel’s edge (the cut or ground perimeter of the glass) or the panel’s face (the flat surface visible from outside the case) — and any metal component that the glass approaches. The clearance value is measured perpendicular to the plane of contact: for an edge approaching a frame back wall, clearance is measured from the glass edge to the metal surface; for a face approaching a hinge body or hardware fitting, clearance is measured from the glass face outward to the metal surface.
| Contact Point Type | Glass Surface at Risk | Metal Component | Clearance Measured |
|---|---|---|---|
| Frame back wall (edge clearance) | Glass edge | Glazing channel back wall | Glass edge to metal back wall |
| Frame lip overlap (face clearance) | Glass face | Glazing stop or frame lip | Glass face to stop face |
| Shelf front edge | Glass panel face or edge | Metal shelf front lip | Gap between glass and shelf metal |
| Door corner fitting | Glass corner (edge + face) | Corner bracket or spine | Gap at glass corner to fitting |
| Hinge body | Glass face or edge adjacent to hinge | Hinge leaf or knuckle | Gap from glass to nearest hinge surface |
| Cam lock housing | Glass face at lock cutout | Lock housing barrel | Gap from glass edge of cutout to barrel |
| Strike plate | Glass edge at door latch zone | Strike plate face | Gap from glass edge to strike metal |
The distinction between edge clearance and face clearance matters because each produces a different failure mode when it reaches zero. Edge clearance loss — the glass edge pressing against the channel back wall — produces compression fractures that originate at the edge and propagate inward across the panel. Face clearance loss — the glass face pressing against a hinge body or fitting — produces contact-load spalling that can appear as surface chipping or, in severe cases, as through-thickness cracks originating at the contact zone.
Both failure modes are preventable. Neither is detectable from a corridor viewing position without specifically measuring the clearance dimension. A glass panel with 1 mm of edge clearance and a panel with 5 mm of edge clearance are visually identical from the hallway.
Why Adequate Glass-to-Metal Clearance Matters in School Trophy Cases
Thermal Expansion and the Clearance Consumption Cycle
Glass and aluminum expand at substantially different rates. Aluminum expands at approximately 23 micrometers per meter per degree Celsius; glass expands at approximately 9 micrometers per meter per degree Celsius. For a standard trophy case installed in an exterior-facing school corridor where the hallway temperature varies between 15°C and 28°C across a school year, the differential expansion between a 900 mm aluminum frame and the glass panel it contains is approximately 1.2 mm per heating season. That figure is small in isolation. Compounded across an installation that started with only 2 mm of edge clearance — common in older cases where clearance was not explicitly specified — it means hard contact between the glass edge and the frame back wall within the first two or three years of normal service.
When clearance is adequate — typically 3 to 6 mm on each edge — the differential expansion is absorbed by the clearance gap, which narrows under maximum thermal load and reopens as temperatures drop. When clearance is deficient from installation or has been consumed by glass migration, the differential expansion has nowhere to go except into the glass edge as compressive stress.
School Environments and Elevated Contact Risk
School trophy cases experience load conditions that residential and commercial display cases do not:
Door cycling frequency: Cases in athletic corridors at high schools and middle schools may be opened and closed dozens of times per week during awards seasons, end-of-year ceremonies, and trophy additions. Each door-open cycle applies a rocking motion to the door panel at the hinge edge, progressively walking the glass toward the hinge-side frame member. A case with symmetric clearance at installation develops asymmetric clearance — reduced on the hinge side, expanded on the latch side — after sustained directional loading.
Vibration from corridor traffic: High-traffic school corridors generate low-frequency vibration from passing crowds during class changes. This vibration transmits to trophy case frames and, through the frame, to any glass panel already in contact with a metal fitting. Contact-state vibration is qualitatively different from clearance-state vibration: a panel with clearance can absorb vibration energy by micro-displacement within its channel; a panel in contact with metal transfers the vibration directly to the glass edge as alternating stress.
Hardware adjustments and additions: Athletic recognition programs that add new trophies, plaques, and banners to trophy cases each season also adjust the interior hardware — repositioning shelves, adding shelf clips, and relocating dividers. Each hardware adjustment is an opportunity for a shelf front lip to be positioned closer to the glass than it was previously. A shelf moved 3 mm toward the rear glass panel may reduce face clearance from 4 mm to 1 mm without the person repositioning the shelf recognizing that the clearance dimension has changed.
Recognition programs that maintain comprehensive team awards categories across multiple sports seasons generate hardware additions regularly, making clearance inspection a recurring rather than one-time concern for active athletic display cases.
Hardware Proximity at Hinges, Locks, and Fittings
Hinge bodies, cam lock housings, and corner fittings introduce localized metal surfaces that are not part of the glazing channel system and are therefore not addressed by standard glazing bite or edge clearance inspection protocols. A hinge leaf mounted on the inside face of a glass door creates a metal surface in close proximity to the adjacent fixed panel’s glass edge. If the door is mounted slightly out of square — common in older cases where frame members have deflected — the hinge leaf may approach the fixed panel’s glass face to within 1 or 2 mm at the hinge-side edge.
Cam lock housings on sliding-door cases present a related concern: the lock barrel is installed in a cutout in the door frame, and the glass panel is retained behind the frame. If the cutout was not sized with adequate clearance between the barrel housing and the glass edge at the cutout perimeter, thermal expansion of the aluminum housing can bring metal into contact with the glass edge at the cutout. This produces a fracture pattern localized to the lock cutout area — often mistaken for impact damage — that is in fact a compression fracture caused by inadequate hardware clearance.

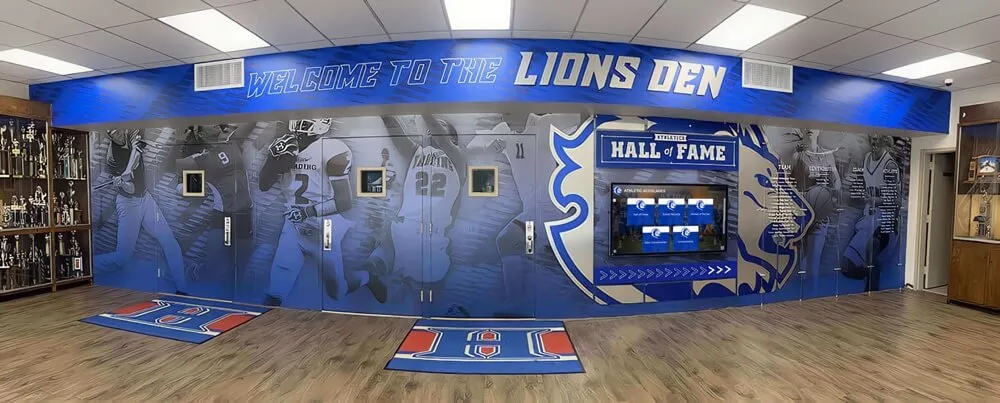
Display lounges with multiple enclosed trophy cases require clearance inspection at every internal shelf edge, corner fitting, and hardware component — not only at the glazing channel perimeter
Tools Required for Glass-to-Metal Clearance Inspection
A glass-to-metal clearance inspection requires four items:
Feeler gauge set (0.05 mm to 3 mm range): Feeler gauges — thin, precisely machined blades of known thickness — are inserted into the gap between glass and metal to confirm whether a minimum clearance exists. A blade of the target minimum thickness (typically 3 mm) that cannot be inserted into the gap indicates clearance below that minimum. A set with blades at 0.5 mm increments from 0.5 mm to 3 mm covers the range of conditions a clearance inspection encounters.
Millimeter rule or steel scale (150 mm minimum): Used to measure clearance at locations where feeler gauge access is limited by angle or depth. The scale is inserted into the gap and positioned perpendicular to the glass surface to read the clearance directly.
Narrow-beam flashlight: Required to illuminate glazing channel interiors, corner fitting gaps, and hinge zones where ambient corridor lighting does not reach. A narrow beam enables the inspector to direct light along the channel axis to see the gap between glass edge and channel back wall.
Inspection log: One entry per case unit, with sub-entries for each panel and each contact-point type inspected. Record the case identifier, panel position, contact-point type, measured or gauged clearance, condition rating, and any escalation action required. Photographs of Condition 3 and Condition 4 findings should accompany log entries.
No specialized tools are required beyond a feeler gauge set, which is standard equipment in most school maintenance shops.
Pre-Inspection Preparation
Assign case and panel identifiers: Before measuring, assign a unique identifier to each trophy case in the building (e.g., ATH-01, ATH-02, LIB-01). Within each case, record the panel count and panel types: door panels (hinged or sliding), fixed side panels, fixed top panels, and fixed back panels. Clearance inspection applies to all panel types, but the contact-point types differ: door panels have hinge and cam lock clearance concerns; fixed panels have shelf edge and back-wall clearance concerns.
Document frame configuration: Note whether each case uses a full-perimeter aluminum extrusion, a wood frame with applied metal stops, or a frameless system with clip retention. The frame type determines which contact points are present and which clearance dimensions are structurally relevant.
Review prior inspection records: If previous clearance measurements exist, compare them before measuring. A panel whose edge clearance has decreased from 4 mm to 2 mm since the last inspection is on a trajectory to reach hard contact — even if the current reading does not yet qualify as a deficient condition, the rate of change is diagnostically relevant and should be noted in the log.
Step-by-Step Glass-to-Metal Clearance Inspection Procedure
Step 1: Visual Survey of All Contact Points
Before using measuring tools, conduct a visual survey of each case. Look for:
- Compression chips at glass edges: Small semicircular chips on the glass edge at any point where the edge approaches a metal member. These indicate that contact has already occurred and that the clearance is at or near zero at that location.
- Discoloration or metallic deposits on glass surfaces: Fine metallic marks on the glass face at hinge zones or fitting locations, indicating that the glass and metal have been in contact during thermal or mechanical movement.
- Frame members bowed inward toward glass panels: A frame lip that has deflected toward the glass face reduces face clearance. Look along the frame member from the case end to detect any inward bow in the middle of a long run.
- Corner fitting gaps: At each glass corner, confirm that there is a visible gap between the glass corner and the corner fitting body. A corner fitting in hard contact with a glass corner is visible as a tight-fitting metal bracket with no daylight visible between the fitting and the glass corner.
Any visual finding of chip damage, metallic marking, or zero-visible clearance at any contact point should be escalated to Condition 4 immediately, without waiting for gauge measurement.
Step 2: Edge Clearance at the Frame Back Wall
For each panel, measure the clearance between the glass edge and the back wall of the glazing channel on all four edges (top, bottom, left, and right). The measurement is made by inserting a feeler gauge or millimeter rule into the gap between the glass face and the glazing stop, positioning the measuring tool to contact the back wall of the channel, and reading the distance from the back wall to the glass edge.
Measurement position: The edge clearance measurement is taken at the midpoint of each edge and at each corner, where clearance is typically smallest. Record the minimum value along each edge — the lowest reading across all measured points on that edge is the controlling value.
Minimum target: Edge clearance should be at least 3 mm on all four edges of every panel. Panels installed with less than 3 mm of edge clearance on any edge are at risk of hard contact during maximum thermal loading.
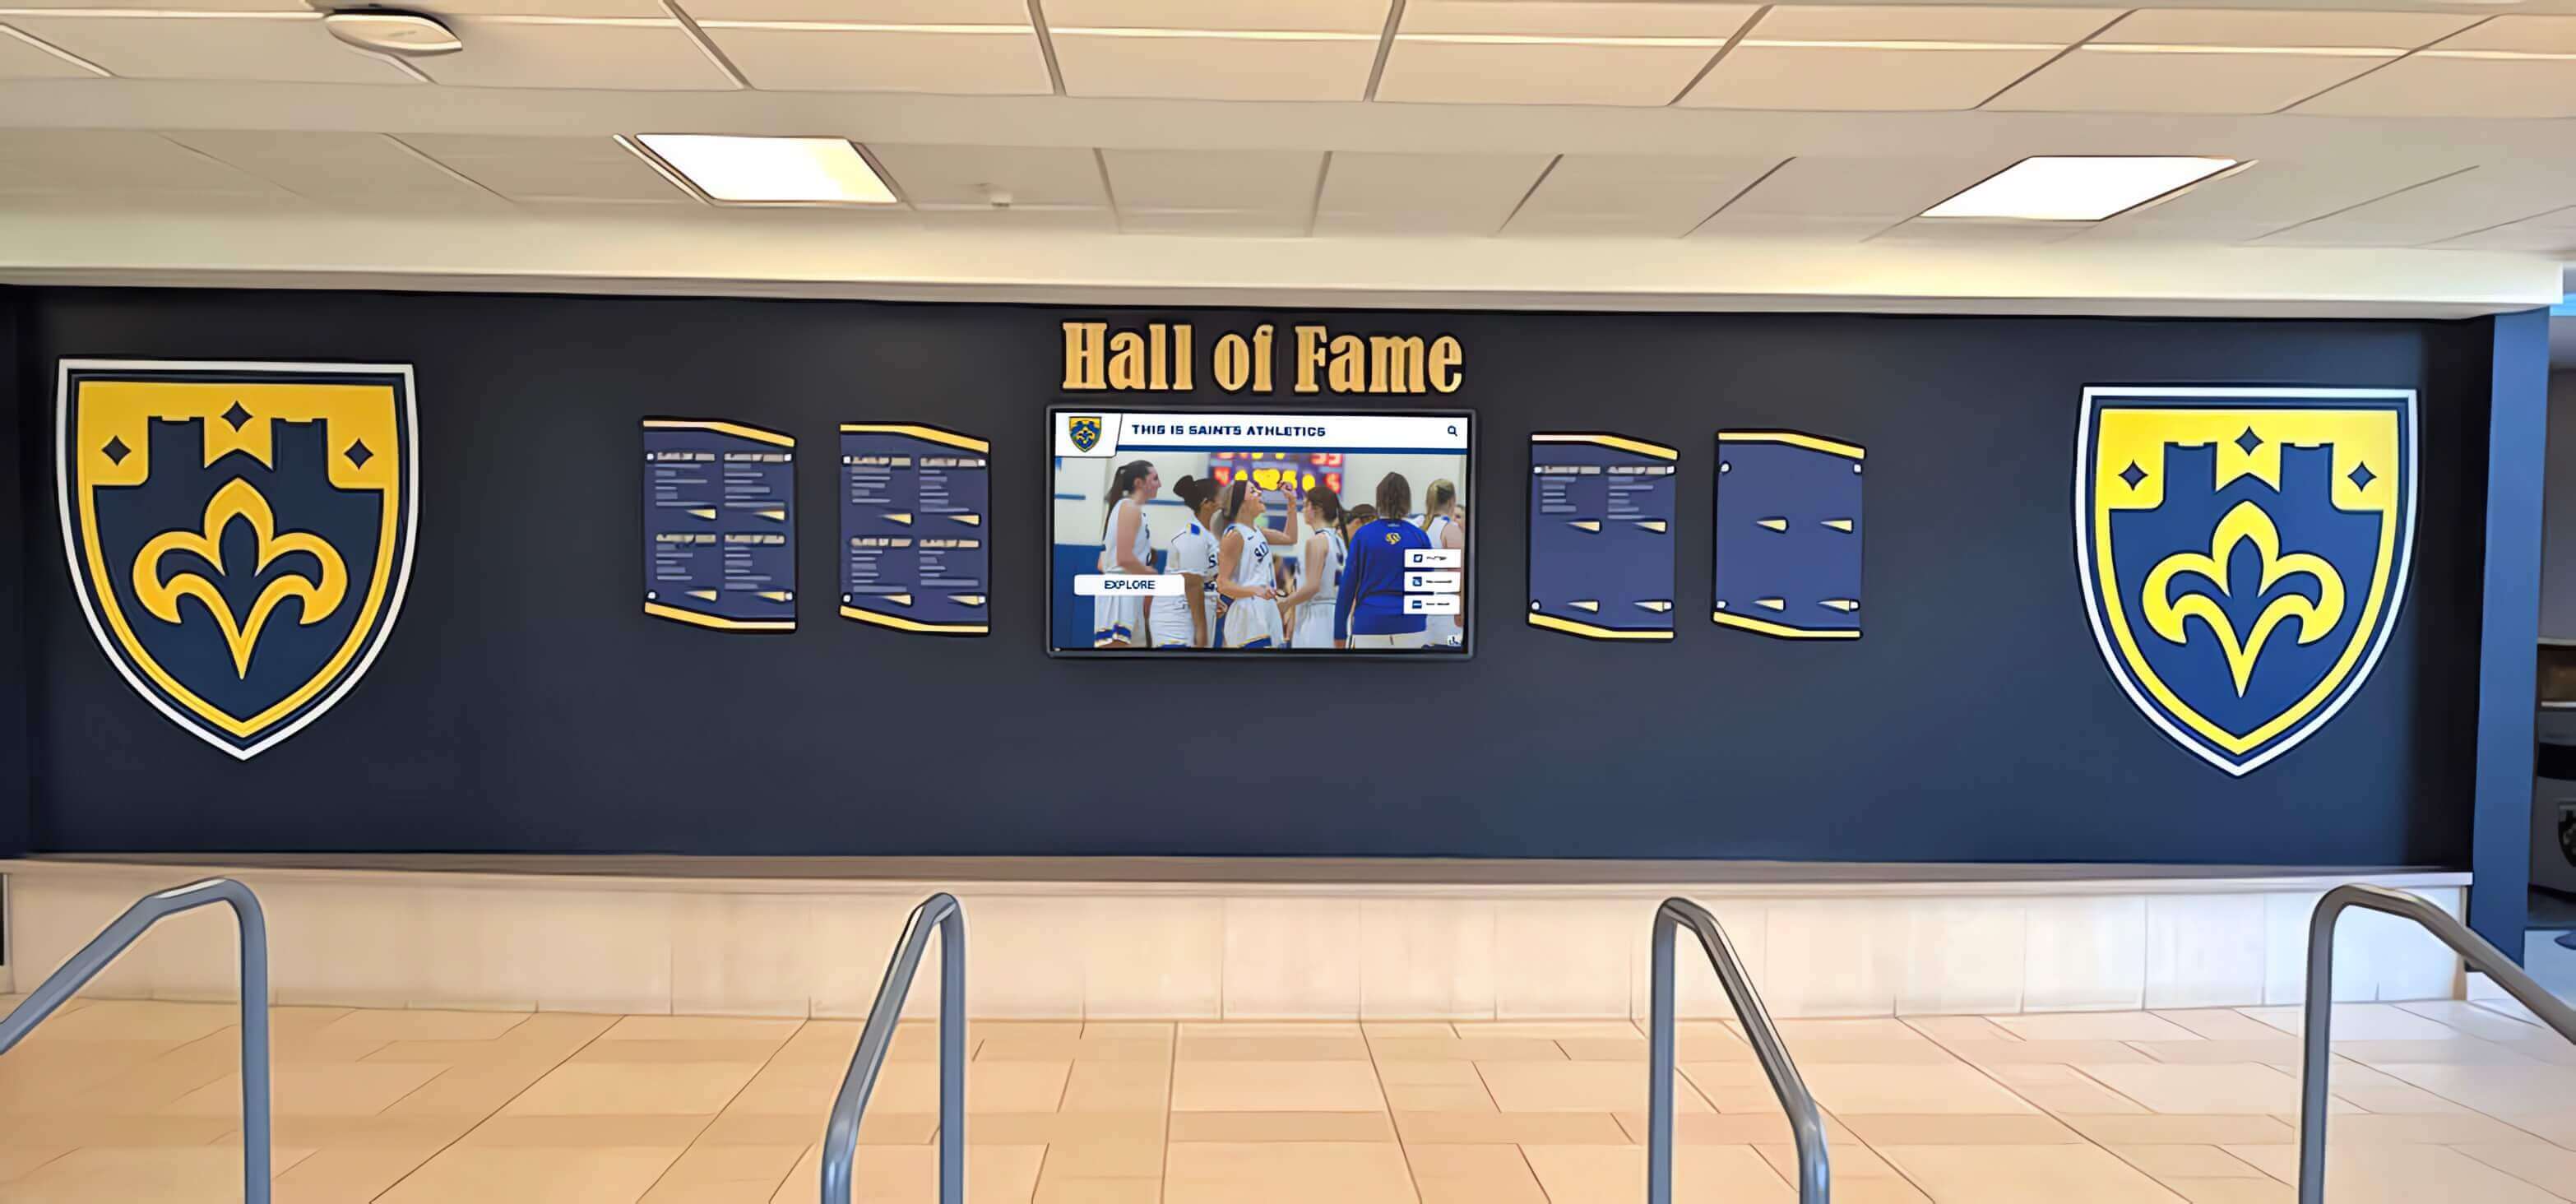
Trophy cases in athletic hall of fame lobbies are accessed frequently during recognition seasons, making edge clearance at door panel hinges and frame back walls particularly important to monitor
Step 3: Face Clearance at Frame Stops and Lips
Face clearance — the gap between the glass face and the interior surface of the glazing stop or frame lip — determines whether the glass surface can flex slightly under load without contacting metal. Face clearance that has closed to zero means the glass face is resting against the stop surface, a condition that transfers any load applied to the glass face directly to the metal rather than allowing the glass to absorb it through controlled deflection.
Measurement method: Insert a feeler gauge between the glass face and the stop face. A 0.5 mm gauge that can be inserted confirms at least 0.5 mm of face clearance. Target face clearance of at least 1 mm on each face at each stop position.
Note for metal-stop configurations: Some older trophy case frames use metal stops that are pressed or screwed tightly against the glass face to retain it — these designs rely on friction rather than clearance and do not have a measurable face clearance. Document the stop configuration type; if stops are in direct metal contact with the glass face, note that this configuration carries an elevated thermal risk and may require gasket installation by a glazier.
Step 4: Shelf Front Edge Clearance at Back and Side Glass Panels
Interior shelves are a commonly overlooked contact point in glass-to-metal clearance inspections. Each adjustable shelf has a metal front lip that protrudes toward the glass panel behind and beside it. As shelves are repositioned over successive seasons, the front lip may be moved progressively closer to the rear glass panel.
Measurement method: For each adjustable shelf, measure the clearance between the shelf’s metal front lip and the rear glass panel face. Use a feeler gauge inserted into the gap between the shelf lip and the glass surface. Also measure clearance between any shelf end and the side glass panels, particularly at the corners where a shelf bracket clip may project toward the glass.
Minimum target: At least 3 mm of clearance between any metal shelf component and the adjacent glass panel face. Shelves in direct contact with glass panels (zero clearance) should be repositioned immediately as a staff-level correction — shelf repositioning does not require glazier involvement.
Step 5: Hinge Body Clearance at Door and Adjacent Fixed Panels
For hinged-door trophy cases, measure the clearance between the hinge body (the hinge leaf or knuckle) and:
- The glass face of the door panel at the hinge mounting location
- The glass face or edge of the adjacent fixed panel near the hinge zone
Measurement method: With the door in the closed, latched position, insert a feeler gauge between the hinge body and the nearest glass surface at each hinge location. Measure both the inboard clearance (between the hinge and the door glass face) and the outboard clearance (between the hinge and the adjacent fixed panel glass face or edge).
Inspection note: Open the door to the fully-open position and verify that the hinge does not swing into contact with any glass panel at maximum travel. A door that contacts glass at any point in its travel arc has a hardware clearance deficiency that requires immediate attention regardless of the closed-position measurement.
Step 6: Cam Lock and Strike Plate Clearance
Cam lock clearance: On sliding-door cases with cam locks, inspect the clearance between the cam lock housing barrel and the glass edge at the frame cutout where the lock is installed. Insert a feeler gauge between the barrel housing and the glass edge on all sides of the cutout. A minimum of 2 mm clearance is required between any face of the lock housing and the adjacent glass edge.
Strike plate clearance: On hinged-door cases, inspect the clearance between the strike plate mounted on the case frame and the glass edge of the door panel in the latch zone. With the door in the closed position, measure from the door glass edge to the nearest face of the strike plate metal. A minimum of 2 mm clearance is required.
Corner fitting clearance: At each glass corner, inspect the gap between the glass corner (where the two glass edges meet at approximately 90 degrees) and the corner fitting body. The glass corner is the highest-stress region of a glass panel — any metal contact at a glass corner requires immediate escalation regardless of the measured clearance value, because corner fractures propagate rapidly once initiated.
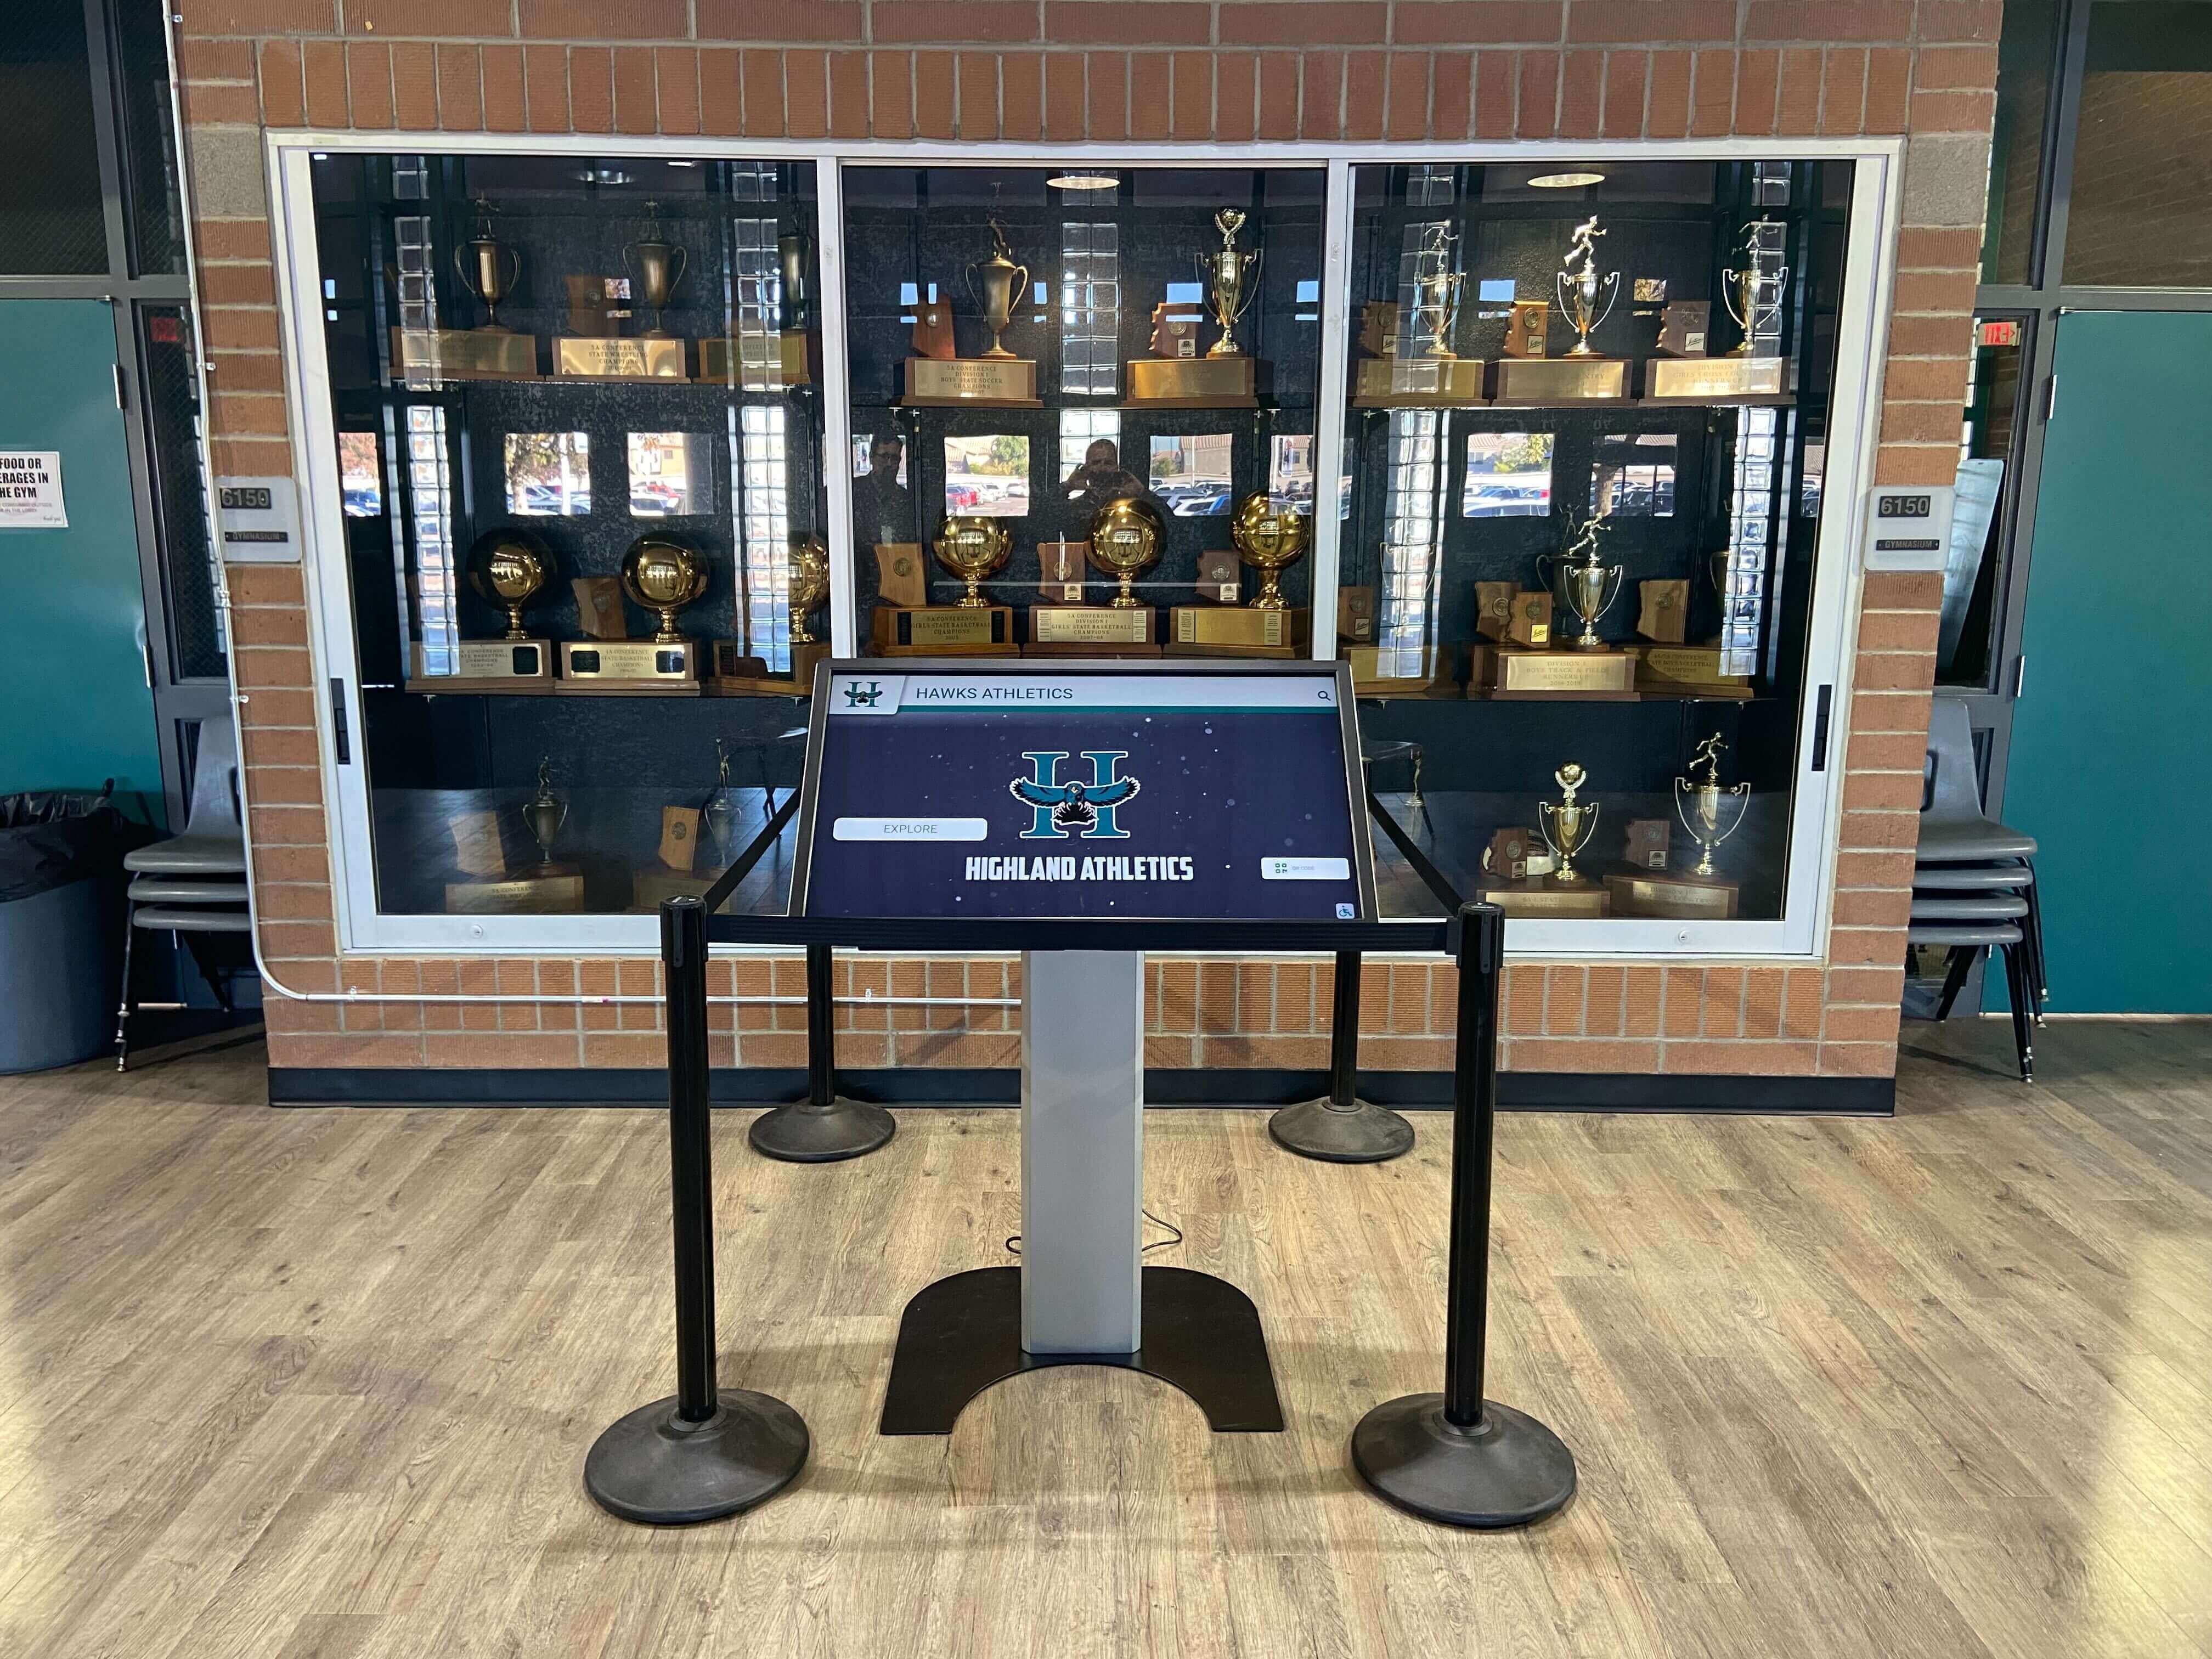
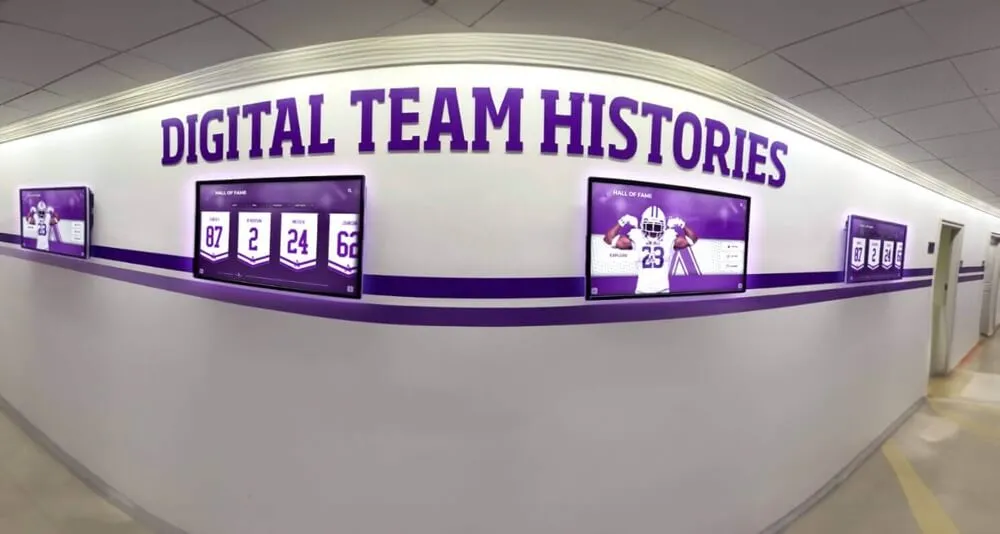
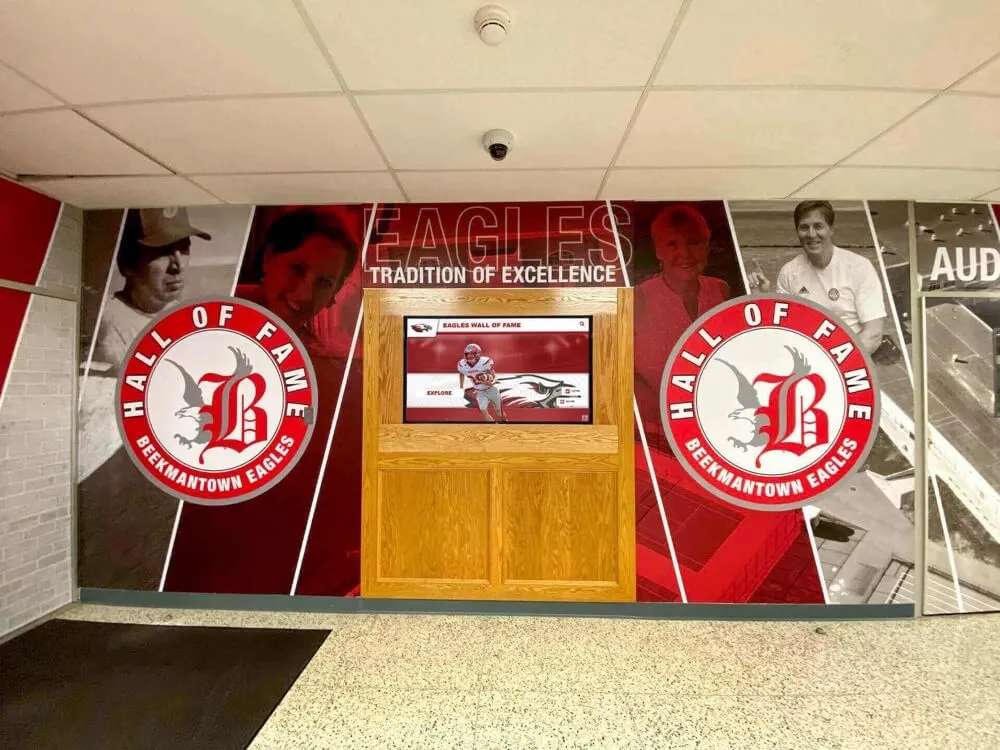
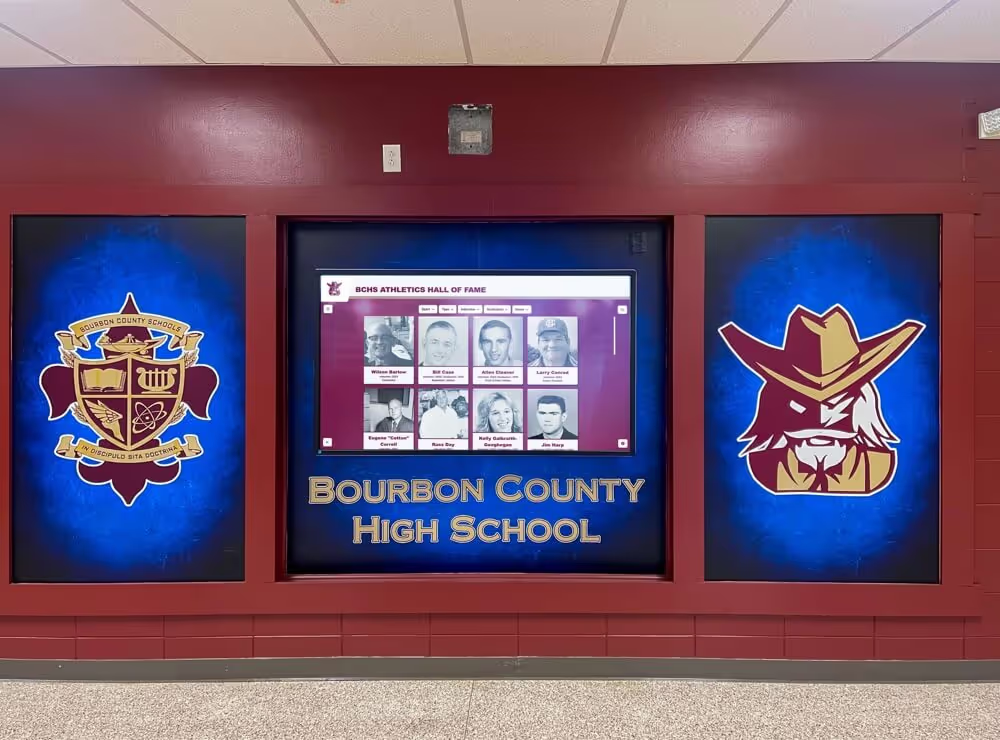
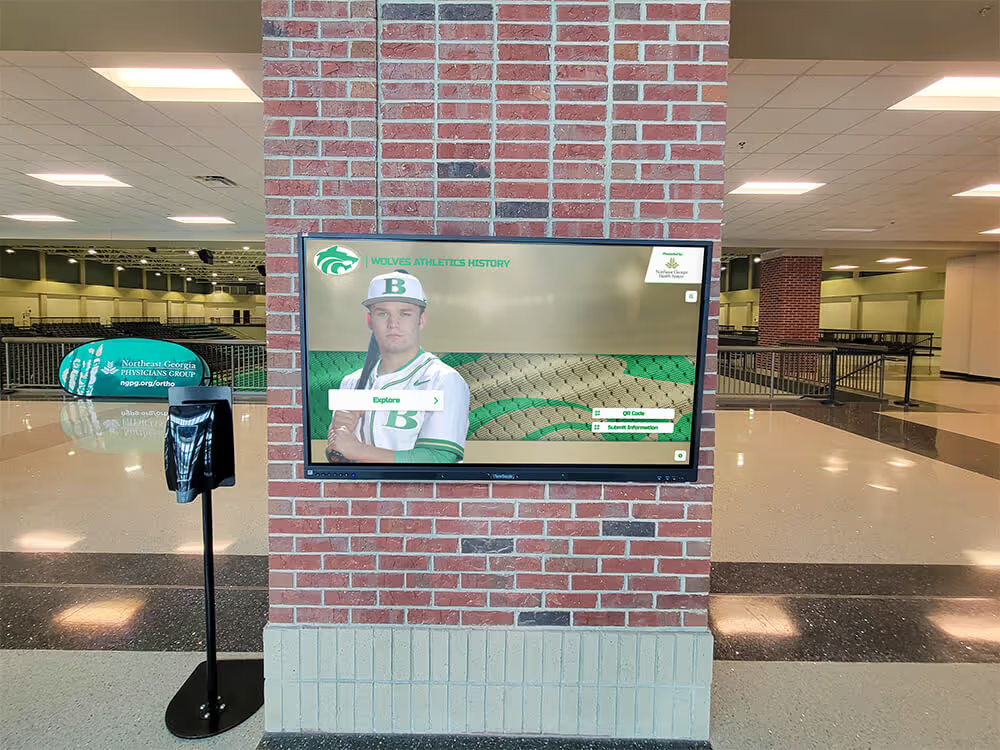
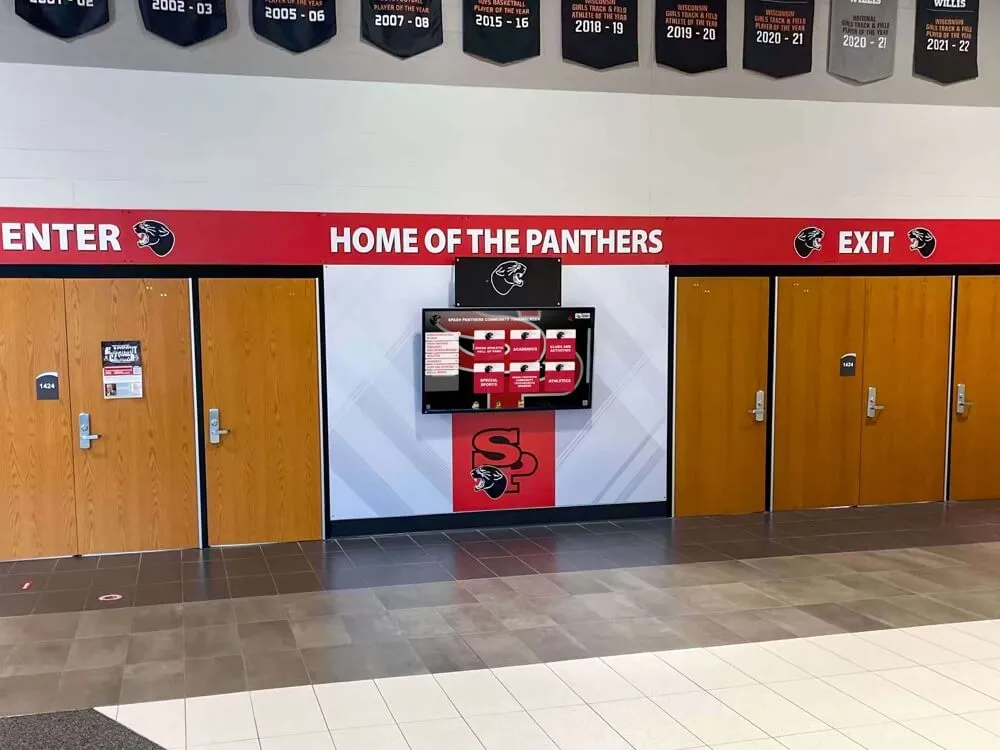
Trophy case areas that integrate digital recognition kiosks alongside physical glass cases represent the maintenance environment for both glass clearance inspection and digital platform upkeep — different protocols, same corridor
Condition Rating Table
Assign one condition rating to each contact point inspected. The controlling rating for a panel is the worst-case (highest-numbered) rating across all contact points inspected on that panel.
| Condition | Clearance Range | Description | Required Action |
|---|---|---|---|
| 1 — Sound | ≥ 3 mm edge; ≥ 1 mm face; ≥ 2 mm hardware | Adequate clearance at all contact points | Document; re-inspect at next annual round |
| 2 — Monitor | 2–3 mm edge; 0.5–1 mm face; 1–2 mm hardware | Clearance present but approaching minimum | Document; re-inspect within 60 days; note migration rate if prior measurements available |
| 3 — Action Required | 1–2 mm edge; < 0.5 mm face; < 1 mm hardware | Clearance marginally present; contact risk under thermal loading | Schedule glazier assessment within 30 days; restrict to read-only case access (no interior adjustments) |
| 4 — Immediate | < 1 mm edge; 0 mm face; 0 mm hardware; any corner contact | Hard contact confirmed or imminent; visible edge chipping | Restrict case access; contact glazier same day; do not open door or adjust interior hardware |
A panel with any Condition 4 contact point — regardless of the ratings at other contact points — is a Condition 4 panel overall. A panel with multiple Condition 3 contact points should be escalated to Condition 4 if the glazier cannot be reached within 48 hours of the inspection finding.
What Facilities Staff Can Correct vs. What Requires a Glazier
The division between staff-level correction and glazier work follows the principle that governs all glass inspection protocols: identify and document findings; do not attempt to reposition, reseal, or cut glass or glazing hardware without glazier training.
Staff Can Safely Do
- Visual survey of all contact points and recording of findings
- Feeler gauge and millimeter rule measurements at all contact points
- Photographic documentation of Condition 3 and 4 findings
- Repositioning adjustable shelves away from glass panels (shelf-to-glass clearance correction only — no glass movement)
- Restricting case access when a Condition 4 finding is confirmed
- Notifying facilities supervisor and initiating glazier contact
Glazier Work — Do Not Attempt Without Training
- Repositioning glass panels within their glazing channels to restore edge clearance
- Adding or replacing glazing gaskets to introduce face clearance where stops are in hard contact with glass faces
- Adjusting hinge positions to restore clearance at hinge bodies
- Replacing or repositioning cam lock housings where lock hardware is in contact with glass
- Grinding or beveling glass edges to relieve localized contact stress (specialist work only)
- Installing protective gasket material between hardware fittings and adjacent glass surfaces
Schools developing comprehensive recognition programs that highlight famous alumni, athletes, and scholars open their trophy cases frequently to add new items. Building a clearance inspection protocol into the annual recognition-season maintenance calendar — rather than treating glass inspection as a separate, standalone event — reduces the number of site visits and ensures that cases receive clearance checks at the time when they are most likely to have been disturbed by recent hardware additions.
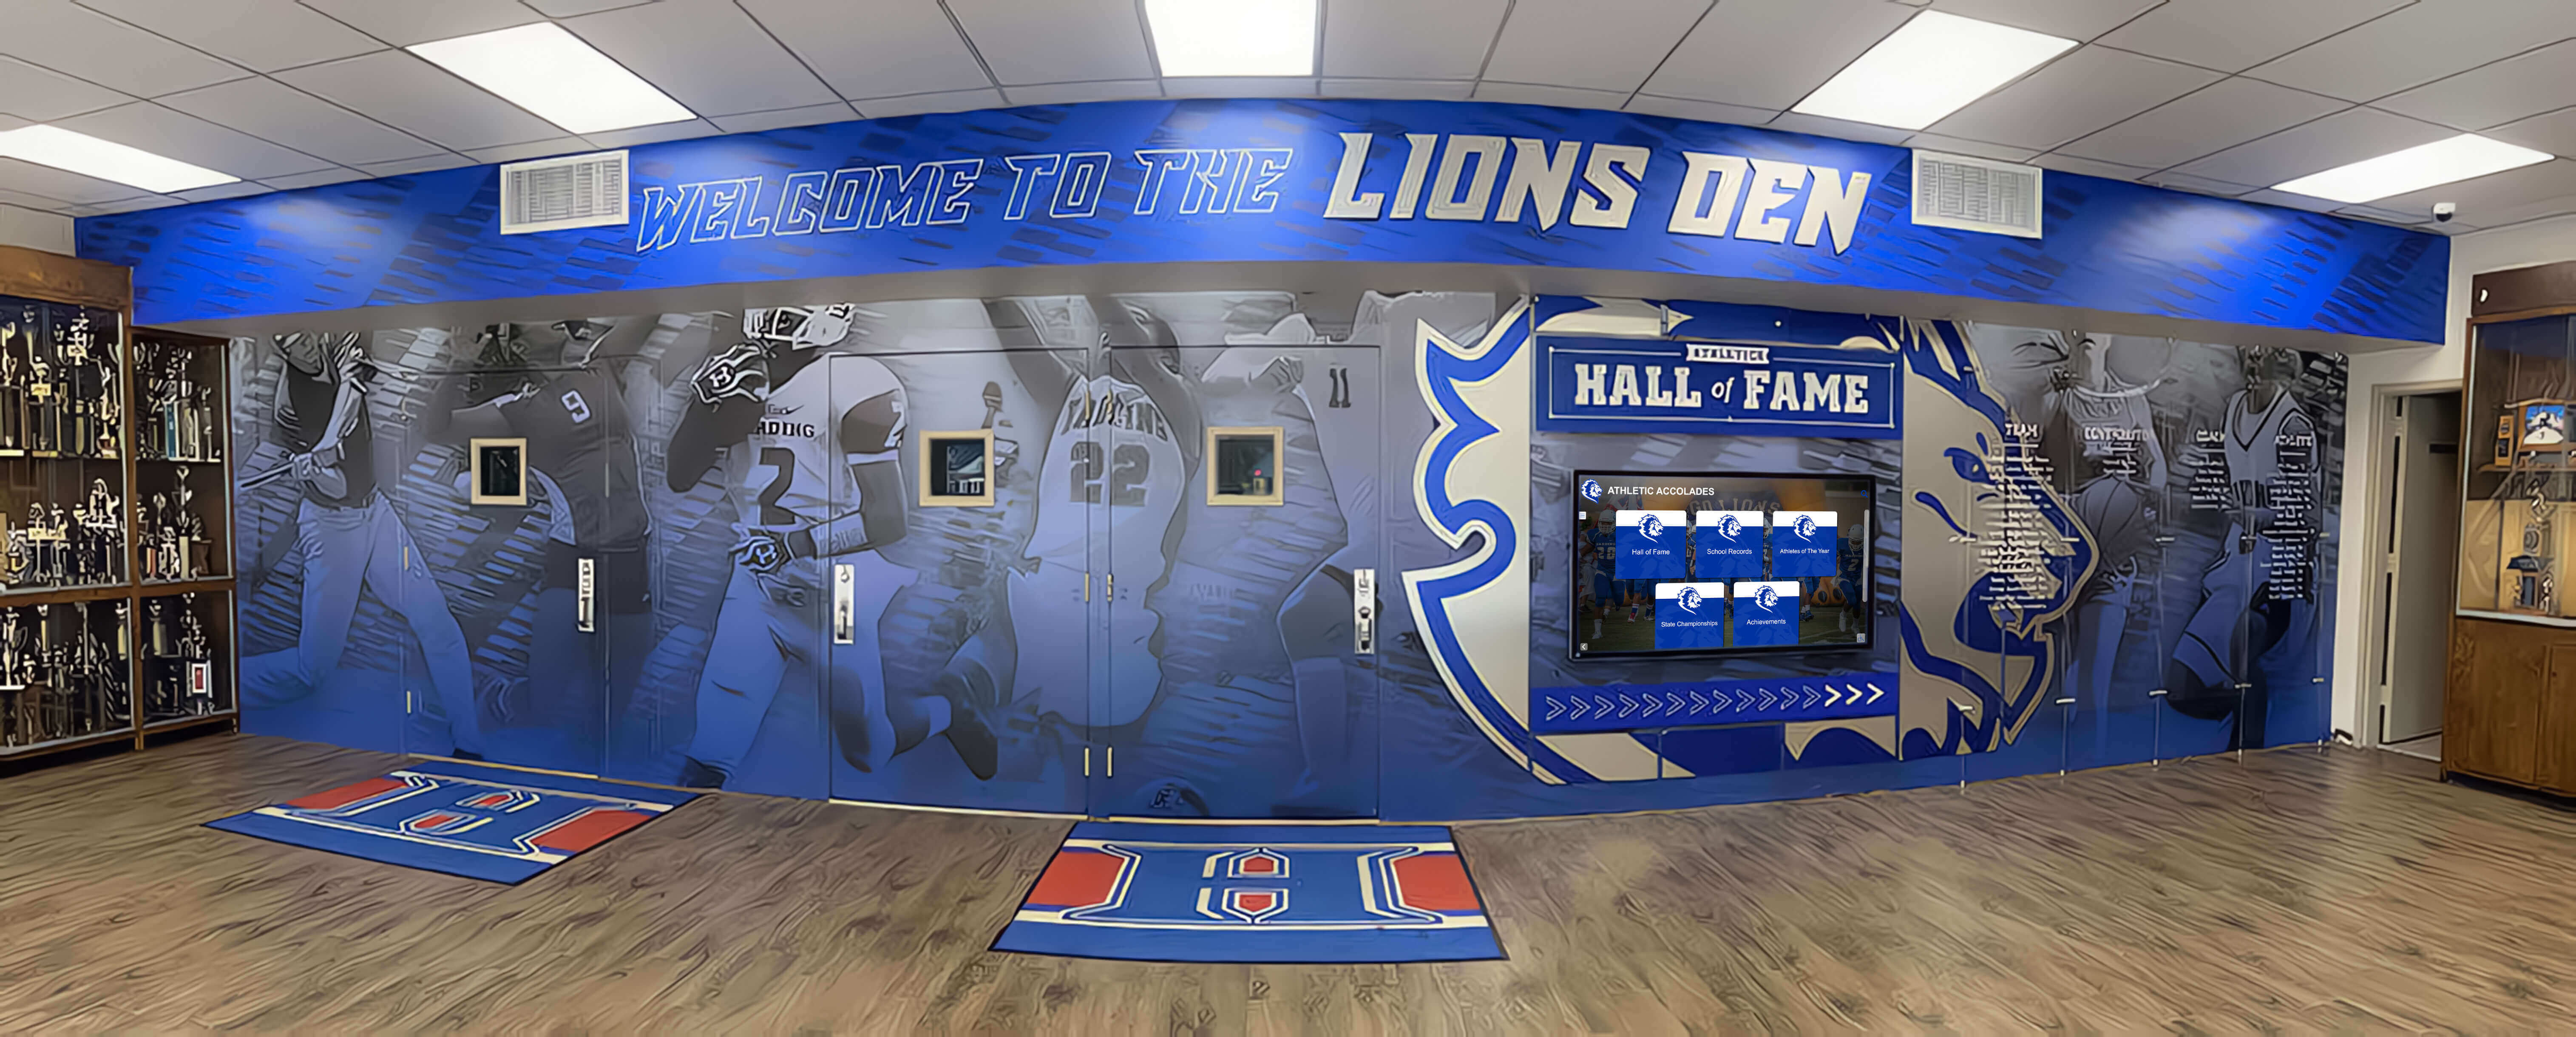
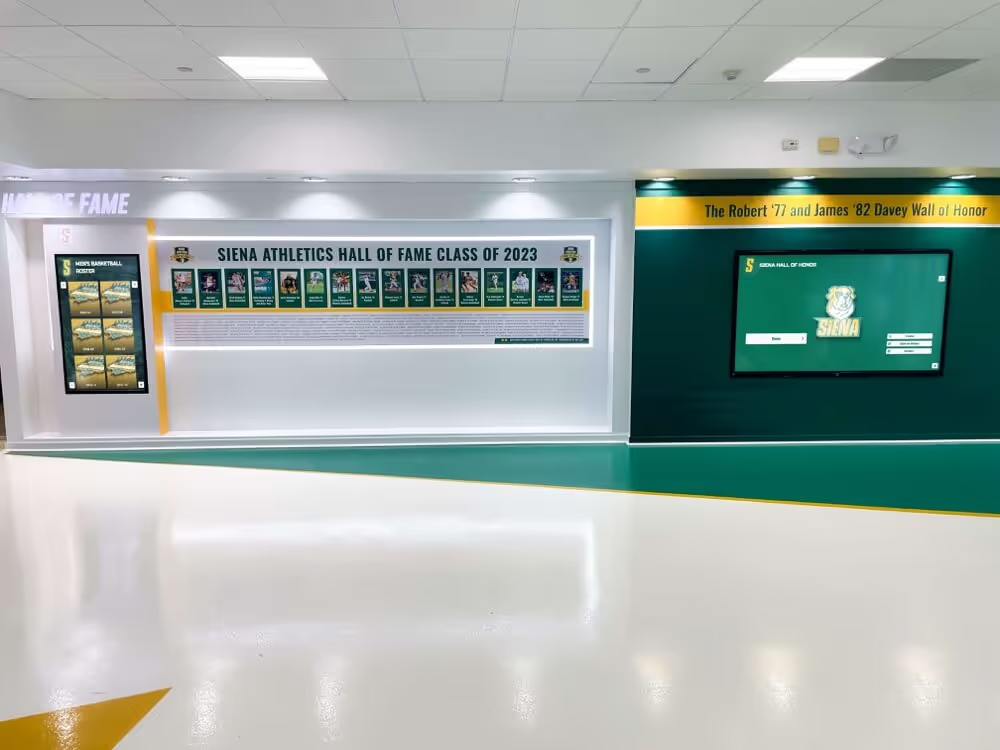
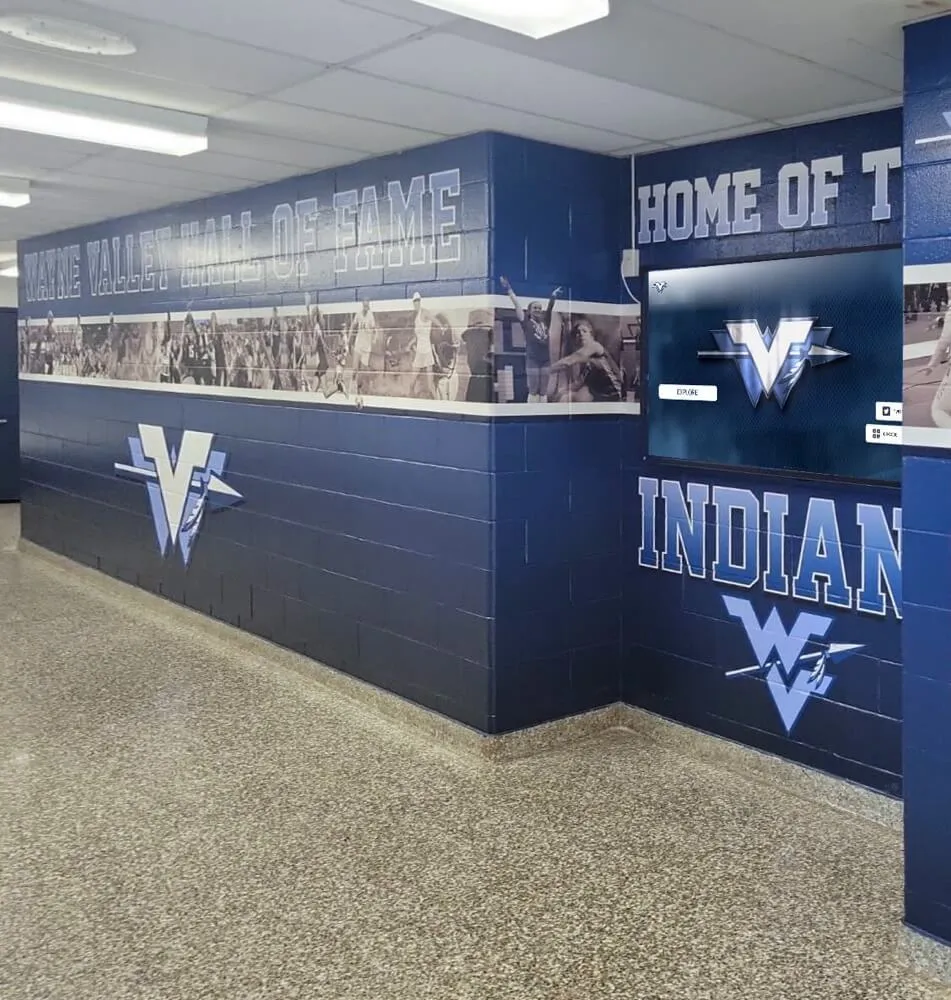
Hall of fame corridors that combine physical trophy cases with murals and digital content require clearance inspection for each glass panel unit — the inspection procedure is the same regardless of adjacent display type
How Glass-to-Metal Clearance Relates to Other Trophy Case Glass Inspections
Glass-to-metal clearance inspection is one component of a broader trophy case glass safety maintenance program. It is most valuable when run alongside — or immediately after — related protocols that assess different failure modes:
Glazing bite inspection: Glazing bite measures how deeply the glass edge is captured within the frame channel. A panel with adequate bite but deficient edge clearance is well-retained in the frame but at risk of compression fracture from thermal contact. A panel with deficient bite and deficient edge clearance is at risk of both in-plane migration and thermal fracture — a combined condition that is more urgent than either finding alone.
Glazing bead inspection: Glazing beads retain the glass perpendicular to the panel plane. A bead that has partially detached may allow the glass to tilt slightly within the channel, reducing face clearance on the bead side and increasing it on the opposite side. When bead inspection identifies a detached or damaged bead, clearance inspection on the affected panel should be conducted immediately.
Glazing gasket inspection: Glazing gaskets provide the elastic buffer between the glass edge and the frame metal that allows differential thermal movement to occur without hard contact. A hardened or cracked gasket that has lost its elasticity is no longer absorbing thermal differential — all of that movement is instead being transferred directly to the glass edge. When gasket inspection identifies hardened gasket material, the edge clearance at that location becomes critical: a panel with adequate clearance and a failed gasket may still be at lower risk than a panel with deficient clearance and an intact gasket.
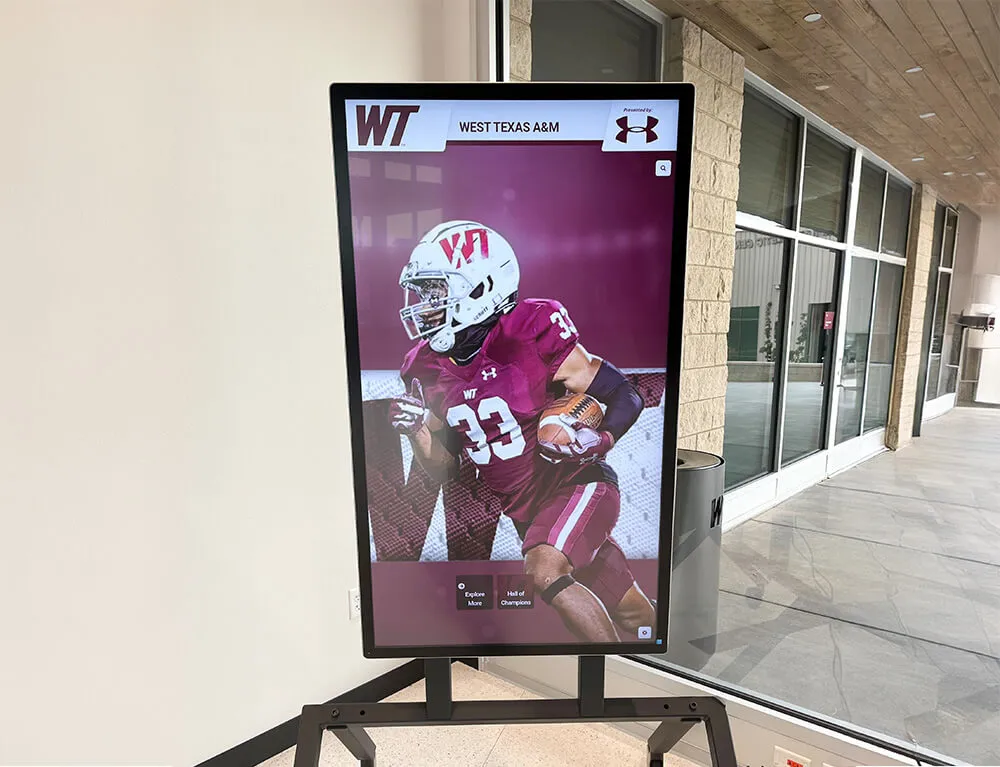
Interactive digital recognition systems installed alongside physical trophy cases in the same corridor do not have glass-to-metal clearance concerns, but they do share the same inspection calendar. Coordinating digital platform maintenance visits with physical case glass inspection rounds reduces total site visit frequency while ensuring both physical and digital recognition infrastructure is reviewed on a consistent schedule.
When to Schedule Glass-to-Metal Clearance Inspections
At installation or case takeover: Measure and record clearance at all contact points when a new case is installed, when an existing case is received without prior inspection documentation, or when a building undergoes renovation that involved moving or re-leveling cases. The installation record provides the baseline for all future comparisons.
Annually: A full building clearance inspection at the start of each school year — before the fall athletic season and the addition of new recognition hardware — establishes condition before peak-use periods. Combining this inspection with glazing bite and gasket checks completes the glass safety inspection cycle in a single site visit.
After any interior hardware adjustment: Whenever shelves are repositioned, new shelf brackets are added, or interior dividers are moved, inspect clearance between the adjusted hardware and adjacent glass panels before the case is closed and returned to service.
After observed frame deflection or case movement: If a case has been bumped, moved during cleaning, or subjected to unusual loads, inspect clearance on all panels before allowing normal access to resume. Frame deflection that changes case geometry also changes clearance at every contact point within that case.
Semi-annually for high-access cases: Cases at gymnasium entries, main lobby alcoves, and athletic corridor intersections — where door-cycling frequency is significantly higher than secondary locations — warrant two inspections per year. Award displays in high-traffic spaces benefit from more frequent maintenance attention across both physical and digital display formats. Cases housing athletic gift and recognition items for senior athletes that are regularly accessed by coaches and athletic directors during senior events may reach the semi-annual threshold in active programs.
Frequently Asked Questions
What is glass-to-metal clearance on a school trophy case?
Glass-to-metal clearance is the measured gap between any glass panel surface — either the cut edge or the flat face — and any adjacent metal component in the trophy case. Contact points include the glazing channel back wall (edge clearance), the glazing stop face (face clearance), shelf front lips, door hinge bodies, cam lock housings, corner fittings, and strike plates. Adequate clearance at each of these points prevents direct hard contact between glass and metal during thermal expansion, door cycling, and routine interior hardware adjustment.
Why does glass-to-metal contact cause fractures?
Glass cannot absorb compressive stress the way metal can. When a glass edge is pressed directly against a metal surface — whether by thermal expansion pushing the panel against the channel back wall or by a misaligned fitting pressing against the glass face — the stress at the contact point exceeds the glass’s local strength and initiates a fracture. The fracture typically originates at the metal contact point and propagates inward across the panel. Unlike impact fractures, compression fractures from hard metal contact tend to appear without warning and without any obvious external cause.
How often should schools inspect trophy case glass-to-metal clearance?
Once per year as a minimum for all cases, combined with glazing bite and gasket inspection. High-access cases at gymnasium entries and main lobbies warrant semi-annual inspection. Any case that has had interior hardware adjusted, been moved, or received new trophies since the last inspection should be re-checked at the time of the next hardware addition rather than waiting for the annual cycle.
Can facilities staff correct clearance problems, or does a glazier need to be involved?
Staff can correct shelf-to-glass clearance problems by repositioning adjustable shelves away from glass surfaces — this requires no glazier involvement. All other clearance corrections — repositioning glass panels in channels, adjusting hardware fittings, adding gasket material — require a qualified glazier. Staff should document all Condition 3 and Condition 4 findings and restrict case access until a glazier completes the repair.
What is the minimum acceptable edge clearance for trophy case glass?
Edge clearance should be at least 3 mm between any glass edge and the glazing channel back wall. This margin accommodates the differential thermal expansion between aluminum frames and glass panels across a normal school-year temperature range. Hardware clearance — at hinge bodies, cam locks, corner fittings, and strike plates — should be at least 2 mm. Face clearance between glass surfaces and metal stops should be at least 1 mm.
When Physical Case Maintenance Opens the Door to Digital Recognition
Schools conducting systematic glass-to-metal clearance inspections across their trophy case inventory often find that the inspection process surfaces a broader question: which physical cases are approaching the end of their useful service life, and what replaces them in the recognition environment?
Physical trophy cases with recurring Condition 3 or Condition 4 clearance findings — or cases where the cost of ongoing glazier visits for repositioning and hardware adjustment is rising — are candidates for supplementation or replacement with digital recognition platforms. Interactive digital signage alongside recognition displays removes the glass-panel maintenance requirement entirely while extending the recognition capacity beyond what physical shelf space allows.
Modern recognition display environments in schools and colleges increasingly combine physical trophy cases — housing irreplaceable objects such as trophies, retired jerseys, and signed equipment — with digital platforms that hold the complete recognition record: every honoree, every season, and every award type, searchable and accessible via touchscreen or QR code mobile viewing.
In this configuration, clearance inspection remains relevant for the physical cases holding irreplaceable items. The digital platform removes the pressure that drives clearance degradation in high-access cases: because there is no need to open the physical case to add or update recognition records, the door-cycling frequency drops substantially. A case accessed twice per year for trophy additions cycles its door far less frequently than a case accessed twelve times per year to update plaques and banners — and the glass-to-metal clearance at the hinge side reflects that difference over a five-year inspection history.
See What Digital Recognition Looks Like Alongside Your Trophy Cases
Rocket Alumni Solutions builds interactive touchscreen recognition platforms for schools of every size — cloud-managed, ADA WCAG 2.1 AA accessible, and capable of holding unlimited recognition records without glass panels, frame hardware, or clearance margins to maintain. When physical cases are inspected and secured, a digital platform gives every athlete, scholar, and honoree permanent, searchable visibility in the same corridor.
Schedule a DemoQuick-Reference Clearance Inspection Checklist
Use this summary during each inspection round. Transfer detailed measurements to the full inspection log.
Pre-inspection:
- Case and panel identifiers assigned and recorded
- Panel types documented (hinged door, sliding door, fixed)
- Frame configuration type noted
- Prior clearance measurements available for comparison
- Visual survey complete — any compression chips or metallic marks noted
Edge clearance (target ≥ 3 mm on all four edges):
- Top edge — midpoint and corners measured
- Bottom edge — midpoint and corners measured
- Left edge — midpoint and corners measured
- Right edge — midpoint and corners measured
Face clearance at glazing stops (target ≥ 1 mm):
- Top stop measured
- Bottom stop measured
- Left stop measured
- Right stop measured
- Stop configuration noted (metal stop in direct contact = flag for gasket installation)
Shelf edge clearance (target ≥ 3 mm from shelf metal to glass):
- Each shelf front lip measured at rear glass panel
- Each shelf end measured at side glass panels
Hardware clearance:
- Each hinge body measured (inboard and outboard) — target ≥ 2 mm
- Door travel arc checked — no glass contact at any travel position
- Cam lock housing measured at cutout perimeter — target ≥ 2 mm
- Strike plate measured at door glass edge — target ≥ 2 mm
- Each corner fitting measured — any corner contact = Condition 4 immediate
Condition rating and escalation:
- Controlling condition rating recorded for each panel
- Condition 3 panels: glazier scheduled within 30 days; case access restricted to read-only
- Condition 4 panels: case access restricted; glazier contacted same day