



Intent: research — a school trophy case glass stress birefringence inspection is a non-destructive optical examination that uses polarized light to reveal the residual stress distribution in trophy case glass panels. Residual stress in glass — whether from thermal tempering, thermal shock, edge damage, or improper annealing — causes birefringence: the glass splits polarized light into two rays traveling at different speeds, producing interference fringe patterns visible through crossed polarizing filters. Interpreting those patterns tells a facilities inspector whether a panel’s stress state is uniform and expected for its glass type, whether stress concentrations at edges or points of contact indicate elevated breakage risk, and whether an annealed panel has developed abnormal residual stress that was not present at installation. This guide explains the optics, equipment, step-by-step inspection procedure, fringe interpretation criteria, escalation thresholds, and documentation requirements for performing a birefringence inspection on school trophy case glass — giving facilities teams and athletic directors a systematic method that complements tempered glass stamp verification, glazing bead inspection, and gasket condition assessment.
Glass panels in a school trophy case protect decades of institutional memory — championship hardware, retired jerseys, academic honor plaques, and program photographs that exist in no other form. The structural integrity of those panels depends not only on whether the glass is the correct type, but on whether the stress state within the glass — invisible to the naked eye under normal lighting — remains within the bounds that the panel can sustain indefinitely without fracturing. A panel can appear completely sound at a standard visual inspection while carrying edge stress concentrations or post-installation thermal damage that bring it closer to spontaneous fracture than its appearance suggests.
A stress birefringence inspection closes that gap. It takes the same panel that appears intact under corridor lighting and reveals — through crossed polarizing filters — the distribution and relative magnitude of residual stress within the glass, identifying the anomalies that visual inspection cannot detect before they become a safety event.

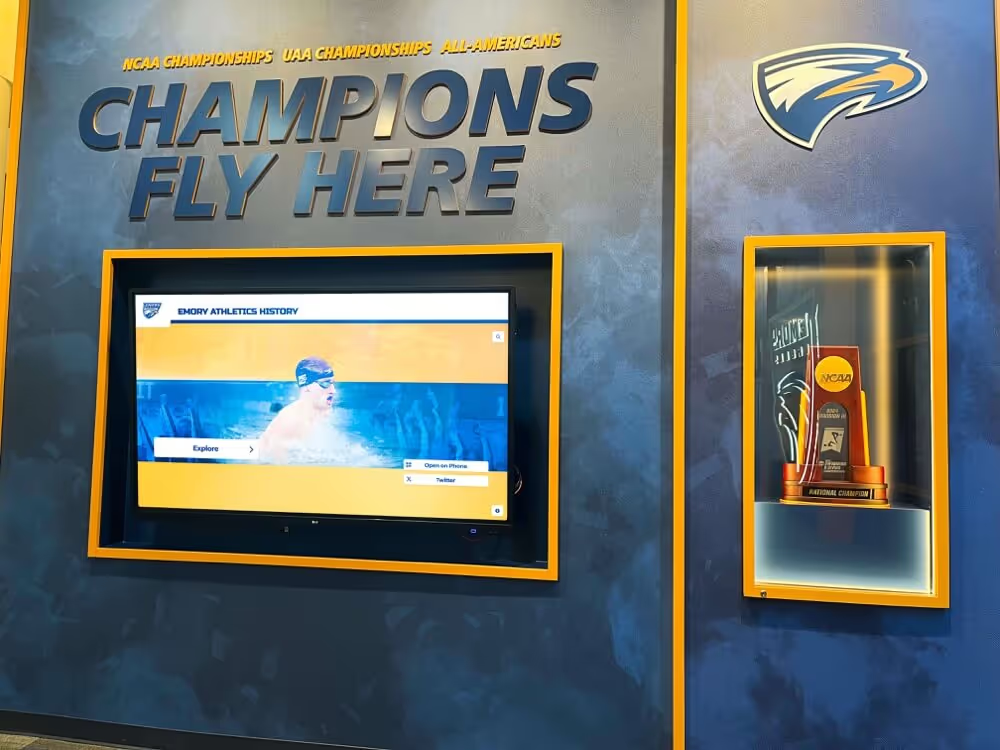
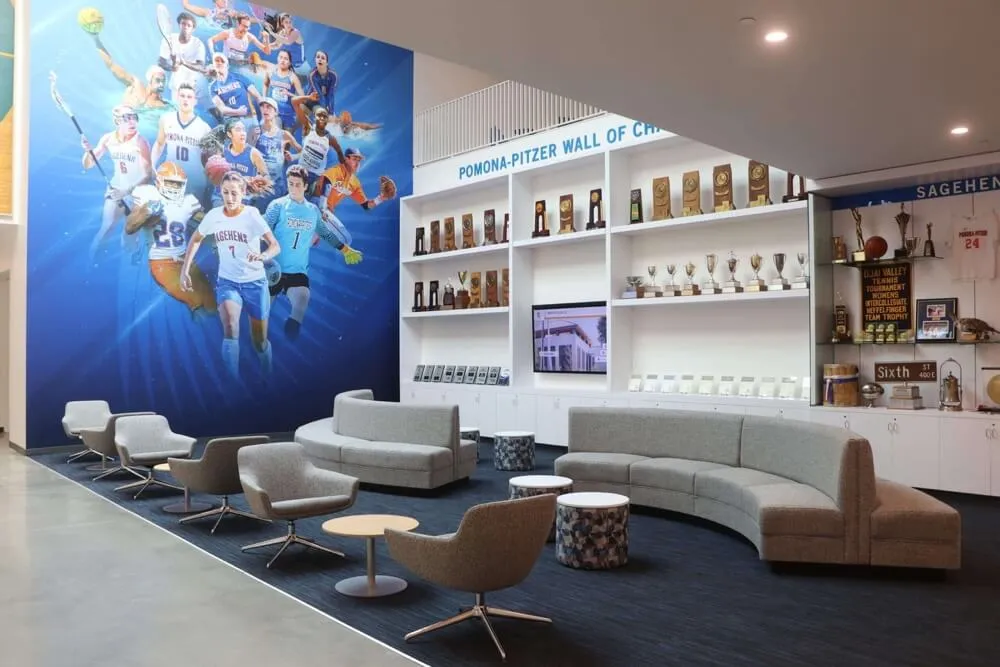
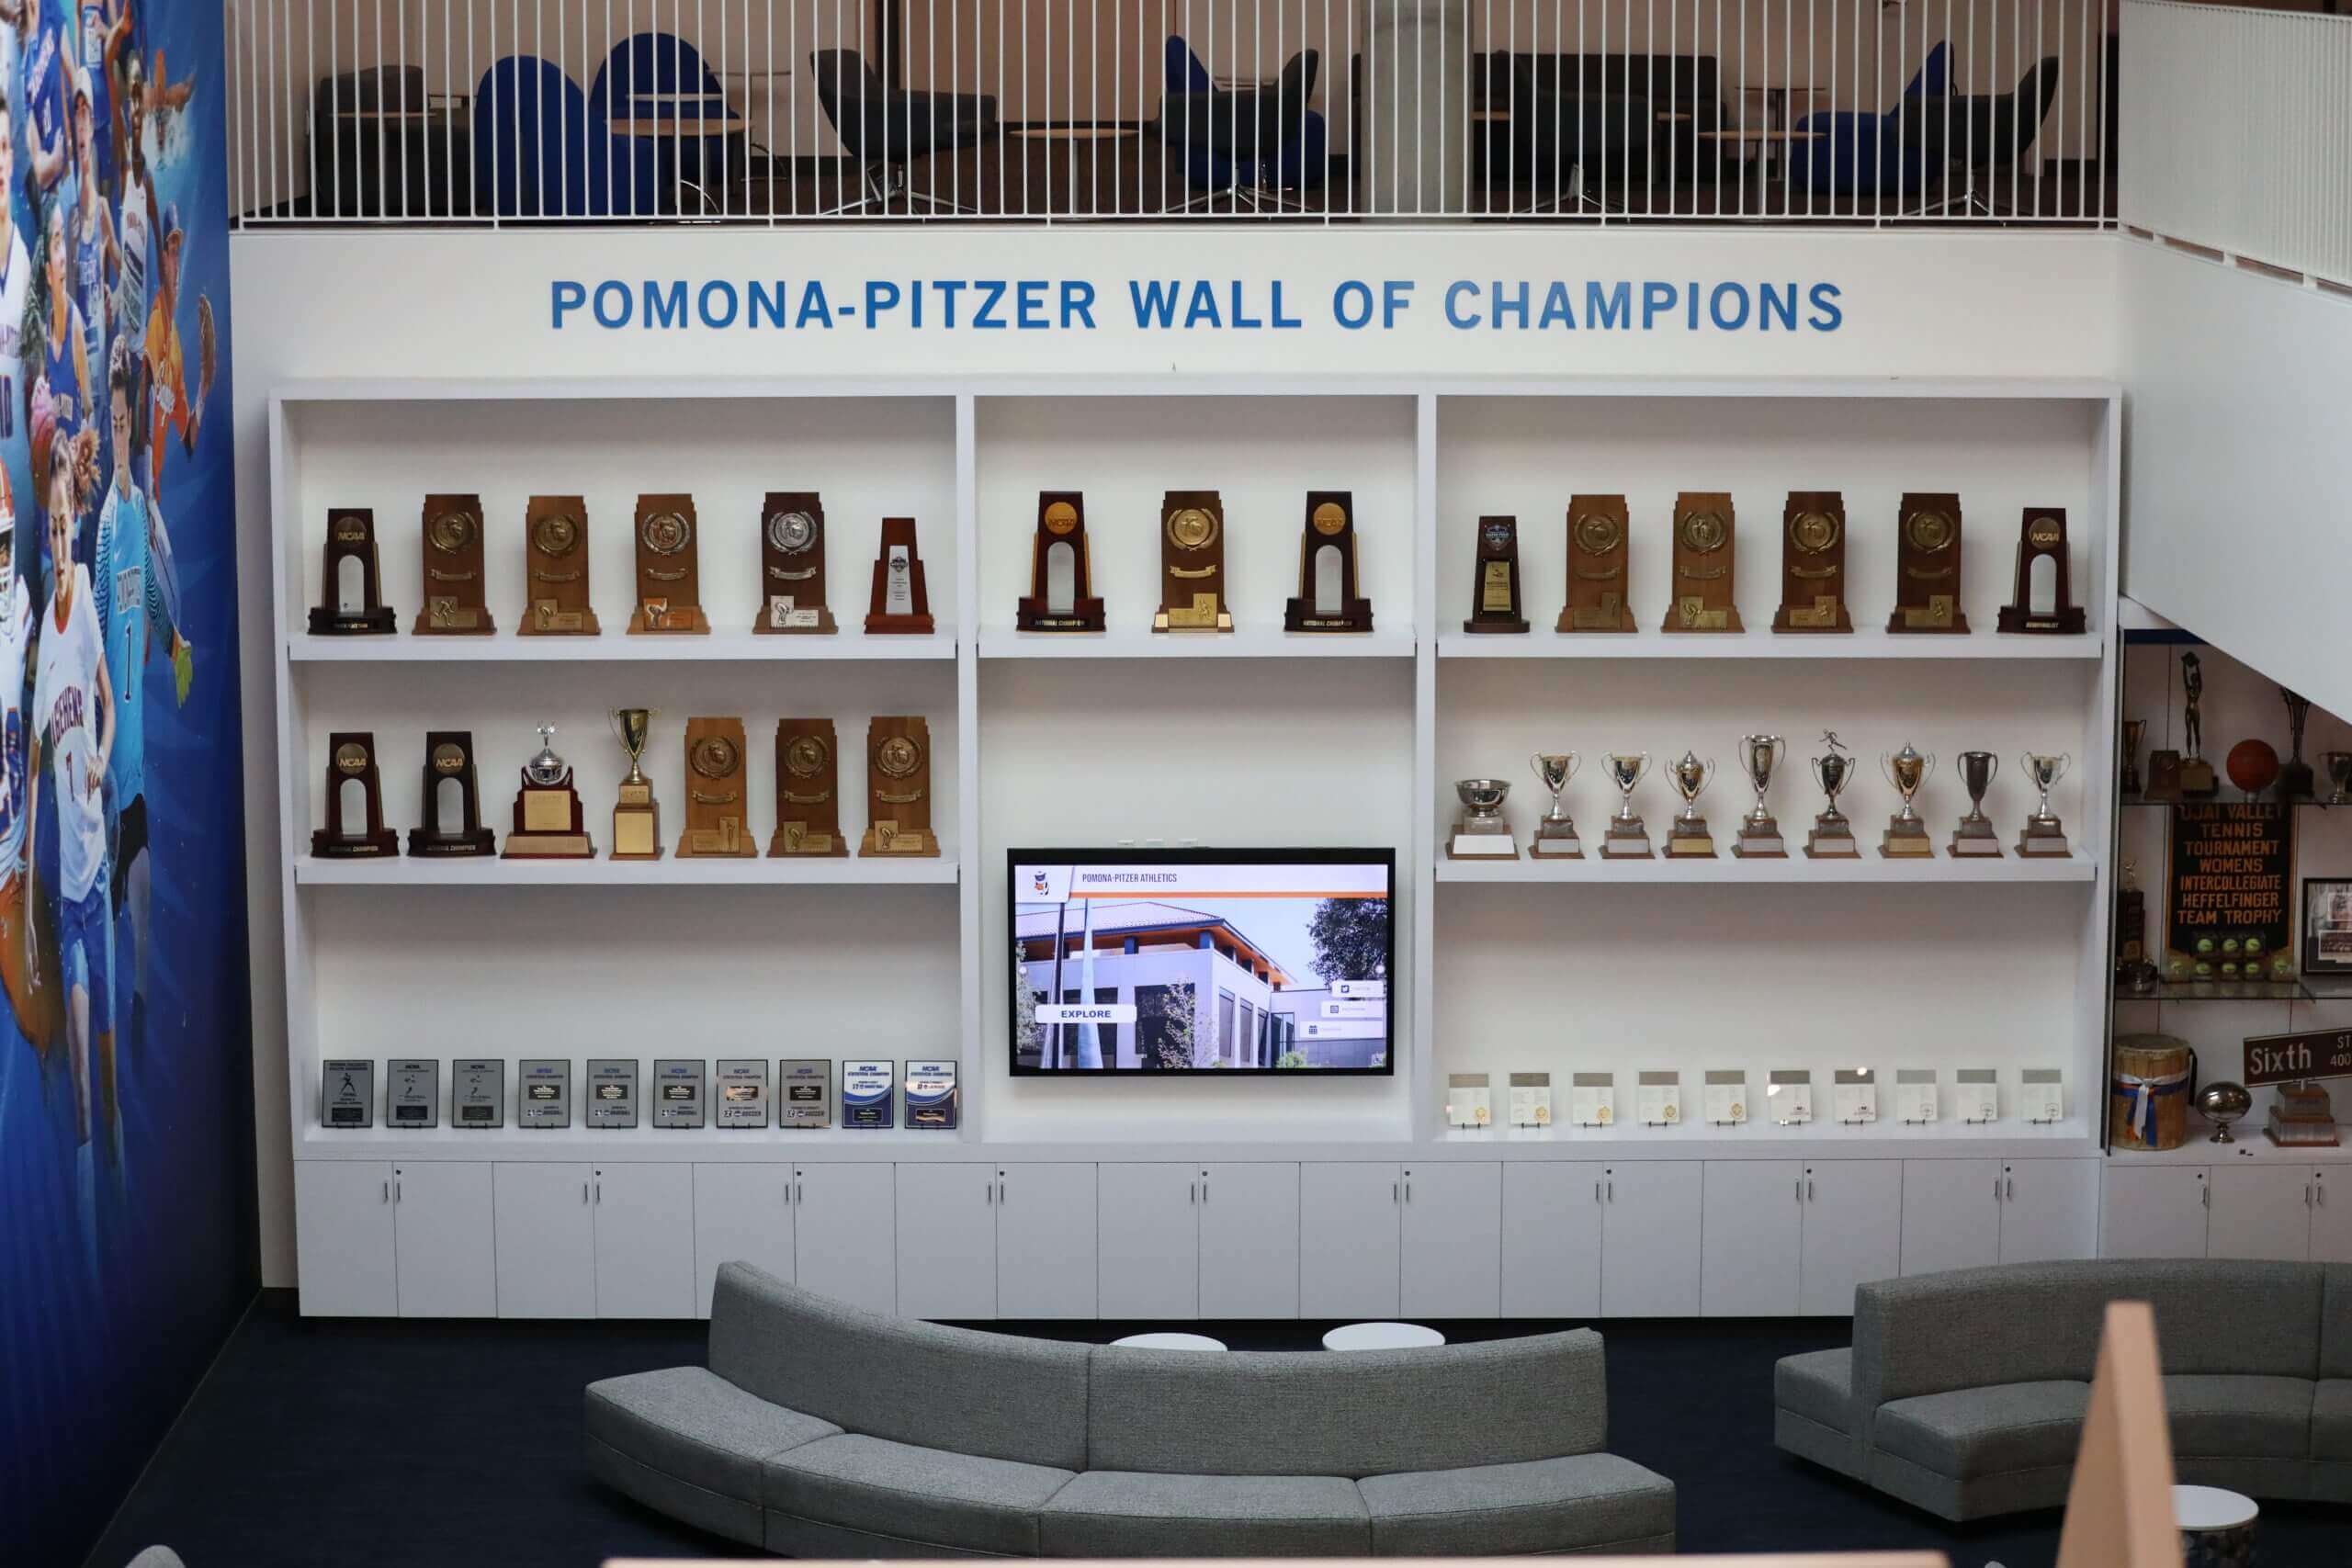
Trophy display cases in school lounges, athletic corridors, and lobby entries hold glass panels whose internal stress state is invisible under standard lighting — a birefringence inspection using polarized light reveals stress patterns that predict panel integrity
What Glass Stress Birefringence Is
Birefringence — sometimes called double refraction — is the optical property of a material in which the refractive index differs depending on the polarization and direction of the light passing through it. In glass, this property arises from residual stress: when a glass panel contains internal stress, the stress field creates directional differences in how the glass transmits light. A polarized light beam entering a stressed region of glass splits into two components that travel at slightly different speeds, producing a phase difference between the components when they exit the glass. When the recombined light passes through a second polarizing filter oriented perpendicular to the first — a configuration called a polariscope — that phase difference produces visible interference: bright bands, colored fringes, or patterns of light and dark that map the stress distribution within the glass.
The quantity measured is optical retardation: the accumulated phase difference between the two light components as they traverse the glass thickness. Retardation is proportional to the product of the stress magnitude and the path length through the glass. High retardation indicates high stress or thick glass; low retardation indicates low stress. The spatial pattern of retardation — where it is uniform, where it concentrates, and where it is absent — is what the birefringence inspection interprets.
For school trophy case glass, the critical distinction is between expected and unexpected birefringence:
- Tempered (toughened) safety glass always exhibits birefringence, because the thermal tempering process creates the compressive surface stress layer and tensile core that give tempered glass its mechanical strength. The birefringence pattern in correctly tempered glass is characteristic: a halo of relatively uniform, regularly spaced fringes around the panel perimeter corresponding to the edge compression zone, with a lower-retardation central field. This pattern is normal and expected.
- Annealed glass is manufactured to minimize residual stress through a controlled slow-cooling process. Correctly annealed glass shows very little birefringence. Significant fringe patterns in annealed glass indicate residual stress that was either present from inadequate annealing or introduced by post-installation thermal shock, mechanical loading, or edge damage.
- Heat-strengthened glass shows intermediate birefringence — more than annealed, less than fully tempered — corresponding to its intermediate surface compression specification.
Why Stress Birefringence Inspection Matters for School Trophy Cases
Trophy case glass occupies a specific safety and preservation context that makes stress birefringence inspection more useful than it might appear in a general facilities program. Three factors elevate the value of this inspection type in school recognition display environments.
Safety glazing compliance verification. School trophy cases in hallways, gymnasium lobbies, and athletic corridors are typically subject to ANSI Z97.1 and 16 CFR Part 1201 safety glazing requirements that mandate tempered or laminated glass in hazardous locations. Stamp verification confirms a panel’s original safety-glazing certification, but it does not confirm the current stress state of the glass after years of thermal cycling, frame movement, and physical contact. A panel that was correctly tempered at manufacture and whose stamp is legible may have sustained edge damage or point-contact stress that has altered its residual stress distribution in ways the stamp record does not capture. Birefringence inspection addresses the current state, not the manufacturing record.
Enclosed memorabilia at risk from glass failure. A trophy case glass failure — whether spontaneous fracture of a tempered panel or progressive crack propagation in an annealed panel — does not only create a hallway safety hazard. It potentially destroys the display contents: championship trophies with acrylic components, paper recognition certificates, fabric banners, and painted plaques. Unlike a storefront window failure, a trophy case failure occurs in immediate contact with irreplaceable institutional materials. The cost of detecting an elevated-risk panel early and scheduling controlled replacement is far lower than the cost of an uncontrolled failure event.
Access and thermal cycling load. Trophy cases that are actively maintained — opened for new hardware after banquet season, adjusted for seasonal display changes, or repositioned when a new award displaces an older one — accumulate mechanical contact events that can introduce local stress concentrations at glass edges and frame contact points. School buildings also expose glazing to significant seasonal thermal cycling: cases near exterior walls, gymnasium doors, or south-facing windows experience temperature gradients that load glass edges at the points where differential expansion between the glass and frame is greatest. Birefringence inspection documents whether those loads have produced measurable stress concentration in the glass or whether the panel’s stress state remains within the expected range for its type.
Glass Types Found in School Trophy Cases
Before conducting a birefringence inspection, the inspector must identify the glass type in each panel, because the expected birefringence pattern differs between glass types. The interpretation criteria that indicate “normal and expected” for tempered glass would indicate “abnormal and investigate” for annealed glass in the same position.
| Glass Type | Birefringence Expected | Typical Pattern | Key Inspection Focus |
|---|---|---|---|
| Fully tempered (toughened) | Prominent — always present | Regular fringe halo at perimeter; lower retardation at center; “butterfly” or radiating patterns at corner heating zones | Uniformity of perimeter fringe; absence of localized concentrations at edge damage sites or mounting holes |
| Heat-strengthened | Moderate — present but less prominent than tempered | Narrower perimeter fringe zone; lower peak retardation than tempered | Same as tempered but narrower acceptance band; confirm against manufacturer spec if available |
| Annealed (float glass) | Minimal — near-zero in sound panels | Near-dark field between crossed polars; occasional very faint orientation patterns | Any significant fringe pattern is abnormal; indicates post-installation stress introduction |
| Laminated (two glass layers + interlayer) | Variable — depends on component layer type | Each glass layer contributes independently; interlayer may obscure patterns | Inspect each accessible glass face separately; note whether laminate is tempered or annealed construction |
| Patterned or textured glass | Difficult to assess — texture scatters polarized light | Diffuse patterns; point assessment more reliable than full-field survey | Use small-aperture polarizer to sample discrete points on accessible flat areas |
Glass type identification from edge markings — the safety-glazing certification mark required by ANSI Z97.1 for panels in hazardous locations — is the starting point. “Tempered,” “fully tempered,” “heat strengthened,” or the corresponding ISO designation on the edge provides the expected birefringence baseline for that panel. If the mark is absent, worn, or obscured, note the panel as “glass type unconfirmed” and apply the interpretation criteria for annealed glass conservatively until the glass type can be established from installation records or a glazing professional’s assessment.
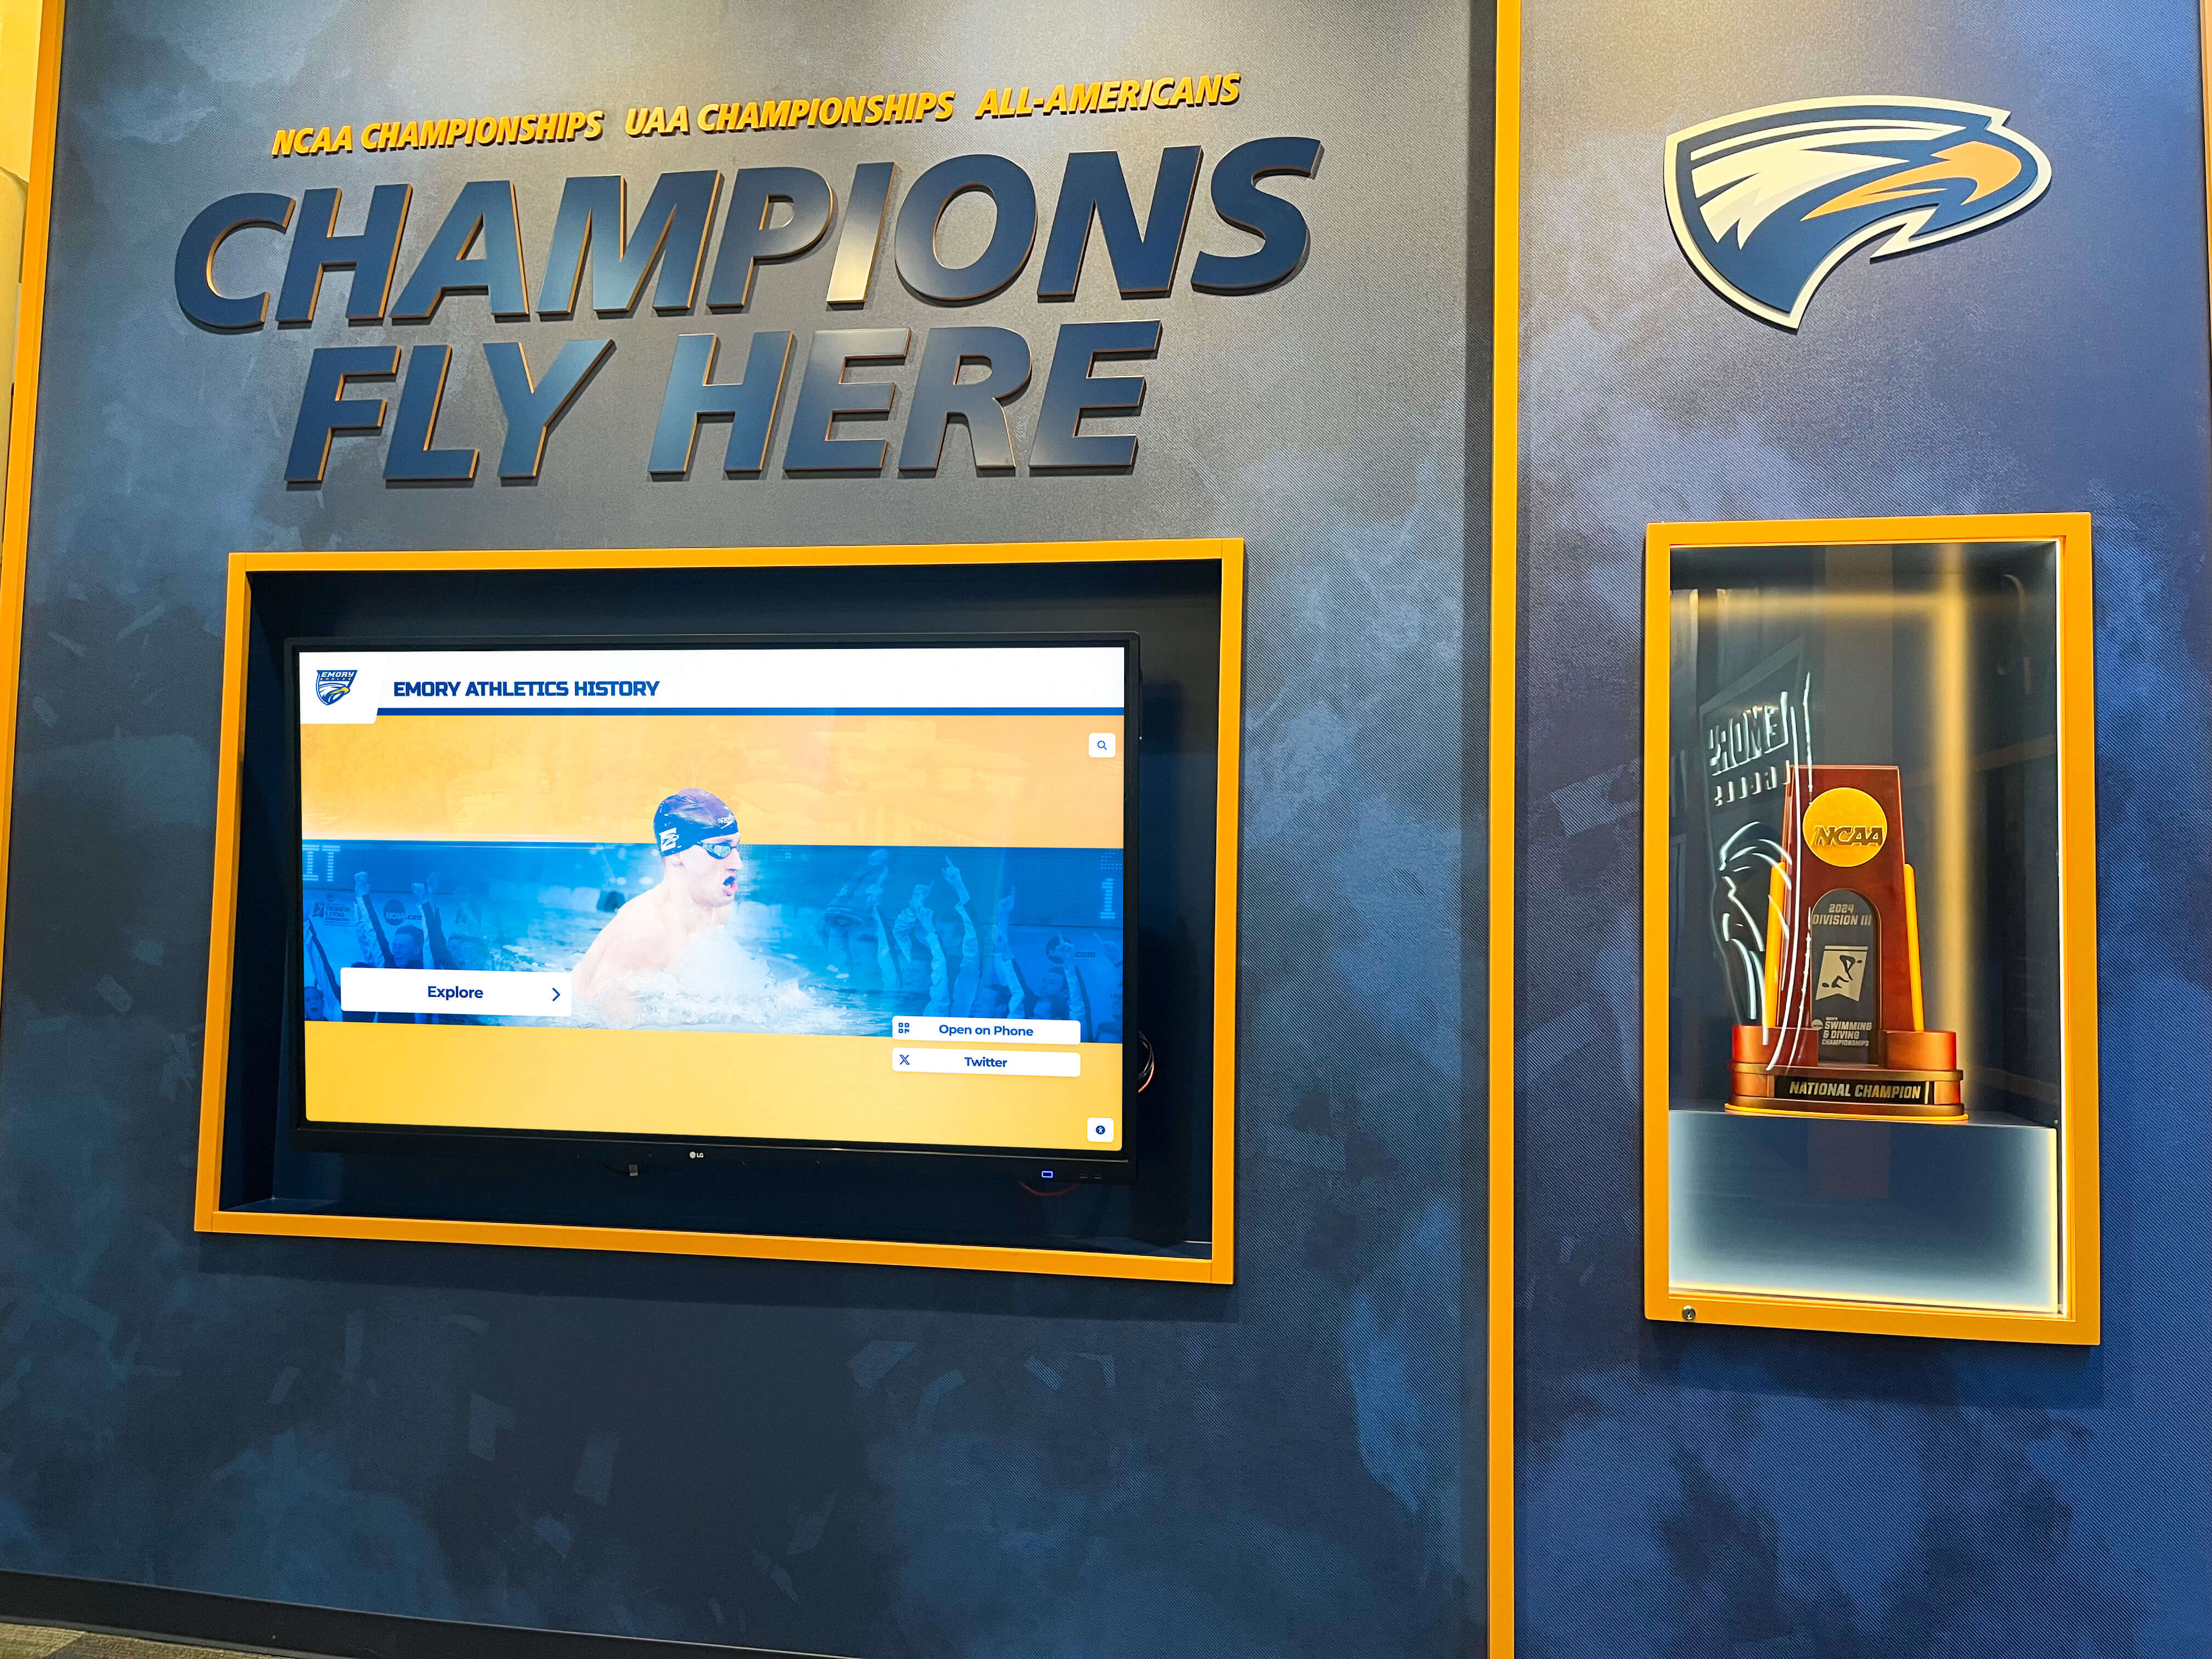
Glass type identification from edge certification marks is the first step in a birefringence inspection — expected fringe patterns differ significantly between tempered, heat-strengthened, and annealed glass, and applying the wrong criteria produces incorrect findings
Equipment for a Field Stress-Birefringence Inspection
A full laboratory polariscope is not required for a facilities-level birefringence screening of school trophy case glass. The equipment needed for a reliable field inspection is available from photographic supply, scientific supply, and industrial optics sources.
Two linear polarizing filters — the fundamental requirement. One filter is placed between the light source and the glass; the second is placed between the glass and the observer’s eye. When the transmission axes of the two filters are perpendicular (crossed polars), light that has not been altered by birefringence in the glass produces a dark field; light that has passed through a stressed region of glass emerges at an angle and passes through the second filter, producing bright fringes. Polarizing filter sheets in 200 × 250 mm sizes are adequate for panels up to approximately 600 × 600 mm; larger panels require either larger filters or systematic scanning in overlapping zones.
A light source. For field screening, a white-LED flashlight held behind or alongside the glass provides adequate illumination. A backlit translucent panel or an LED light pad provides more uniform illumination for the full panel area. For more sensitive detection — where low-retardation patterns from annealed glass or mild stress concentrations need to be distinguished from background — a monochromatic source (sodium lamp at 589 nm, or a filtered LED at a defined wavelength) produces sharper fringe contrast than white light. White light produces colored fringes (where different wavelengths reach maximum retardation at different stress levels), which can help estimate relative retardation magnitudes; monochromatic light produces black-and-white fringes that are easier to count for quantitative assessment.
A wave plate (optional, for quantitative work). A quarter-wave retardation plate inserted between the first polarizing filter and the glass converts the setup from a plane polariscope to a circular polariscope, eliminating the isoclinic fringes (dark bands that indicate stress orientation direction) and leaving only the isochromatic fringes (bands of equal retardation magnitude). For facilities-level screening, the distinction matters mainly when trying to count fringes to estimate retardation values rather than simply identifying the presence or absence of anomalous patterns.
An inspection log and flashlight. Documentation is essential. A flashlight supplements the polarized light source for examining edge markings, frame contact points, and chip locations before the birefringence examination begins.
| Equipment Item | Field Screening Use | Quantitative Assessment Use | Notes |
|---|---|---|---|
| Two linear polarizing filters (200 × 250 mm or larger) | Required | Required | Available from photographic suppliers; ensure optical-grade material |
| White-LED flashlight or backlight pad | Adequate | Less precise | Produces colored fringes; relative retardation readable from color sequence |
| Monochromatic LED (sodium-equivalent ~589 nm) | Optional improvement | Preferred | Higher fringe contrast; fringes countable for retardation estimation |
| Quarter-wave plate | Not required | Useful | Converts to circular polariscope; eliminates isoclinic pattern overlay |
| Inspection log (paper or tablet) | Required | Required | Capture panel ID, glass type, pattern description, photographs |
| Camera or phone (for photographic documentation) | Recommended | Required | Photograph each panel through the analyzer filter; macro mode assists |
Step-by-Step Birefringence Inspection Protocol
The following sequence produces a documented inspection record for each glass panel in a school trophy case. A single inspector can complete a standard single-bay case with three to four panels in approximately 20–30 minutes at field-screening level.
Step 1: Record Panel Identification and Physical Condition
Before applying polarized light, record for each panel:
- Case identifier and panel position (door, fixed side, fixed top, fixed back)
- Glass type from edge mark: fully tempered, heat strengthened, annealed, laminated, or unconfirmed
- Panel dimensions (estimate to nearest 50 mm)
- Physical condition: any visible chips, scratches, cracks, or contact damage at edges or glass face
- Evidence of prior impact: impact marks, stress cracks radiating from a point, edge checks
- Frame contact condition: glass edge visible against metal frame at any point (indicates missing or displaced gasket)
Physical condition notes establish the locations where stress concentrations are most likely before the birefringence examination begins. Chips, edge contact points, and mounting holes are the primary locations to examine carefully with the polarized light.
Step 2: Configure the Polariscope
Position one polarizing filter between the light source and the glass panel face — this is the polarizer. Hold or position the second filter between the glass and your eye — this is the analyzer. Rotate the analyzer until the background field (viewing through glass-free air, or through the glass in a region with very low stress) is at maximum darkness. At this crossed-polar position, the polariscope is ready.
For a door panel, open the case door so the panel can be examined from behind with the light source held on the interior face and the analyzer on the exterior face, or illuminate from the side using a light pad adjacent to the panel. For fixed panels, position the light source inside the case and examine from outside through the glass. Note that for fixed panels, interior access may require opening the case door and angling the light source — a second person to hold the light source while the inspector observes through the analyzer makes this step more efficient.
Step 3: Survey the Full Panel for Background Pattern
With the polariscope configured, observe the full panel surface and note the background fringe pattern before focusing on specific areas:
Tempered glass: You should see a characteristic pattern — typically a darker central field and a ring of higher-retardation fringes approximately 25–50 mm in from the glass edge, corresponding to the surface compression zone. The central field may show low-order color or gray fringes under white light. Corner zones may show more complex “butterfly” or radiating patterns from the corner heating geometry during tempering. This full-panel background pattern is normal and expected. Note whether it appears uniform around the perimeter or whether one edge shows markedly different fringe density than the others.
Annealed glass: The background field should be very nearly uniform dark under crossed polars — minimal retardation, minimal fringe content. If the full panel shows significant colored or bright fringe patterns in white light, or multiple fringe orders in monochromatic light, the annealed glass has developed residual stress that was not present at manufacture.
Unconfirmed glass type: Apply the annealed criteria conservatively. Document the full-panel pattern and note whether it is consistent with tempered glass (prominent perimeter halo) or annealed glass (near-dark field).
Step 4: Examine High-Priority Locations
After the full-panel survey, move to the locations where stress concentrations are most likely to occur and most critical to identify:
Glass edges and corners: Move the polarizing filter area systematically around the perimeter of the glass panel. In tempered glass, the perimeter fringe pattern should be relatively uniform. Areas where fringe density increases abruptly — where fringes are compressed close together or where higher-order fringes appear at a location where lower-order fringes are present elsewhere on the same edge — indicate locally elevated stress. Chips, edge checks, and cut-edge locations are the most common sites for these concentrations.
Chips and contact damage: Hold the polarizer close behind each chip or surface scratch and observe the fringe pattern radiating from the damage site. A chip in annealed glass that produces radiating fringe rings indicates that the impact introduced residual stress that was not present before the damage. A chip in tempered glass that disrupts the regular perimeter fringe pattern — by introducing higher-order fringes where lower-order fringes were present, or by creating an asymmetric concentration — indicates that the damage has altered the local stress balance in a way worth documenting.
Frame contact points: Glass edges that rest directly against metal frame walls (visible where gaskets are missing or displaced) show stress at the contact point. With the analyzer in position, the contact zone should show higher retardation than the adjacent edge where proper gasket clearance is maintained. Document the location and estimate the contact zone length in millimeters.
Mounting holes (if present): Drilled holes in glass panels — uncommon in standard trophy cases but present in some custom installations — are sites of high stress concentration in tempered glass and are particularly sensitive to secondary damage. Examine the fringe pattern radiating from each hole perimeter.
Step 5: Photograph the Findings
For each finding rated above baseline (see the rating table below), photograph the panel through the analyzer filter using a camera or phone in macro mode. Capture:
- One image showing the full panel pattern (polarizer positioned for widest panel coverage)
- One close-up image of each anomalous zone (edge chip, contact point, asymmetric fringe region)
Photographs through crossed polars require some exposure adjustment — most cameras underexpose polariscope images because the overall scene brightness is low. Increase exposure compensation by +1 to +2 stops or use manual mode with a longer shutter speed. Mark the photograph with the case ID and panel position.
Step 6: Assign Rating and Record Findings
Use the five-point rating scale in the following section to assign a condition rating to each panel based on the inspection findings. Record in the inspection log:
- Panel ID, glass type confirmed, physical condition notes
- Background pattern description: expected for type / minor anomaly / significant anomaly
- High-priority location findings: each site, description, estimated zone size
- Condition rating assigned
- Escalation action assigned
- Inspector name and date
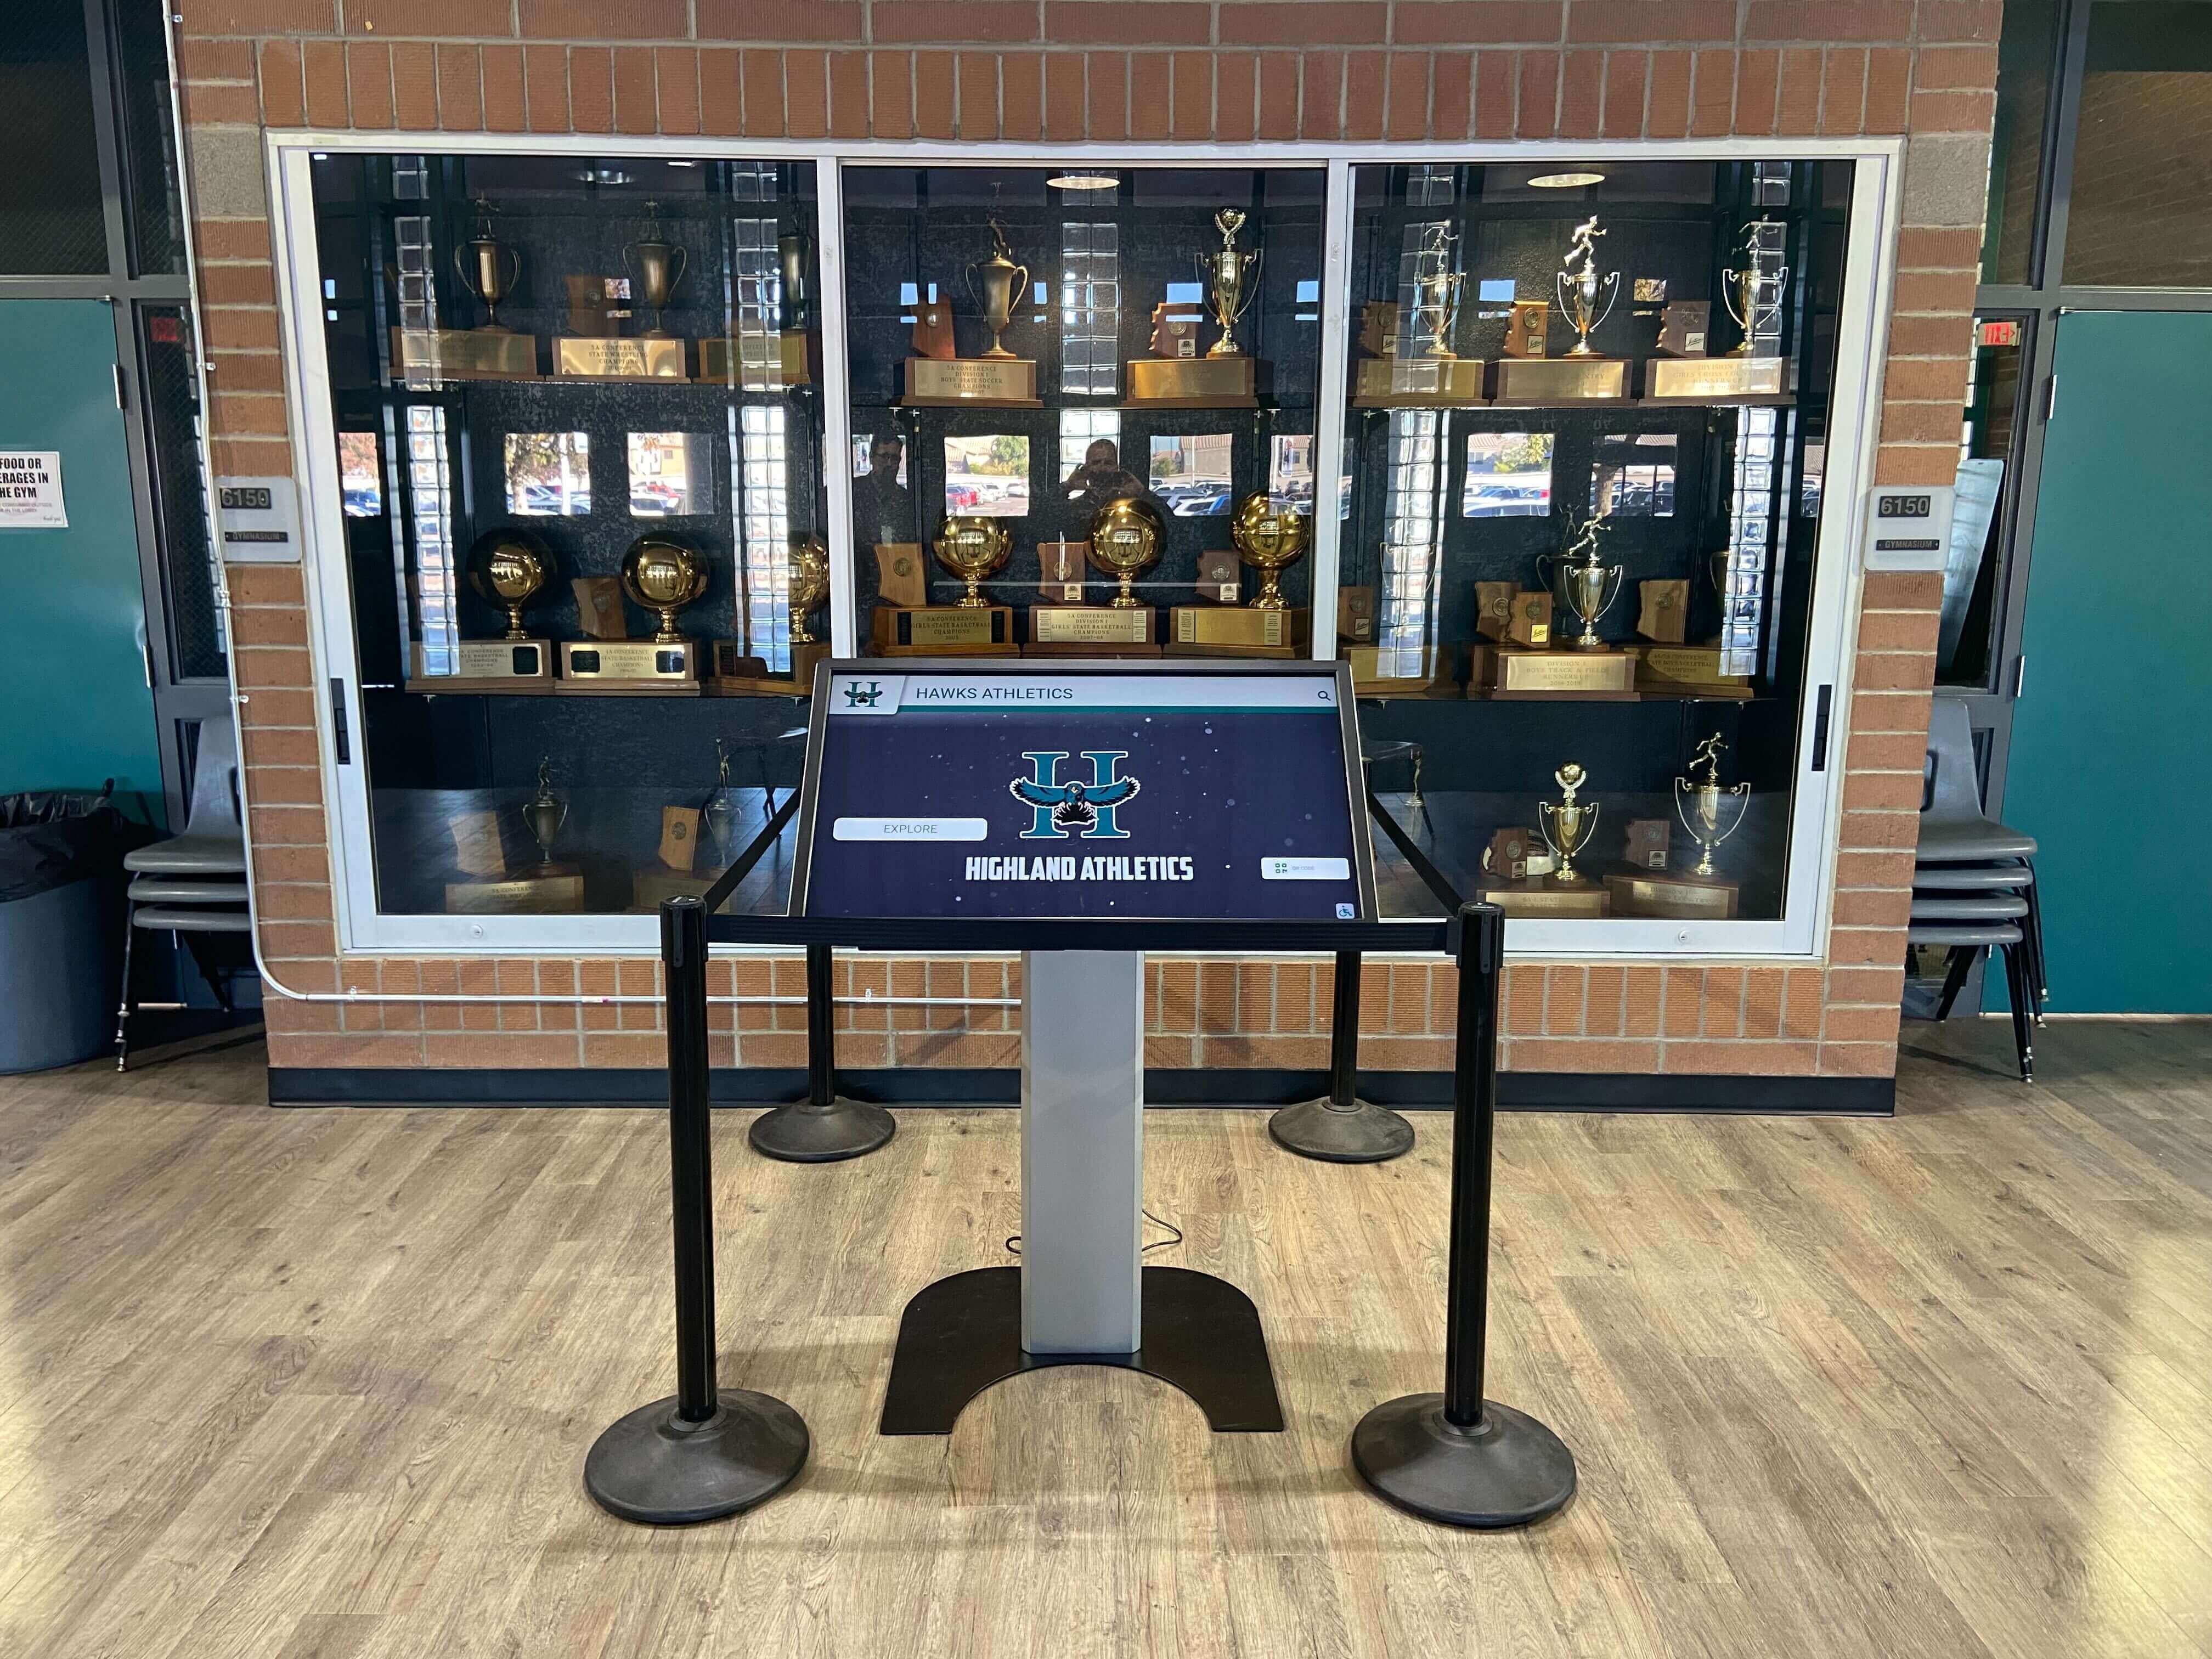
Each glass panel in a trophy case unit is inspected individually — door panels, fixed side panels, fixed top panels, and fixed back panels each receive their own condition rating and follow-up action based on the birefringence findings for that specific panel
Interpreting Birefringence Patterns: Criteria and Rating Scale
The following criteria distinguish expected patterns from conditions that warrant follow-up. They apply separately to tempered glass and annealed glass, because the baseline differs fundamentally between the two.
| Finding | Glass Type | Classification | Recommended Action |
|---|---|---|---|
| Uniform perimeter fringe halo; regular fringe spacing; no concentrations; dark central field | Tempered | Rating 1 — Expected | Document as confirmed normal; no action required until next scheduled inspection |
| Uniform perimeter halo with minor fringe compression at one corner zone | Tempered | Rating 2 — Monitor | Document; re-inspect within 90 days; note corner location for comparison at next inspection |
| Near-dark field throughout; no significant fringe content | Annealed | Rating 1 — Expected | Document as confirmed low stress; consistent with sound annealed glass |
| Localized fringe concentration at a chip or edge check site; fringe count elevated above background perimeter level at the damage site | Tempered or Annealed | Rating 3 — Action required | Photograph and document; glazier assessment within 30 days; monitor for crack propagation from damage site |
| Asymmetric perimeter pattern: one or more edges showing significantly higher fringe density than opposite edges, without corresponding physical damage site | Tempered | Rating 3 — Action required | May indicate non-uniform tempering or edge stress from frame loading; glazier assessment within 30 days |
| Significant fringe pattern in annealed glass: multiple fringes visible across the panel under white light; not attributable to surface reflection | Annealed | Rating 4 — High priority | Annealed glass with significant residual stress has unpredictable breakage risk; glazier assessment within 5 business days; restrict adjacent access |
| Fringe disruption or asymmetry at a visible stress crack or crack initiator site | Any | Rating 4 — High priority | Crack propagation risk; restrict access; glazier same day or next business day |
| Very high fringe order at a point stress concentrator (chip, hole, edge contact) in a panel under active load | Any | Rating 5 — Immediate | Remove from service; restrict access; glazier same day |
| No birefringence visible in a panel confirmed as tempered by edge stamp | Tempered | Rating 3 — Investigate | Absence of expected tempering pattern requires investigation; may indicate incorrect glass type at replacement, stamp error, or instrument issue; glazier assessment within 30 days |
The fringe order — the number of complete cycles from dark to dark in monochromatic light, or from red to red in white light — provides a rough retardation magnitude. For field screening purposes, describing the pattern as “low order” (1–2 fringes at a location), “moderate order” (3–5 fringes), or “high order” (6 or more fringes concentrated at a single point) gives the glazier receiving the inspection record enough information to triage the assessment. Quantitative retardation values in nanometers require calibrated equipment and are not expected from a facilities-level field screening.
Color Fringe Sequence Under White Light
Under white-light illumination through crossed polars, the interference color sequence from zero retardation outward follows the Michel-Lévy color chart order: black (zero order) → gray → white → yellow → orange → red → violet → blue → green → yellow (second order) → orange → red → violet (third order) → and so on, with colors becoming less saturated at higher orders. For field interpretation:
- First-order colors (black through red): Low residual stress — expected in annealed glass central field and at the low-stress center of tempered panels
- Second-order colors (violet through green): Moderate stress — typical in the tempering compression zone at the perimeter of tempered glass panels
- Third-order and above (pastel colors, difficult to distinguish): High stress — expected only at specific locations in heavily tempered glass; in annealed glass or at point concentrators in any glass, warrants documentation
Escalation Table: Field Screening Findings and Follow-Up Actions
| Finding | Rating | Action | Timeline |
|---|---|---|---|
| All panels: expected patterns for confirmed glass type; no concentrations found | 1 — Sound | Document as confirmed; next inspection at next annual cycle | Next scheduled round |
| One or more panels: minor anomaly at corner zone; no physical damage; overall pattern expected | 2 — Monitor | Re-inspect within 90 days; photograph comparison at re-inspection | Within 90 days |
| One or more panels: fringe concentration at chip, edge check, or frame contact point | 3 — Action required | Glazier assessment; assess whether chip repair, gasket replacement, or panel replacement is indicated | Within 30 days |
| One or more panels: asymmetric perimeter fringe pattern without visible physical cause | 3 — Investigate | Glazier assessment to determine whether frame loading, non-uniform tempering, or prior repair is responsible | Within 30 days |
| Annealed panel showing significant fringe content across the panel field | 4 — High priority | Restrict adjacent access; glazier assessment | Within 5 business days |
| Any panel: fringe disruption at visible crack site | 4 — High priority | Restrict case access; glazier assessment | Within 1–2 business days |
| Any panel: high-order concentration at point stress site; case in active use | 5 — Immediate | Out of service; restrict area; glazier contact same day | Same day |
| Tempered panel showing no birefringence; stamp confirms tempering | 3 — Investigate | Confirm instrument configuration; if confirmed, glazier assessment to verify glass type | Within 30 days |
Connecting Birefringence Inspection to the Full Glass Assessment Cycle
A stress birefringence inspection is most useful as one component of a coordinated glass assessment program — not as a standalone event. The inspection types address different aspects of glass panel integrity and should be run together to avoid the condition where one assessment finds a clean panel while a parallel condition goes undetected.
Tempered glass stamp verification: Confirms whether a panel meets safety-glazing certification requirements for its installation location. Does not reveal current stress state. Run once per panel; document at installation and at any replacement.
Glazing bead inspection: Confirms whether the mechanical retention system holding the glass in the frame is sound. Addresses glass displacement risk. Does not reveal internal stress state. Run annually and after significant events.
Glazing gasket inspection: Confirms whether the compressible cushion between the glass edge and the metal frame is sound. A failed gasket produces the direct edge-to-frame contact that generates the stress concentrations a birefringence inspection is designed to detect. Run annually alongside bead inspection.
Sealant compatibility inspection: Addresses repair material selection for glazing assembly maintenance. Does not assess glass stress state directly. Run before any glazing repair.
Stress birefringence inspection: Confirms the current stress state of each glass panel — detecting the concentrations produced by edge damage, direct frame contact, and thermal shock that other inspections do not address. Run at initial documentation and when any other inspection finds a condition that could have introduced stress (discovered edge damage, gasket failure producing frame contact, prior impact event).
Schools that coordinate these assessments together — scheduling birefringence inspection concurrently with gasket and bead inspection during the annual facilities round — complete the full panel integrity picture in a single building visit. A case where the gasket inspection found frame contact at the bottom edge of a fixed panel is exactly the case where birefringence inspection should be run next: the gasket finding predicts the location where stress concentration would develop, and the birefringence inspection confirms whether it has.
Athletic directors overseeing recognition display infrastructure that spans physical trophy cases and digital touchscreen systems will recognize that both physical and digital display assets benefit from inspection programs that use the right tool for each failure mode — and that document findings consistently enough to support maintenance decisions over time.
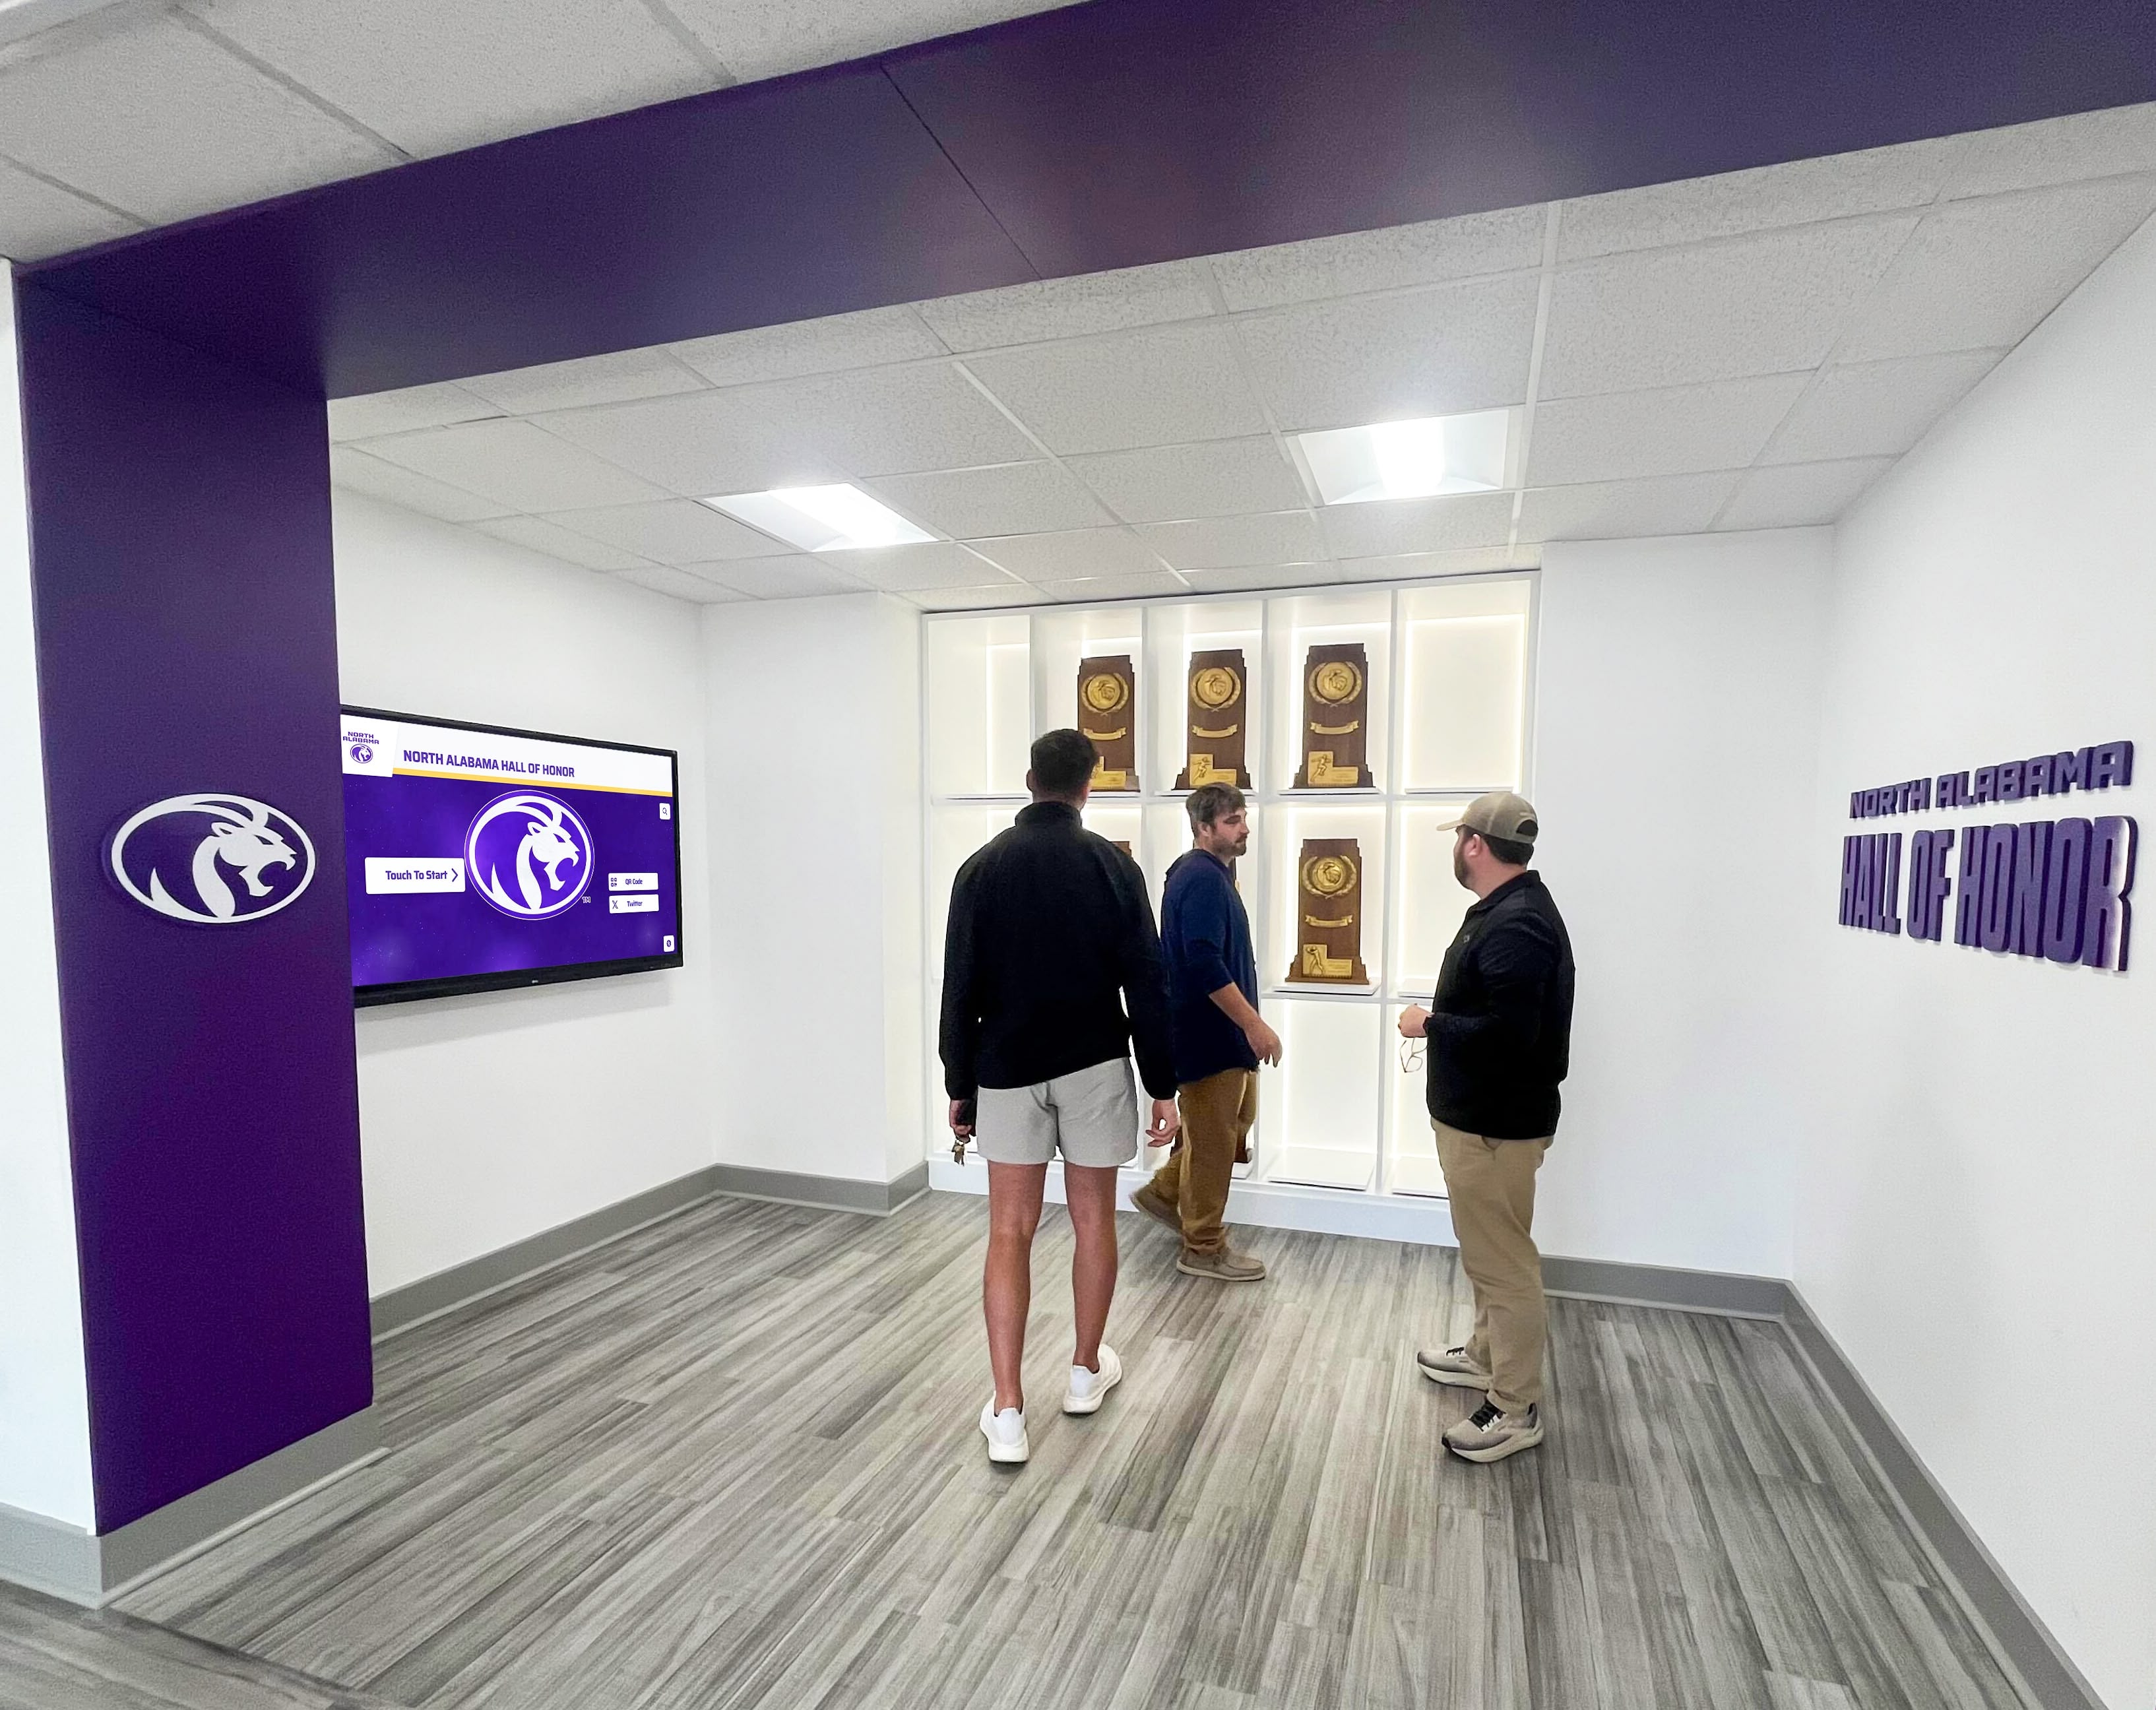
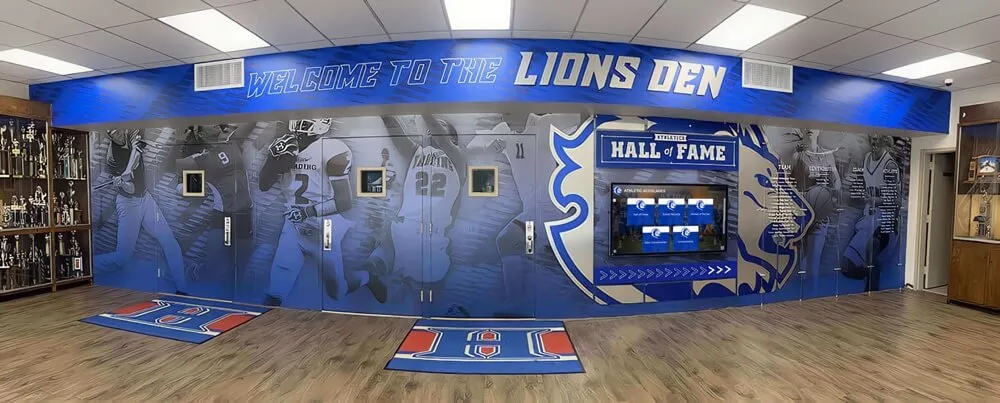
Multi-case trophy display installations benefit from coordinated inspection programs that run birefringence, bead, and gasket assessments together — so that a finding in one assessment type triggers the corresponding check in the others before the next inspection cycle
Timing the Inspection Within the School Recognition Calendar
Like all glass inspection activities, stress birefringence inspection is most efficiently scheduled around the academic calendar rather than driven by reactive maintenance events. The following timing considerations help facilities teams integrate birefringence inspection into an existing annual maintenance cycle.
Pre-season inspection (late summer / early fall): The period before the heavy fall athletic recognition season — when new championship hardware is added to cases after summer sports, and when cases receive the highest traffic from parents, alumni, and community visitors — is the best time to establish the baseline birefringence record for the year. Glazing that has cycled through a full school year and summer temperature range since the last inspection is at the point where thermal cycling damage, if any, will be most visible in the fringe pattern.
Post-renovation or post-event inspection: Any renovation work adjacent to trophy case locations, any reported impact to a case, or any facilities event that required moving or accessing a case warrants a targeted birefringence check of the affected panels before the case is returned to normal display use. These event-driven inspections are shorter than the annual full-building round — they cover only the panels potentially affected — but they close the gap between “the case was disturbed” and “the glass in the case has been confirmed undamaged.”
Before major recognition events: Schools hosting alumni reunions, hall of fame inductions, or athletic banquets that draw public attention to the trophy case corridor benefit from a glass condition confirmation before the event. For events where the trophy case area will receive concentrated visitor traffic, a passed birefringence inspection for all panels in the featured corridor provides documented assurance to administration, not only to the facilities team.
Schools managing booster club event budgets and multi-season athletic recognition programs can schedule glass inspection as a recoverable facilities cost alongside display maintenance — keeping the complete inspection record available when capital planning discussions turn to trophy case renovation or digital display integration.
Frequently Asked Questions About Glass Stress Birefringence Inspection
Can birefringence inspection replace stamp verification for confirming that trophy case glass is tempered?
No. Stamp verification and birefringence inspection answer different questions. Stamp verification confirms that a panel was manufactured and certified to a specific safety-glazing standard at the time of installation. Birefringence inspection confirms the current stress state of a panel — whether that panel, certified or not, has developed stress concentrations in service that indicate elevated failure risk. Both pieces of information are useful; neither substitutes for the other. A panel with a legible tempered glass stamp can still show birefringence anomalies indicating post-installation stress damage, and a panel without a legible stamp can show the characteristic tempering pattern that confirms tempering. Use stamp verification to establish the certification record and birefringence inspection to assess the current condition.
What does it mean if a glass panel shows no birefringence at all?
For annealed glass, near-zero birefringence is the expected and desired condition — it confirms that the glass was properly annealed and has not developed significant residual stress in service. For tempered glass, the absence of birefringence is anomalous: correctly tempered glass always shows characteristic fringe patterns from its compressive surface stress layer. If a panel’s edge stamp identifies it as tempered but the birefringence inspection finds no fringe pattern, the first step is to verify the instrument configuration (confirm crossed polars, confirm light source is working). If the instrument is correct and no pattern is found, the finding warrants glazier investigation to confirm whether the glass type matches the stamp record.
How does fringe pattern appearance change in a damaged panel compared to an undamaged one?
In a sound tempered panel, the perimeter fringe pattern is relatively regular — uniform spacing between fringes, consistent fringe order around the perimeter, with somewhat higher order at corners. In a panel with edge damage, the fringe pattern at the damage site shows compressed or higher-order fringes concentrated at the chip or check — fringes that are closer together or that reach a higher color order than the surrounding perimeter fringes. The contrast between the background perimeter pattern and the elevated pattern at the damage site is what makes the finding visible; without the background pattern for comparison, the absolute fringe count at the damage site is harder to interpret.
Can a facilities team member perform this inspection without specialized training?
Facilities staff can perform field-level birefringence screening — identifying whether a panel shows an expected pattern or an anomalous one — with appropriate equipment and reference materials. Interpreting fringe patterns as specific retardation values in nanometers, distinguishing between tempering artifacts and damage-induced concentrations in ambiguous cases, and making the determination of whether a borderline finding meets the threshold for glazier escalation are judgment calls that benefit from familiarity with glass optics and glazing practice. The practical approach for most school facilities programs: train staff to conduct the inspection, document findings, and escalate any rating-3-or-above finding to a qualified glazier — rather than expecting staff to make the escalation determination independently for borderline cases.
How does the inspection differ for cases in natatorium-adjacent or high-humidity environments?
High-humidity environments can accelerate chemical changes at glass surfaces — surface corrosion (glass devitrification) and coating degradation — that may affect the surface appearance of fringe patterns by adding surface scatter. The birefringence inspection protocol is the same in these environments, but photographic documentation is more important because surface scatter can make it harder to interpret findings from memory alone. Schools that are facilities-planning digital display upgrades to complement physical trophy cases should note that recognition display signal integrity checks — including HDMI hot-plug detection testing — are equally relevant to high-humidity environments where display hardware needs the same periodic verification as physical case components.
Should birefringence inspection be performed on both sides of the glass panel?
For annealed glass, inspecting from one side is generally sufficient for a field screening — birefringence in unstressed or uniformly stressed glass does not produce a directional difference between faces. For tempered glass where edge damage is visible on one face but not the other, examining from the damaged face provides the clearest view of the stress concentration at the damage site. For fixed panels accessible from only one side, a single-side inspection captures the full thickness retardation regardless of which face the light enters from. Document which face was accessible and examined.
How often should birefringence inspection be scheduled for school trophy cases?
For cases with all panels confirmed at rating 1 during the initial inspection, an annual re-inspection aligned with the annual bead and gasket inspection provides adequate coverage. For cases where a rating-2 (monitor) finding was documented, a targeted re-inspection within 90 days of the initial finding — covering the specific panel and location identified — confirms whether the condition has remained stable or progressed. For cases where renovation, impact events, or other conditions have potentially affected glass since the last full inspection, event-driven targeted inspection should not wait for the annual cycle.
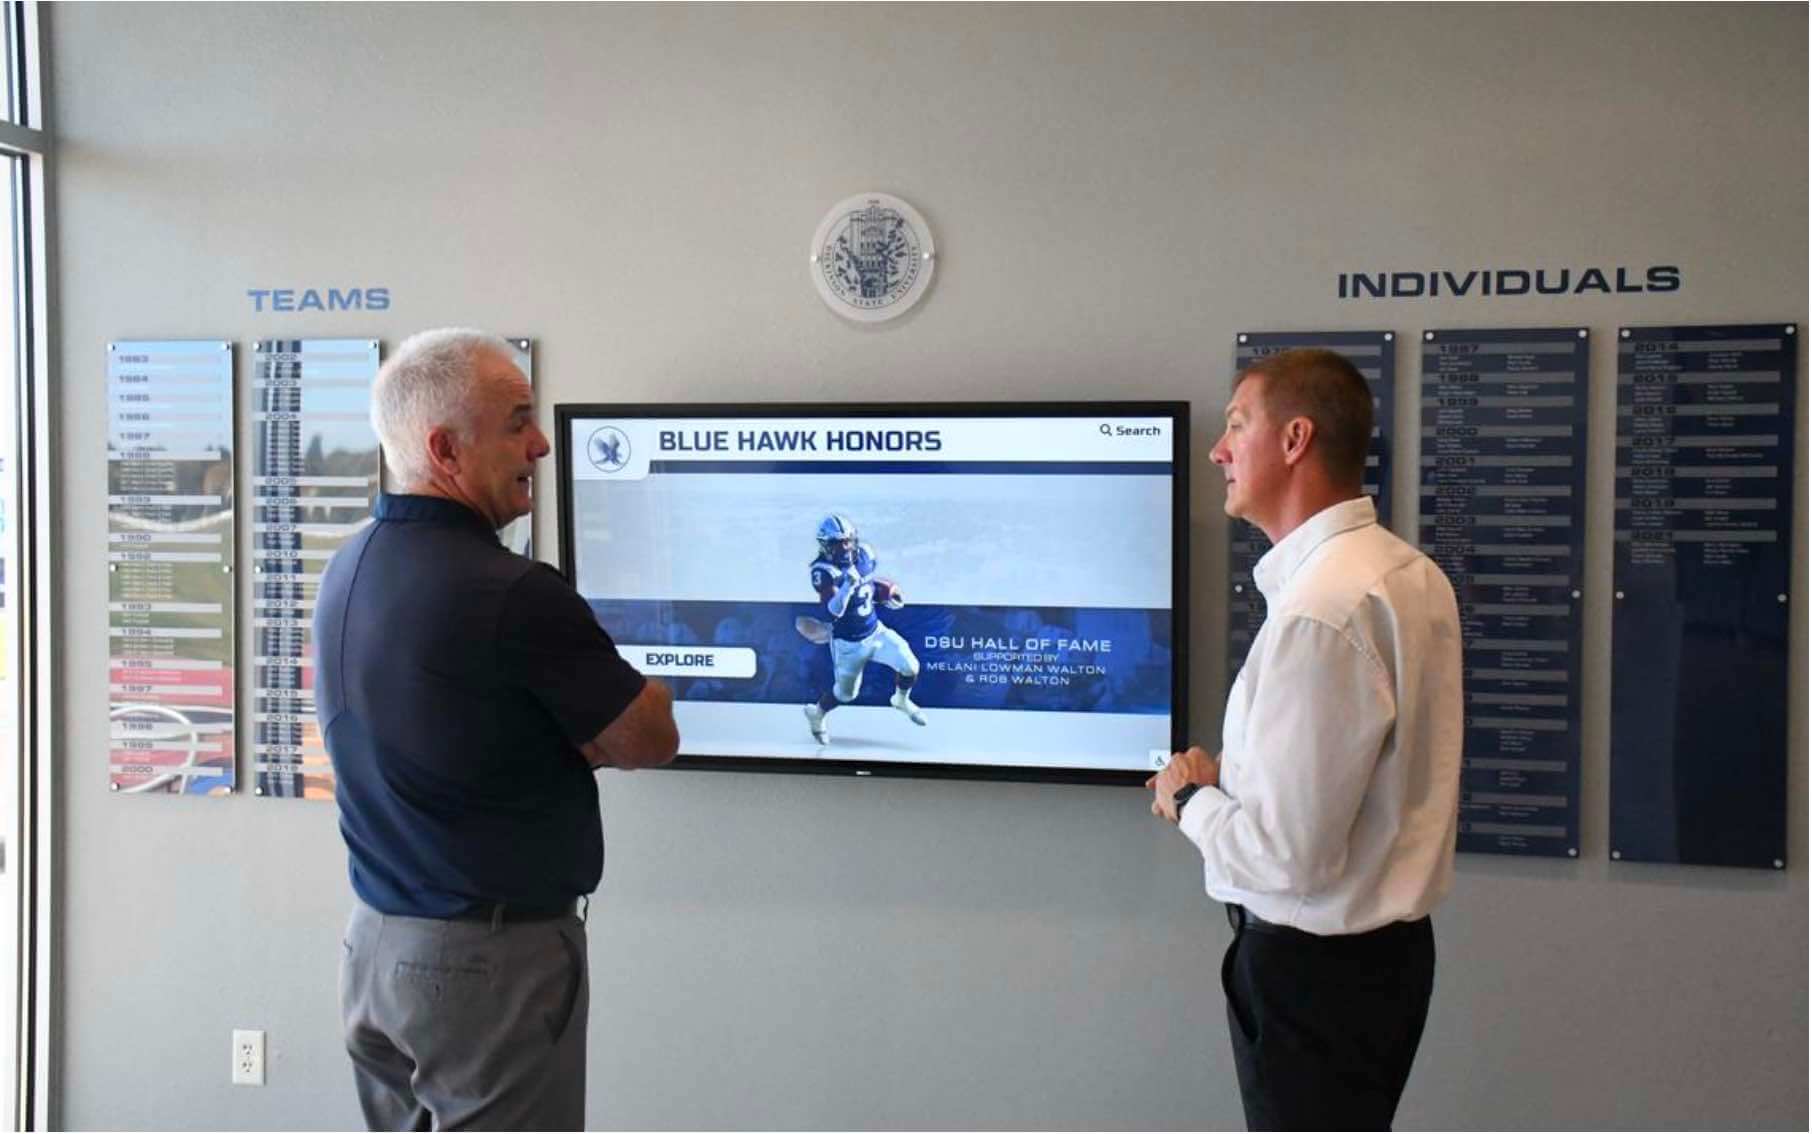
Schools that attract alumni, families, and community visitors to their recognition corridors benefit from documented glass inspection programs that confirm the safety and integrity of trophy case panels before high-traffic events
Practical Considerations for Athletic Directors and Facilities Teams
Athletic directors and facilities managers who oversee school recognition infrastructure can integrate birefringence inspection into the facilities maintenance program without treating it as a specialized standalone activity. The following practical notes help with implementation.
Initial documentation priority. For facilities teams starting a birefringence inspection program from scratch, prioritize cases in the highest-traffic locations: main lobby, athletic corridor intersection, gymnasium entry. Cases in these locations experience the most access events and the most foot-traffic vibration — the conditions most likely to have introduced damage-initiated stress concentrations over time. Start the documentation record with these cases before moving to secondary corridor units.
Coordinating with the recognition program schedule. The inspection requires the case to be accessible and the display contents briefly unobstructed from one side — a low-intrusion activity for the facilities team, but one that works better during non-peak hours when families and visitors are not using the trophy case corridor. Schedule inspection rounds during early morning or periods when the corridor is in normal use by staff rather than visitors.
Documentation continuity across staff changes. One of the primary values of a written birefringence inspection record — with photographs, panel-by-panel ratings, and dated findings — is that it survives staff transitions. When a new facilities coordinator takes over a school building, the inspection log tells them exactly what the glass in every trophy case looks like, what was found at the last inspection, and what follow-up was assigned. Without that record, every staff transition restarts the inspection program from scratch. Schools developing recognition program documentation as part of a broader display strategy benefit from treating glass inspection records as part of the same documentation discipline that governs recognition content and display maintenance.
When inspection findings accumulate across multiple cases. A school building with twelve to fifteen trophy cases, inspected systematically for the first time, may yield a range of rating-2 and rating-3 findings across the inventory. Prioritize by rating (rating-4 and rating-5 first; rating-3 within 30 days; rating-2 monitored quarterly) and by location (highest-traffic cases before lower-traffic storage-area cases). A complete first-round inspection record lets the facilities team build a prioritized work order rather than managing multiple independent findings reactively.
Schools developing comprehensive recognition programs for student athletes and academic honorees understand that the display environment — the glass, the lighting, the labeling — is part of the recognition experience. Keeping the glass in confirmed good condition is part of maintaining a recognition corridor that honors the achievements it displays.
When Physical Trophy Case Maintenance Points Toward Digital Integration
Every glass inspection cycle — birefringence assessments, bead and gasket documentation, sealant compatibility reviews — is a data point in a facilities maintenance history that eventually raises a strategic question for athletic directors and school administrators: at what point does the cumulative investment in physical glazing maintenance compare against the cost of a digital recognition platform that does not require a glazed enclosure at all?
Rocket Alumni Solutions builds cloud-managed digital trophy case and hall of fame platforms for schools that have made that comparison and concluded that a touchscreen recognition display serves the recognition mission better than a glass cabinet. Digital displays operate without glass panels, sealant joints, glazing gaskets, or birefringence inspection requirements. Display content — every athlete, every season, every honor category — is managed remotely through a cloud CMS, updated without physical case access, and accessible via QR code for families and alumni who visit outside school hours.
For schools where the birefringence inspection program has revealed that multiple panels need glazier assessment, where the gasket and bead inspection history shows recurring replacement needs, and where the physical case inventory has stopped keeping pace with the recognition program’s volume, the comparison is worth making directly. The physical cases that remain in service during any transition period benefit from the documented inspection program described in this guide — and the inspection records provide the maintenance history that makes the transition decision well-supported.
Schools that already use athletic director resources to manage recognition programs across multiple sports and grade levels will recognize that the administrative overhead of managing glass inspection, glazier scheduling, and repair documentation is a facilities cost with no equivalent in a cloud-managed digital recognition environment. Facilities time spent confirming digital display signal reliability — as with DisplayPort link training verification for touchscreen kiosk installations — is categorically different from the glass integrity documentation cycle that physical trophy cases require.
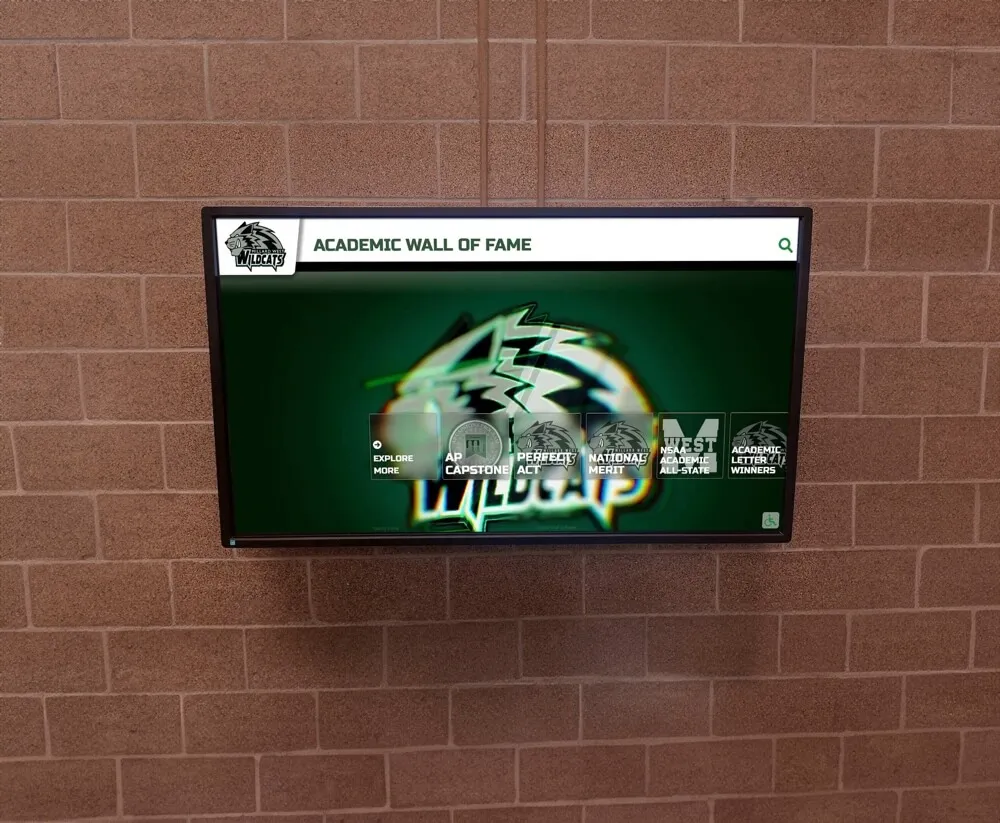
Schools integrating digital recognition displays alongside physical trophy cases can compare maintenance overhead directly — birefringence inspection, glazier assessments, and bead and gasket replacement represent recurring physical case costs with no equivalent in a cloud-managed digital recognition platform
Quick-Reference Birefringence Inspection Checklist
Use this summary before and during each trophy case glass birefringence inspection. Transfer full findings to the detailed inspection log.
Pre-inspection preparation:
- Inspection log prepared: case ID, panel positions, inspection date, inspector name
- Glass type for each panel recorded from edge marks, or noted as unconfirmed
- Prior inspection records reviewed: any panels previously rated 2 or higher noted for priority re-examination
- Polarizing filters (two), light source, and camera confirmed available and functional
Physical condition pre-check (before polarized light):
- Visible chips, edge checks, or surface scratches recorded: location and approximate size
- Evidence of prior impact (radiating cracks, displaced panel): noted for immediate escalation if present
- Frame contact at any glass edge (missing or displaced gasket): noted as primary birefringence examination zone
Polariscope setup:
- Polarizer positioned between light source and glass panel
- Analyzer positioned between glass and observer; rotated to crossed-polar (dark background) position
- Light source adequate for full-panel illumination confirmed
Full-panel background pattern assessment:
- Tempered panels: perimeter fringe halo present and consistent with expected tempering pattern — confirmed or anomaly noted
- Annealed panels: background field near-dark (low order); any significant fringe content noted as anomalous
- Unconfirmed glass type: pattern character (prominent halo vs. near-dark) recorded; assessed conservatively
High-priority location examination:
- Each chip and edge check site examined with polarizer close-positioned: fringe concentration noted (low / moderate / high order)
- Frame contact points examined: fringe elevation at contact zone compared to adjacent non-contact edge section
- Corner zones of tempered panels: pattern character compared to opposite corners; asymmetry noted if present
- Mounting holes (if present): fringe pattern radiating from hole perimeter noted
Photography:
- Full-panel photograph through analyzer: captured for each panel
- Close-up photograph of each anomalous location: captured and labeled with panel ID and location description
Rating and escalation assignment:
- Condition rating (1–5) assigned to each panel from interpretation table
- Escalation action and timeline recorded from escalation table
- Any rating-4 or rating-5 finding: immediate notification to facilities supervisor initiated
Ready to move recognition beyond glass inspection cycles?
If your facilities team is managing birefringence assessments, glazier follow-ups, and annual glass documentation across multiple trophy cases — and the recognition program keeps growing faster than the physical display capacity — see how Rocket Alumni Solutions digital displays replace physical case maintenance with a cloud-managed platform your team controls from anywhere.
Stress birefringence measurement methodology referenced to ASTM C1279 (Standard Test Method for Non-Destructive Photoelastic Measurement of Edge and Surface Stresses in Annealed, Heat-Strengthened, and Fully Tempered Flat Glass). Safety-glazing classification and school installation requirements referenced to ANSI Z97.1 and 16 CFR Part 1201 (CPSC Safety Glazing Standard). Color fringe sequence interpretation follows the Michel-Lévy interference color chart for birefringent materials under white-light polarized illumination. Field screening criteria in this guide are intended to support facilities-level documentation and glazier escalation decisions; quantitative retardation measurement for engineering specifications requires calibrated photoelastic instrumentation and trained glass testing professionals.