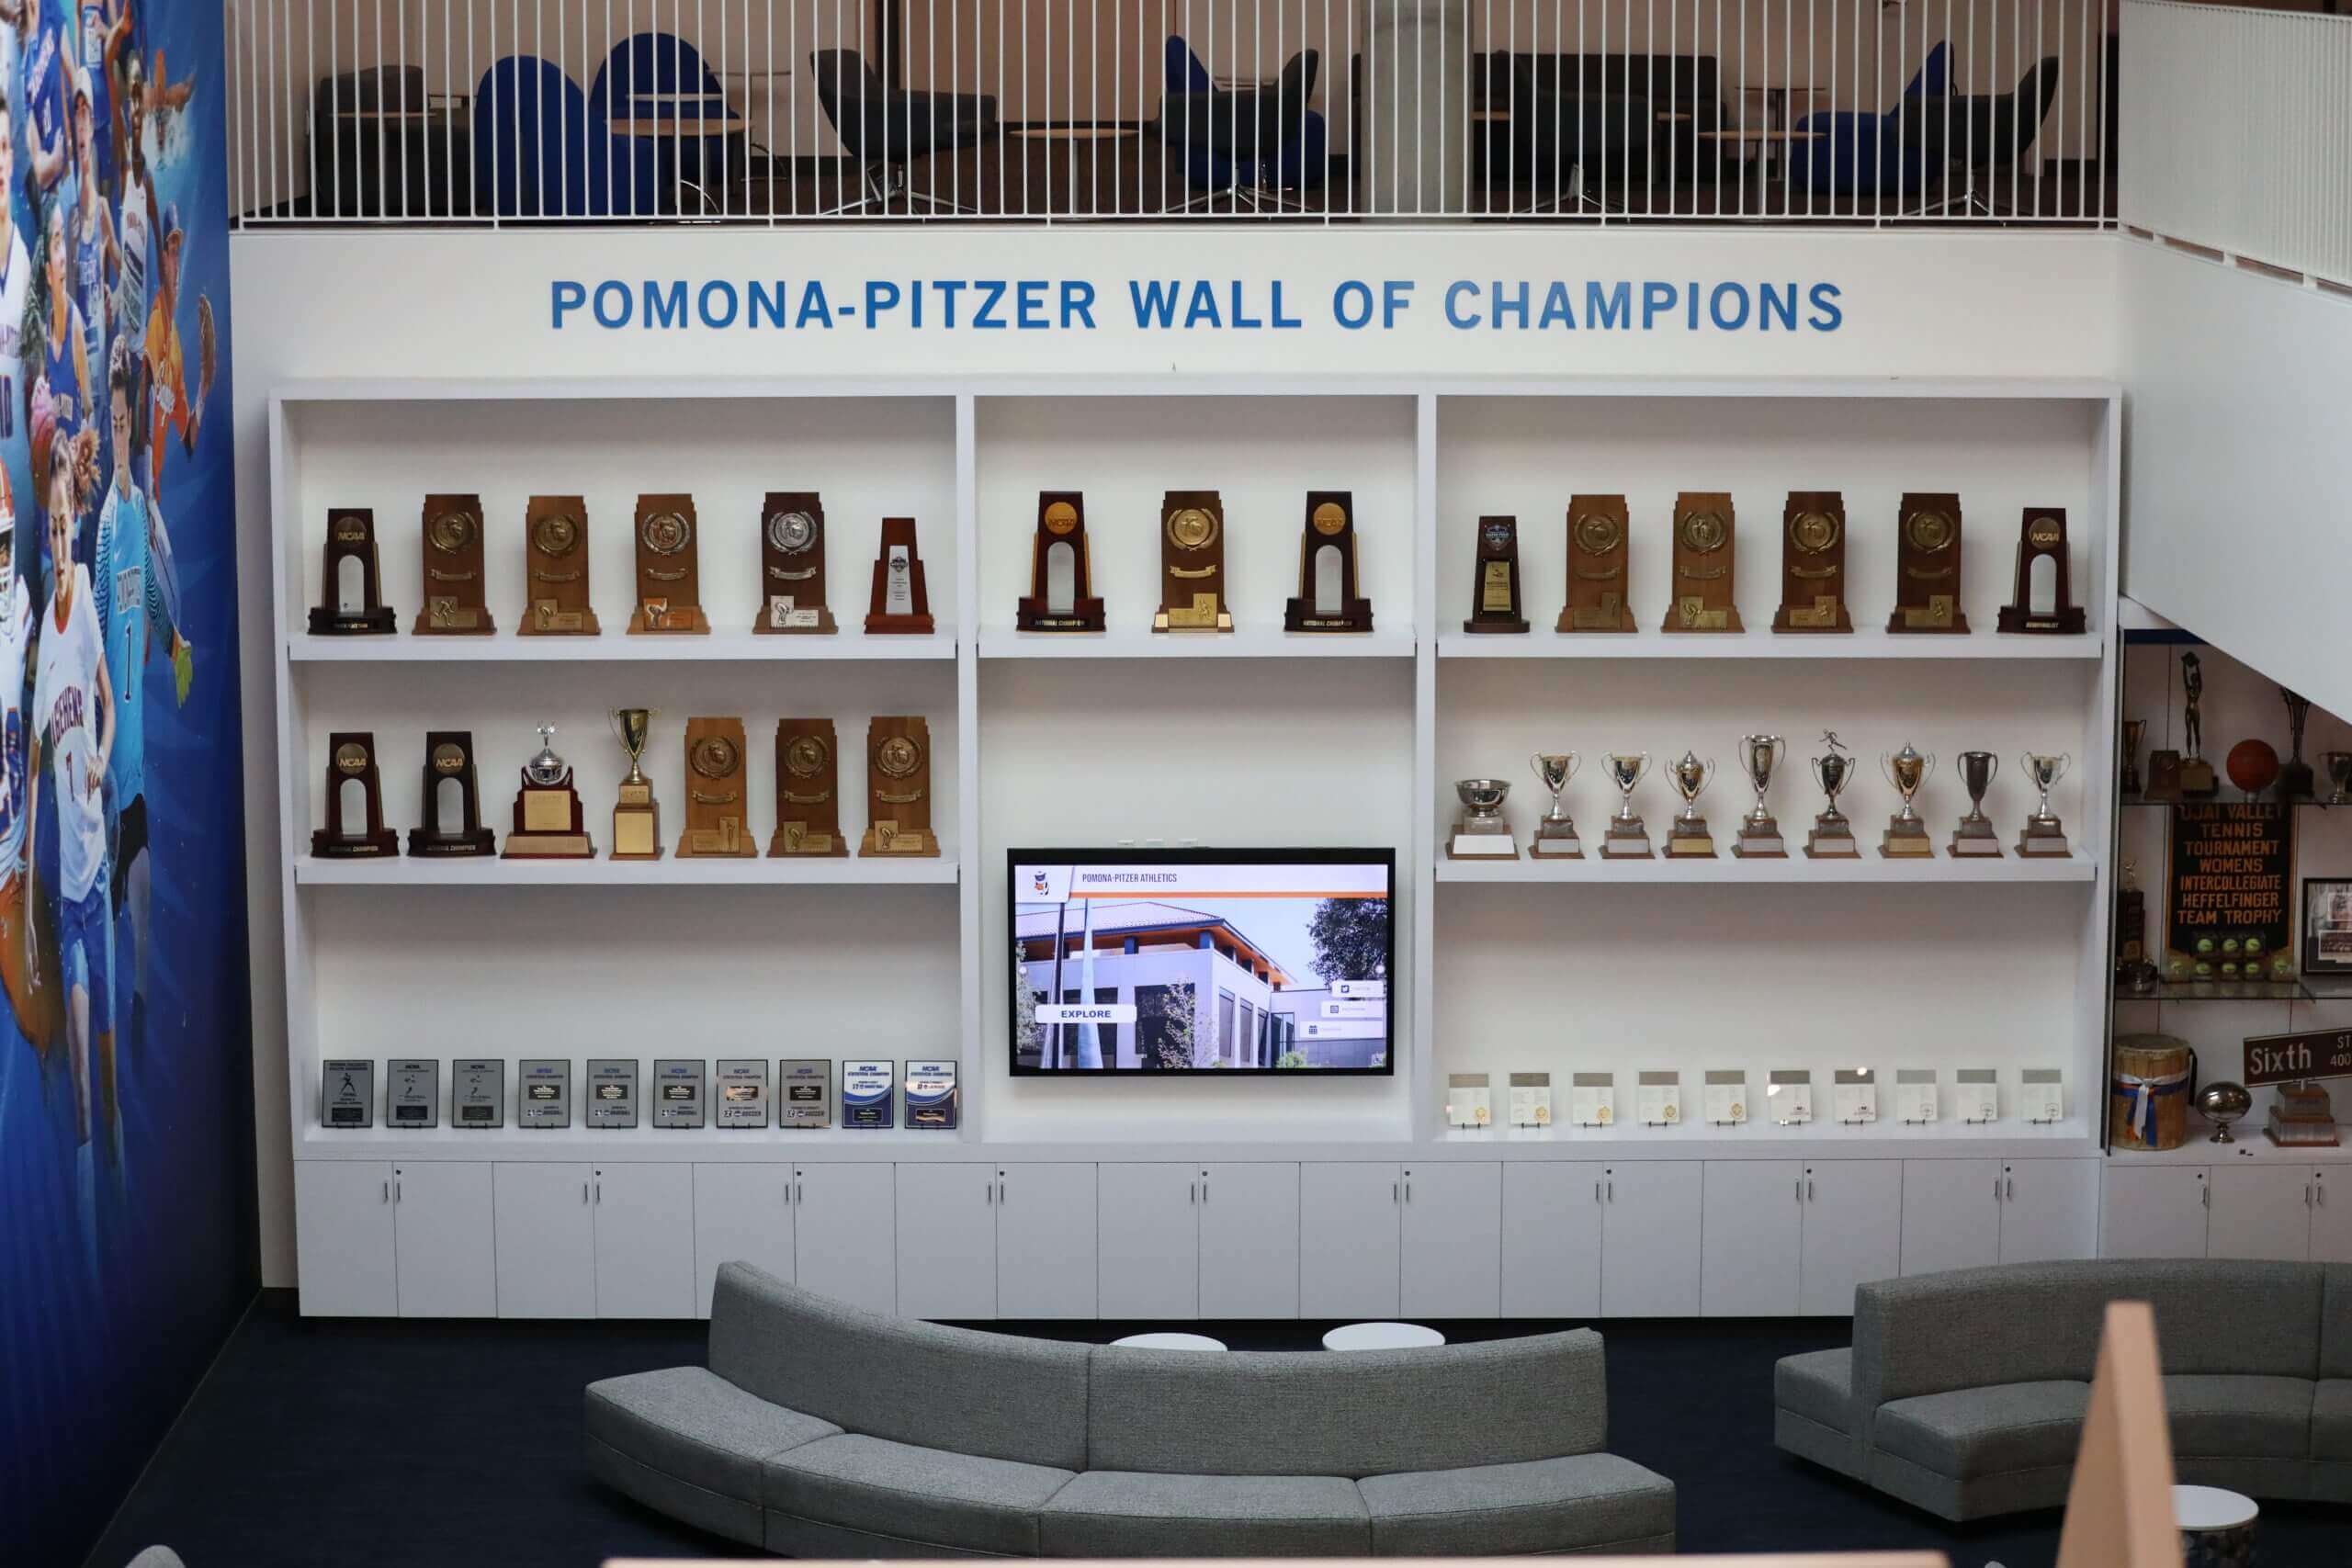
The Easiest Touchscreen Solution




Live Example: Rocket Alumni Solutions Touchscreen Display
Interact with a live example (16:9 scaled 1920x1080 display). All content is automatically responsive to all screen sizes and orientations.
Intent: research — a trophy case glass anisotropy inspection checklist is a structured procedure for documenting the iridescent or coloured optical patterns that appear in heat-treated trophy case glazing under polarized light, establishing the viewing conditions required to observe them, capturing photographs suitable for supplier review, and recording findings in a way that accurately distinguishes anisotropy from surface scratches and laminate delamination. Anisotropy in heat-treated glass — grey, white, or rainbow-coloured spots, rings, or stripes visible at certain viewing angles under partially polarized daylight — is a characteristic optical property of toughened safety glass (TSG) and heat-strengthened glass (HSG), not a defect classification under national or international product standards. This guide explains what causes the patterns, under what conditions they appear, how to observe and photograph them reliably, what the findings do and do not indicate about glass safety or breakage risk, and how facilities teams and athletic directors can use documented observations to have a productive supplier conversation when an anisotropy pattern draws attention in a school recognition corridor.
Walk down a school athletic corridor on a bright morning — clear sky, strong side-light through the lobby windows — and the glass panels in a trophy case may show shifting patches of colour or grey-white rings that are invisible when you approach straight on and most visible when you angle your view. If a teacher, parent volunteer, or coach notices those patterns and reports “something wrong with the trophy case glass,” the facilities team faces an immediate decision: treat it as a maintenance finding, or first determine what the optical phenomenon actually is before ordering a glazier.
Trophy case glass anisotropy patterns are produced by the same heat-treatment process that gives toughened safety glass its mechanical strength and resistance to thermal shock. They are visible in the right lighting conditions and invisible in others. They are not scratches — they cannot be felt with a fingernail and they change with viewing angle rather than remaining in a fixed location. They are not delamination — the glass surface is intact and no interlayer fogging is present. And per FKG Technical Note 01/2019, The Visual Quality of Glass in Building: Anisotropies in Heat Treated Flat Glass, issued by the Fachverband Konstruktiver Glasbau (Structural Glass Design Trade Association), anisotropies “are not defined as irregularities or defects, but as visible effects or characteristics of toughened and heat strengthened glass, which are excluded from the criteria for evaluating visual quality” under applicable national and international product standards.
Understanding that distinction matters for school athletic directors, facilities staff, and IT and accessibility teams who manage the recognition corridor as part of a broader programme. Documenting anisotropy correctly protects the school from a misdiagnosed maintenance call while also giving facilities teams the records they need if a genuine supplier conversation becomes necessary.

Enclosed trophy cases in school lounges and athletic corridors often use toughened safety glass — anisotropy patterns visible under polarized light are an expected characteristic of heat-treated glazing, not evidence of panel damage or elevated breakage risk
What Trophy Case Glass Anisotropy Is: A Direct Answer
Anisotropy in heat-treated trophy case glass is an optical phenomenon — visible iridescence in the form of grey, white, or rainbow-coloured spots, rings, or stripe patterns — produced by the residual stress distribution created during the thermal toughening or heat-strengthening process. When polarized light (including partially polarized daylight at certain angles) enters a glass panel whose internal stress varies across the surface, the light splits into two beams travelling at different speeds and recombines to produce interference colours visible to the observer. The pattern maps the stress variation left by the heating and quenching cycle.
The phenomenon appears only in heat-treated glass. Annealed glass, which is cooled slowly to minimise residual stress, carries very little of the stress variation that produces visible anisotropy; FKG 01/2019 notes that with annealed glass “there is usually no risk of this effect occurring.” The presence of an anisotropy pattern in a trophy case panel confirms that the panel is heat-treated (toughened safety glass or heat-strengthened glass) and that the thermal process introduced the stress variation that produces the pattern — not that something is wrong with the glass.
What anisotropy is not:
- It is not a scratch — it cannot be felt by touch and it changes with viewing angle
- It is not delamination — there is no fogging inside the glass and the pattern vanishes under perpendicular, non-polarized viewing
- It is not a breakage risk indicator — no product standard includes anisotropy as a safety-glazing failure criterion
- It is not addressable by cleaning — the pattern is internal to the glass, not on the surface
Why the Viewing Conditions Determine What You See
The same panel that shows vivid rainbow rings under a clear midday sky at a 56-degree viewing angle may show no pattern at all when the same inspector stands directly in front of it under corridor lighting. This is not a calibration error or an inconsistent defect — it is the physics of polarized light interacting with birefringent glass.
FKG 01/2019 identifies the Brewster angle (~56° for glass) as the viewing angle at which anisotropies are most visible: at this angle, the component of reflected light that would wash out the interference pattern is minimised, and the polarized-light component that reveals the stress pattern is maximised. Standing perpendicular to the glass (90° viewing angle) reduces the anisotropy visibility substantially regardless of lighting conditions. Sunglasses with polarizing lenses function as an analyser and increase anisotropy visibility independently of viewing angle — a visitor wearing polarizing sunglasses will see patterns that are invisible to a staff member standing next to them without sunglasses.
The following conditions increase the probability of an anisotropy pattern being visible:
| Condition | Effect on Visibility | Notes |
|---|---|---|
| Clear blue sky (low solar altitude) | High | Maximum Rayleigh scattering produces highest degree of polarized daylight |
| Viewing angle near 56° (Brewster’s angle) | High | Perpendicular viewing significantly reduces visible pattern |
| Polarizing sunglasses | High | Acts as analyser; increases pattern visibility independently of angle |
| Cloudy or overcast sky | Low | Less polarized daylight component |
| Interior corridor fluorescent/LED lighting only | Very low | Unpolarized artificial light rarely triggers visible anisotropy |
| Reflective surroundings (water, snow, glazed buildings) | Increased | More polarized light reflected onto the glass surface |
| Thicker glass | Greater pattern intensity | Retardation increases with pane thickness |
| Coated or laminated glass | Pattern modified | Additional glass layers and coatings change transmission and can amplify perceived pattern |
This table is useful for documentation: recording the lighting and viewing conditions under which the observation was made is as important as recording the pattern itself. An observation made under a clear sky at an oblique angle is not directly comparable to an observation made under perpendicular, indoor-light conditions, and a supplier reviewing the record needs both data points to evaluate the report fairly.
Step-by-Step Trophy Case Glass Anisotropy Inspection Checklist
The following seven-step sequence produces a documented inspection record that distinguishes anisotropy from scratches and delamination, captures the conditions and pattern, and provides the information a supplier or glazier needs to respond to a finding.
Step 1 — Identify the Glass Type
Before recording any optical observation, confirm whether the panel is heat-treated. Check the edge mark for the safety-glazing certification stamp, which will read “tempered,” “fully tempered,” or “heat strengthened” (or the equivalent ISO designation). Record the glass type.
- Toughened safety glass (TSG) or heat-strengthened glass (HSG): Anisotropy patterns are an expected characteristic. Proceed with the checklist.
- Annealed glass (confirmed from edge mark or installation records): Anisotropy is unlikely. A pattern observed in annealed glass may indicate residual stress from inadequate annealing or post-installation thermal damage; note this as an anomaly and proceed to the stress birefringence assessment protocol.
- Glass type unconfirmed: Record as unconfirmed and assess both anisotropy and birefringence criteria conservatively.
Step 2 — Establish Observation Conditions
Record the observation conditions before any optical assessment:
- Date and approximate time of day
- Sky condition: clear blue, partly cloudy, overcast
- Light source direction: natural daylight (window side, angle), artificial corridor lighting, or mixed
- Inspector’s viewing position: approximate angle to the glass surface (near-perpendicular, oblique — estimate in degrees if possible)
- Whether the observer is wearing polarizing sunglasses or using a polarizing filter
These conditions define the context for the observation. If the initial report came from a visitor wearing polarizing sunglasses under a clear morning sky, the pattern that prompted the report may not be reproducible under the conditions of the follow-up inspection conducted under corridor lighting at midday. Document both conditions.
Step 3 — Rule Out Scratches and Surface Damage
Before assessing the optical pattern, conduct a brief physical check to confirm the surface is intact:
- Run a fingernail lightly across the area where the pattern appears. A scratch produces a tactile sensation and is fixed at one location; anisotropy has no surface relief.
- View the area with a narrow flashlight beam at a low angle (approximately 20–30° from the glass surface). A scratch produces a bright line that remains in position as you move your head; anisotropy changes or disappears as viewing angle changes.
- If visible damage is present (chip, edge check, crack), record it separately and refer to the trophy case glass edge damage inspection protocol at Awards Display for the appropriate assessment procedure. Edge damage and anisotropy can coexist in the same panel but require separate documentation entries.
Step 4 — Rule Out Laminate Delamination
If the trophy case glass is laminated (two glass layers bonded through a polyvinyl butyral interlayer), confirm that the observation is not laminate fogging before proceeding:
- Examine the glass from both faces using a low-angle flashlight beam. Delamination fogging appears equally from both sides and cannot be located on either glass surface; anisotropy changes character between faces and disappears under straight-on viewing.
- Check whether the cloudiness is located between the glass layers (visible through the glass edge) or whether it is a surface-level colour pattern. Interlayer fogging has a physical location inside the glass construction; anisotropy is a light interaction pattern with no physical location inside the glass.
If delamination is confirmed, refer to the laminated glass delamination protocol for that panel. Anisotropy and delamination do not look alike on careful examination, but a cursory report of “something wrong with the glass colour” can describe either; the distinction must be made before documenting the finding.
Step 5 — Observe and Document the Anisotropy Pattern
With scratches and delamination ruled out, characterize the anisotropy pattern. Move to the best observation position — approximately 56° to the glass surface, oriented so that a window or exterior light source is reflected toward you from the panel — and record:
- Pattern type: spots, rings, stripes, uniform wash, irregular field, or combination
- Colour character: grey/white (low retardation), light colours (moderate retardation), vivid rainbow iridescence (higher retardation under strong polarized light)
- Pattern extent: localised (one region of the panel), perimeter-concentrated, full-panel
- Uniformity: consistent pattern across the panel or varying density between centre and edges
- Visibility at perpendicular view: does the pattern reduce substantially or disappear entirely when you stand directly in front of the glass?
The last observation is diagnostic: anisotropy that nearly disappears under perpendicular viewing is behaving as expected for heat-treated glass stress patterns. A pattern that remains equally visible at all viewing angles may not be anisotropy and should be investigated further.
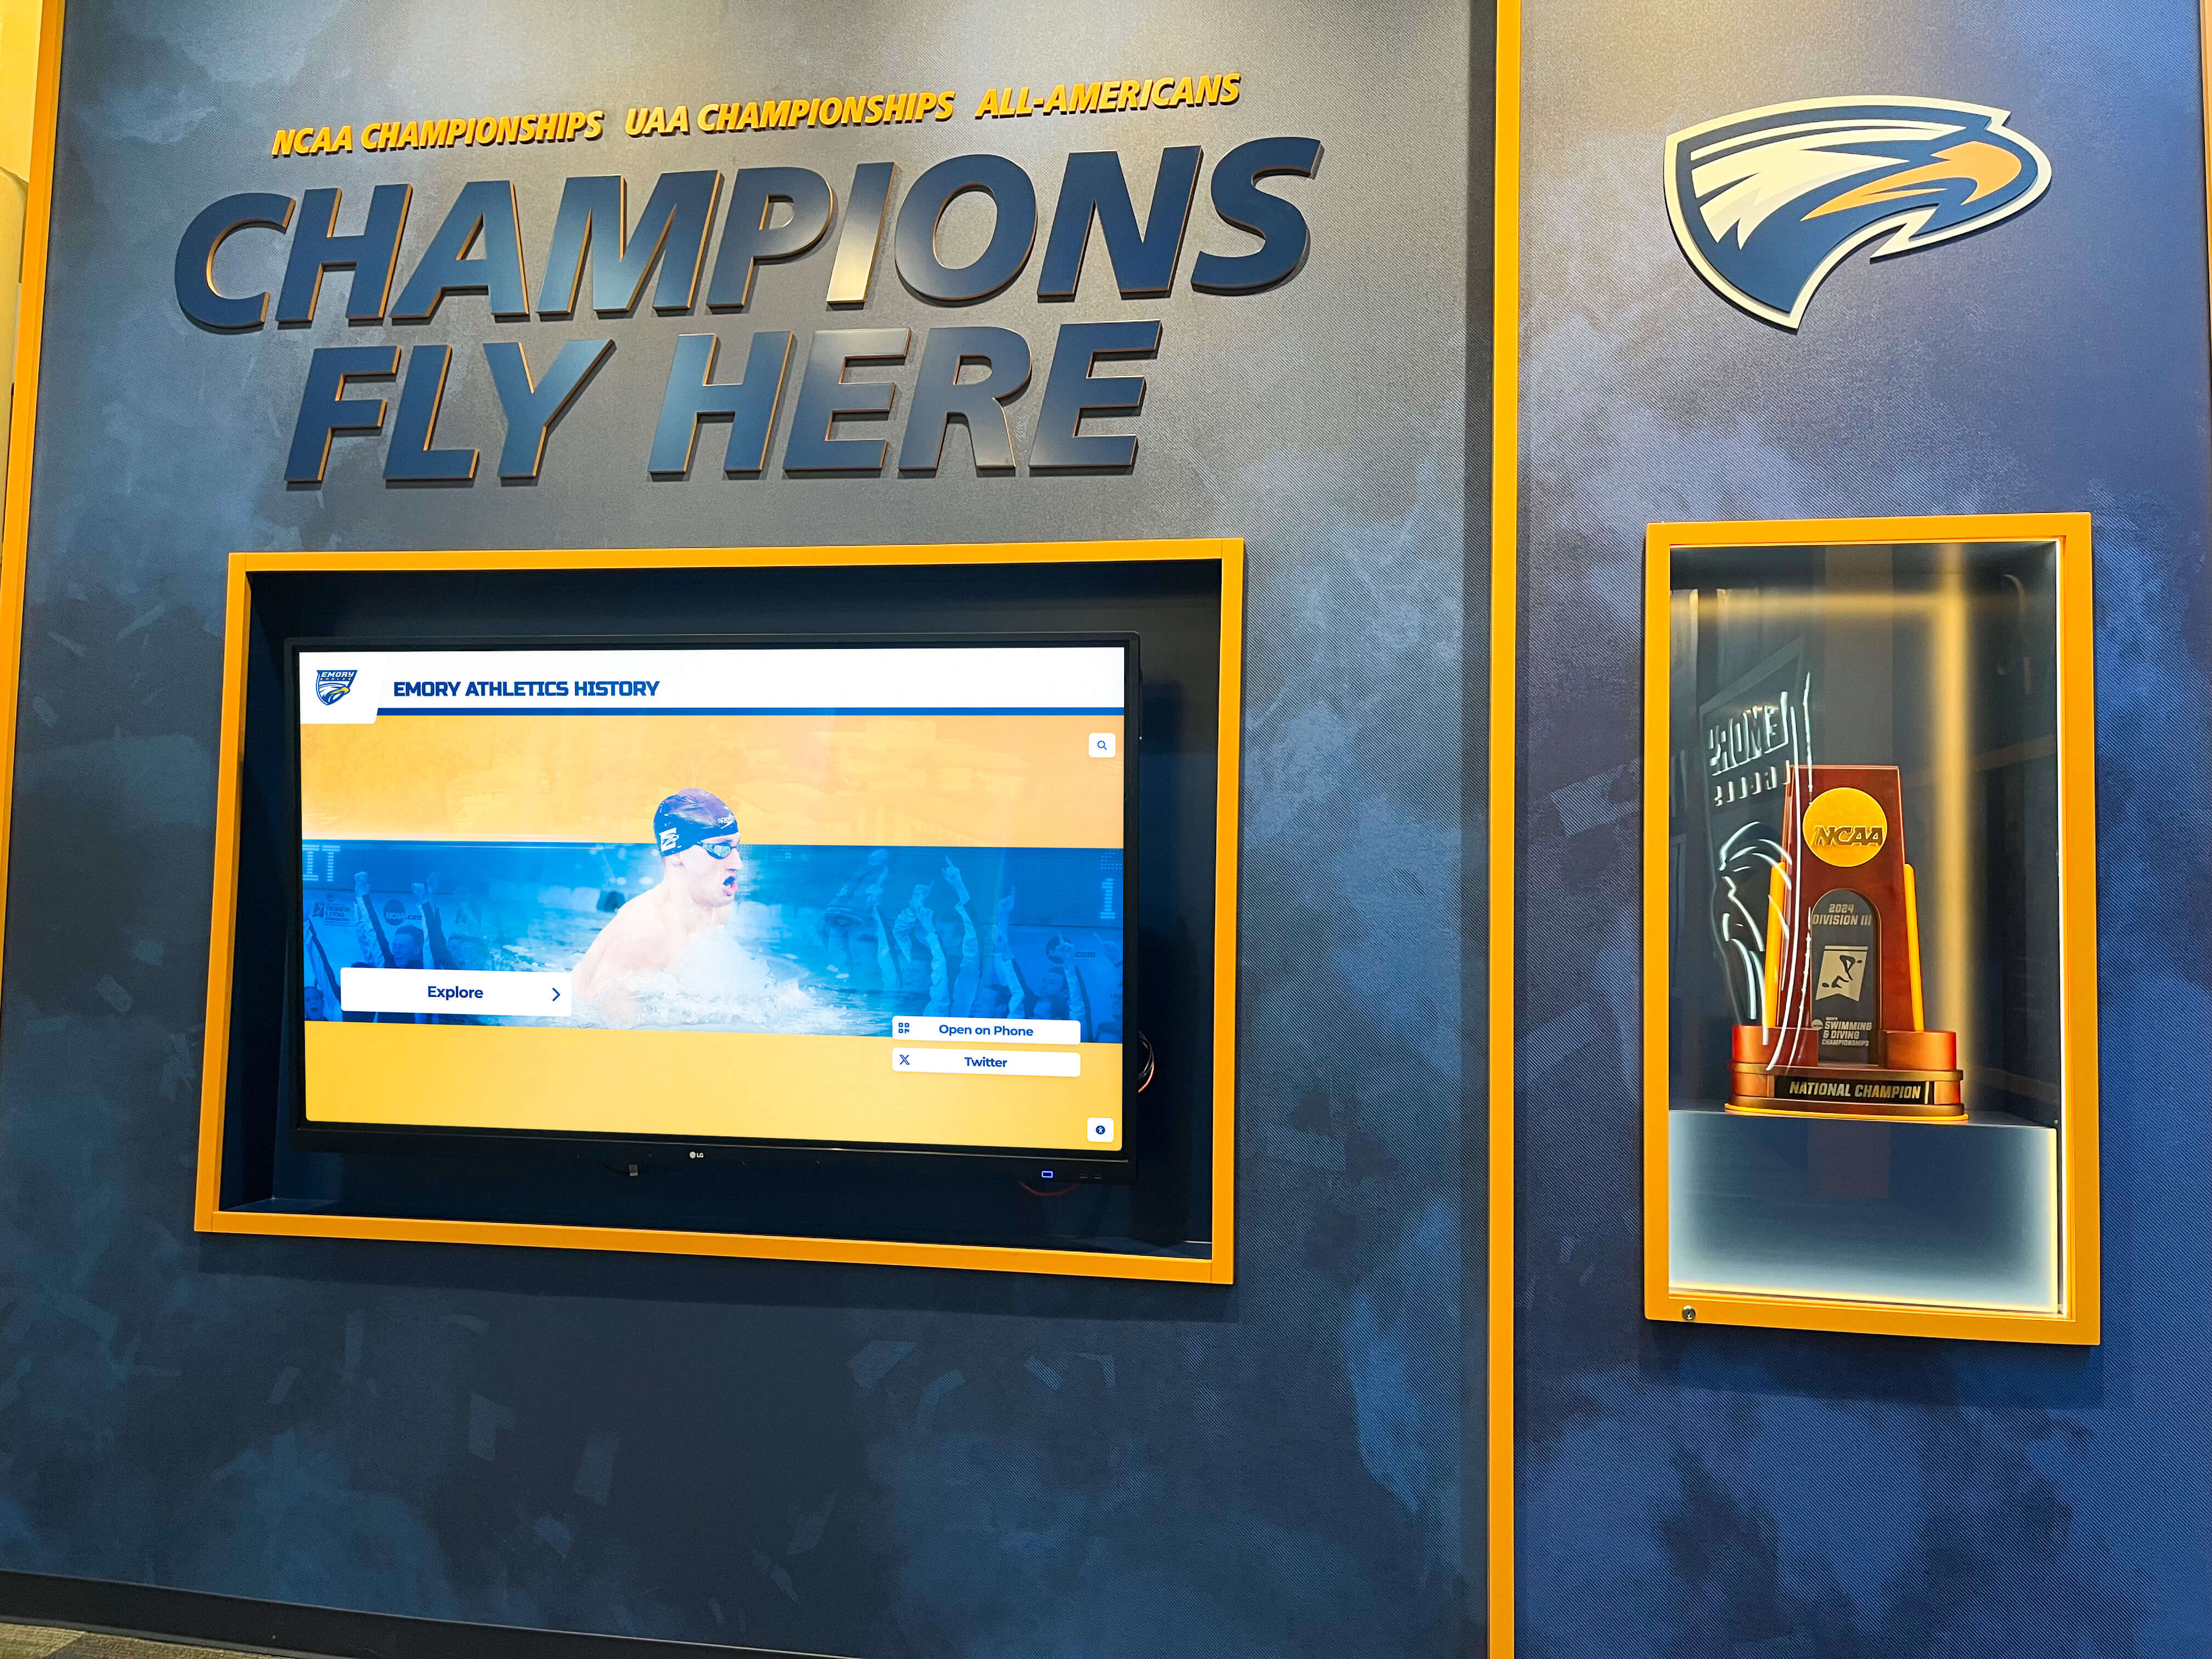
Recording the viewing angle and lighting conditions alongside the pattern description is essential — anisotropy in heat-treated glass changes significantly with viewing angle, and a finding documented under one set of conditions may not reproduce under another
Step 6 — Photograph the Pattern
Photographs of anisotropy patterns support supplier review and provide a before-and-after comparison record. To capture a useful photograph:
- Use the observation position from Step 5 — approximately 56° to the glass, with the polarized light source reflected toward the camera. A photograph taken straight-on under corridor lighting will not show the pattern, even if the pattern was clearly visible to the observer moments earlier.
- Avoid flash — direct flash produces a reflection at the glass surface that overwhelms the low-contrast iridescence pattern.
- Photograph with and without polarizing filter — if a polarizing lens filter (or polarizing sunglasses held in front of the camera lens) is available, capture one image with and one without the filter. This pair documents both the pattern as enhanced under maximum polarization and the pattern’s appearance under ordinary viewing.
- Include a reference object — a ruler, a sheet of white paper, or a scale card near the glass establishes panel size and pattern scale for the reviewer.
- Record in image metadata or in the inspection log: case ID, panel position, date, time, sky conditions, camera angle, whether a polarizing filter was used.
For glass display cases in schools that also accommodate digital touchscreen kiosks alongside physical trophy cases, the same photographic documentation discipline used for anisotropy records transfers directly to documenting display mounting conditions, glass frame clearances, and the optical quality of both physical and digital display surfaces.
Step 7 — Complete the Inspection Log Entry
Transfer all observations to the inspection log with the following fields:
| Field | What to Record |
|---|---|
| Date and time | Exact date; approximate time (lighting conditions change) |
| Case identifier and panel position | E.g., “Main lobby case, centre door panel” |
| Glass type confirmed | TSG, HSG, annealed, laminated, or unconfirmed |
| Observation conditions | Sky, light source direction, viewing angle, polarizing sunglasses used Y/N |
| Scratch/surface damage check | No surface damage found / surface damage found (separate record) |
| Delamination check | No interlayer fogging found / fogging found (separate record) |
| Pattern description | Type, colour, extent, uniformity |
| Perpendicular-view behaviour | Pattern reduced/disappeared / pattern persistent (note if persistent) |
| Photographs captured | Number of images, filter used Y/N |
| Assessment | Consistent with heat-treated glass anisotropy / anomalous (escalate) |
| Action | No action — document at next scheduled inspection / escalate to glazier |
| Inspector name | For record continuity across staff changes |
Distinguishing Anisotropy from Scratches and Delamination: Quick Reference
| Characteristic | Anisotropy | Surface Scratch | Laminate Delamination |
|---|---|---|---|
| Physical sensation | None — no surface texture | Tactile — perceptible to fingernail | None on glass surface |
| Location in glass | Optical effect — no fixed physical location | On glass surface — fixed position | Inside glass construction (between layers) |
| Changes with viewing angle | Yes — most visible at ~56°; reduces or vanishes at perpendicular | No — visible at all angles; position fixed | No — equally visible from both sides at all angles |
| Visible under corridor lighting only | Rarely — typically requires polarized or oblique daylight | Yes — visible under any illumination | Yes — visible under any illumination |
| Changes with polarizing filter/sunglasses | Significantly more visible — filter enhances pattern | No significant change | No significant change |
| Glass type | Heat-treated only (TSG or HSG) | Any glass type | Laminated glass only |
| Safety/structural concern | Not classified as a defect under standards | Physical damage — assess for edge chips, cracks | Progressive condition — panel replacement warranted |
| Appropriate response | Document; no corrective action unless supplier review required | Document; refer to edge damage or scratch assessment protocol | Document; schedule glazier assessment |
Supplier Review: What the FKG Technical Note Recommends
FKG Technical Note 01/2019 notes that because anisotropy perception depends on environmental context, “the viewing conditions must be agreed at an early stage by the parties involved in the project and documented when inspecting the Visual Mockup (VMU).” For school facilities teams, the practical equivalent of this recommendation is:
Document the observation conditions before contacting the supplier. A report that says “the glass looks bad” is unproductive. A report that says “panel [ID], toughened glass, observation at approximately 56° under clear blue sky at 10 AM, rainbow-ring pattern visible in full-panel area, pattern reduces significantly under perpendicular viewing, photographs attached taken with and without polarizing filter” is actionable. The supplier can assess whether the retardation pattern falls within the range typical for the glass thickness and toughening method, and whether an inline scanner measurement would be useful for comparison.
FKG 01/2019 notes that quantitative assessment using retardation measurement in nanometers — using either inline scanners at the production furnace exit or offline laboratory polariscopes — can be agreed with the glass processor as an objective evaluation criterion when visual observations are disputed. This is a glass-processor-level assessment tool, not a field measurement, but knowing it exists helps facilities teams frame supplier conversations correctly: the question is not “is this glass defective” (anisotropy is not a defect under standards) but “is the retardation pattern within the range expected for this glass specification, and can that be documented if needed.”
Schools with physical trophy cases operating alongside digital recognition displays benefit from the same documentation discipline for both: systematic records that capture the what, when, and under-what-conditions of every facility observation produce better supplier conversations and better long-term maintenance planning.
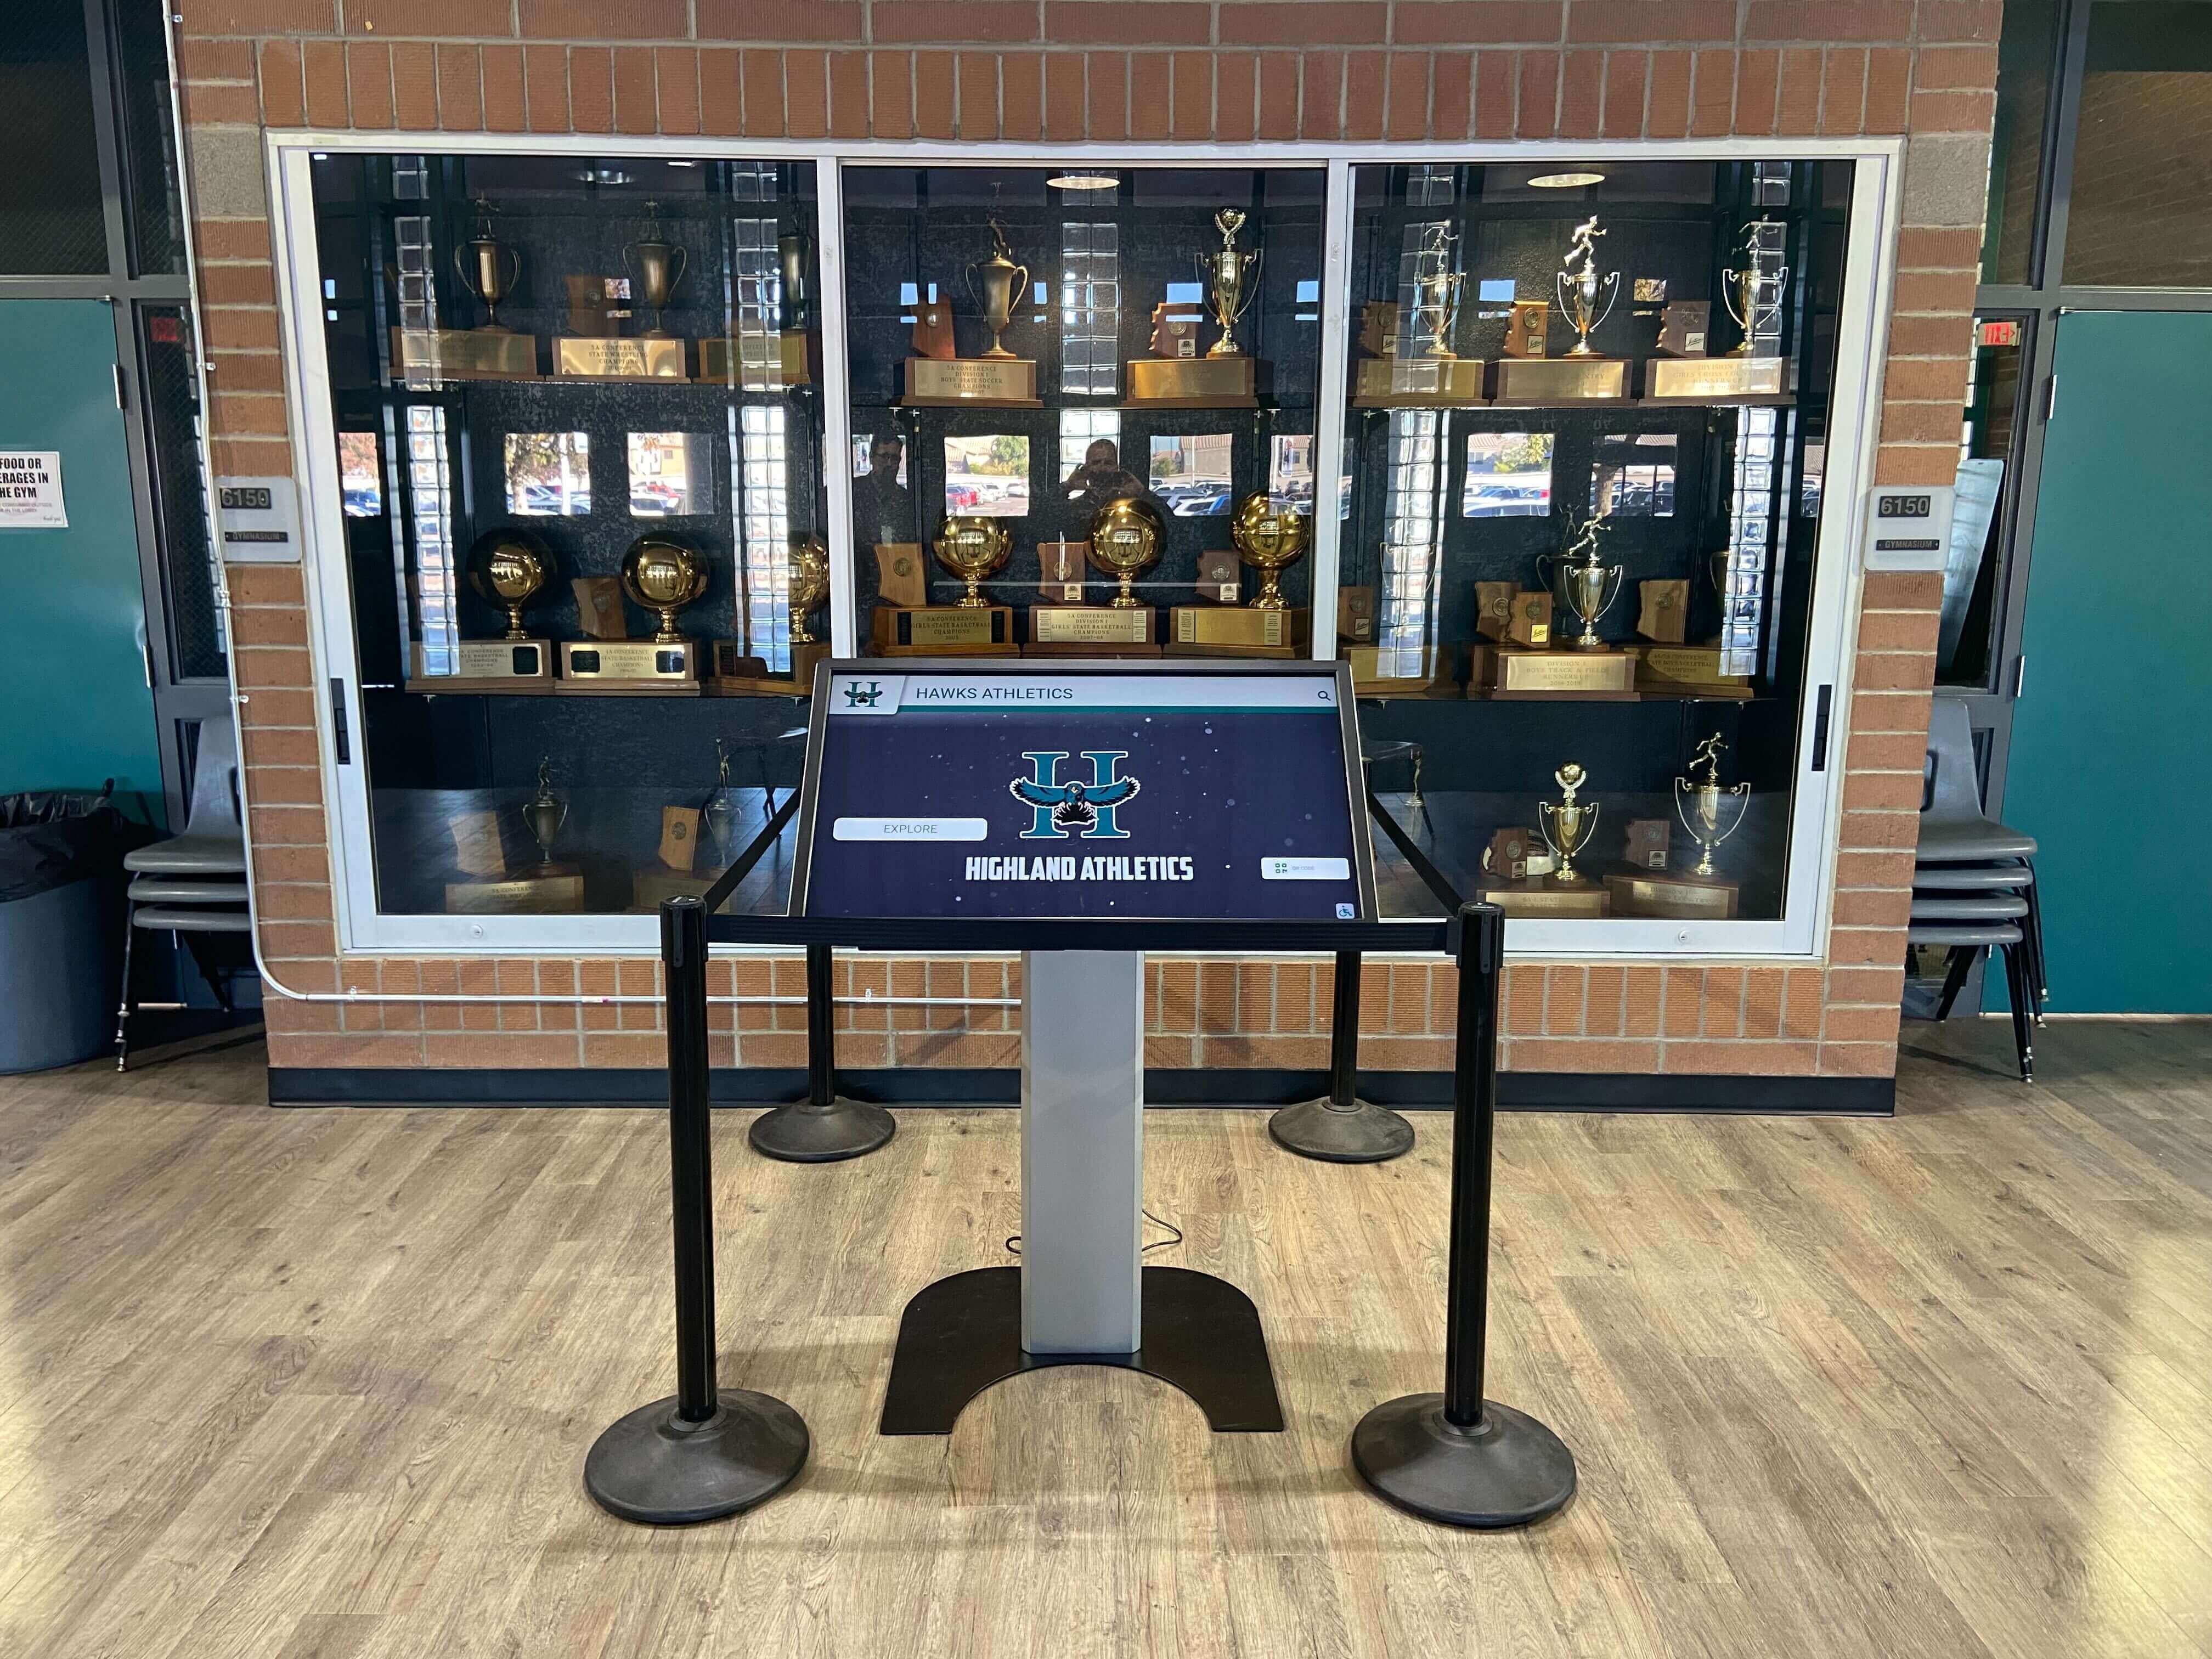
Trophy cases that house decades of athletic recognition deserve glass documentation as thorough as the recognition content inside them — accurate anisotropy records protect facilities teams when an optical observation reaches a supplier discussion
What Anisotropy Does Not Indicate
Several things that an anisotropy pattern does not mean are worth stating plainly for athletic directors and facilities teams who receive a report and need to communicate it to administration:
Anisotropy does not indicate a safety risk. No product standard (EN 12150 for toughened safety glass, EN 1863 for heat-strengthened glass, ASTM C 1048-04) classifies anisotropy as a safety-glazing failure criterion. A panel showing a vivid anisotropy pattern under polarized light retains its full toughened safety glass mechanical properties.
Anisotropy does not indicate that the glass will break spontaneously. Spontaneous breakage in toughened glass is associated with nickel sulfide inclusion inclusions and edge damage — separate phenomena with separate inspection protocols — not with the stress variation pattern that produces anisotropy.
Anisotropy does not pass or fail compliance. There is no anisotropy pass/fail threshold in safety glazing compliance standards for building glass. Retardation measurements from inline scanners are used by glass processors and researchers to characterise production quality, not to assess hazardous-location compliance, which remains determined by glass type, thickness, and certification mark.
Anisotropy does not require immediate corrective action. A school that discovers anisotropy patterns in its trophy case glass panels during a facilities inspection should document the finding accurately and note it for context in the next glazier assessment — not treat it as a trigger for emergency replacement.
The LED heat management requirements for enclosed trophy case displays are a more operationally significant concern than anisotropy for schools making decisions about physical case maintenance investment, because LED heat loading affects glazing temperature distribution and long-term frame stress — conditions that can interact with glass integrity over time in ways that optical strain patterns alone do not.
Inspection Checklist: One-Page Reference
Use this summary at the beginning of each anisotropy inspection visit. Transfer complete findings to the detailed log.
Pre-inspection:
- Case identifier and panel positions recorded in inspection log
- Glass type confirmed from edge marks (TSG / HSG / annealed / laminated / unconfirmed)
- Sky and lighting conditions noted (clear blue, partly cloudy, overcast; daylight direction)
- Prior inspection record reviewed for this panel
Rule-out checks (before optical assessment):
- Fingernail drag across observation area: no surface relief confirmed (scratch ruled out)
- Low-angle flashlight check: no fixed bright line (scratch ruled out)
- Both-face examination with flashlight: no inside-the-glass fogging (delamination ruled out)
- If laminated glass: edge-section check for interlayer discolouration (delamination ruled out)
Observation setup:
- Viewing angle adjusted to approximately 56° from glass face (Brewster angle zone)
- Observation noted with and without polarizing filter or sunglasses
- Perpendicular-view behaviour recorded (pattern reduces/disappears vs. persists)
Pattern documentation:
- Pattern type recorded (spots / rings / stripes / wash / irregular / none)
- Colour character recorded (grey-white / light colour / vivid iridescence)
- Pattern extent recorded (localised / perimeter / full-panel)
- Photograph captured at observation angle (with and without polarizing filter if available)
- Reference object included in photograph frame
Assessment and action:
- Consistent with heat-treated glass anisotropy characteristics: document; no corrective action
- Persistent at perpendicular view: flag for glazier review — may not be anisotropy
- Physical damage found (co-existing scratch or chip): separate entry in scratch/edge damage log
- Laminate fogging found: separate entry in delamination log; glazier assessment warranted
Supplier review readiness (if contacted):
- Observation conditions documented in full (angle, sky, time, filter Y/N)
- Photographs taken at observation angle available for transmission
- Glass type and edge mark confirmed
- Prior inspection records available for comparison
The Glass Displays the Achievement. The School Celebrates the Athlete.
When a parent, coach, or board member notices an unexpected visual effect in trophy case glass and raises it with the athletic director, the facilities team’s ability to respond accurately — “that is an optical characteristic of the heat-treated glass, not a defect, and here is the documentation” — is itself an expression of the school’s professionalism and care for its recognition programme. The championship banners, retired numbers, and individual honour plaques behind that glass represent years of commitment from student-athletes, coaches, and the communities that supported them. A school that manages its recognition corridor carefully, documents its glass conditions accurately, and communicates findings without over-reaction is telling visitors that it takes recognition seriously at every level.
Schools exploring the full range of options for glass, wood, and digital trophy case installations can apply the same documentation discipline described in this guide to every display surface — whether physical glass, framed display, or integrated digital touchscreen. For schools whose recognition programme has grown beyond what any single glass cabinet can hold — where every season’s champions, all-district honourees, and decades of academic achievement await display space that isn’t there — a cloud-managed digital recognition platform offers unlimited capacity, remote updates, and QR-code mobile access without a glass panel to inspect, photograph, or schedule a glazier to assess.
Ready to see what a school recognition programme looks like without glass inspection cycles?
Rocket Alumni Solutions builds interactive digital trophy cases and touchscreen walls of fame for K–12 schools — unlimited athlete and achievement profiles, cloud-managed updates, ADA WCAG 2.1 AA compliant displays, and QR code mobile access that keeps your recognition record visible to families and alumni from anywhere.
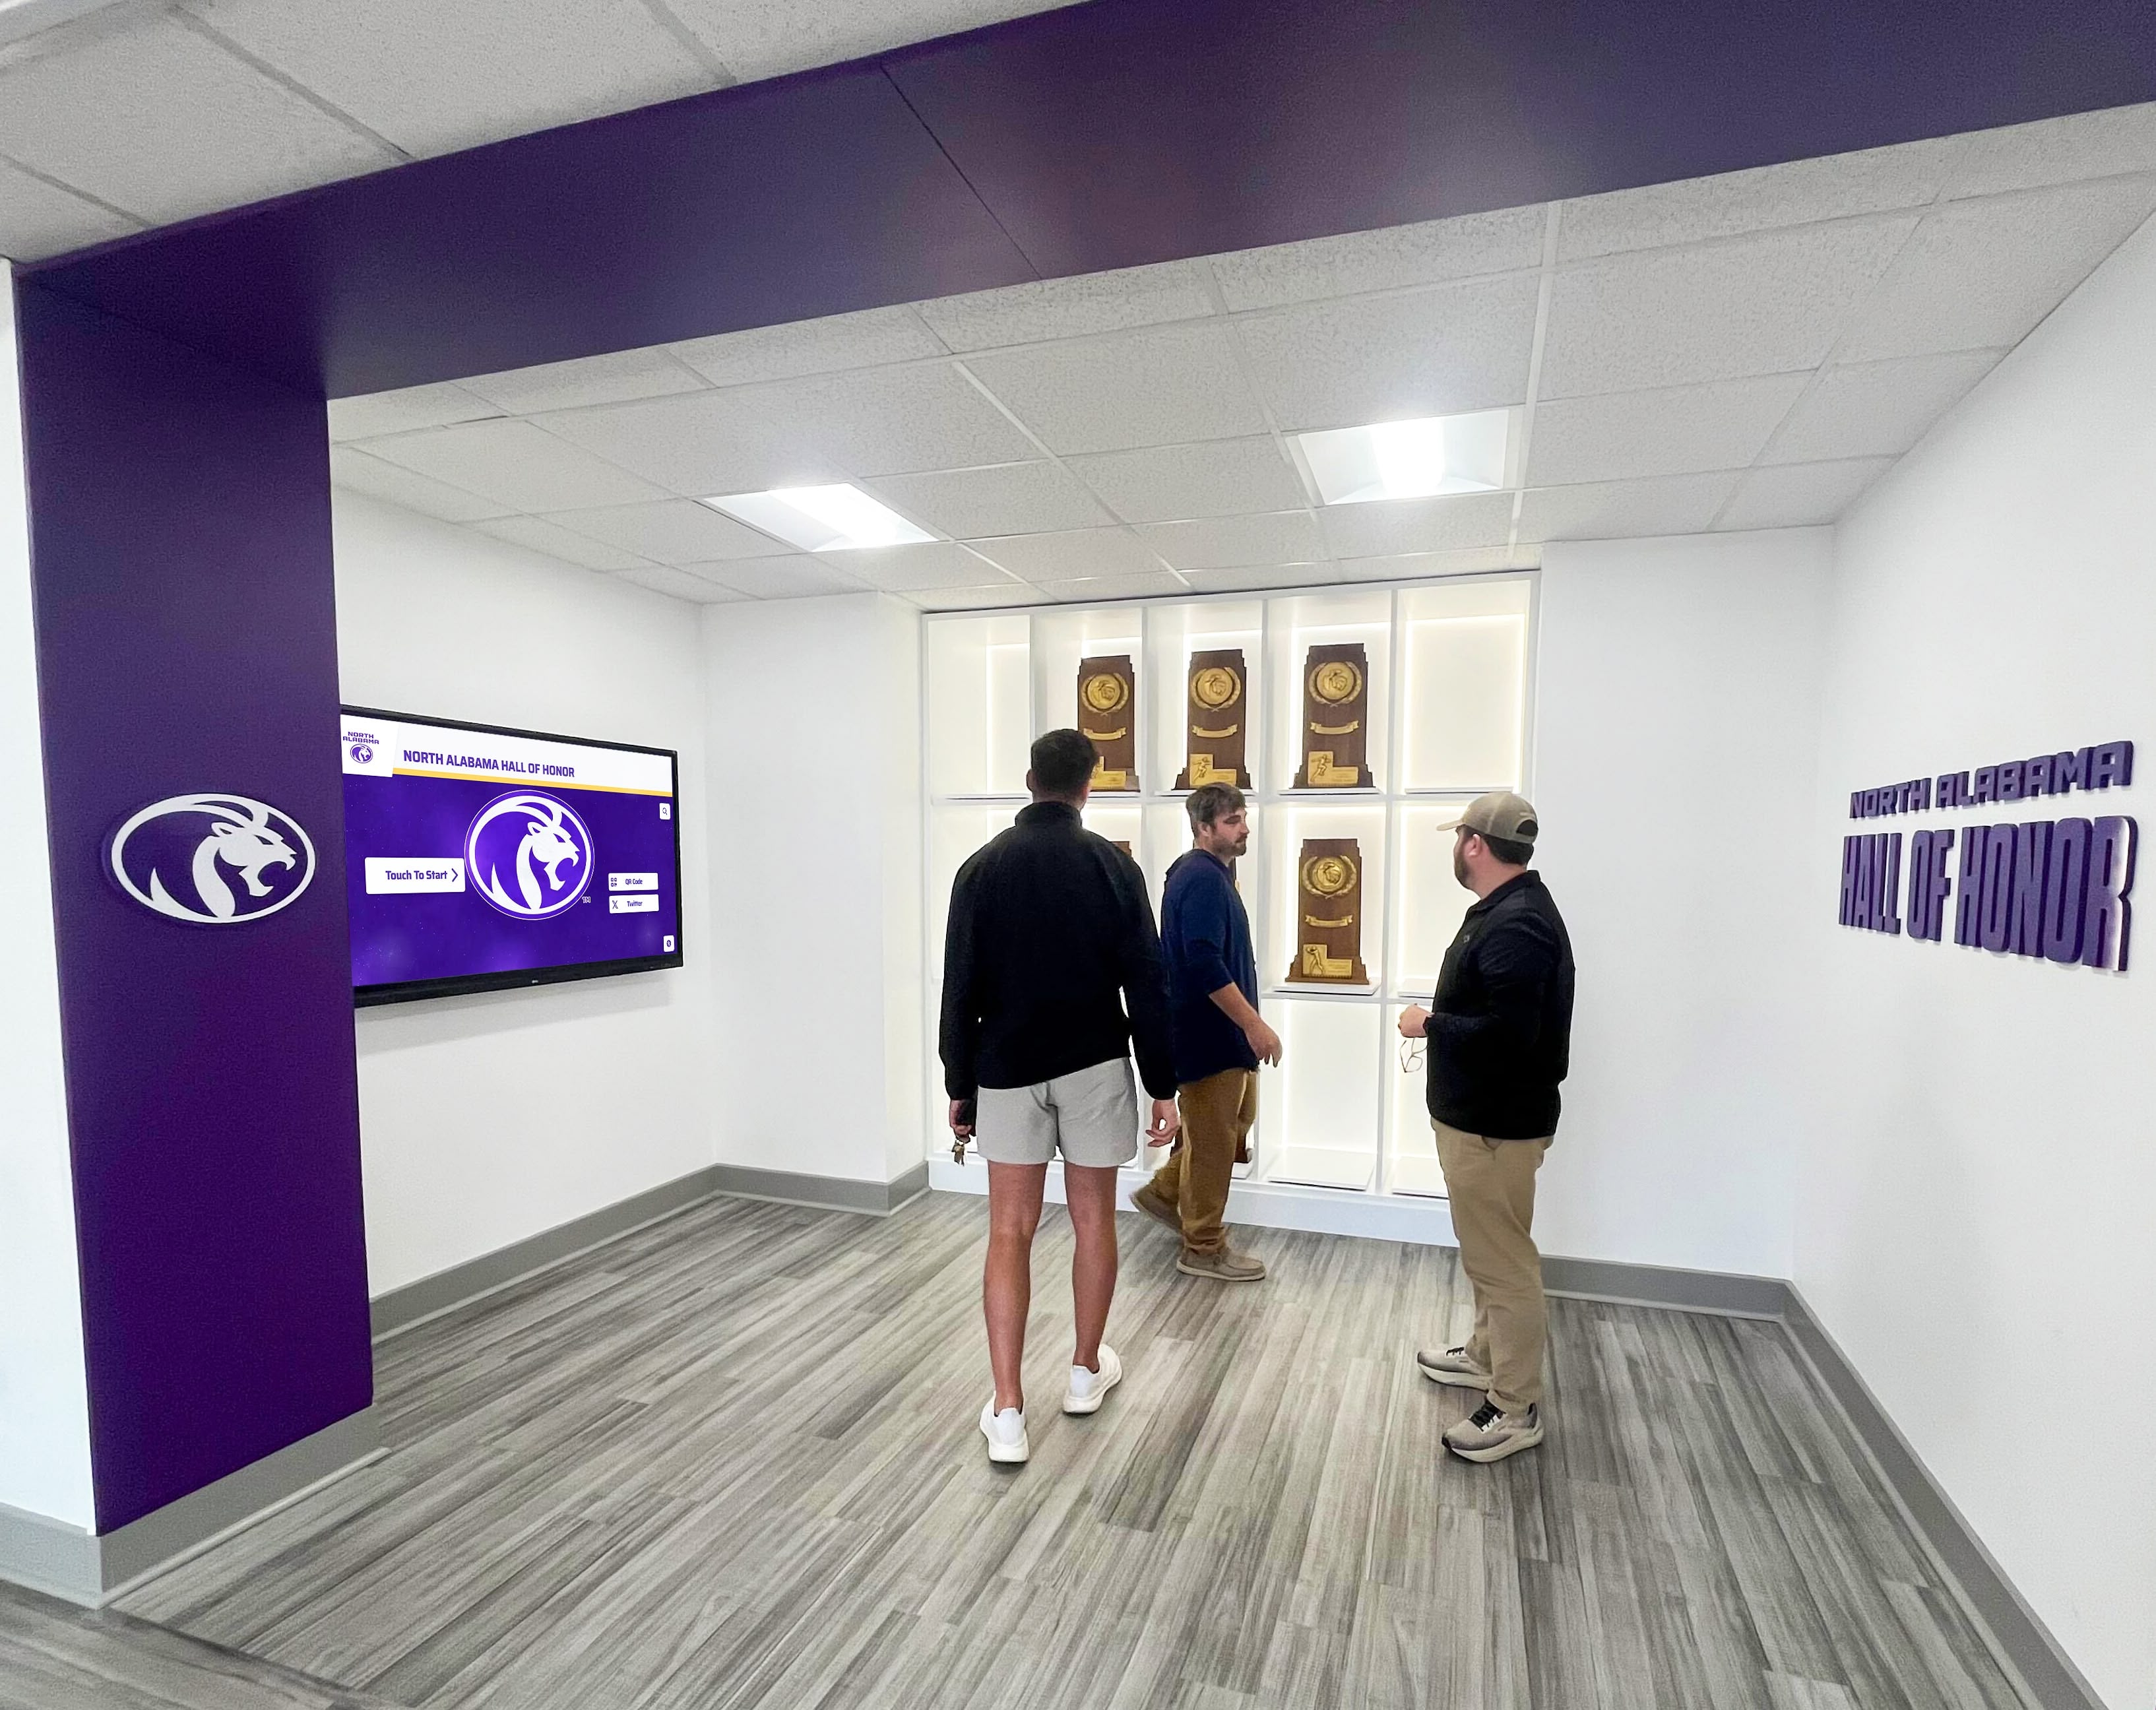
Schools that attract alumni, families, and community visitors to their recognition corridors benefit from accurate glass documentation — an anisotropy record that describes conditions, pattern, and photographic evidence communicates professionalism and protects against misattributed claims
Frequently Asked Questions
Is trophy case glass anisotropy a defect I need to report to the supplier?
Anisotropy is not classified as a defect or irregularity under EN 12150 (toughened safety glass), EN 1863 (heat-strengthened glass), or ASTM C 1048-04; it is explicitly categorised as a visible characteristic excluded from visual quality evaluation criteria. You are not obligated to report it as a defect. If the pattern is visually prominent and you wish to raise it with the supplier for context — particularly for new glass recently installed — do so with accurate observation conditions and photographs documented per this checklist. The supplier can assess whether the retardation range is typical for the glass thickness and toughening specification.
Can the anisotropy pattern in our trophy case glass panels be removed or reduced?
No field treatment removes anisotropy — the pattern is produced by the internal residual stress state of the glass and is not a surface condition. Cleaning the glass does not change the pattern. The only way to change the pattern would be to replace the panel with glass produced with tighter thermal homogeneity during the toughening process. For most school trophy case applications, this substitution is not warranted; anisotropy has no effect on glass safety or recognition display function.
Why does the pattern look much more vivid on some days than others?
Visibility is determined by the degree of polarized light reaching the glass and the viewing angle. On a clear blue-sky day at low solar altitude, Rayleigh scattering produces a higher proportion of polarized daylight; combined with a viewing angle near Brewster’s angle (~56°), the pattern is maximally visible. On an overcast day under diffuse unpolarized light, the same panel may show no discernible pattern at all. Recording the sky conditions and time of day in the inspection log is essential precisely because the same glass can look dramatically different under different conditions.
How is glass anisotropy different from the stress birefringence patterns a birefringence inspection looks for?
Both phenomena involve polarized light interacting with residual stress in glass, and both produce interference patterns visible through polarizing filters. The distinction is context and purpose. A stress birefringence inspection uses crossed polarizing filters to evaluate the current stress state of a panel — looking specifically for stress concentrations at edge damage sites, frame contact points, and mounting holes that indicate elevated fracture risk. Trophy case glass anisotropy, as described in this guide, refers to the full-panel iridescence pattern produced by the thermal toughening process itself — visible under ambient polarized daylight without dedicated optical equipment, characteristic of correctly manufactured TSG and HSG, and not a safety risk indicator. Anisotropy patterns and birefringence inspection findings can both be documented for the same panel; they answer different questions.
Does anisotropy affect the visibility of trophies inside the case?
Under the corridor lighting conditions in which trophy cases are normally viewed — overhead LED or fluorescent fixtures, perpendicular viewing angle — anisotropy patterns in toughened glass are typically invisible or very faint. The patterns that are visible to visitors are most likely to appear when a visitor angles their view toward a window and is wearing polarizing sunglasses. In standard display conditions, anisotropy in trophy case glass does not meaningfully reduce the visibility of the recognition contents inside. If a glass panel appears persistently unclear or discoloured under normal viewing conditions, the cause is more likely surface haze, mineral deposits, or laminate fogging — conditions addressed in the haze inspection protocol — rather than anisotropy.
Should we include anisotropy observations in our annual glass inspection records?
Yes. Even though anisotropy is not a defect, a consistent annual record of the observation conditions under which patterns were or were not visible establishes a baseline useful for comparison if a supplier conversation ever becomes necessary. It also helps distinguish anisotropy from new surface conditions (haze, etching) or physical damage (scratches, edge chips) that may develop over time. A finding described as “anisotropy confirmed under clear-sky oblique-view conditions; no pattern at perpendicular; no surface damage; no delamination” is a clean inspection entry that closes the optical observation loop without triggering unwarranted maintenance action.
Anisotropy characterisation referenced to FKG Technical Note 01/2019, Fachverband Konstruktiver Glasbau e.V., “The Visual Quality of Glass in Building: Anisotropies in Heat Treated Flat Glass”. Glass product standards cited: EN 12150:2015 (toughened safety glass), EN 1863:2011 (heat-strengthened glass), ASTM C 1048-04 (heat-treated flat glass). Brewster angle physics referenced to the optical physics of polarized light reflection at dielectric interfaces. The information in this guide supports facilities-level documentation and supplier communication; it does not constitute a glazing professional’s assessment of any specific installation and does not replace the technical advice of a qualified glazier for any panel where physical damage, spontaneous breakage risk, or safety-glazing compliance questions are present.
Live Example: Rocket Alumni Solutions Touchscreen Display
Interact with a live example (16:9 scaled 1920x1080 display). All content is automatically responsive to all screen sizes and orientations.