



Intent: research — a school trophy case gasket seal inspection is a structured evaluation of the perimeter seals on enclosed display cases that helps administrators, athletic directors, facilities staff, and archivists determine whether door gaskets, panel weatherstripping, and frame compression seals are providing effective barriers against dust infiltration and humidity fluctuation. Because a gasket seal that appears intact from the hallway may have lost compression, developed gaps at corners, or degraded chemically — allowing humid air, fine particulate, and environmental pollutants to cycle through the case interior with every seasonal temperature shift — periodic gasket inspection is one of the most cost-effective preventive steps available to a school maintaining championship hardware, retired jerseys, historic photographs, and athletic memorabilia. This guide explains the function of trophy case gasket seals in dust and humidity control, how to recognize the signs of seal failure on both the gaskets themselves and the artifacts they protect, how to conduct a structured inspection, and when findings require replacement rather than reseating.
The glass is clean, the lighting works, and the trophies are arranged the way the athletic director prefers. From the hallway, the case looks exactly as it should. But if the rubber door gasket has flattened along the bottom rail, if the corner joints where weatherstripping meets have opened by two millimeters, or if the compression seal along one sliding panel has hardened to the point where it no longer follows the panel’s surface when the door closes — then every overnight humidity swing, every HVAC cycle, and every draft from a nearby exterior door is exchanging the case interior air with the ambient corridor environment.
That exchange is not benign. Dust that settles on a silver championship cup becomes an abrasive film that traps surface moisture. Humidity fluctuations above 50–60 percent relative humidity accelerate corrosion on metal awards, embrittlement in paper documents, and dimensional changes in wooden trophy components. Biological particles carried in by air infiltration can initiate mold growth on textiles and paper. And none of this damage announces itself — it accumulates over seasons until a facilities inspection reveals trophies that look permanently dull, paper awards that crumble at the edges, and photographs that have aged decades ahead of their actual age.
A documented school trophy case gasket seal inspection addresses these risks at their source — the perimeter seal that either keeps the case environment stable or allows it to track the hallway environment through every weather change.

Enclosed trophy cases depend on functioning perimeter gasket seals to maintain stable interior conditions — a gasket that looks intact from the hallway may have lost compression, developed corner gaps, or hardened to the point where it no longer seals effectively
What Gasket Seals Do in a Trophy Case
The gasket seal system in a school trophy case has two primary preservation functions: it limits dust infiltration into the case interior, and it reduces the rate at which exterior humidity and temperature changes alter the humidity and temperature inside the case.
Dust control: Fine particulate that enters an unsealed case settles on every horizontal surface — trophy bases, engraved plaques, photographic prints, textile jerseys, and metal award surfaces. Dust is not merely cosmetic. On silver and silver-plated surfaces, dust particles trap moisture against the metal, creating localized electrochemical conditions that accelerate tarnishing. On paper documents and photographs, dust carries particulate acids and biological material. On bronze and copper awards, dust traps reactive compounds against the metal surface. A functional gasket seal does not eliminate dust — it significantly reduces the rate at which it enters the case and settles on the collection.
Humidity buffering: A well-sealed case with interior hygroscopic materials (paper documents, wooden shelving, textile displays) acts as a humidity buffer — the interior relative humidity changes more slowly than the exterior environment, dampening the daily and seasonal swings that drive corrosion and deterioration chemistry. A failed gasket seal eliminates this buffering effect, coupling the case interior directly to HVAC cycling and outdoor humidity changes.
These two functions make the gasket seal one of the most practically important components of the trophy case from a preservation standpoint — and one of the most frequently overlooked during routine maintenance cycles, because a gasket that has slowly flattened or hardened over years still appears to close the door.
Schools managing display cases that include baseball trophies, championship banners, and sports memorabilia from multiple decades face the specific challenge that older hardware — particularly metal figurines, plated surfaces, and pre-1980 photographic prints — is the most sensitive to the humidity and dust exposure that a failed gasket permits.
Types of Gasket Seals in School Trophy Cases
Not all trophy case gaskets are the same material, and the appropriate inspection criteria and replacement intervals differ by type.
| Gasket Type | Common Locations | Typical Lifespan | Failure Mode | Off-Gassing Risk |
|---|---|---|---|---|
| Compression rubber (EPDM) | Door perimeters on heavier cases; framed panel edges | 10–15 years under normal conditions | Hardening and loss of elastic memory; compression set; corner joint gaps | Moderate — sulfur compounds released; accelerates silver tarnishing (see off-gassing inspection) |
| Foam weatherstripping (polyurethane or polyethylene) | Sliding panel edges; lighter door frames; retrofit installs | 3–7 years | Compression set, tearing, adhesive failure, foam crumbling | Moderate to high for polyurethane foam — amine off-gassing risk |
| Silicone rubber seal | Higher-end case doors; custom cabinetry; museum-grade cases | 15–25 years | Surface hardening with retained flexibility; delamination from bonded surfaces; UV-related cracking on exposed sections | Low — silicone is chemically stable; preferred material for archival applications |
| Pile/brush seal | Sliding door edges on older cases; bottom sweeps | 5–10 years | Fiber compression and matting; physical wear at base contact; gaps from track misalignment | Minimal in isolation; concern if backing contains rubber or adhesive with sulfur compounds |
| Vinyl bulb seal | Perimeter seals on older institutional cases; sliding glass door tracks | 7–12 years | Cracking, hardening, and separation from bonded surface; corner failure | Moderate — some vinyl formulations off-gas plasticizers; inspect condition of bonding adhesive |
| Magnetic seal (with rubber carrier) | Refrigerator-style closure on specialty archival cases | 15+ years for magnet; rubber carrier lifespan varies | Magnet strength loss over time; rubber carrier compression set; delamination from door face | Low — magnet component stable; rubber carrier carries same concerns as compression rubber |
Identifying your gasket type: EPDM rubber has a firm, slightly oily feel when new and hardens with age. Foam weatherstripping is soft and compressible; crumbled or compressed sections are visible without tools. Silicone rubber remains slightly flexible even when aged. Pile seals look like a narrow brush strip. If the gasket material is unknown, treat it as rubber for inspection purposes.
Pre-Inspection Preparation
A gasket seal inspection does not require specialized tools, but completing it systematically requires a few items that most facilities staff can assemble in under ten minutes.
Supplies needed:
- Flashlight or headlamp (oblique lighting reveals gaps not visible with overhead light alone)
- Thin paper strip or business card (for gap and compression testing)
- Clean microfiber cloth
- Ruler or flexible tape measure
- Magnifying glass (optional, useful for fine cracks and corner joint gaps)
- Inspection record form with case location, date, and inspector fields
- Digital camera or smartphone for photographic documentation
Best inspection timing: Inspect gaskets during or immediately after a weather change — the pressure differential created by rapid outdoor temperature or humidity shifts can reveal gaps that appear closed under stable conditions. Alternatively, inspect on a sunny afternoon when hallway temperature is noticeably higher than morning, which creates similar pressure conditions. Avoid inspecting immediately after heating or cooling equipment has fully stabilized the hallway, which tends to conceal minor leaks.
Know your case inventory: Before inspecting, confirm which cases in the building have glass panels (glass is heavier and typically framed with compression seals), which have acrylic (often lighter frames with foam weatherstripping), and which are older institutional cases that may have been retrofitted with replacement gasket material different from the original. Mixed-material cases require attention to the different failure modes of each seal section.
The Gasket Seal Inspection: Step-by-Step
Step 1: Visual Survey of Gasket Condition (Case Closed)
With the case closed, examine the perimeter seal from the outside. Use your flashlight at a low angle to rake light across the gasket surface and door-to-frame interface.
What to look for with the case closed:
- Any visible light transmission through the door perimeter (indicates a gap or severe compression failure)
- Surface cracking, crazing, or obvious material degradation on the exposed gasket face
- Gasket that sits visibly lower on one section of the frame than another (uneven compression or partial adhesive failure)
- Corner joints where the gasket material meets at 45-degree or butt cuts — these are the most common failure points and should receive close attention
Record the overall appearance of each door or panel seal before opening the case. If the case has multiple doors or sliding panels, inspect each one separately.
Step 2: Paper Strip Compression Test
Insert a thin paper strip (a business card works well) between the door and the frame at several points around the perimeter. Close the door on the paper strip and attempt to pull it straight out.
Interpreting the result:
- Strong resistance or tearing: Gasket is providing adequate compression at this point
- Moderate resistance with slipping: Gasket is providing some compression but may be below optimal; note the location
- Strip pulls out with no resistance: Gasket is providing no compression at this point — confirmed gap location
Test at least six points around each door: the midpoint of each of the four sides, and both bottom corners. Corner locations are the most common failure zones and the most practically significant, because gaps at corners create a low-point infiltration path for dust and a pressure-equalization channel for humidity.
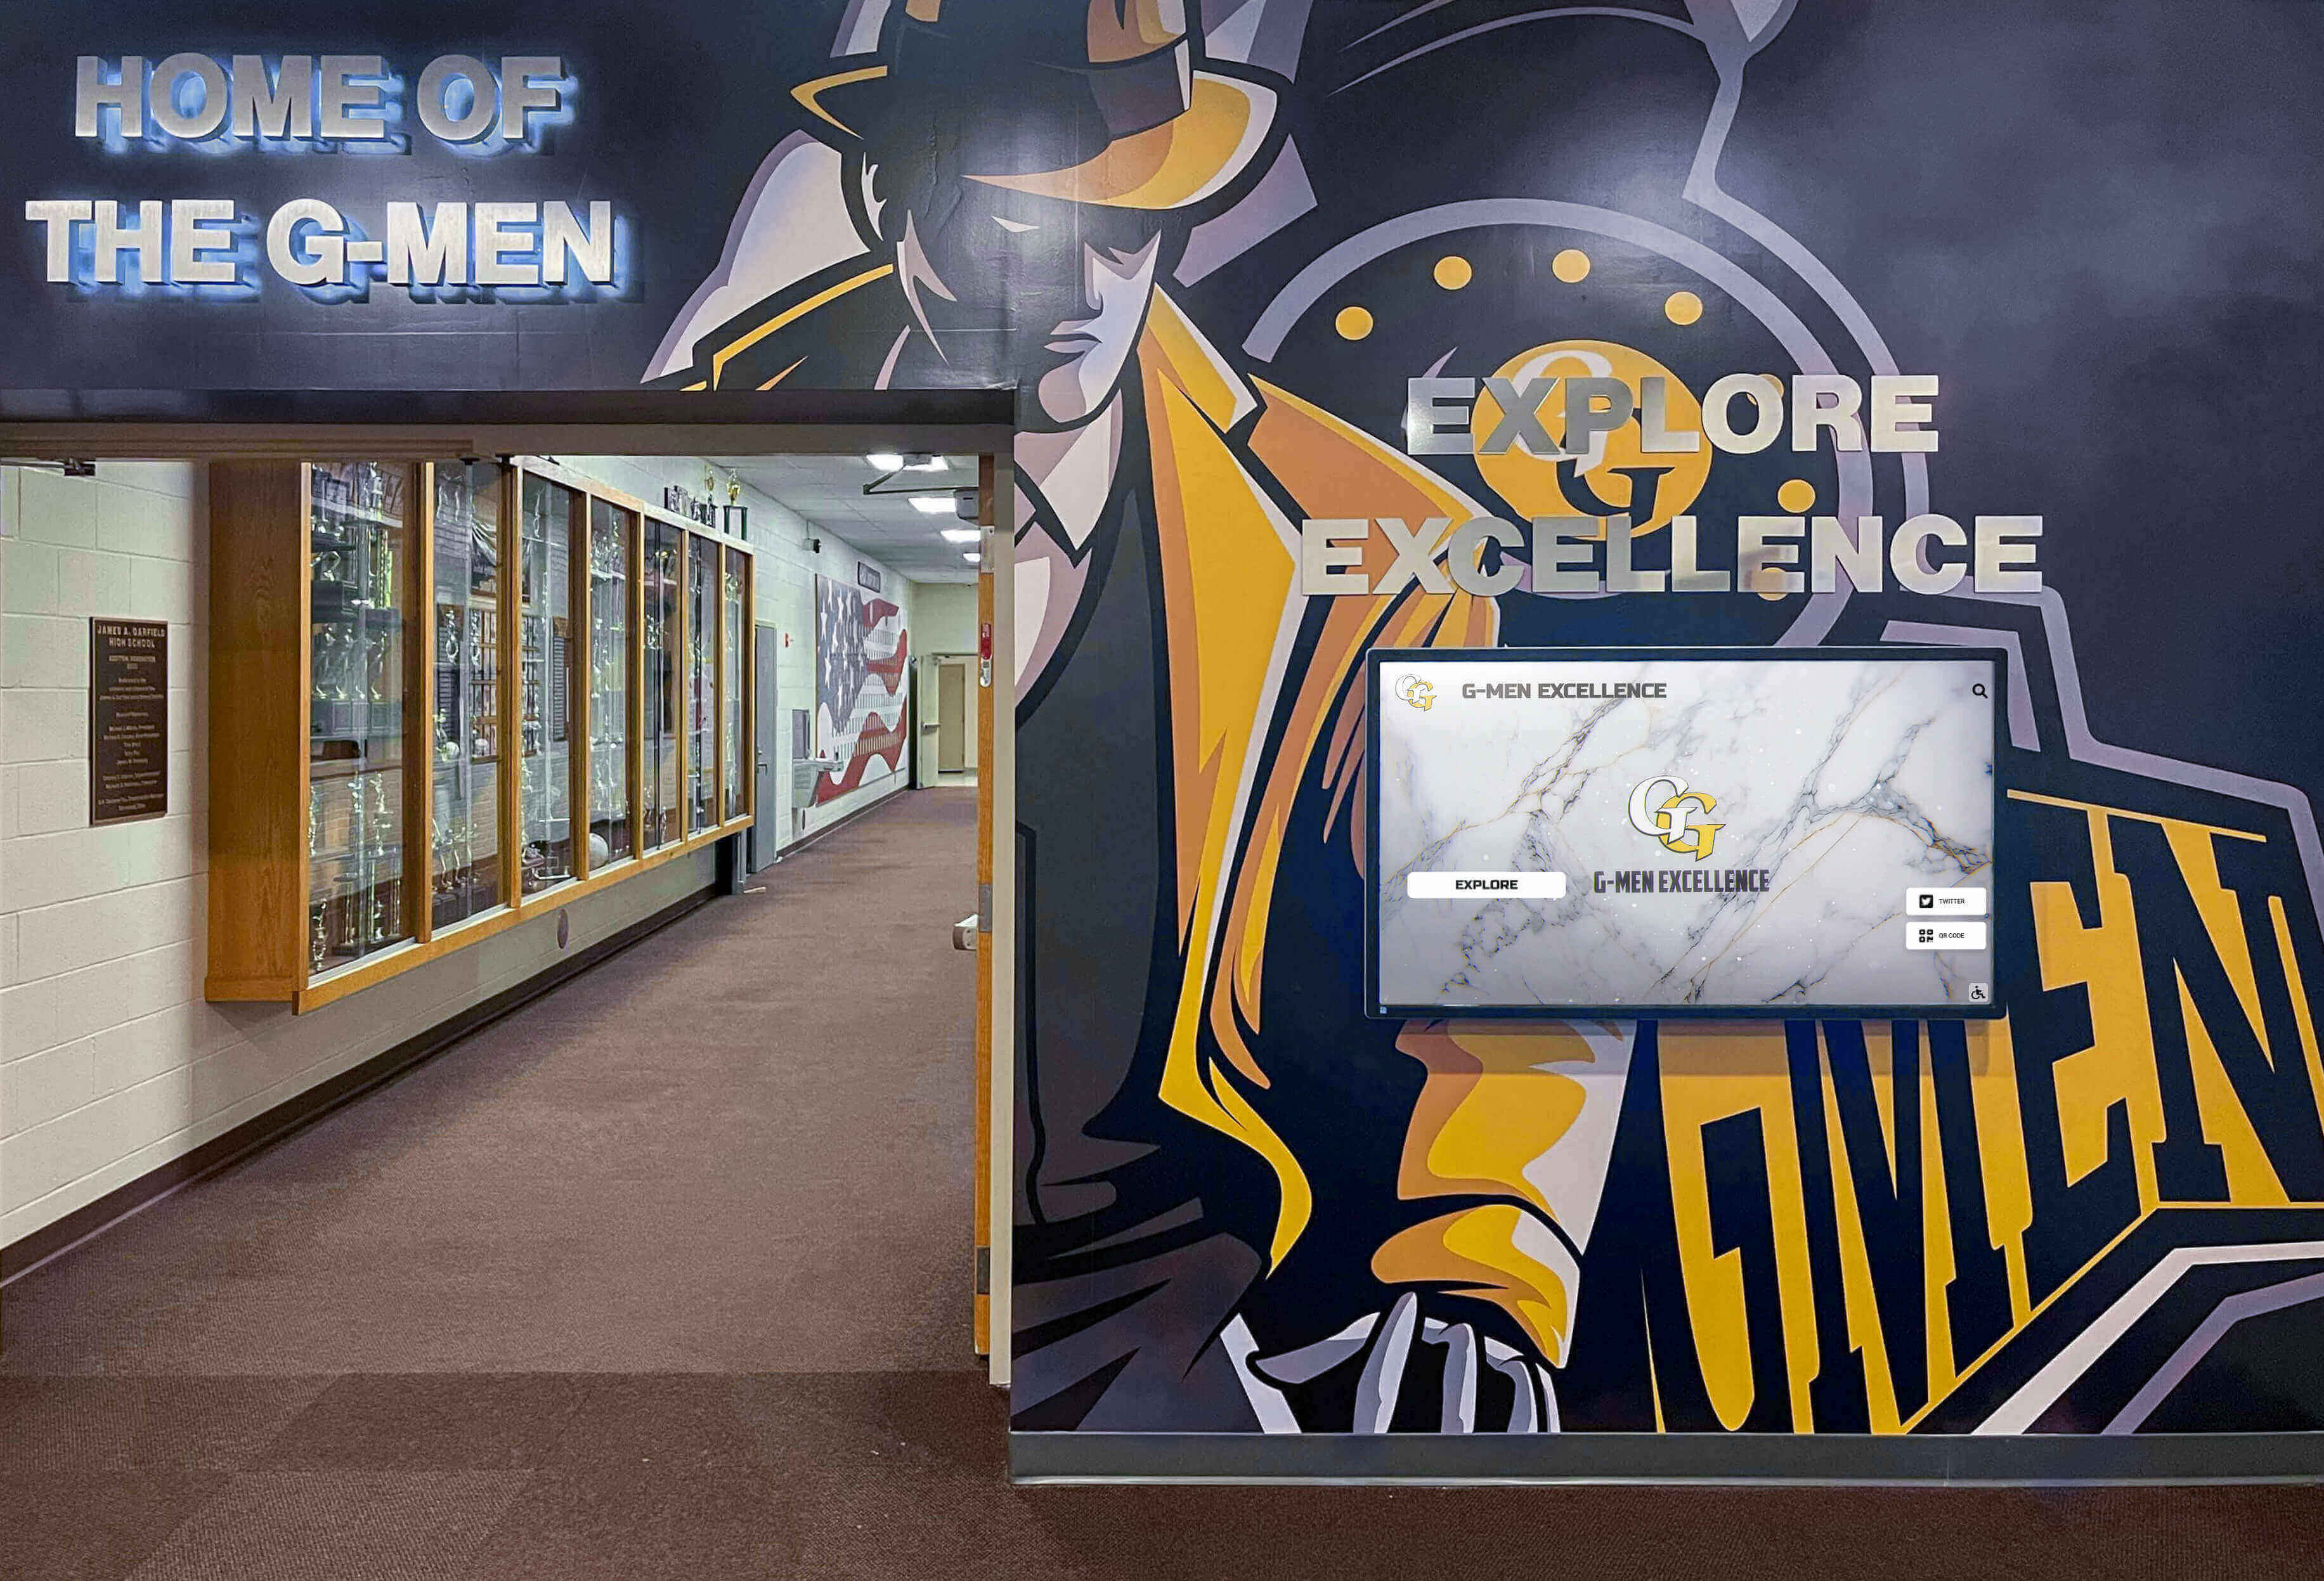
Trophy cases installed at the same time in the same hallway can develop very different gasket conditions depending on their door operation, frame tolerances, and exposure to HVAC airflow — document each case as an independent inspection unit
Step 3: Interior Dust and Condition Survey (Case Open)
After completing the closed-door tests, open the case carefully and examine the interior for evidence of infiltration that the gasket system has failed to prevent. The artifacts inside the case carry a record of the case’s seal history — their condition reveals what the gasket inspection can quantify as a current risk.
Dust infiltration indicators:
- Consistent dust accumulation on horizontal surfaces that recurs between routine cleaning cycles at a rate faster than expected
- Dust accumulation patterns that correlate with specific areas of the perimeter — heavier dust near a known gap location suggests directional airflow through that failure point
- Fine particulate settled in the engraved lettering of plaques and trophies — engraved text traps particles that would otherwise be removed by air movement
Humidity infiltration indicators:
- Watermarks or tide lines on paper documents or photograph backing boards — indicate that liquid condensation has occurred inside the case at some point
- White or hazy deposits on glass panel interiors that do not respond to dry cloth cleaning (mineral deposits from condensation cycles)
- Visible tarnish on silver surfaces that is heavier on the side of the case nearest a confirmed gap
- Any soft or distorted paper documents, which have absorbed moisture and dried in a different dimension
Step 4: Corner and Joint Examination
Examine each gasket corner joint from the interior with a flashlight angled across the joint. Corner joints where two gasket strips meet are rarely as continuous as the straight runs — the material can pull away from the corner cut, leaving a triangular gap that is invisible during casual inspection but creates a significant infiltration point for both dust and humidity.
Also examine the gasket bonding line on cases where the gasket is adhered to the frame rather than fitted into a channel. Adhesive failure along the bonding edge causes the gasket to lift away from the frame in a continuous strip rather than a single gap — the entire bonded length loses its compression simultaneously.
Gasket Seal Inspection Checklist
Use this table to document findings for each case door or panel during the inspection. One row per inspection point; multiple rows per case door where multiple failures are present.
| Inspection Item | What to Assess | Flag If… | Priority |
|---|---|---|---|
| Visual surface condition | Cracking, crazing, hardening, surface degradation visible on exposed gasket face | Any surface cracking extending through more than 25% of gasket thickness; material crumbling at touch | High |
| Compression test — door midpoints (×4) | Paper strip test at midpoint of each of the four door sides | Strip pulls out without resistance at any midpoint | High |
| Compression test — bottom corners (×2) | Paper strip test at each bottom corner joint | Strip pulls out without resistance; this is the highest-risk infiltration point | Critical |
| Compression test — top corners (×2) | Paper strip test at each top corner joint | Strip pulls out without resistance | High |
| Corner joint continuity | Flashlight examination of each corner from inside the case | Visible gap or light transmission at any corner mitre or butt joint | High |
| Gasket height consistency | Does the gasket profile sit at uniform height around the perimeter, or is there an area where it sits lower? | Visible height variation of more than 1–2 mm indicates compression set or partial adhesive failure | Moderate |
| Adhesive bond condition | On bonded gaskets, does the gasket lie flat against the frame surface, or does it lift away at any point? | Gasket lifts away from frame even under light finger pressure | High |
| Bottom sweep or base seal | Examine the seal at the base of the door — does it contact the case threshold consistently across the full door width? | Any section of the bottom seal that lifts clear of the threshold when the door is closed | High |
| Sliding panel track seals | For sliding-panel cases, examine the pile or foam seal in the track; does it contact the panel face consistently? | Pile matted or compressed to less than half its original height; foam sections missing or crumbled | Moderate to High |
| Dust accumulation pattern | Is dust distribution inside the case uniform (suggests general infiltration) or concentrated near specific case areas? | Heavy dust concentration near a confirmed gap location | Confirms gap severity |
| Watermarks or condensation deposits | Interior glass or acrylic deposits; tide lines on backing boards or paper items | Any watermark or mineral deposit inside the case | High |
| Silver tarnish pattern | Is tarnish distribution uniform across silver items, or concentrated on the side nearest a confirmed gap? | Tarnish heavy near a gap location; contact-pattern tarnish at case back or base | Confirms gap severity |
| Paper document condition | Brittleness or softness relative to paper stored outside the case during same period | Softening, warping, or brittleness notably advanced relative to reference materials | High |
Severity Rating Scale
After completing the full inspection checklist for each case, assign a priority rating to guide remediation scheduling.
| Priority Level | Conditions Present | Recommended Action | Inspection Interval |
|---|---|---|---|
| Priority 1 — Seal Intact | Compression test passes at all points; no gaps visible; no dust or humidity infiltration evidence; gasket surface in good condition | Continue scheduled maintenance; clean gasket surfaces with dry microfiber; monitor annually | Annual |
| Priority 2 — Minor Compression Loss | One or two midpoint test failures; no corner failures; light dust accumulation without clear pattern; gasket surface shows minor surface aging | Document findings; schedule gasket reseating or replacement within next six months; increase cleaning frequency | Semi-annual |
| Priority 3 — Active Infiltration | Corner compression failure at any point; dust accumulation pattern correlating to gap location; any watermark or condensation deposit inside case; tarnish pattern consistent with gap-side infiltration | Remove highest-dust-sensitivity items (photographs, paper documents) pending gasket repair; schedule repair within current quarter; consult facilities director | Quarterly until resolved |
| Priority 4 — Immediate Replacement Required | Multiple corner failures; bottom sweep gaps confirmed; visible dust accumulation on items despite recent cleaning; watermarks or condensation history inside case; gasket material crumbling or detached in any section | Remove paper documents, photographs, and silver-plated items from case before next scheduled access; schedule gasket replacement before items are returned; consider if case frame condition warrants full case assessment | Weekly visual check until resolved |
Remediation: What Facilities Teams Can Do
Not all gasket failures require professional case service. The scope of appropriate in-house remediation depends on the failure mode and the gasket type.
Cleaning and reseating a compressed gasket: In cases where the compression test identifies low resistance but no visible gap, the gasket material may be intact but dirty. Gently clean the gasket face with a lightly dampened microfiber cloth — not with solvents or cleaners, which can damage rubber and foam materials — and allow it to dry completely. Close the door and repeat the compression test. If cleaning improves the resistance, the gasket had surface contamination preventing full contact rather than material compression failure. This remediation is appropriate for Priority 2 findings with no corner failures.
Foam weatherstripping replacement: Foam weatherstripping that has compressed, torn, or crumbled can be replaced by facilities staff in most cases. Clean the bonding surface of any residual adhesive, apply the new weatherstripping from a continuous roll where possible (splice joints become gap points), and press firmly along the full length before closing the door. Use weatherstripping of the same cross-section dimension as the original, or slightly larger if the original proved inadequate. Do not use a thicker foam than the door frame can accommodate — an overtight gasket stresses door hardware and causes the foam to compress fully at door closure, which eliminates the compression reserve needed for temperature expansion.
Adjusting door hardware to improve seal: Cases with adjustable door hinge tension, magnetic catches, or sliding panel tension may be experiencing gasket failure partly because the door is not pulling the gasket into full contact with the frame. Before replacing intact gaskets on a Priority 2 case, check whether adjusting the door closure force improves compression test results. This adjustment is case-specific and may require the facilities team to consult the case manufacturer’s hardware documentation.
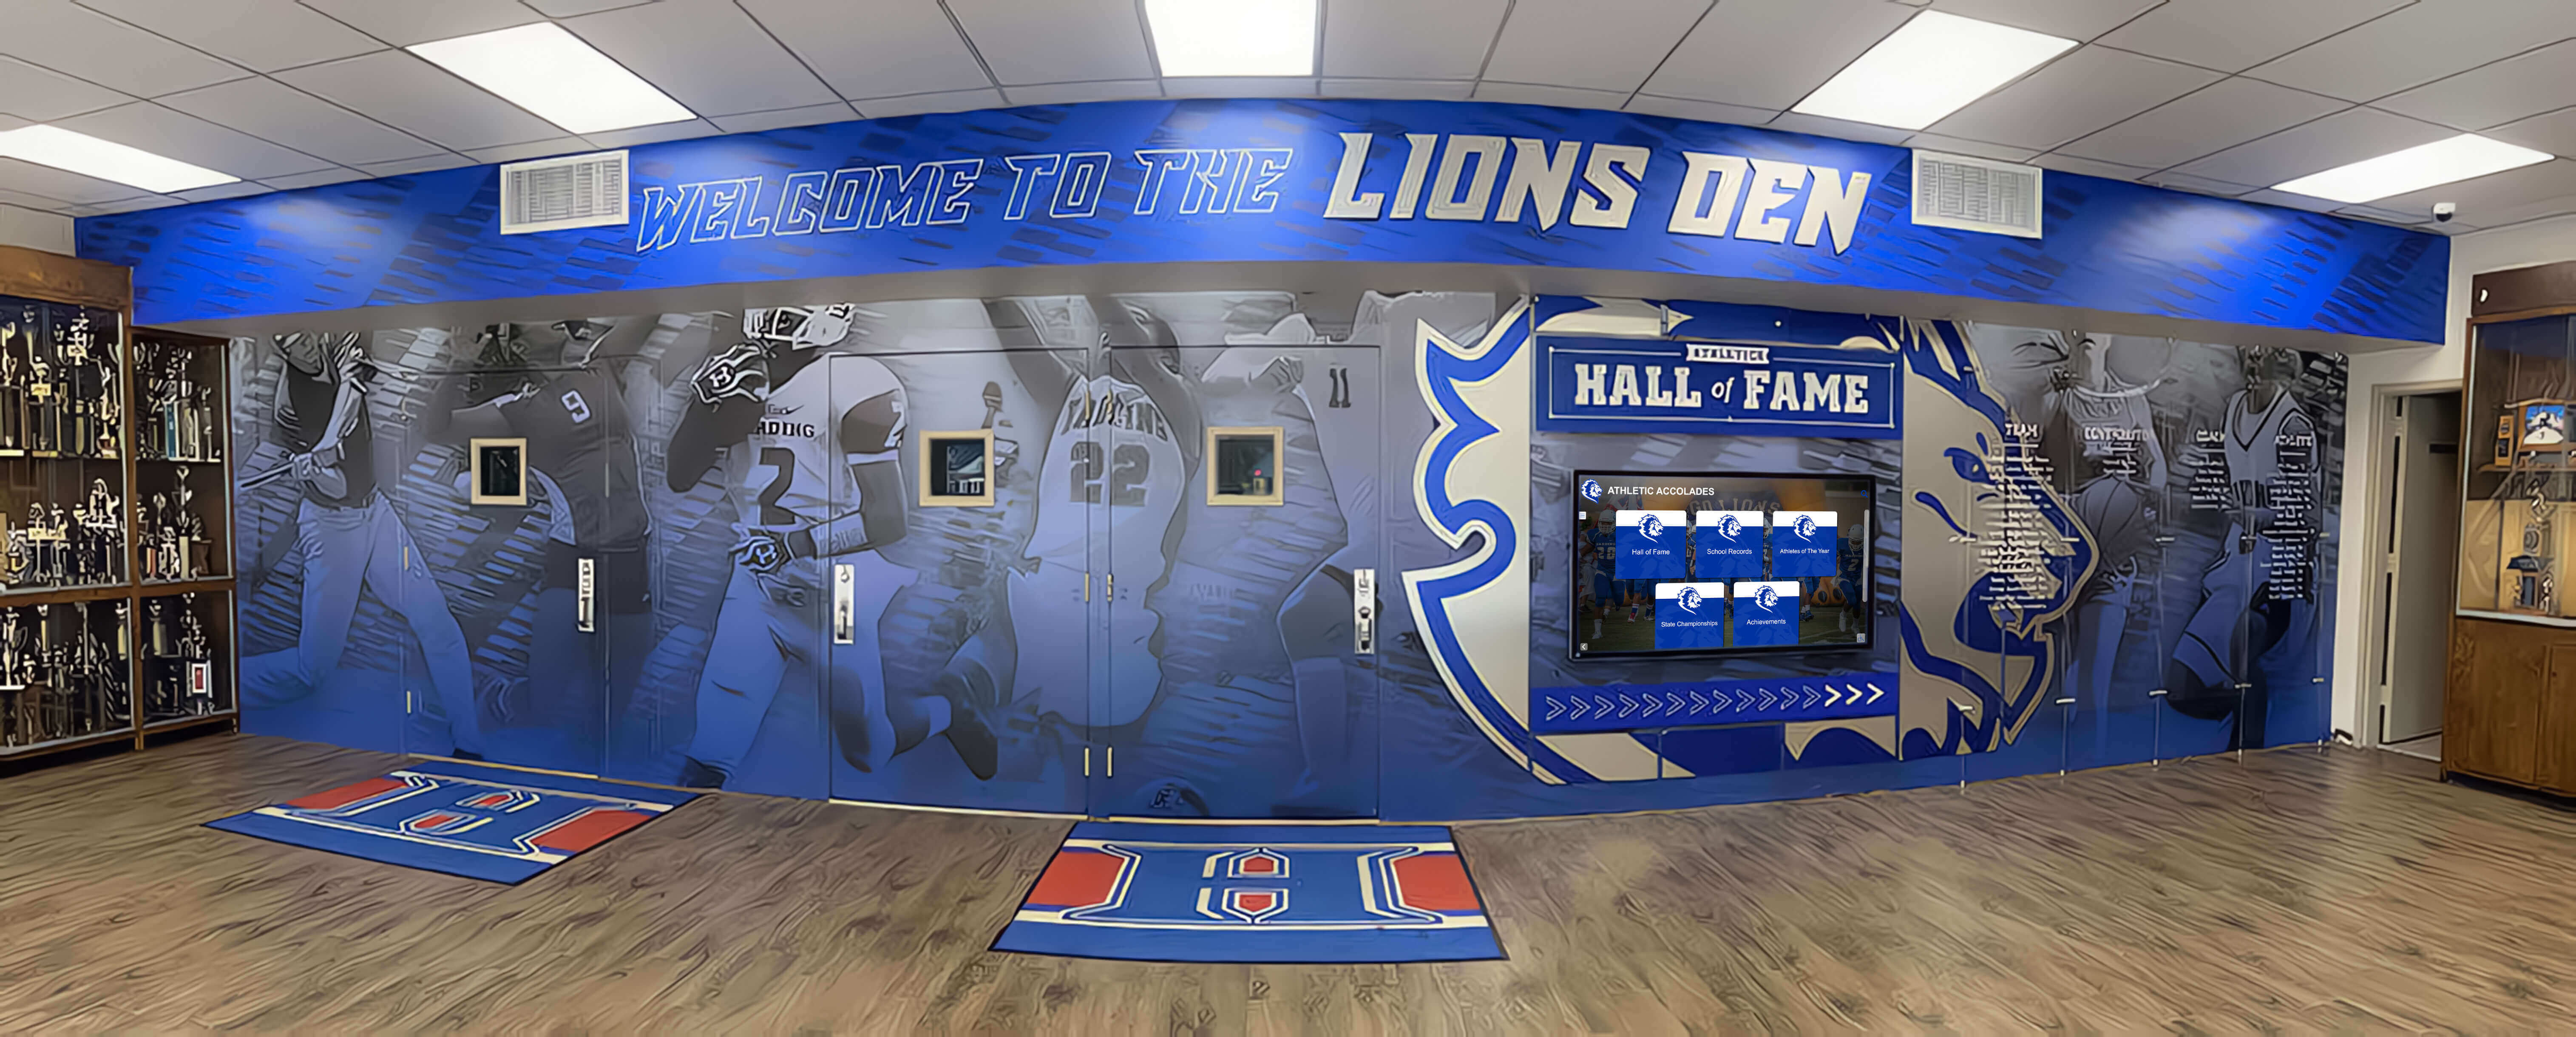
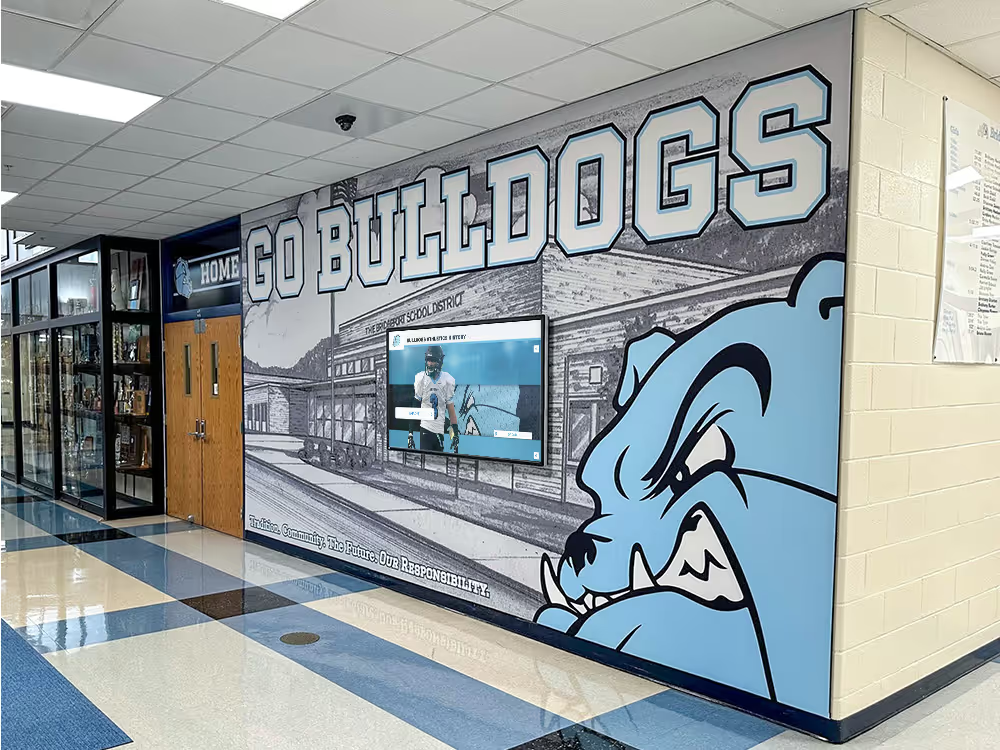
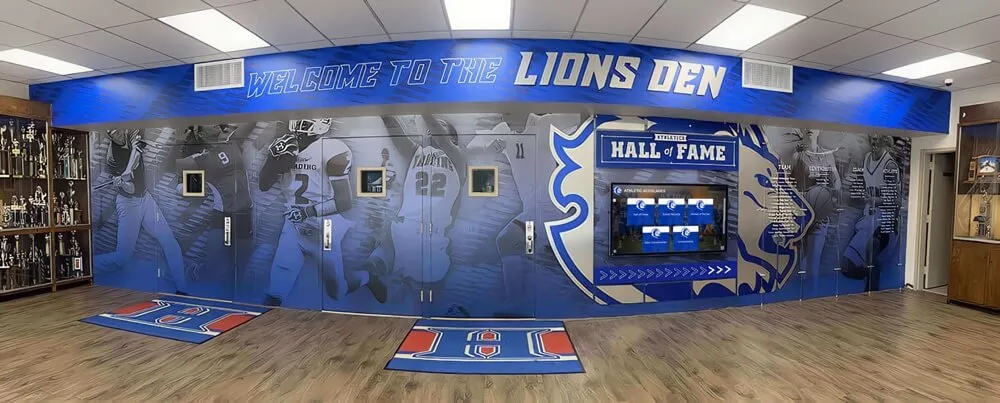
Trophy cases integrated into recognition corridors and hall-of-fame installations often have less routine facilities access than standalone lobby cases — scheduling a structured gasket inspection ensures these cases receive documented maintenance attention regardless of their location
Silicone sealant at corner joints: On cases where corner joint gaps are confirmed but the gasket runs themselves are intact, applying a small bead of neutral-cure silicone sealant at the corner mitre or butt joint can close the gap without replacing the full gasket. Neutral-cure silicone (not acetic-acid-cure, which releases the vinegar-odor compound during cure) is the appropriate product — acetic-acid-cure silicone should not be used inside or near an enclosed trophy case because the acetic acid released during curing is one of the primary off-gassing agents that attack silver and paper. Apply the sealant with the door open, allow complete cure per the manufacturer’s instructions before closing, and verify that the corner joint compression test passes after cure.
Escalation for EPDM or vinyl gasket replacement: Replacing the continuous rubber perimeter gasket on a professionally manufactured trophy case is typically a facilities or vendor service task rather than an in-house repair, because the gasket is often fitted into a machined channel that requires the correct profile. Document the case manufacturer, model, and gasket dimensions, and contact either the case manufacturer or a commercial glazing supplier who services institutional display cases.
Connecting Gasket Seal Inspection to the Broader Recognition Program
Schools that have invested in recognition programs across multiple sports — varsity championships, individual athletic awards, and team hardware from decades of competition — face a straightforward preservation equation: the gasket seal is the first line of defense for every item inside the case, and its failure affects the entire collection simultaneously. A case with a failed corner gasket is subjecting its complete contents to elevated dust and humidity regardless of how carefully individual items were cleaned or how recently the case lighting was serviced.
For schools building or updating their athletic recognition programs, school sports display boards and recognition installations typically represent a significant investment in both artifact preservation and student engagement — an investment that is undermined if the physical case environment quietly deteriorates through neglected gasket maintenance.
The same recognition infrastructure that holds championship trophies often includes documentation of sports award history across multiple program years — plaques, photographs, and engraved records that are among the most humidity-sensitive items in any school’s collection. Paper documents and photographic prints are significantly more sensitive to humidity cycling than metal hardware, and they are typically stored inside enclosed cases for exactly the protection that a functioning gasket seal is meant to provide.
Athletic directors and facilities coordinators who integrate gasket inspection into their annual recognition program maintenance cycle — alongside sports banquet planning and end-of-season recognition events — create a complete picture of what the school’s recognition collection requires across the full calendar year. The physical case maintenance calendar and the recognition program calendar are more connected than they may first appear: an inspection completed in late summer before fall sports trophies are installed is far more useful than one conducted in March when the case is already displaying the current year’s hardware.
Recognition programs that span multiple buildings or that include donor recognition, alumni honors, and volunteer acknowledgment — like the volunteer recognition programs that many schools have expanded significantly — generate a collection of plaques, framed certificates, and photographic displays that occupy enclosed cases across multiple hallways. Gasket seal integrity in all of these cases directly affects the long-term legibility and condition of the recognition they hold.
Documenting Gasket Inspections for Year-Over-Year Comparison
A gasket inspection completed once, without documentation, provides a single useful data point. A documented inspection cycle — conducted annually or semi-annually and preserved in a shared facilities record — provides something more valuable: the ability to identify which cases are deteriorating faster than expected, which cases have stable gaskets approaching the end of their typical lifespan, and which repairs have held compared to the inspection that preceded them.
The documentation does not need to be complex. A spreadsheet with columns for case location identifier, inspection date, inspector name, gasket type, compression test results by location (pass/fail/gap), corner joint findings, interior condition observations, priority rating, and scheduled next action provides a complete record that can be reviewed by any facilities staff member and updated after each inspection cycle.
For schools where recognition programs include a growing archive of athlete records, retired numbers, and multi-year athletic histories, comprehensive award ceremony records and recognition display documentation benefit from the same documentation discipline that a gasket inspection log represents — a structured record that preserves what was done, when, and by whom, so that the next person responsible for the program does not have to start from a blank page.
When Physical Case Gasket Maintenance Connects to Digital Recognition
Physical trophy case maintenance — including gasket inspection, dust control, and humidity management — addresses the environment that existing artifacts occupy. It is a preservation investment in what the school already has. But the gasket seal’s role in protecting championship hardware and memorabilia also points to a broader question that growing recognition programs eventually face: as the collection grows and as cases age, how should a school’s recognition infrastructure evolve?
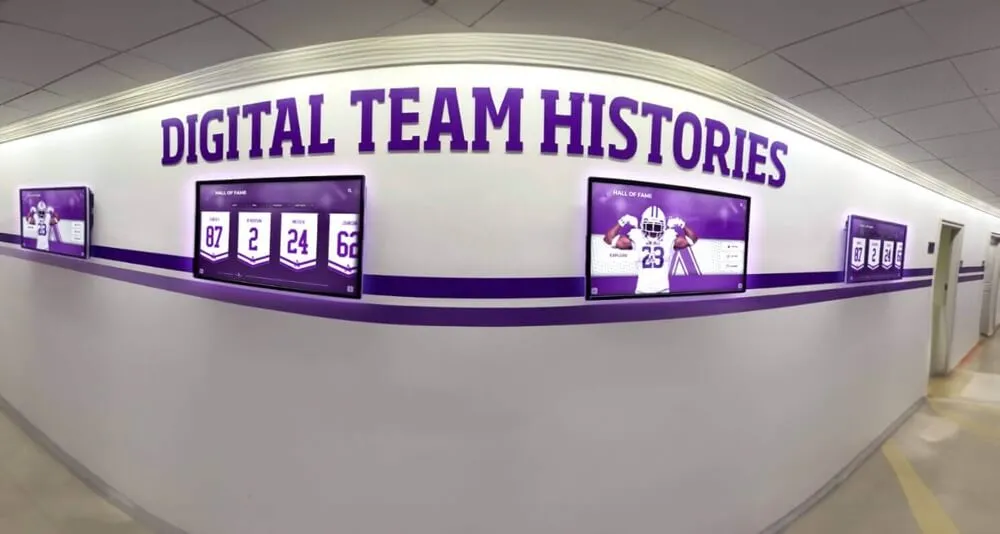
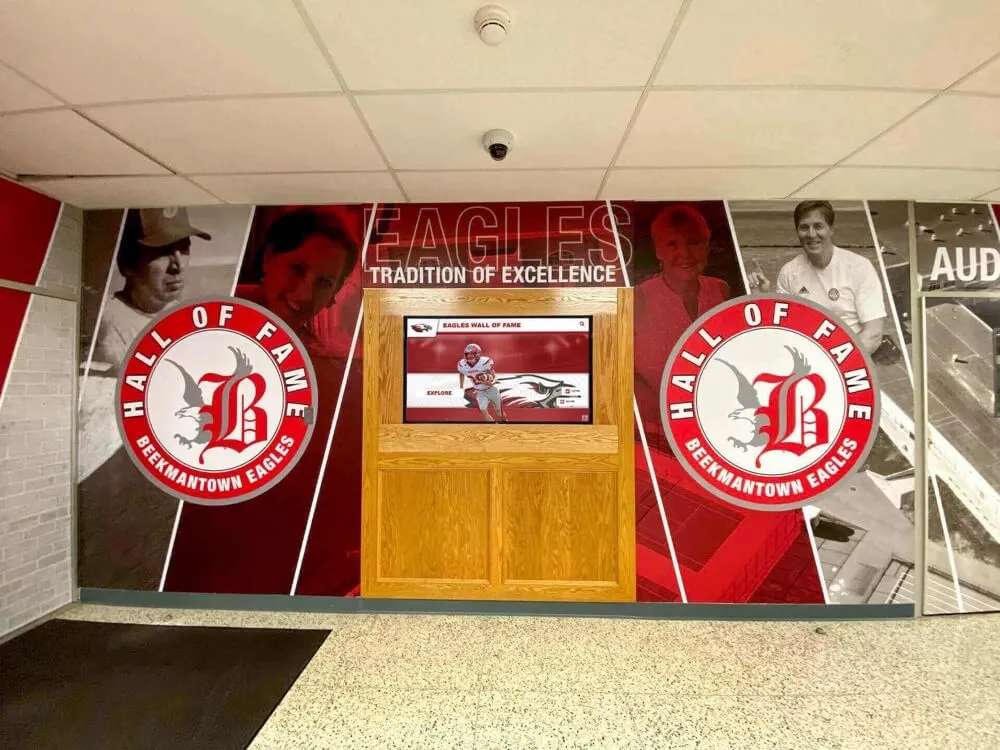
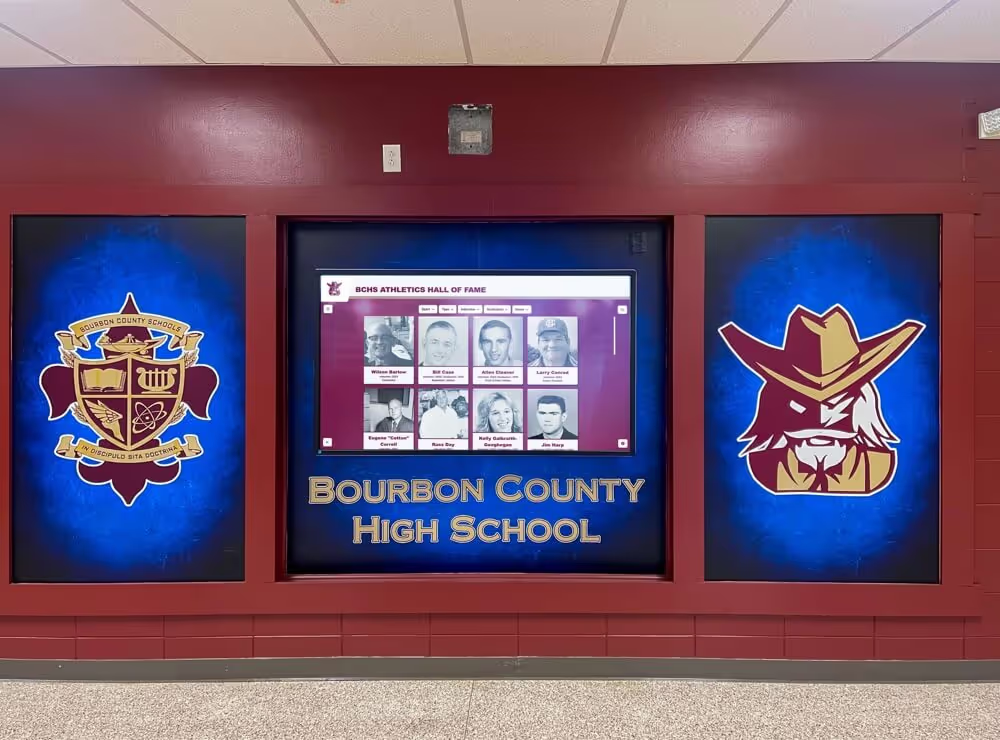
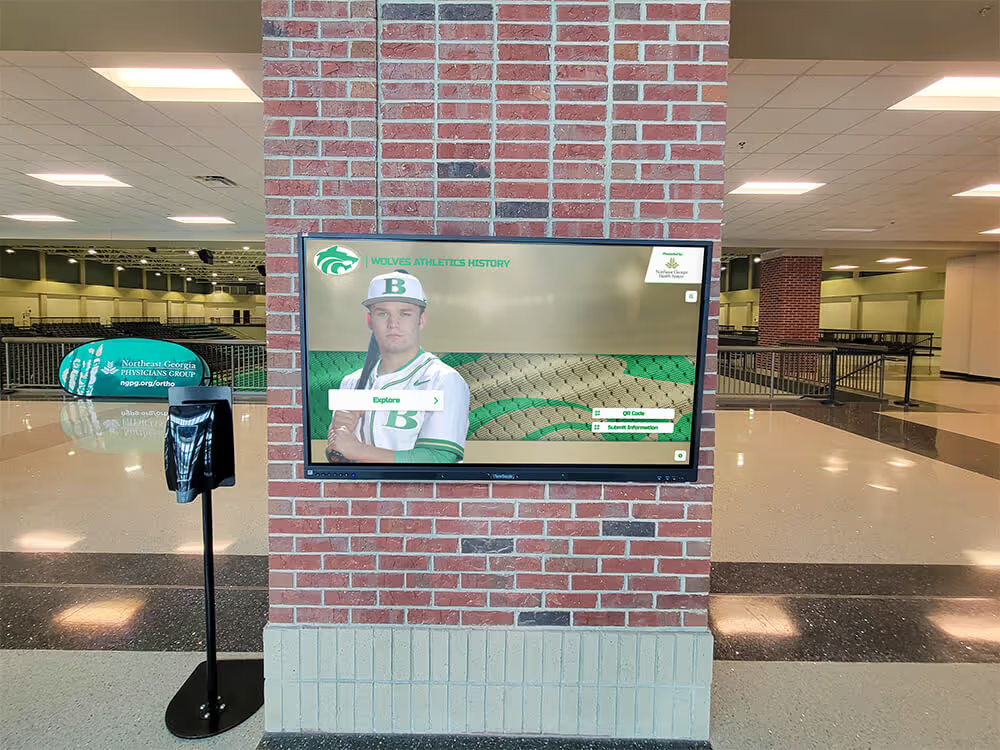
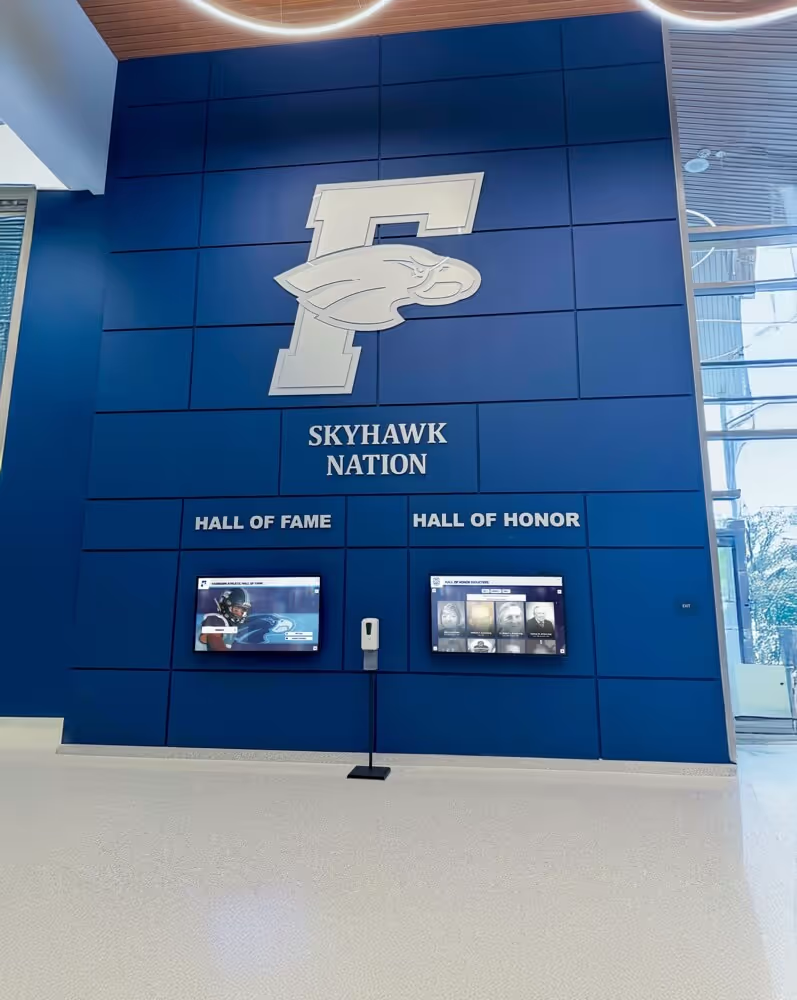
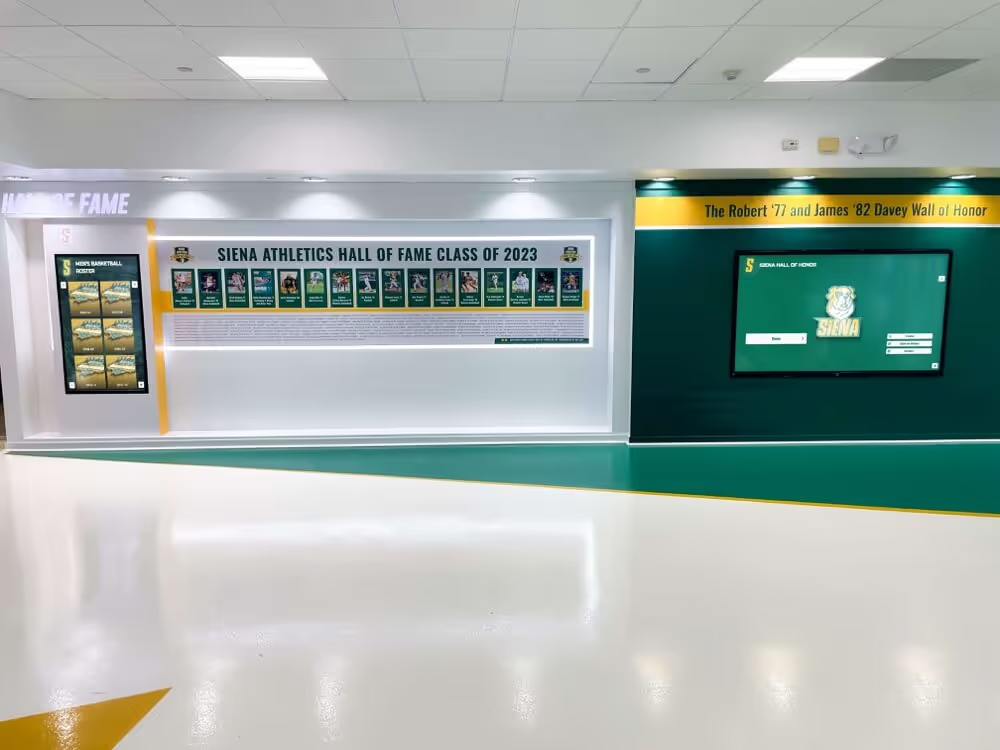
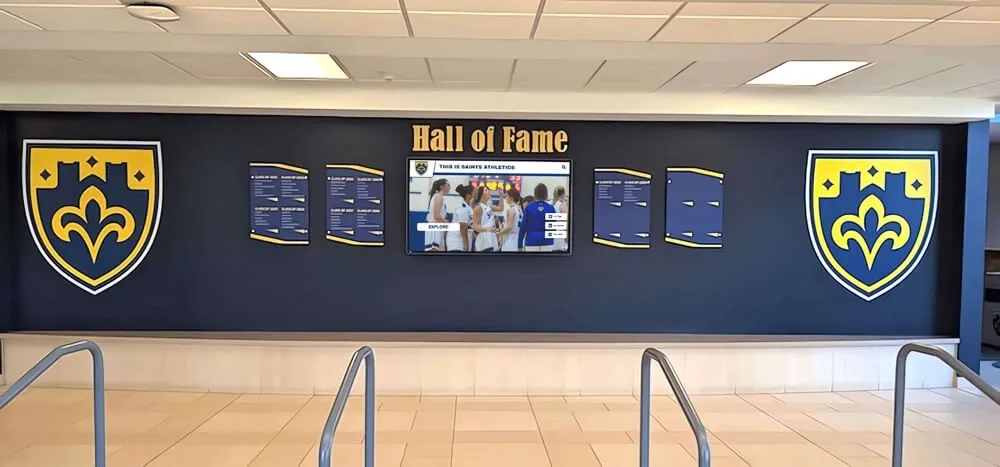
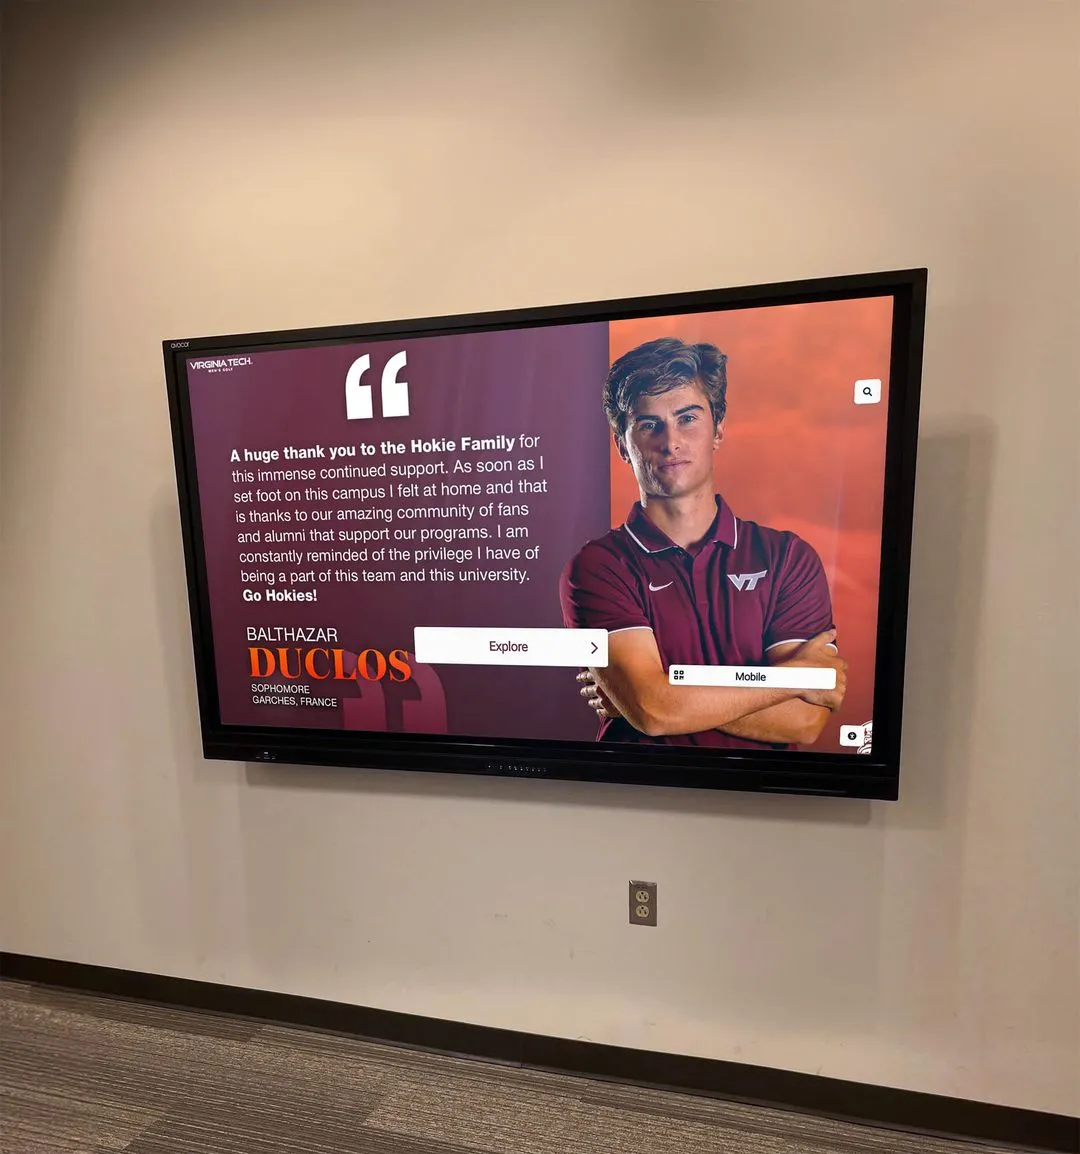
Schools that have explored digital donor wall installations and cloud-managed recognition displays as complements to physical trophy cases find that the two systems address different aspects of the recognition mission. The physical case, properly maintained, holds original artifacts with the tangible presence that a screen cannot fully replicate. The digital platform provides unlimited capacity, remote accessibility, and the ability to represent every award — not only the items for which space exists behind a gasket-sealed panel.
For schools whose collections include records from many years of competition — the kind of comprehensive athletic archive where middle school and high school records span multiple building generations — the combination of a well-maintained physical display and a cloud-managed digital archive creates a recognition infrastructure that is both historically grounded and practically scalable.
The gasket inspection keeps the physical case doing its job. The digital platform ensures that the record those physical artifacts represent extends beyond what any case can hold.
FAQ: School Trophy Case Gasket Seal Inspection
What is a gasket seal inspection for a school trophy case, and how is it different from routine cleaning? A gasket seal inspection evaluates the physical integrity of the perimeter seals on enclosed display cases — the rubber, foam, silicone, or vinyl strips that run along door edges and panel joints to limit dust and humidity infiltration. Routine cleaning addresses surface conditions on the case exterior and interior. A gasket inspection addresses the structural boundary that determines how stable the interior environment is. A case can be cleaned weekly and still experience significant artifact deterioration if the gasket seal has failed, because cleaning removes dust after it has already entered; a functioning gasket limits how much enters in the first place.
How often should a school conduct a gasket seal inspection? A baseline annual inspection is appropriate for all enclosed trophy cases. Cases identified with Priority 2 findings (minor compression loss) should be inspected semi-annually until the issue is remediated. Cases with active infiltration evidence (Priority 3) should be inspected quarterly until the gasket is repaired and re-evaluated. High-traffic cases near exterior doors or HVAC vents — which experience greater pressure and humidity cycling than interior cases — benefit from the semi-annual schedule as their standard interval regardless of findings.
Can facilities staff replace a trophy case gasket, or does it require a professional? Foam weatherstripping replacement on cases where the weatherstripping is bonded to the frame is typically within facilities staff capability, provided the correct material is sourced and applied in continuous runs without splice joints at corners. Pile or brush seal replacement is similarly accessible. Replacement of fitted EPDM or vinyl perimeter gaskets that seat into a machined channel — common on heavier institutional cases and purpose-built trophy cases — typically requires the correct profile material and may warrant a service call to the case manufacturer or a commercial glazing contractor. Document the case manufacturer and gasket dimensions before sourcing replacement material.
What gasket material is best for school trophy cases? Silicone rubber is the preferred gasket material for archival-quality trophy case applications. It has a long service life (15–25 years under normal conditions), remains flexible across a wide temperature range, and does not off-gas sulfur compounds that attack silver awards. It is generally more expensive than EPDM rubber or foam weatherstripping at initial installation. EPDM is the most common existing material in school trophy cases — it performs adequately but off-gasses sulfur compounds as it ages, which is a secondary consideration when the case holds silver-plated awards or silver gelatin photographs. When replacing gaskets, specifying silicone where the case frame accommodates it is the best long-term choice.
What does dust inside a trophy case actually do to trophies and memorabilia? Dust in a trophy case is not only a cosmetic concern. On silver and silver-plated surfaces, dust particles trap moisture against the metal and create localized electrochemical conditions that accelerate tarnishing — particularly when the dust contains sulfate or chloride compounds, which are common in indoor environments. On paper awards and certificates, dust carries particulate acids and biological material that contribute to paper deterioration. On photographic prints, airborne particles can abrade the print surface and carry reactive compounds that cause fading and staining. On textile jerseys, dust carries moisture-retaining particles that promote mold growth if humidity is elevated. Controlling dust through an effective gasket seal is one of the most direct preservation interventions available without specialized equipment.
How does humidity affect trophy case contents, and what humidity level should a case maintain? Conservation literature generally recommends a relative humidity of 45–55 percent for mixed collections containing metals, paper, textiles, and photographs. Above 60 percent relative humidity, corrosion chemistry accelerates on metal surfaces, paper and textile absorption increases, and conditions favorable to mold growth develop. Below 40 percent, paper and wooden components can become brittle and develop dimensional cracks. School environments in many climates fluctuate significantly above and below this range through the academic year. A well-sealed trophy case with interior hygroscopic materials (paper documents, wooden shelving) buffers against these swings by changing internal humidity more slowly than the external environment. A failed gasket seal eliminates this buffering and exposes the collection to the full ambient humidity cycle.
Should we add silica gel or humidity control packs inside the case along with maintaining the gasket? Humidity control products — silica gel, two-way humidity control packs, or buffering materials — are useful supplements inside trophy cases, but they are most effective when the case is adequately sealed. In a case with significant gasket failures, these products are overwhelmed by the volume of air exchanged through gaps and cannot maintain their target humidity range. In a well-sealed case, they provide meaningful buffering that supplements the physical seal. The correct sequence is to repair the gasket first, then add humidity control materials as a secondary measure — not to rely on humidity control products as a substitute for an effective seal.
Integrating Gasket Inspection into Your Annual Facilities Cycle
A school trophy case gasket seal inspection fits naturally into the same annual facilities walkthrough that addresses electrical safety, lighting function, panel condition, and pest indicators. Each of those inspection categories addresses a different risk to the collection; together they form a complete picture of what a physical trophy case requires to function as the preservation environment it is meant to be.
The practical implementation is straightforward: schedule an inspection in late summer before fall sports hardware is added to displays, and again in late winter before spring awards seasons. Both timing points represent the school’s highest-traffic recognition periods — when the cases are most used, most accessed, and most scrutinized by students, families, and visitors. Inspecting gaskets before those periods ensures any remediation is completed before the collections are at their most visible.
Schools that document gasket inspection findings alongside other case maintenance records build a year-over-year picture that makes facilities budget conversations more specific and more defensible — the difference between “the trophy cases need work” and “four cases are showing Priority 3 gasket failures with confirmed dust infiltration that requires repair before fall installation.”
For schools whose recognition programs are growing beyond what physical cases alone can represent — building comprehensive athletic archives that span multiple sports, decades, and recognition categories — the gasket inspection is the maintenance step that protects the original artifacts while a cloud-managed digital platform ensures the record those artifacts represent is accessible, searchable, and permanent regardless of what any individual case eventually requires.
Ready to Build a Digital Recognition Platform That Complements Your Physical Trophy Case Program?
Rocket Alumni Solutions builds interactive digital trophy cases and halls of fame for schools nationwide — cloud-managed displays with unlimited record capacity, ADA WCAG 2.1 AA compliant touchscreens, QR code access for mobile viewing, and remote content updates without IT tickets. See how schools are preserving every championship, retired jersey, and alumni milestone on a platform that grows alongside their physical trophy case maintenance program.
Book A Demo