Rugby confounds newcomers with its continuous flow, complex rules, and 15 players executing specialized roles that seem indistinguishable to untrained eyes. Parents watching their child’s first match struggle to understand why certain players always cluster in scrums while others spread across the field. Coaches inheriting rugby programs without playing backgrounds face the challenge of positioning athletes effectively when position names like “hooker,” “fly-half,” and “number eight” provide little intuitive guidance.
Unlike basketball’s five positions or baseball’s nine, rugby’s 15 positions divide into forwards and backs with highly specialized responsibilities requiring distinct physical attributes, technical skills, and tactical understanding. Placing a natural speedster in the front row or a powerful athlete at fullback wastes talent and compromises team performance—yet without clear understanding of what each position demands, these mismatches happen frequently in developing programs.
This comprehensive guide explains all rugby positions, breaking down the specific roles, required skills, physical attributes, and responsibilities for each of the 15 players on the pitch. Whether you’re a coach building a program, an athlete discovering your ideal position, or a parent trying to understand the game, this resource demystifies rugby’s positional structure.
Understanding rugby positions transforms the sport from chaotic confusion into strategic elegance. Each position serves specific tactical functions during different phases of play—scrums, lineouts, rucks, mauls, and open running—with successful teams placing athletes whose natural abilities align with positional demands while developing the technical skills each role requires.

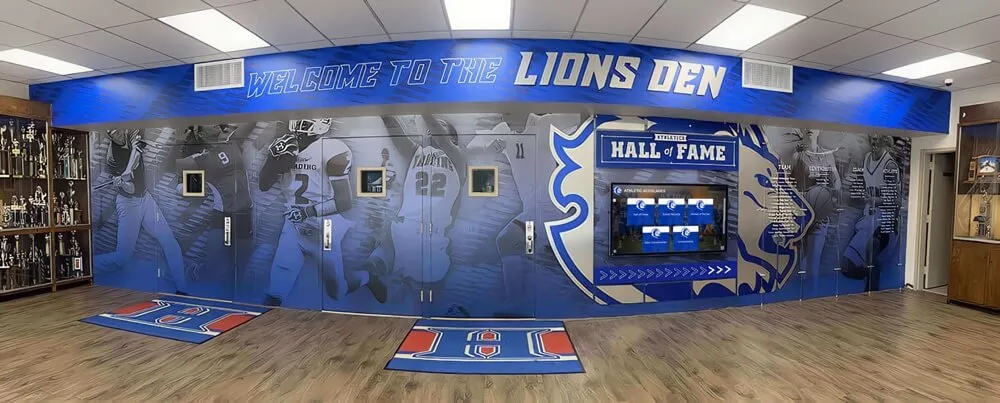
Rugby programs honor standout performers by position—recognizing dominant props, creative fly-halves, and fearless fullbacks who excelled in specialized roles
Understanding Rugby’s Basic Positional Structure
Before exploring individual positions, understanding how rugby organizes its 15 players provides essential context for why positions exist and how they interact.
Forwards vs. Backs: The Fundamental Division
The Forward Pack (Positions 1-8)
The eight forwards form rugby’s engine room, providing the power and possession that enables backs to attack:
- Primary responsibilities: Winning possession in scrums, lineouts, rucks, and mauls
- Physical profile: Generally larger, more powerful athletes (200-280+ lbs typical)
- Playing style: Close-quarters physicality, sustained effort, technical set-piece skills
- Tactical function: Creating forward momentum, securing ball possession, wearing down opponents
- Stamina demands: Repeated high-intensity efforts in contact situations
Forwards operate primarily in tight formations and contact situations, though modern rugby increasingly requires forwards with ball-handling skills and mobility previously expected only from backs.
The Backline (Positions 9-15)
The seven backs create attacking opportunities and defensive coverage across the field’s width:
- Primary responsibilities: Creating and finishing scoring opportunities, territorial kicking, defensive coverage
- Physical profile: Generally faster, more agile athletes (170-220 lbs typical with exceptions)
- Playing style: Speed, evasion, handling skills, spatial awareness
- Tactical function: Exploiting space, executing attacking moves, covering defensive width
- Stamina demands: High-speed running, repeated acceleration, covering large distances
Backs utilize speed and skill to attack space created by forward dominance, though they also must tackle effectively and compete for possession when required.
Position Numbering System
Rugby uses standardized jersey numbers corresponding to specific positions:
Forwards (1-8)
- 1: Loosehead Prop
- 2: Hooker
- 3: Tighthead Prop
- 4 & 5: Locks (Second Row)
- 6 & 7: Flankers (Blindside and Openside)
- 8: Number Eight
Backs (9-15)
- 9: Scrum-Half
- 10: Fly-Half (Stand-Off)
- 11 & 14: Wings
- 12: Inside Center
- 13: Outside Center
- 15: Fullback
This numbering system remains consistent across rugby union globally, allowing immediate position identification regardless of team or competition.

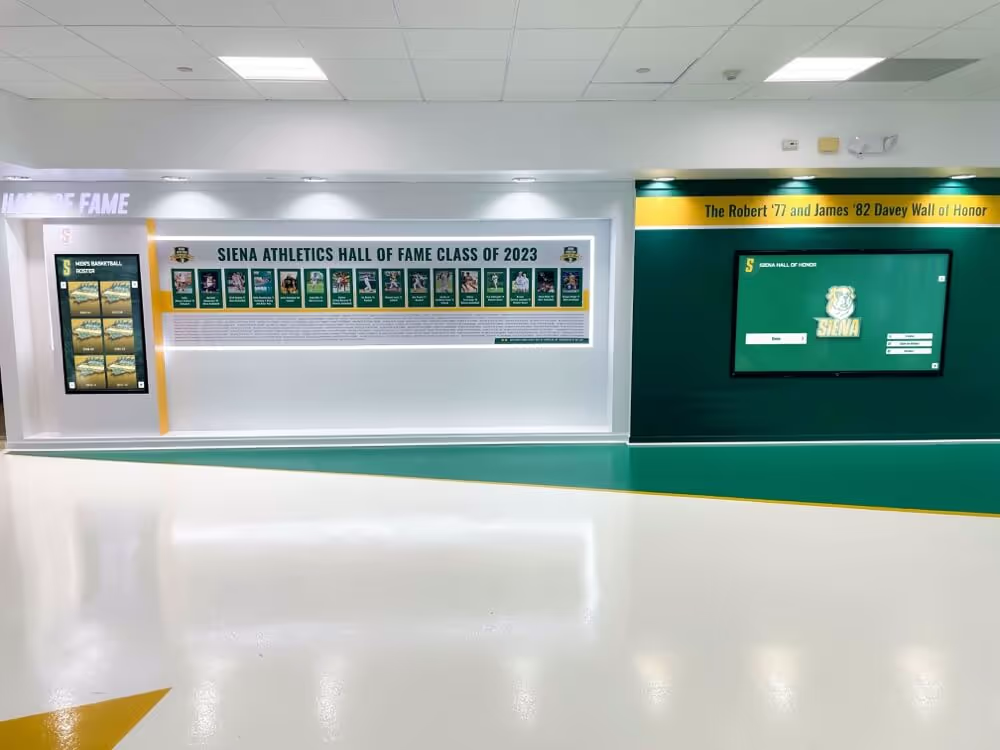
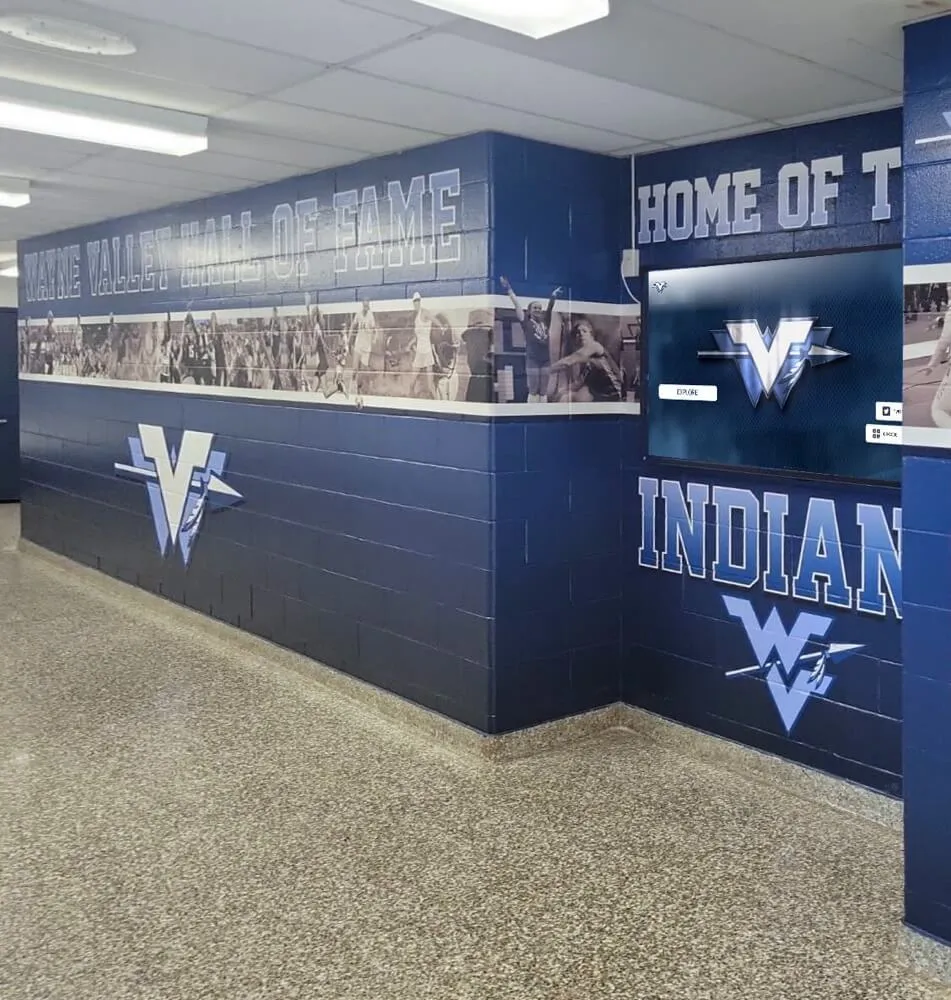
Digital displays showcase player profiles organized by position, helping fans understand each athlete's specialized role
Schools with comprehensive rugby programs often use interactive touchscreen displays to educate spectators about positions, featuring current rosters organized by forward pack and backline with position-specific statistics and achievement highlights.
The Front Row (Positions 1, 2, 3): Rugby’s Foundation
The front row forms the scrum’s first line, bearing enormous physical loads while executing highly technical skills that determine possession outcomes.
Position 1: Loosehead Prop
Primary Responsibilities
- Anchors left side of scrum, binding with hooker and opposing tighthead prop
- Provides stable platform for hooker to strike for ball in scrum
- Carries ball in tight situations, making short powerful runs
- Competes in rucks and mauls, securing possession
- Supports jumpers in defensive lineouts
Required Physical Attributes
- Exceptional lower body strength and core stability
- Weight typically 240-280+ lbs to provide scrummaging power
- Shorter, lower center of gravity advantageous for scrum stability
- Functional mobility despite size for getting to breakdown situations
Technical Skills
- Advanced scrummaging technique: body position, binding, driving angles
- Ball-carrying in contact with ability to secure possession when tackled
- Rucking technique to secure ball and clear opposition players
- Basic passing and catching for modern attacking requirements
Tactical Awareness
- Understanding scrum angles and how to create advantage
- Reading opposition tighthead’s technique to counter their approach
- Recognizing when to compete for turnovers vs. when to commit to ruck security
- Supporting attacking plays in tight channels near breakdowns
The loosehead prop battles directly against the opposition tighthead in scrums, with superior technique often overcoming raw power through correct body positioning and timing.
Position 2: Hooker
Primary Responsibilities
- Strikes for ball in scrum, hooking it back to own team
- Throws ball into lineouts with accuracy under pressure
- Front-row ball carrier and breakdown competitor
- Defensive tackler in close quarters
- Often serves as team leader due to central position
Required Physical Attributes
- Strong lower body for scrummaging stability
- Flexible hips and legs for hooking motion in scrum
- Weight typically 220-260 lbs—powerful but more mobile than props
- Good hand-eye coordination for lineout throwing
- Stamina for high work rate around field
Technical Skills
- Precise lineout throwing to various heights and distances
- Hooking technique in scrum with proper timing
- Ball-carrying with ability to offload in contact
- Tackling technique for stopping forward drives
- Breakdown skills to secure possession or force turnovers
Tactical Awareness
- Lineout calling and organization, often directing throw target
- Reading opposition scrum to time hooking strike
- Supporting attacking plays as extra ball carrier
- Organizing forward defense in close quarters
- Communicating with props about scrum engagement and technique
Modern hookers often have the highest work rate of any forward position, involved in scrums, lineouts, and general play throughout the match.
Position 3: Tighthead Prop
Primary Responsibilities
- Anchors right side of scrum against two opposing forwards
- Disrupts opposition scrum while maintaining own stability
- Powerful ball carrier in short-range situations
- Breakdown competitor securing possession
- Defensive presence stopping close-range attacks
Required Physical Attributes
- Exceptional strength to withstand pressure from loosehead and hooker
- Weight typically 250-290+ lbs—often heaviest player on field
- Tremendous core and neck strength for scrum stability
- Lower body power to drive scrum forward
- Sufficient mobility to contribute in general play
Technical Skills
- Elite scrummaging technique to handle two-on-one pressure
- Driving angles to maintain stability while creating pressure
- Ball-carrying with leg drive through contact
- Rucking and mauling technique
- Basic handling skills for modern attacking patterns
Tactical Awareness
- Understanding scrum engagement to gain advantage
- Reading opposition loosehead’s technique to counter effectively
- Recognizing when scrum dominance allows attacking platform
- Supporting teammates in rucks without overcommitting
- Defensive positioning in close-quarter situations
Tighthead props face rugby’s most physically demanding challenge: maintaining scrum stability while under pressure from two opposing forwards attempting to drive them backward or collapse the scrum.

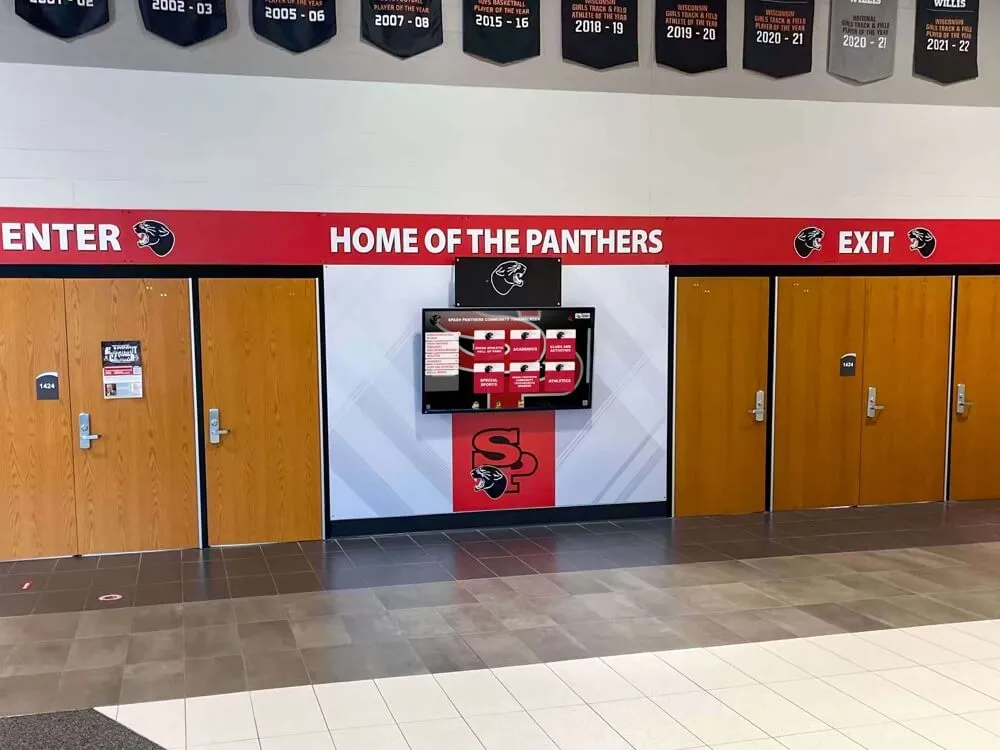
Teams review position-specific performance footage on digital displays, analyzing techniques for specialized roles
The Second Row (Positions 4 & 5): The Locks
The locks provide height for lineouts and power for scrums, serving as primary ball winners in set pieces while contributing athleticism in general play.
Positions 4 & 5: Lock (Second Row)
Primary Responsibilities
- Jump in lineouts to catch or deflect ball to teammates
- Provide pushing power in scrum, driving against opposition
- Compete for ball in rucks and mauls
- Carry ball making powerful runs into contact
- Tackle aggressively to stop attacking momentum
- Provide option for restarts and kick-offs
Required Physical Attributes
- Exceptional height, typically 6'4" to 6'8" for lineout jumping
- Powerful build, usually 240-270 lbs combining height and strength
- Good vertical leap and timing for lineout catches
- Strong legs and core for scrummaging drive
- Athleticism allowing mobility despite size
Technical Skills
- Lineout jumping technique: timing, body control, catching
- Scrummaging: binding on props, driving forward, maintaining body position
- Ball-carrying with leg drive and ability to stay on feet
- Tackling technique for stopping ball carriers
- Rucking to clear opposition and secure possession
- Basic passing and offloading skills
Tactical Awareness
- Understanding lineout calls and variations
- Reading opposition lineout patterns to disrupt or steal throws
- Knowing when to compete for ball vs. when to lift teammates
- Supporting ball carriers by clearing rucks quickly
- Defensive organization in midfield when needed
- Reading kick-offs and restarts to compete for possession
Position Variations
While both locks perform similar core functions, some teams differentiate:
- Position 4 (Left Lock): Sometimes slightly more athletic, involved in wider play
- Position 5 (Right Lock): Sometimes slightly heavier, focused on scrum power
Modern locks increasingly need ball-handling skills and pace, with elite players contributing across the field like extra loose forwards rather than remaining purely set-piece specialists.
Many rugby programs create hall of fame recognition organized by position, celebrating dominant locks who controlled lineouts, powerful props who anchored scrums, and versatile loose forwards who changed games.
The Back Row (Positions 6, 7, 8): The Loose Forwards
The back row combines the physicality of forwards with the mobility and skills approaching backs, creating rugby’s most versatile and impactful positions.
Position 6: Blindside Flanker
Primary Responsibilities
- Defends narrow side (blindside) of scrums and rucks
- First forward to breakdowns, securing possession or forcing turnovers
- Powerful ball carrier making hard, direct runs
- Heavy tackler stopping opposition attacks
- Competes in lineouts, often as supporting lifter or jumper
- Disrupts opposition lineout throws
Required Physical Attributes
- Strong and powerful build, typically 230-250 lbs
- Combination of strength and mobility—faster than locks, stronger than openside
- Good height helps (6'2"-6'5") for lineout effectiveness
- Explosive power for tackling and carrying
- Endurance for high work rate throughout match
Technical Skills
- Breakdown technique: arriving quickly, staying on feet, competing legally
- Ball-carrying with leg drive and ability to offload
- Tackling: dominant hits stopping forward momentum
- Lineout jumping or supporting lifts
- Passing and handling for supporting backline moves
- Rucking and mauling technique
Tactical Awareness
- Reading play to identify breakdown opportunities
- Understanding when to compete for turnover vs. securing own ball
- Defensive positioning covering narrow channels
- Supporting ball carriers quickly
- Communicating with openside about breakdown responsibilities
- Recognizing attacking opportunities when carrying ball
The blindside flanker balances destructive defense with powerful attack, often making fewer tackles than the openside but delivering bigger hits while carrying more frequently in tight channels.
Position 7: Openside Flanker
Primary Responsibilities
- Competes at every breakdown for turnover opportunities
- Makes numerous tackles across the field
- Disrupts opposition possession through jackaling (winning ball in contact)
- Covers wide channels in defense
- Links forward and backline play
- High work rate supporting teammates throughout match
Required Physical Attributes
- More mobile and agile than blindside, typically 215-235 lbs
- Exceptional speed and acceleration for first to breakdowns
- Stamina for sustained high work rate—often runs furthest of any forward
- Strong enough to compete physically but lighter allows mobility
- Low body position helps in breakdown competition
Technical Skills
- Elite breakdown technique: jackaling, staying on feet, avoiding penalties
- Tackling endurance making 15-20+ tackles per match
- Ball-handling and passing ability for link play
- Speed to cover defensive width
- Stripping ball in tackles
- Quick ruck clean-outs
Tactical Awareness
- Reading opposition attack to position for tackles
- Recognizing breakdown opportunities for turnovers
- Understanding when to compete vs. when to commit to securing possession
- Defensive organization and communication
- Supporting backline attacks as extra distributor
- Counterattacking from turnovers won
The openside flanker epitomizes rugby’s demand for relentless effort, arriving at seemingly every breakdown while making countless tackles and still contributing in attack.
Position 8: Number Eight
Primary Responsibilities
- Controls ball at base of scrum with options to pick and drive or distribute
- Powerful ball carrier making runs from scrums and rucks
- Secures possession from scrum if hooker’s strike goes deep
- Competes in lineouts, typically as jumper
- Defends in midfield channels
- Provides link between forwards and backs
Required Physical Attributes
- Combination of size and athleticism, typically 230-260 lbs
- Powerful legs for carrying and driving
- Good height (6'2"-6'5") helps for lineout jumping
- Excellent balance and footwork for ball-carrying
- Speed sufficient to keep up with backline play
Technical Skills
- Ball control picking up from scrum base
- Powerful carrying with ability to break tackles
- Passing and offloading under pressure
- Lineout jumping technique
- Breakdown skills for securing and competing
- Tackling across various situations
- Kicking from base of scrum when tactical
Tactical Awareness
- Reading scrum situations to decide pick-and-go vs. distribution
- Understanding when to carry vs. when to link with backs
- Defensive reading of attacking patterns
- Organizing forward runners off scrums
- Recognizing space for running angles
- Communicating with scrum-half about scrum ball options
The number eight serves as a bridge position—forward pack power combined with ball skills approaching the backs, often featuring in both tight forward play and wider backline attacks.

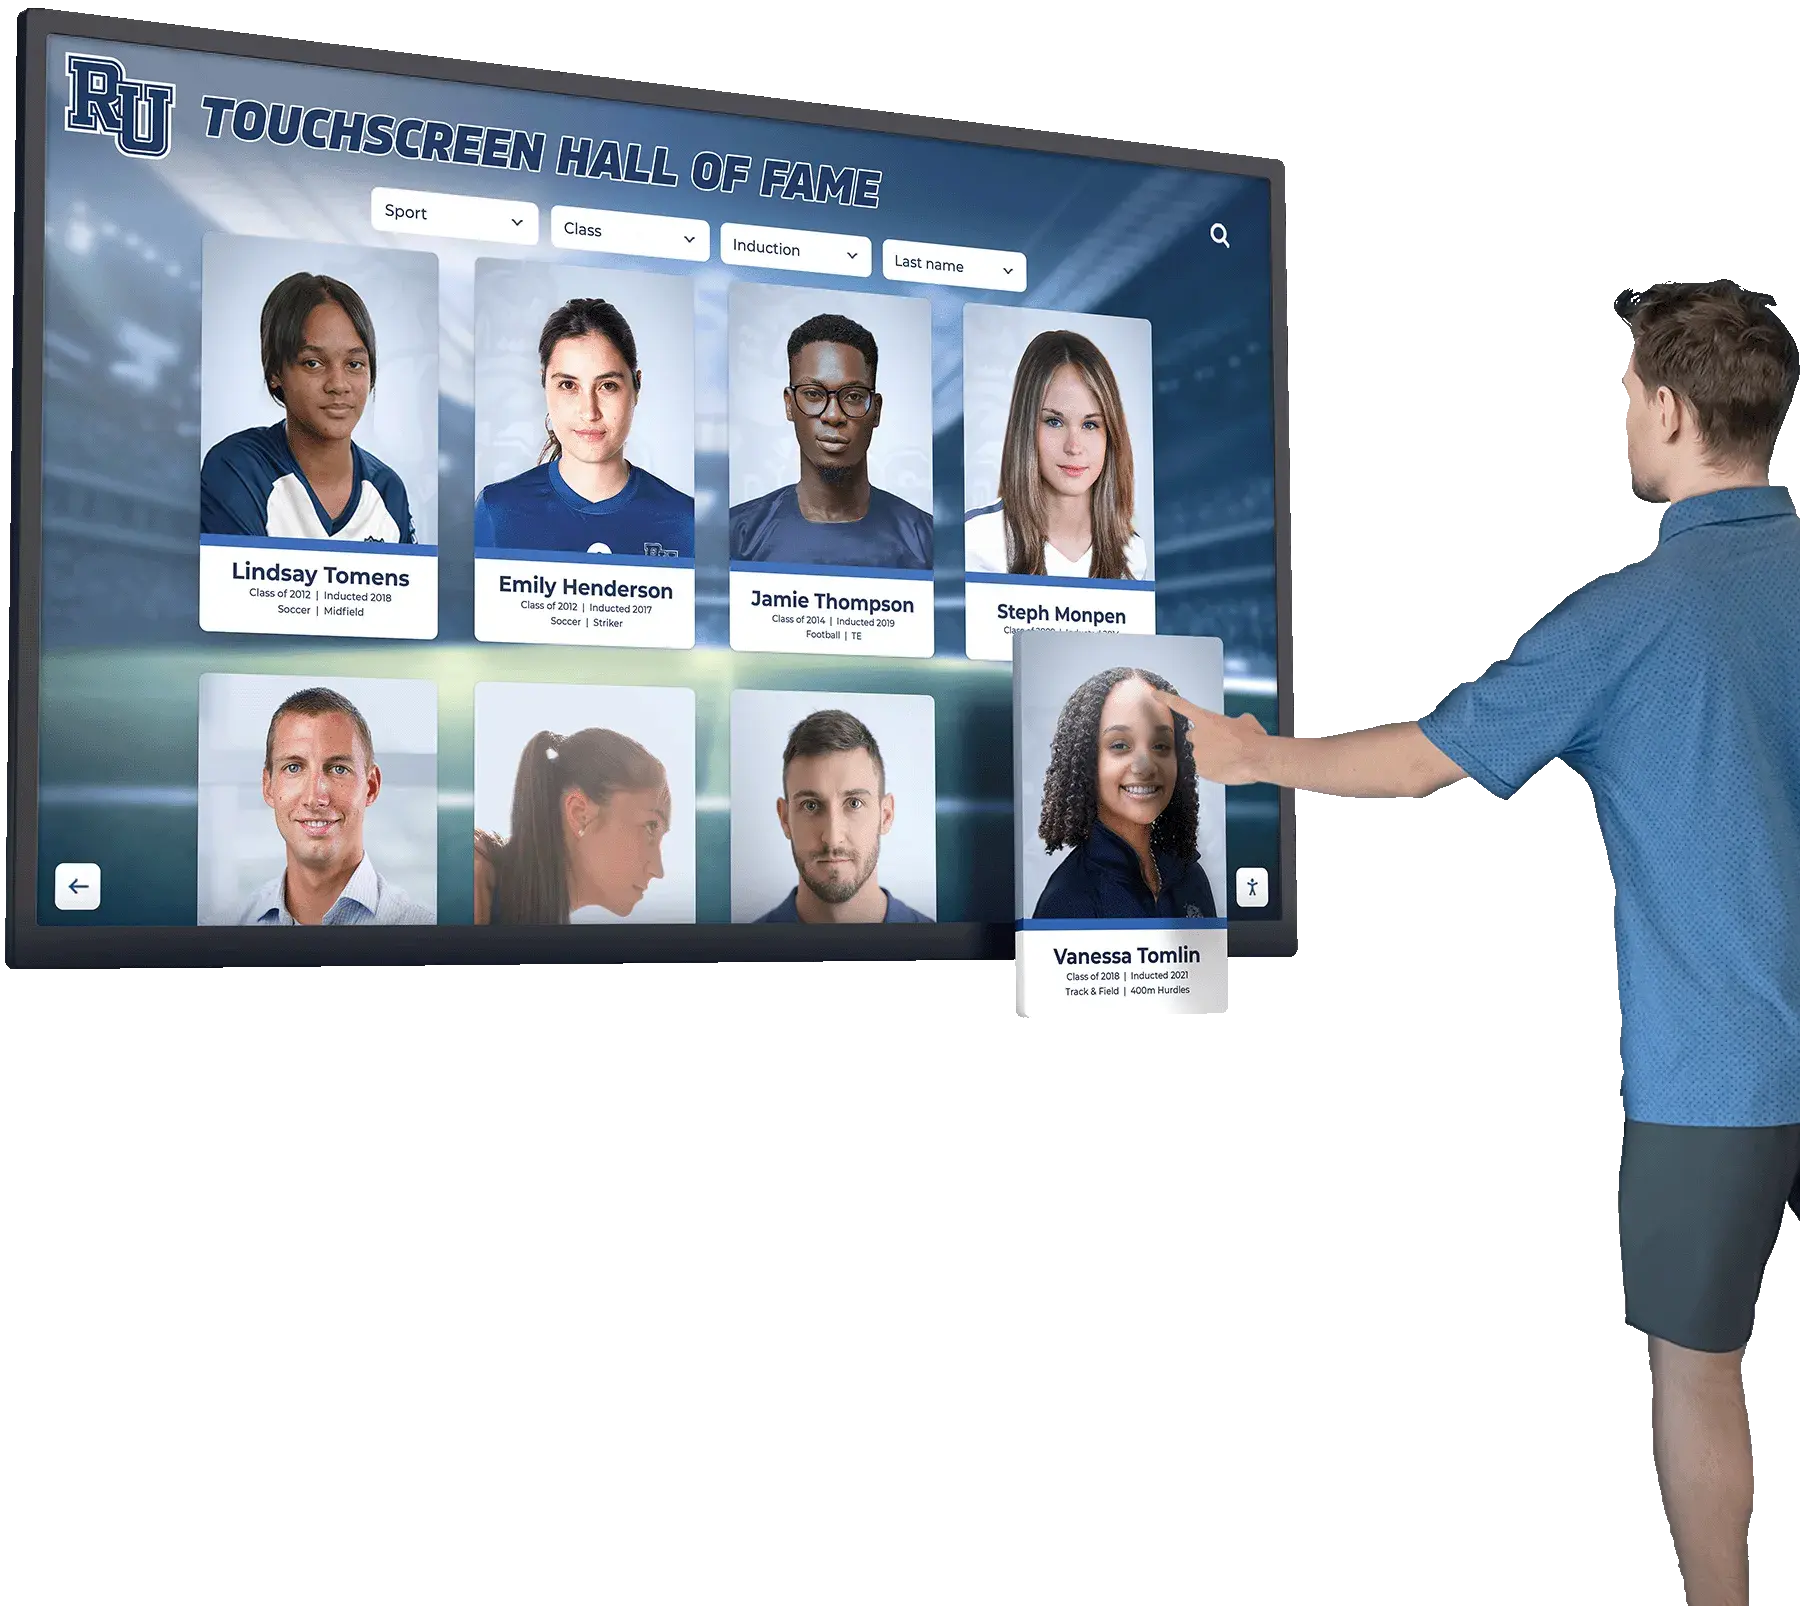
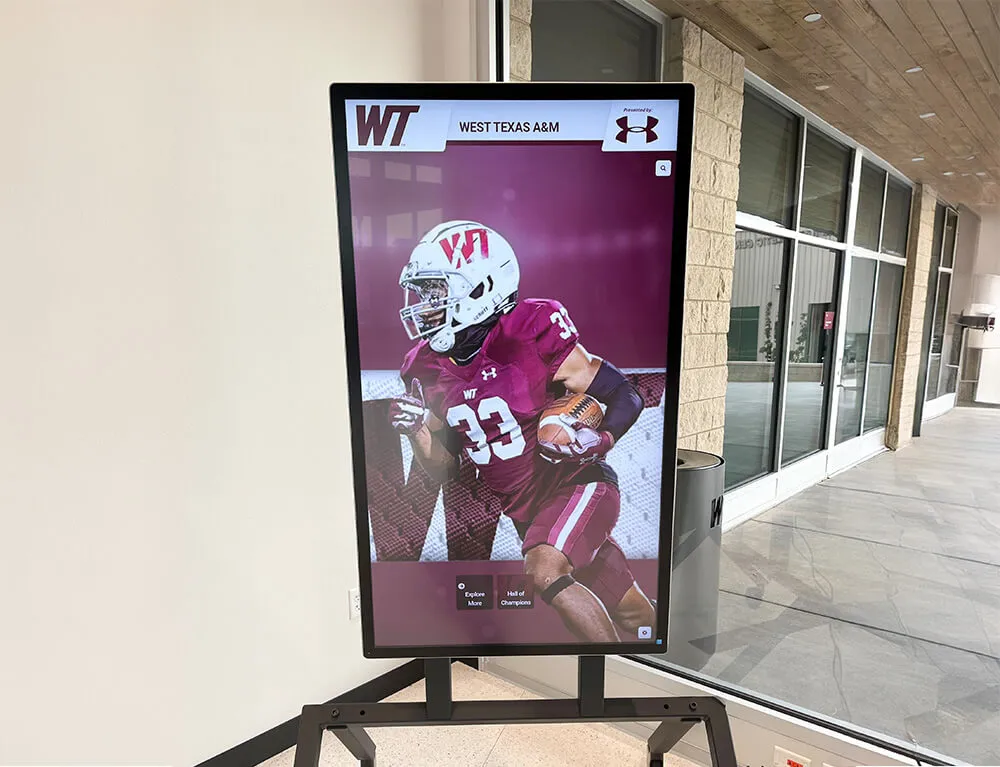
Modern athletic displays let viewers explore individual players by position, showcasing the specialists who excelled in each role
Position 9: Scrum-Half—The Critical Link
The scrum-half connects forwards and backs, controlling game tempo while making crucial tactical decisions under pressure.
Position 9: Scrum-Half (Half-Back)
Primary Responsibilities
- Distributes ball from scrums, rucks, and mauls to teammates
- Makes tactical kicking decisions for territory and possession
- Defends in close quarters, often tackling larger forwards
- Controls game tempo through distribution speed
- Communicates constantly with forwards and fly-half
- Takes quick penalties and tap restarts
Required Physical Attributes
- Smaller and quicker than most positions, typically 165-195 lbs
- Explosive acceleration from stationary positions
- Quick hands and release
- Toughness to tackle larger opponents
- High stamina for constant involvement
- Low center of gravity helps in contact
Technical Skills
- Fast, accurate passing from both left and right (both directions equally important)
- Varied passing: spin pass, dive pass, long pass, short pop
- Box kicking (high spiraling kick) for territory and chasing
- Quick service from ground without fumbling
- Sniping (running from breakdowns when defense commits)
- Tackling technique despite size disadvantage
Tactical Awareness
- Reading defensive patterns to identify attacking opportunities
- Communicating with fly-half about game plan and options
- Understanding when to pass quickly vs. when to slow tempo
- Recognizing when to snipe vs. when to distribute
- Directing forwards to attack points
- Making territorial kicking decisions
- Talking constantly, organizing teammates
The scrum-half touches the ball more than any other player, making decision-making and communication as important as physical skills. Elite scrum-halves control games through tempo manipulation and tactical kicking.
Similar to how youth sports programs recognize players across different positions with specialized awards, rugby programs honor position-specific excellence—celebrating dominant scrums from props, lineout mastery from locks, and creative playmaking from scrum-halves.
Position 10: Fly-Half—The Tactical Commander
The fly-half serves as rugby’s quarterback, directing attacks, controlling territory through kicking, and making split-second tactical decisions.
Position 10: Fly-Half (Stand-Off/Out-Half)
Primary Responsibilities
- Primary playmaker orchestrating backline attacks
- Tactical kicking for territory, possession, and scoring
- First receiver from scrum-half, initiating attacking moves
- Place kicking for goal (penalties and conversions)
- Organizing backline defense
- Making real-time tactical decisions about game approach
Required Physical Attributes
- Typically 175-200 lbs—athletically built but not heavily muscled
- Quick acceleration and agility for beating first defender
- Good vision to scan defense and identify space
- Sufficient toughness to handle contact and tackling
- Stamina for constant involvement in attack and defense
Technical Skills
- Elite passing accuracy under pressure at various distances
- Tactical kicking: punts, chips, grubbers, cross-kicks, high balls
- Place kicking accuracy for penalties and conversions
- Ball-carrying with footwork to beat defenders
- Drawing defenders to create space for teammates
- Tackling despite not being biggest player
- Offloading and keeping ball alive in contact
Tactical Awareness
- Reading defensive patterns to identify attacking opportunities
- Understanding game state (score, time, field position) to make appropriate decisions
- Communicating game plan adjustments to teammates
- Recognizing when to kick vs. when to run
- Directing attacking patterns and calling plays
- Defensive organization of backline
- Managing pressure situations calmly
Playing Styles
Fly-halves typically fall into categories based on strengths:
- Running fly-half: Threatens defensive line personally, creates space by attacking
- Distributing fly-half: Excellent passer, creates for others, keeps ball moving
- Kicking fly-half: Controls territory through tactical kicks, plays field position
- Complete fly-half: Combines all elements, makes best decision for each situation
The fly-half position demands rugby intelligence as much as physical skill, with elite players reading games several phases ahead while executing skills under defensive pressure.
The Centers (Positions 12 & 13): Power and Pace
Centers create attacking opportunities through powerful runs and skillful distribution while providing crucial defensive coverage.
Position 12: Inside Center (Second Five-Eighth)
Primary Responsibilities
- First attacking option from fly-half, straightening attack line
- Powerful ball carrier making hard runs at defensive line
- Creating opportunities for outside backs through drawing defenders
- Strong defensive tackling to stop opposition attacks
- Distributing ball to outside center and wings
- Supporting players in rucks and breakdowns
Required Physical Attributes
- Powerful build, typically 195-220 lbs—larger than most backs
- Strong legs for carrying through contact
- Speed sufficient to threaten defensive gaps
- Physical toughness for repeated contact
- Good size for dominant tackling
Technical Skills
- Ball-carrying: leg drive, offloading, staying on feet through contact
- Passing accuracy to outside backs under pressure
- Drawing defenders to create space for teammates
- Hard, effective tackling to stop attacks
- Footwork to beat first defender or slip tackles
- Kicking ability helps (some teams use inside center for tactical kicks)
- Ruck clean-out technique
Tactical Awareness
- Reading defensive patterns to identify running vs. passing opportunities
- Understanding when to carry hard vs. when to distribute quickly
- Defensive organization coordinating with outside center
- Supporting fly-half with communication about options
- Recognizing space for attacking kicks behind defensive line
- Linking with forwards when appropriate
The inside center traditionally provides physical presence and direct running threat, though modern players increasingly need complete skill sets including distribution and tactical kicking abilities.
Position 13: Outside Center
Primary Responsibilities
- Creates space for wings through running, drawing defenders, or distributing
- Defensive coverage of midfield with strong tackling
- Finishing try-scoring opportunities in midfield
- Linking play between inside backs and outside backs
- Counterattacking from turnovers
- Covering defensive kicks and organizing backfield
Required Physical Attributes
- Balanced build combining power and speed, typically 185-210 lbs
- Excellent pace to threaten defensive line and chase kicks
- Strong enough for effective tackling and carrying
- Agility and footwork to beat defenders
- Acceleration to exploit gaps
Technical Skills
- Passing accuracy at pace to wings in stride
- Ball-carrying with ability to beat defenders one-on-one
- Strong tackling across variety of situations
- High ball catching under pressure
- Kicking from hand (tactical and attacking kicks)
- Drawing defenders through running angles
- Footwork and sidestep to create space
Tactical Awareness
- Reading defensive patterns to identify when to run vs. pass
- Understanding space management and creating overlaps for wings
- Defensive positioning and communication with inside center and wings
- Recognizing counterattacking opportunities from turnovers
- Supporting attacking kicks with chase lines
- Covering backfield defensively when fullback joins attack
Outside centers often feature as teams’ most complete backs—requiring tackling strength of inside center, distribution skills of fly-half, and pace approaching wings, making it one of rugby’s most demanding positions.

Interactive team history displays organize achievements by position, showcasing how different specialists contributed to championship seasons
The Back Three (Positions 11, 14, 15): Speed and Space
The back three provide defensive coverage across the field’s width while creating and finishing attacking opportunities using speed and skill.
Positions 11 & 14: Wings (Wingers)
Primary Responsibilities
- Finishing tries by beating defenders or receiving scoring passes
- Chasing tactical kicks to pressure opposition or regather possession
- Defensive coverage of wide channels
- Counterattacking from deep positions
- Competing for high kicks (especially in modern game)
- Providing width to attacking structure
Required Physical Attributes
- Elite speed—fastest players on field, typically
- Explosive acceleration to beat defenders
- Typically 180-210 lbs combining pace and strength
- Good height helps for competing for high balls (6'0"-6'3" common in modern game)
- Agility and balance for running with ball
Technical Skills
- Speed in open field
- Footwork and sidestep to beat defenders one-on-one
- High ball catching under pressure (increasingly important)
- Finishing tries from limited opportunities
- Tackling despite often being smaller than opponents
- Kicking from hand for counterattacking
- Passing ability to create for others when drawing defenders
Tactical Awareness
- Positioning during phase play to receive scoring passes
- Reading kicks to contest or avoid, depending on situation
- Understanding when to stay wide vs. when to come infield
- Defensive positioning to cover wide threats while supporting centers
- Counterattacking vision to identify space
- Chase line discipline on team kicks
Position Differences
While wings perform similar roles, some teams differentiate:
- Left wing (11): Often right-footed kicker, receives passes on right hand
- Right wing (14): Often left-footed kicker, receives passes on left hand
- Many teams place stronger defensive tackler on blindside (often 14)
Modern wings need more than pure speed—elite players compete for high balls, tackle reliably, and create tries for teammates rather than simply finishing opportunities created by others.
Position 15: Fullback
Primary Responsibilities
- Last line of defense covering behind defensive line
- Catching high kicks and counterattacking from deep
- Joining attacking line as extra player
- Organizing backfield defense
- Tactical kicking for territory and possession
- Covering width defensively when needed
Required Physical Attributes
- Excellent speed and acceleration for counterattacking
- Typically 185-210 lbs—athletic and powerful
- Good height helps for competing for high balls
- Courage to tackle in open field
- Stamina for covering large distances
Technical Skills
- Elite high ball catching under pressure
- Kicking from hand: long punts, tactical grubbers, attacking chips
- Passing and distribution when counterattacking
- Open-field tackling of multiple attackers
- Positioning and reading of play
- Ball-carrying to beat defenders
- Communication and organization
Tactical Awareness
- Reading opposition kicks to position correctly
- Understanding when to counterattack vs. when to kick for territory
- Organizing backfield defense and communicating with wings
- Recognizing when to join attacking line
- Making decisions under pressure with limited support
- Covering defensively when teammates miss tackles
- Game management through tactical kicking decisions
The fullback combines defensive solidity (last-line tackling and kick coverage) with attacking threat (counterattacking and joining backline), requiring complete skill set and exceptional decision-making under pressure.
Schools implementing comprehensive rugby programs often create recognition displays highlighting achievements organized by position—celebrating try-scoring wings, playmaking fly-halves, and dominant forward packs that controlled matches through set-piece excellence.
Matching Athletes to Rugby Positions
Understanding positions theoretically differs from successfully placing athletes where they’ll excel—coaches must assess physical attributes, natural abilities, and developmental potential.
Physical Profiling for Position Selection
Size and Strength Considerations
Rugby positions correlate strongly with body type and physical capabilities:
Front Row Forwards (1, 2, 3)
- Ideal: Heaviest, strongest athletes (240-290 lbs)
- Prioritize: Lower body strength, core stability, functional power
- Consider: Shorter athletes often excel due to lower center of gravity
- Develop: Technical scrummaging skills through dedicated coaching
Second Row (4, 5)
- Ideal: Tallest athletes with good strength (6'4"+, 240-270 lbs)
- Prioritize: Height for lineouts, vertical leap, work rate
- Consider: Athletic tall athletes rather than simply biggest players
- Develop: Jumping timing, scrummaging technique, ball skills
Back Row (6, 7, 8)
- Ideal: Athletic forwards combining size and mobility (215-260 lbs)
- Prioritize: Work rate, ball skills, tackling ability
- Consider: 6 needs power; 7 needs speed; 8 needs combination
- Develop: Breakdown technique, handling skills, tactical awareness
Scrum-Half (9)
- Ideal: Quick, agile athletes with excellent hands (165-195 lbs)
- Prioritize: Passing accuracy, decision-making, toughness
- Consider: Smaller athletes often excel if mentally tough
- Develop: Passing from both sides, tactical kicking, game management
Fly-Half (10)
- Ideal: Athletic playmakers with tactical intelligence (175-200 lbs)
- Prioritize: Decision-making, kicking ability, composure under pressure
- Consider: Rugby IQ matters more than pure physical tools
- Develop: Kicking variety, passing range, defensive organization
Centers (12, 13)
- Ideal: 12 more powerful (195-220 lbs); 13 faster (185-210 lbs)
- Prioritize: 12 needs physicality; 13 needs pace and distribution
- Consider: Complete skill sets increasingly important for both
- Develop: Tackling technique, passing accuracy, decision-making
Back Three (11, 14, 15)
- Ideal: Fastest athletes on team (180-210 lbs)
- Prioritize: Speed, high ball skills, counterattacking vision
- Consider: 15 needs best decision-making; 11/14 need finishing ability
- Develop: Positional play, high ball technique, tactical kicking
Skill Assessment and Development Priorities
Identifying Natural Abilities
Beyond physical attributes, observe which athletes demonstrate:
- Ball skills: Natural catchers, passers, and handlers suit backs or ball-playing forwards
- Contact tolerance: Athletes embracing physical contact suit forwards or inside backs
- Speed: Exceptional pace indicates wing or outside back potential
- Decision-making: Tactical thinkers suit 9, 10, or 15 where decisions impact outcomes
- Work rate: High-effort athletes excel at 7 or other high-involvement positions
- Competitiveness: Athletes who fight for every ball suit breakdown positions (6, 7, 8)
Position-Specific Development
Once positions are assigned, focus technical development appropriately:
For Forwards
- Scrummaging technique (1, 2, 3 especially)
- Lineout skills: jumping, lifting, throwing
- Breakdown technique: rucking, jackaling, securing ball
- Close-quarters ball-carrying and support play
- Defensive organization in close channels
For Backs
- Passing accuracy and variety
- Kicking technique and tactical application
- High ball catching under pressure
- Positional play and spacing
- Counterattacking decision-making
- Defensive alignment and communication

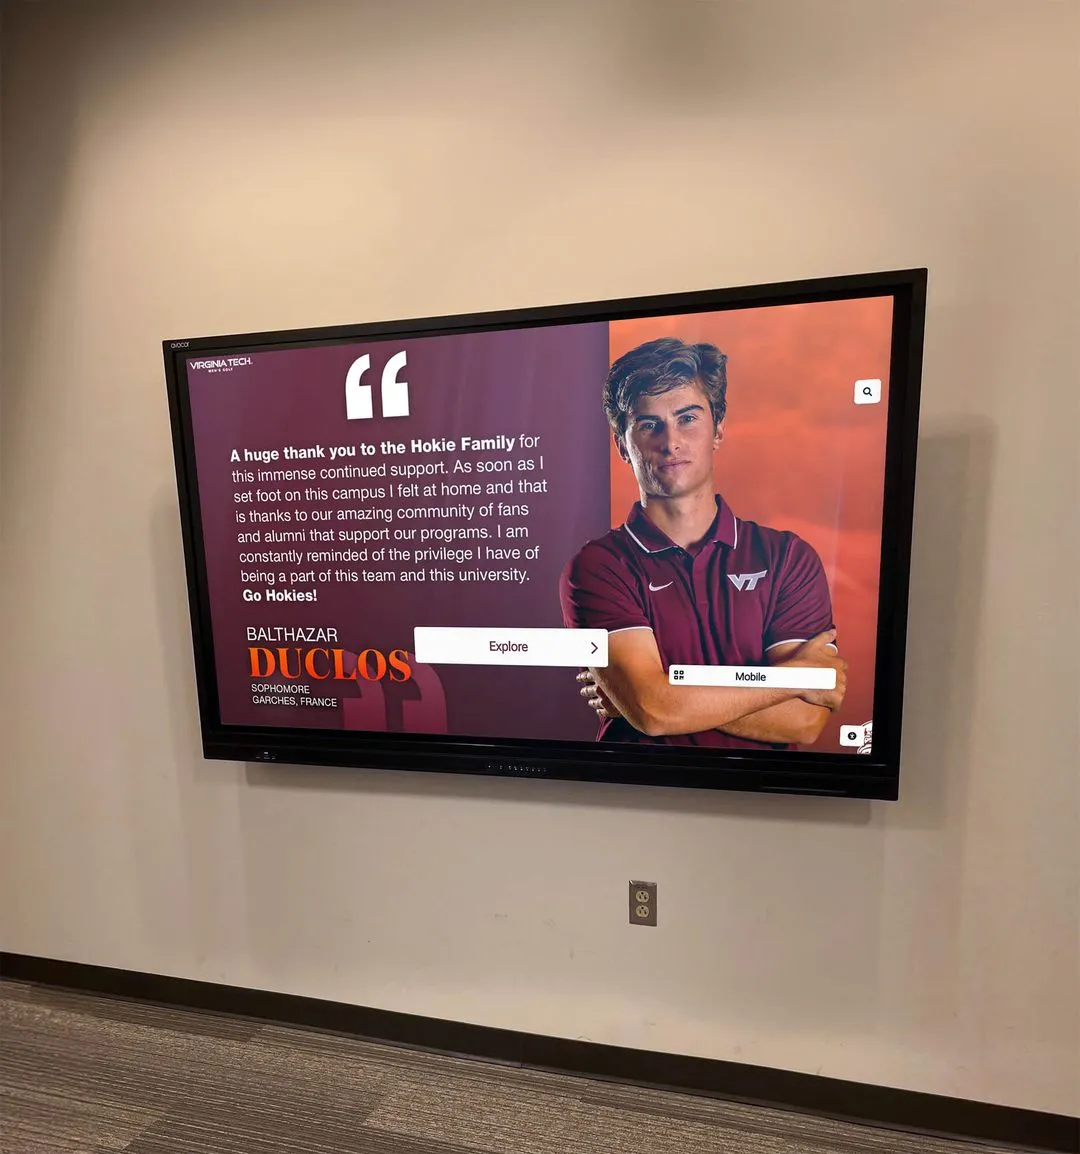
Digital player profiles organized by position help educate fans while celebrating specialists who mastered demanding roles
Positional Flexibility and Cross-Training
Developing Positional Versatility
While specialization matters, developing flexibility provides tactical advantages:
Forward Versatility
- Props who can play both loosehead and tighthead
- Locks who can also play 6 or 8 (common in smaller programs)
- Back row players who can cover multiple positions (6, 7, 8)
- Hookers with ball skills to play 6 or 8 if needed
Back Versatility
- Centers who can play 12 or 13 interchangeably
- Outside backs who can cover 11, 14, or 15
- Scrum-halves who can play 9 or emergency 10
- Utility backs who can cover multiple positions (often 15 trained to cover centers or fly-half)
Cross-Training Benefits
- Injury coverage without dramatically changing team structure
- Tactical flexibility to adjust during matches
- Better positional understanding through experiencing teammates’ roles
- Development of complete rugby skills across team
- Ability to field competitive teams despite limited roster depth
Schools with smaller rugby programs particularly benefit from positional versatility, training athletes in multiple roles to handle injuries and absences without compromising competitive standards.
Position-Specific Recognition and Team Building
Rugby programs that celebrate position-specific excellence while emphasizing collective success create cultures valuing diverse contributions.
Honoring Specialized Achievements
Position-Based Award Categories
Recognize excellence in specialized roles:
Forward Awards
- Set Piece Player of the Year: Dominant scrummaging or lineout performance
- Breakdown Specialist: Most turnovers won or effective jackal attempts
- Hard Yards Award: Most carries and meters gained in contact
- Defensive Wall: Most tackles and dominant hits from forwards
Back Awards
- Playmaker of the Year: Best fly-half orchestrating attacks
- Finisher Award: Most tries scored from wings or fullback
- Distribution Excellence: Best passing and creation from centers or scrum-half
- Tactical Kicker: Best territorial and tactical kicking
Complete Player Awards
- Most Versatile Player: Excellence across multiple positions
- Impact Player: Difference-maker regardless of position
- Team Player: Selfless contributor in any role assigned
Similar to how institutions implement comprehensive recognition programs celebrating diverse achievements, rugby programs should honor forwards’ unglamorous but essential work alongside backs’ visible try-scoring contributions.
Creating Position Group Identity
Building Unit Pride
Develop identity within position groups:
The Forward Pack
- Emphasize collective achievement in set pieces won
- Create pack-specific fitness and skills sessions
- Celebrate dominant scrums and controlled lineouts
- Build culture around physical toughness and work rate
- Recognize that forward dominance creates winning platforms
The Backline
- Focus on combination play and timing
- Develop attacking patterns through coordinated practice
- Celebrate tries as backline achievements, not individual efforts
- Build culture around skill execution and decision-making
- Emphasize defensive organization as much as attacking flair
Position-Specific Units
- Front row sessions focusing on scrummaging technique
- Back row emphasis on breakdown skills and linking play
- Outside backs training together on counterattacking and kick coverage
- Inside backs (9, 10, 12) developing decision-making combinations
Strong position group identity creates accountability—props don’t want to let the front row down, wings take pride in finishing opportunities created by centers, and the entire forward pack commits to providing quality possession for backs to utilize.
Digital Recognition of Positional Excellence
Modern Display Solutions
Rugby programs increasingly use technology to showcase position-specific achievements:
Interactive Position Profiles
- Digital displays featuring current roster organized by forward pack and backline
- Individual player cards showing position, physical stats, achievements
- Position-specific statistics: scrum success rate, tackles made, tries scored, lineout effectiveness
- Historical comparison showing current players following positional traditions
Dynamic Team Information
- Touchscreen kiosks explaining each position’s role and responsibilities
- Educational content helping spectators understand specialized positions
- Video highlights showing position-specific excellence
- Depth charts displaying starter and reserve options by position
Many rugby programs partner with interactive display solutions that organize team information by position, making complex positional structures accessible to parents and fans while celebrating athletes’ specialized contributions.
Teaching Rugby Positions to New Players and Spectators
Making rugby’s complex positional structure understandable requires intentional education for both participants and spectators.
Introducing Positions to Beginning Players
Progressive Position Education
When introducing rugby to new players, implement structured position teaching:
Week 1-2: Forward vs. Back Fundamentals
- Explain basic division: forwards win ball, backs use it
- Demonstrate scrum and lineout showing why size matters for forwards
- Show open play demonstrating why speed matters for backs
- Let players experience both forward and back roles
Week 3-4: Specific Position Groups
- Front row: Explain scrummaging basics and why props/hooker are specialized
- Second row: Demonstrate lineout jumping and pushing in scrum
- Back row: Show breakdown work and linking between forwards/backs
- Scrum-half/fly-half: Explain decision-making responsibilities
- Centers: Demonstrate carrying and distributing
- Back three: Show finishing and kick coverage
Week 5+: Position Assignment and Specialization
- Assess players’ physical attributes, skills, and preferences
- Assign primary positions with explanations why each player suits their role
- Begin position-specific technical training
- Develop understanding of position-specific responsibilities
- Allow experimentation with related positions (props trying hooker, wings trying fullback)
Teaching Positional Roles Through Drills
Design practices highlighting position-specific functions:
- Scrum practice showing front row binding and driving
- Lineout practice demonstrating jumping and lifting roles
- Breakdown drills showing back row competition and techniques
- Passing drills developing scrum-half and fly-half combinations
- Finishing drills giving backs opportunities to score
- Positional defense drills teaching channel responsibilities
Educating Spectators About Positions
Making Complex Positions Accessible
Rugby’s appeal grows when spectators understand what they’re watching:
Game Programs and Rosters
- List players with jersey numbers and positions clearly identified
- Include brief position descriptions explaining basic responsibilities
- Provide visual pitch diagram showing where positions typically align
- Highlight position-specific player achievements (scrum success, tackles made, tries scored)
Pre-Game Education
- Public address announcements explaining positions before kickoff
- Visual pitch diagrams on scoreboards or displays
- Social media content throughout season teaching one position per week
- Youth clinic demonstrations before matches showing different positions
Digital Educational Resources
- Website section explaining all 15 rugby positions in detail
- Video content showing position-specific highlights
- Interactive pitch diagrams allowing visitors to click positions for information
- Statistical breakdowns showing position-specific performance metrics
In-Stadium Recognition Technology Many schools implement digital recognition displays in stadium lobbies or concourses featuring current rosters organized by position with educational content explaining each role—helping first-time spectators understand the game while celebrating current athletes.
Modern Trends in Rugby Positions
Rugby continues evolving, with changing demands reshaping what each position requires and how teams utilize different players.
Position Evolution and Changing Demands
The Modern Forward
Today’s forwards need skills once expected only from backs:
- Props making passes and showing handling skills in attack
- Locks carrying ball wide and participating in backline moves
- All forwards expected to pass accurately, not just crash into contact
- Forward fitness allowing sustained involvement rather than periodic bursts
- Technical breakdown skills more important than pure size
This evolution reflects faster game pace and rule changes favoring continuous play over repeated stoppages, requiring forwards who contribute beyond set pieces.
The Modern Back
Backs face increasing physical demands approaching forward levels:
- Centers expected to make 10+ tackles, not just 3-4
- Wings competing physically for high balls rather than avoiding contact
- Fullbacks making dominant tackles in open field
- All backs expected to ruck and secure possession, not wait for forwards
- Physical conditioning approaching forward standards
Position Hybrids
Some positions blur traditional boundaries:
- Back-row forwards playing like extra centers in attack (6, 7, 8)
- Inside centers (12) performing like extra loose forwards in defense
- Fullbacks (15) playing as third playmaker alongside 10 and 12
- Scrum-halves (9) sniping frequently, scoring tries like backs
- Athletic locks (4, 5) handling and running like back-row forwards
Tactical Variations and Position Usage
Different Team Approaches
Teams employ positions differently based on playing philosophy:
Forward-Oriented Teams
- Emphasize set-piece dominance and forward-driven attack
- Use inside backs (9, 10, 12) to get ball to forwards repeatedly
- Employ pick-and-go phases with forwards carrying
- Rely on forward power rather than backline creativity
- Positions 1-8 do majority of attacking work
Backs-Oriented Teams
- Prioritize quick ball from forwards to enable backline attack
- Use forwards primarily to win possession, then give to backs
- Employ wide attacking patterns utilizing speed and space
- Positions 9-15 create majority of scoring opportunities
- Forward selection emphasizes mobile, ball-playing athletes
Balanced Approach
- Utilize forwards and backs situationally based on field position
- Attack tight through forwards in own half, wide through backs in opposition half
- Develop complete players capable of contributing in multiple phases
- Flexible tactics adapting to opposition weaknesses
- All positions contribute to both attack and defense
Position-Specific Technology and Analytics
Data-Driven Position Selection
Modern programs use analytics to optimize position assignment:
- GPS tracking showing distance covered, speeds, and work rate by position
- Contact sensors measuring tackle force and collision impacts
- Video analysis quantifying position-specific technical execution
- Statistical modeling predicting optimal body composition by position
- Performance metrics identifying which athletes suit which roles
Position-Specific Training Optimization
- Conditioning programs tailored to positional demands (props vs. wings)
- Skill development focused on position-specific technical needs
- Recovery protocols addressing position-specific physical stress
- Injury prevention targeting positions’ common vulnerability patterns
- Nutrition planning accounting for different body composition goals
Conclusion: Mastering Rugby Positions
Understanding rugby positions transforms the sport from confusing chaos into strategic sophistication. The 15 positions represent specialized roles developed over rugby’s 150-year history, each requiring distinct physical attributes, technical skills, and tactical understanding. Successful teams place athletes whose natural abilities align with positional demands while developing the technical excellence each role requires.
For coaches building programs, proper position assignment maximizes talent utilization and competitive performance. For players discovering the sport, finding the right position creates opportunities to contribute meaningfully while developing specialized skills. For spectators learning rugby, understanding positions reveals the tactical complexity making the sport compelling.
Rugby’s beauty lies partly in its positional diversity—requiring powerful props, athletic locks, relentless flankers, creative fly-halves, and lightning-fast wings all contributing specialized excellence toward collective success. Programs that celebrate these diverse contributions while developing position-specific excellence create cultures where every player’s role receives appropriate recognition regardless of visibility or glory.
As rugby continues growing globally, particularly in schools and clubs introducing the sport to new populations, making positions understandable and accessible ensures newcomers quickly appreciate rugby’s strategic depth while finding roles where their unique abilities contribute to team success.
Whether you’re coaching your first rugby season, playing your first match, or watching your child discover the sport, understanding positions provides the foundation for appreciating why rugby captivates millions worldwide with its combination of power, speed, skill, and tactical complexity all channeled through 15 specialized roles working in coordinated purpose.
Ready to celebrate your rugby program’s positional specialists? Modern schools implement interactive digital displays showcasing current rosters organized by position, educational content explaining roles, and historical recognition of great players who excelled in each specialized position. These touchscreen solutions educate spectators while honoring the props who anchored dominant scrums, the fly-halves who orchestrated championship attacks, and the wings who finished spectacular tries—celebrating every position’s essential contribution to team success.