


Building a new school facility presents a unique window of opportunity. Unlike retrofitting technology into existing spaces where you must work around finished walls, established electrical systems, and occupied buildings, new construction allows you to plan every detail from the beginning. This advantage proves especially important when incorporating touchscreen displays for recognition, wayfinding, and communication.
The timing of when you specify, budget for, and install touchscreen displays during construction directly impacts both cost and final quality. Install too early and you risk damage during construction. Wait until occupancy and you face retrofit challenges similar to existing buildings. Plan incorrectly and you may discover mounting locations lack proper power, network connections, or structural support.
This comprehensive guide addresses the specific question schools face when building gymnasiums and other facilities: exactly when should touchscreen displays be specified, purchased, and installed during the construction timeline to achieve optimal results at the lowest cost?
Schools planning new gymnasiums, athletic complexes, student centers, and administrative buildings consistently report that early planning for touchscreen displays during design phases prevents costly change orders while ensuring displays integrate seamlessly with architecture, electrical systems, and network infrastructure. The key lies in understanding which decisions and actions belong in each construction phase.

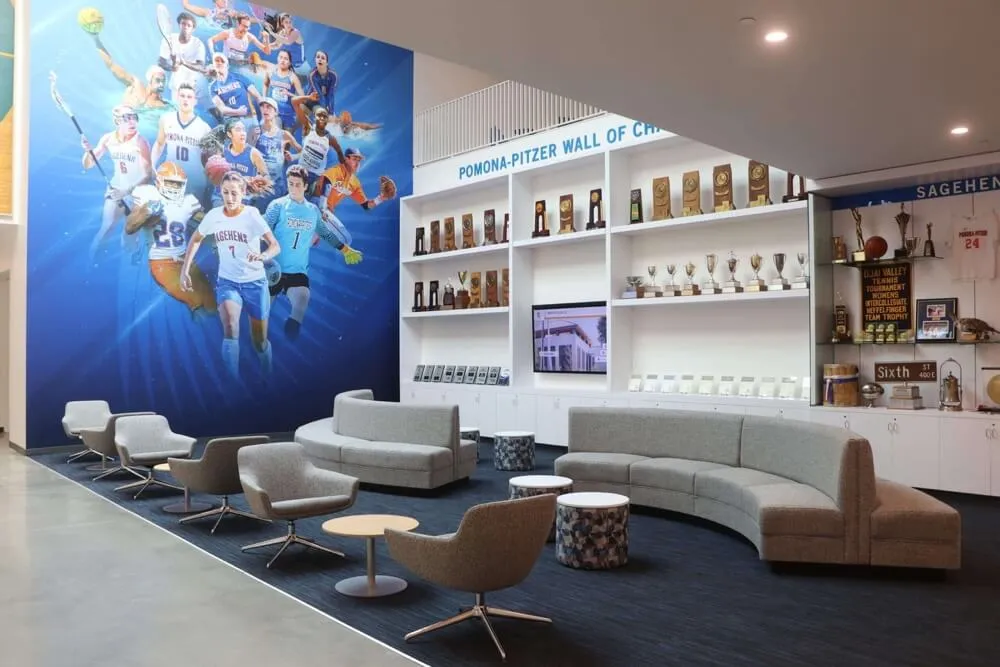
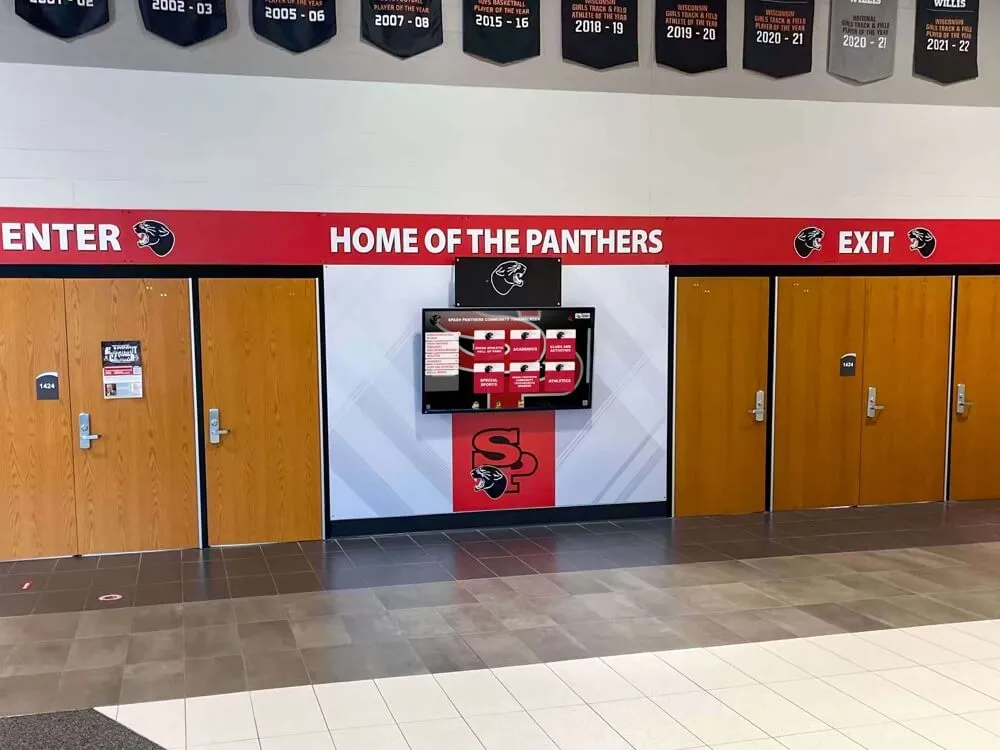
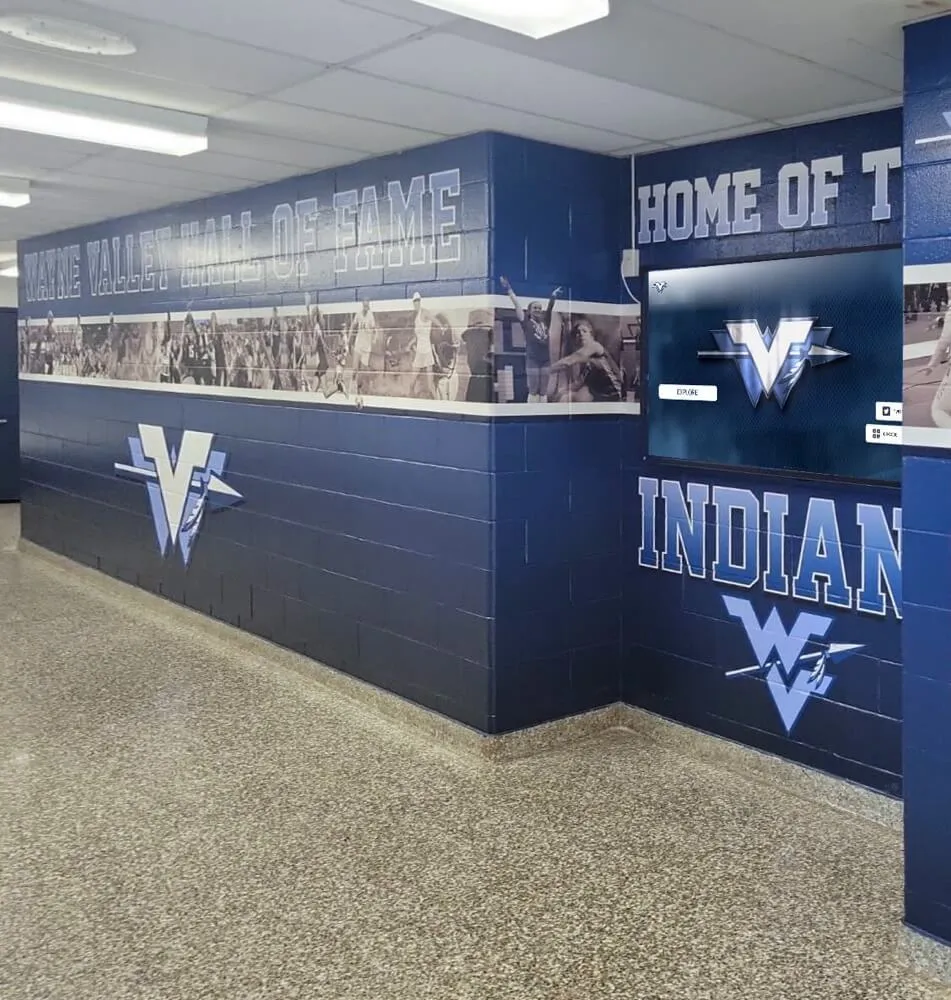
Properly planned touchscreen installations in new facilities become seamless architectural elements rather than visible add-ons
Understanding Construction Phase Requirements
New building projects follow predictable phases, each offering specific opportunities and requirements for touchscreen display planning and installation.
Design Development Phase
The earliest planning stage establishes fundamental parameters:
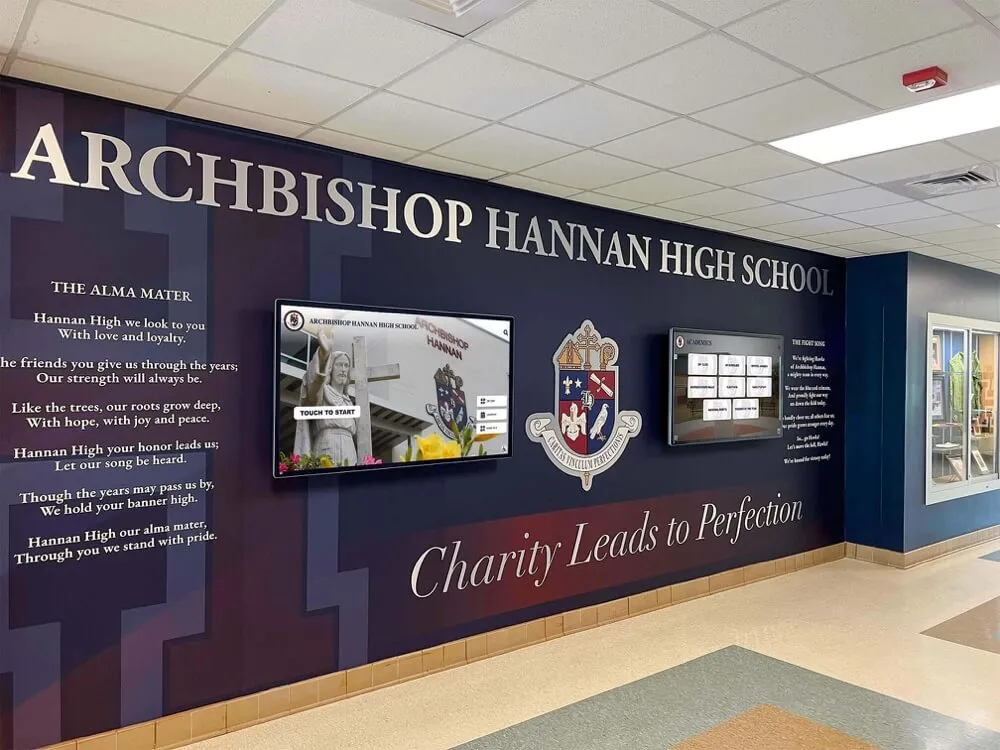
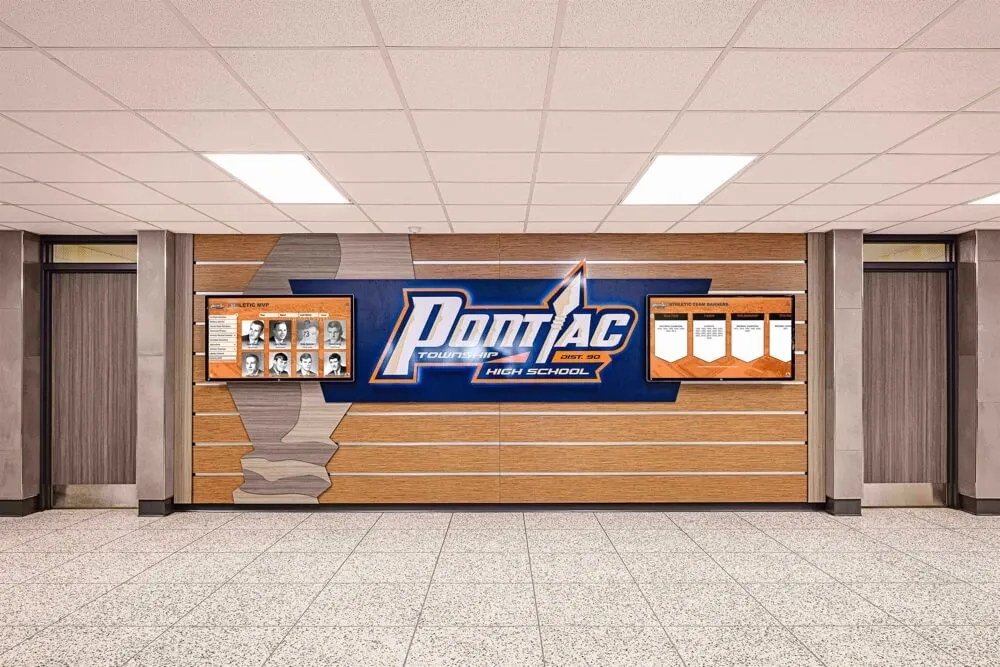
Architectural Integration Planning
During design development, architects and designers create detailed building plans specifying materials, finishes, and spatial layouts. This phase represents the optimal time to identify touchscreen display locations:
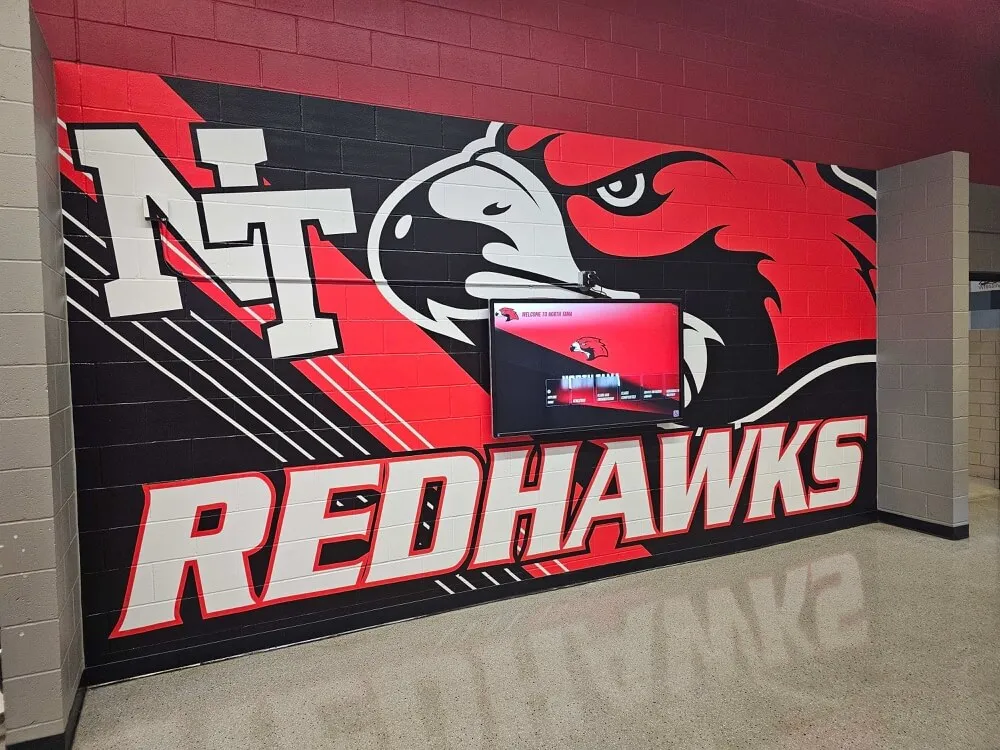
- Lobby and entrance areas serving as primary visitor touchpoints
- Gymnasium concourses and athletic facility entrances
- Hallway intersections and high-traffic corridors
- Administrative reception areas and waiting spaces
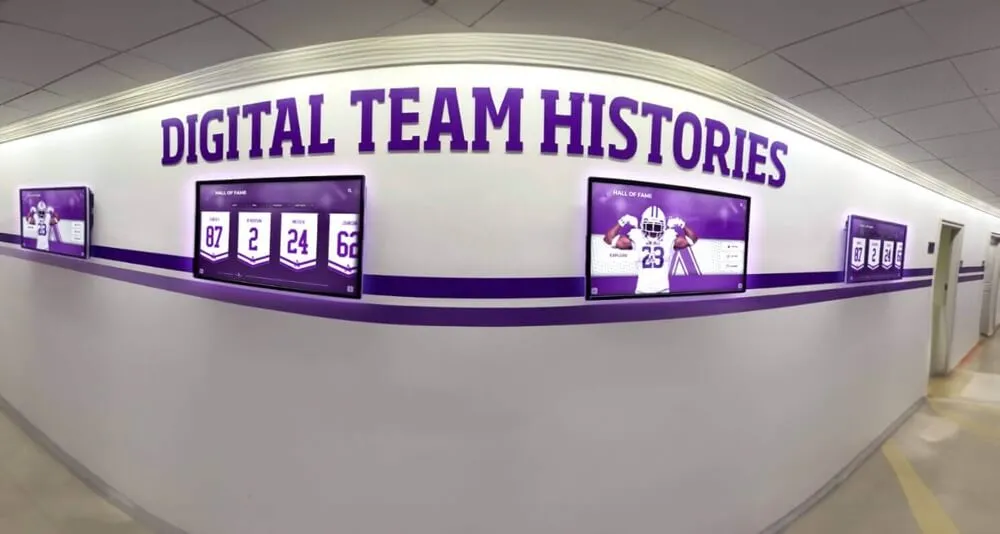
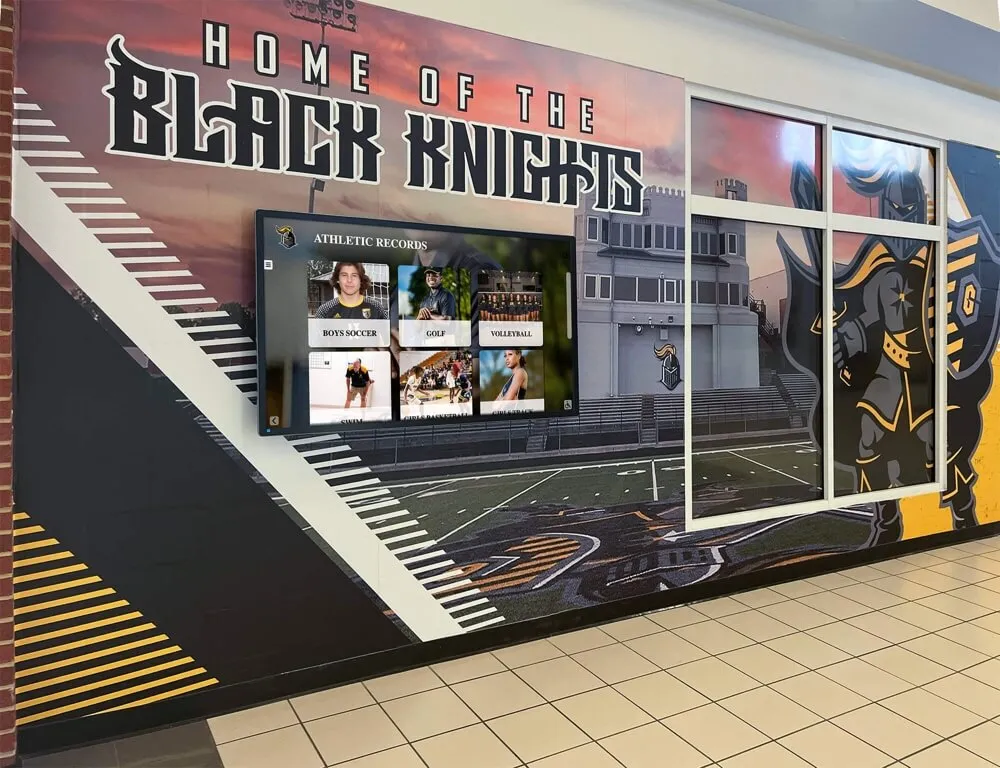
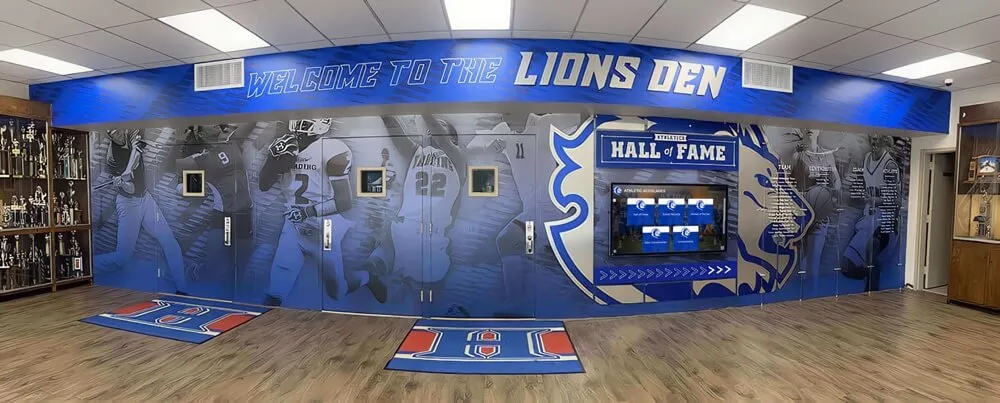
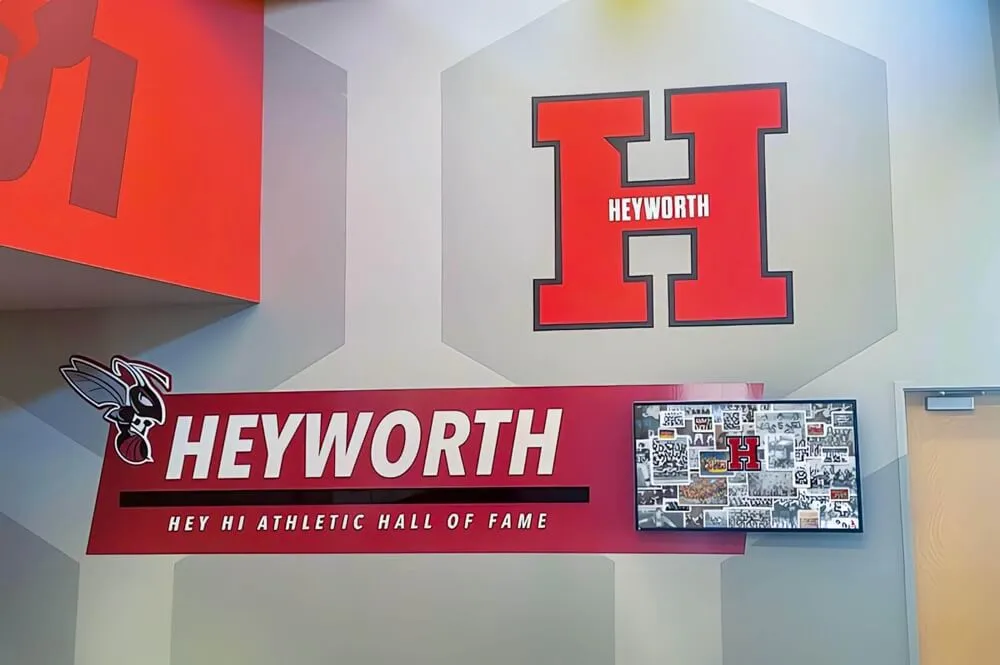
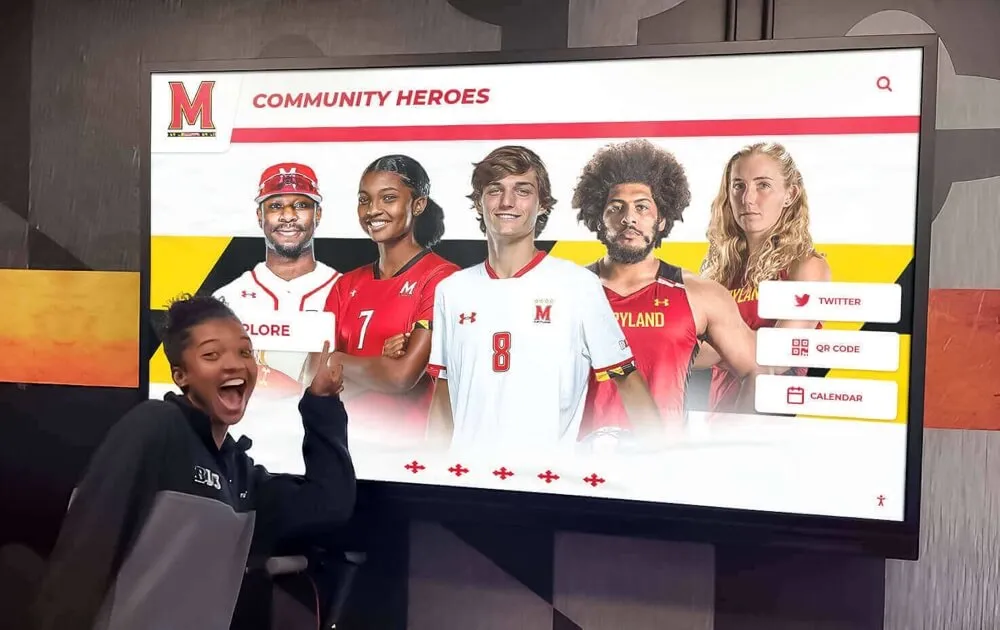
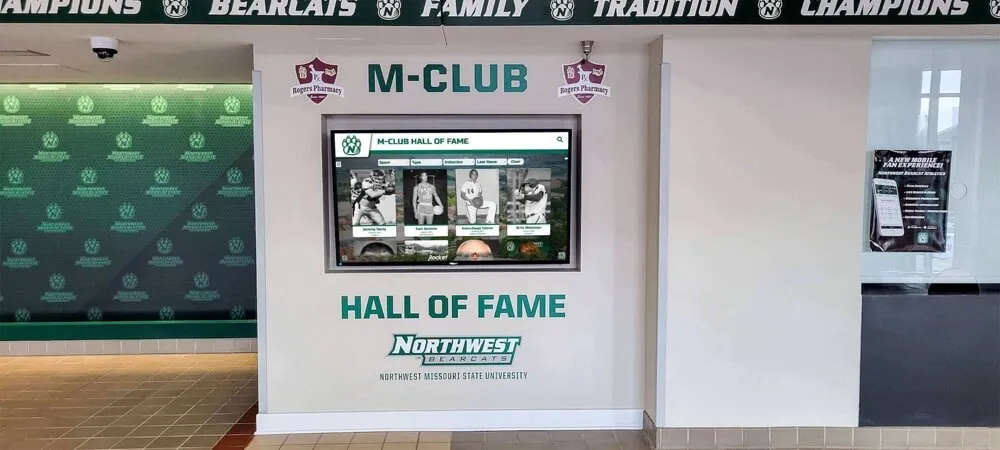
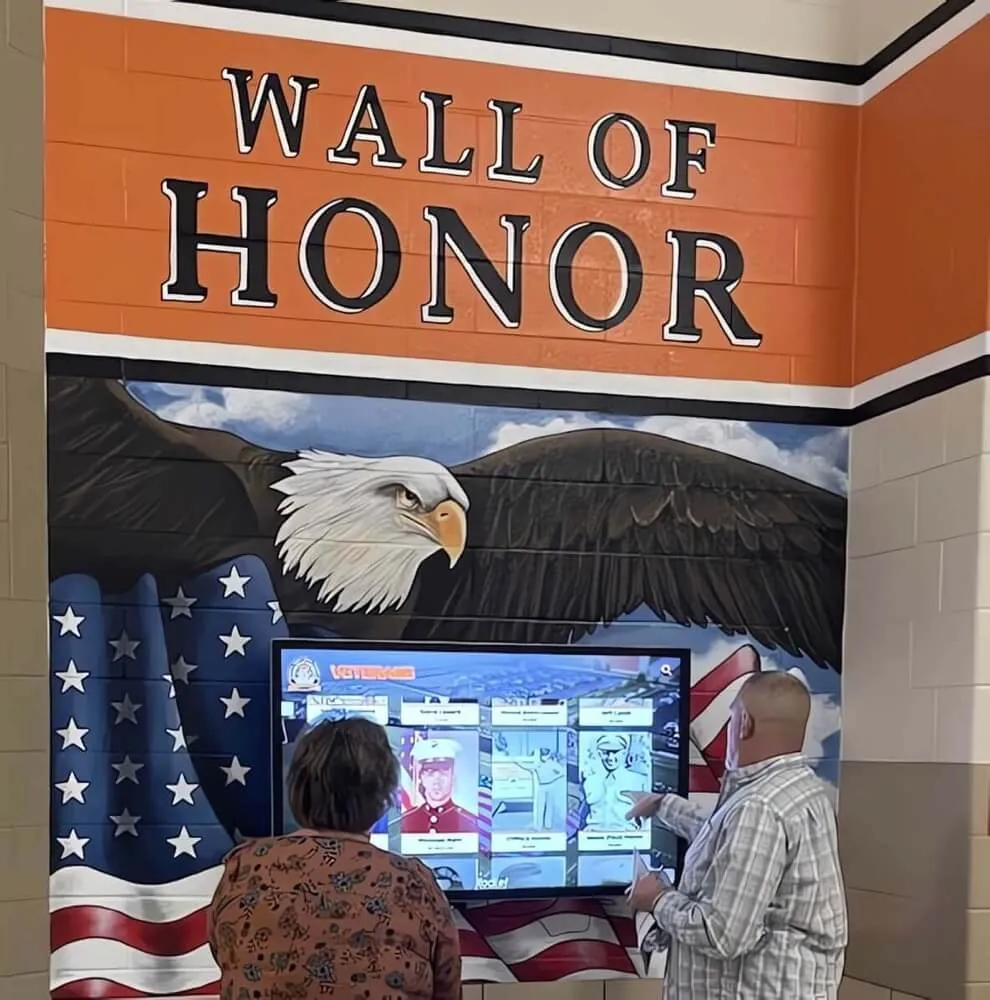
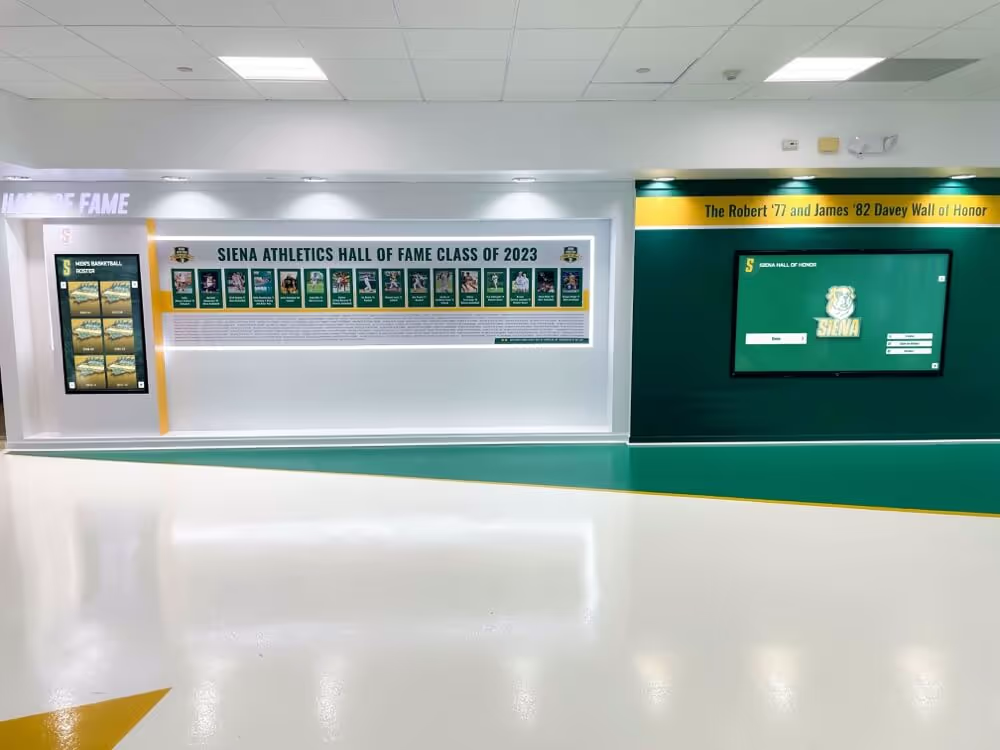
- Athletic hall of fame dedicated areas or recognition walls
According to the American Institute of Architects, incorporating technology requirements during design development rather than later phases reduces project costs by 15-25% while improving final integration quality.
Electrical and Network Infrastructure Planning
Decisions made during design development affect long-term functionality:
- Electrical outlet locations and dedicated circuit specifications
- Network connectivity pathways and data drops
- Conduit installation for clean cable routing
- Structural support requirements for wall-mounted or recessed displays
- Access panel locations for future maintenance
Schools that wait until construction documents or building phases to address these requirements face change orders, visible conduit runs, or compromised mounting options.
Display Specifications and Mounting Considerations
Early planning enables optimal mounting strategies:
- Wall composition at mounting locations (concrete, CMU block, drywall over studs)
- Recessed installation opportunities creating flush architectural integration
- Ceiling height and viewing distance calculations
- ADA compliance parameters for touchscreen height and reach requirements
- Ambient light conditions and glare prevention strategies
Display size selection depends on viewing distances specific to each location. Entrance lobbies with 10-15 foot viewing distances require larger displays (55-65 inches) than hallway locations with closer interaction distances (43-49 inches).

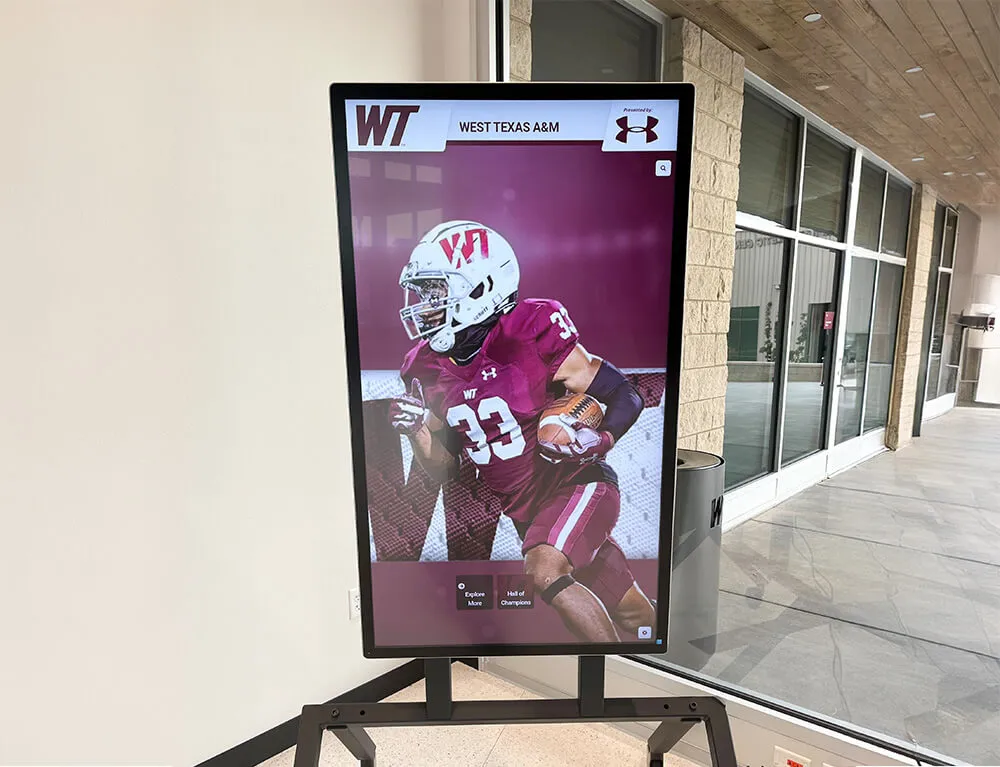
Athletic facility displays require rugged installations withstanding high-traffic environments while maintaining professional appearance
Construction Documents Phase
Detailed specifications and requirements get formalized:
Bid Package Inclusion
Construction documents establish contractor responsibilities:
- Electrical specifications for display power requirements
- Network infrastructure requirements and specifications
- Structural backing or reinforcement at display locations
- Conduit pathways and junction box placements
- Responsibility allocation between general contractor and technology vendors
Some schools include display mounting hardware in general contractor scope while treating displays themselves as owner-furnished equipment installed after substantial completion. Others contract complete display installation through specialized integrators coordinating with general contractors.
Budget Allocation and Line Items
Construction documents inform final budget development:
- Display hardware costs based on specified sizes and quantities
- Electrical and network infrastructure installation costs
- Mounting hardware and structural support requirements
- Installation labor for display mounting and configuration
- Content management software licensing and setup services
Schools should allocate $8,000-$15,000 per display location including hardware, infrastructure, installation, and initial content development for typical 49-55 inch installations in standard locations. Premium locations requiring custom mounting, larger displays, or complex integration may range $15,000-$25,000.

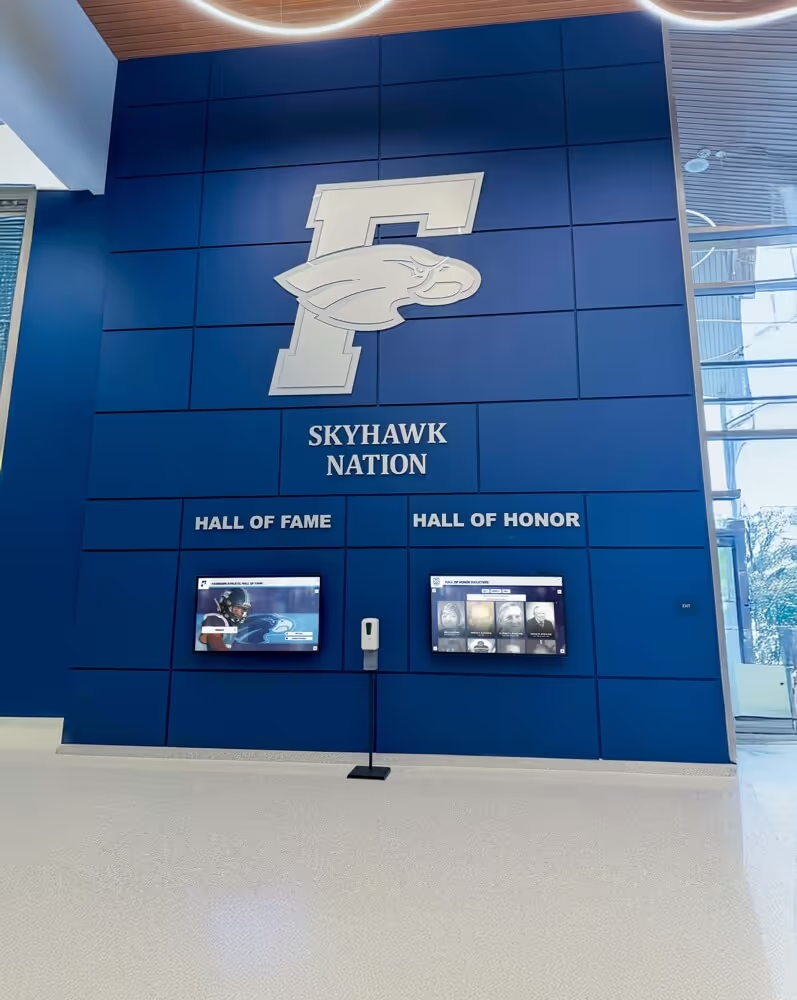
Multiple coordinated displays in main lobbies create impactful recognition environments while serving practical communication functions
Optimal Installation Timing During Construction
The question of when to physically install touchscreen displays requires balancing protection from construction activities against avoiding costly retrofit work.
During Active Construction (Not Recommended)
Schools sometimes consider early display installation:
Why Early Installation Seems Appealing
- Easier access before occupancy and foot traffic
- Contractor coordination while crews are on-site
- Testing functionality before school occupancy
- Including displays in final punch list inspections
Why Early Installation Creates Problems Active construction sites present numerous risks:
- Drywall dust and construction debris damaging sensitive electronics
- Paint overspray and surface finishing materials affecting displays
- Accidental impact from tools, materials, or equipment movement
- Theft or vandalism in unsecured construction areas
- Display damage requiring replacement before occupancy
One Wisconsin school district installed expensive displays three months before completion, only to discover construction dust had penetrated screens and paint overspray damaged bezels. Complete replacement cost $45,000 beyond original budget.
Post-Substantial Completion Phase (Optimal Timing)
Most successful installations occur after construction substantially completes:
Substantial Completion Definition Construction reaches substantial completion when:
- All major construction activities finish
- Building systems become operational
- Spaces can be occupied even if minor punch list items remain
- Certificate of occupancy can be or has been issued
- Cleaning and final finishing work completes
Advantages of Post-Completion Installation This timing provides optimal conditions:
- Clean, finished surfaces ready for display mounting
- No construction dust or debris risking display damage
- Finished electrical and network connections ready for use
- Secure buildings preventing theft or vandalism
- Ability to verify exact mounting locations against finished conditions
- Testing time before occupancy ensuring proper operation

Post-completion installation ensures displays mount to finished surfaces without construction damage risks
Installation Timeline Recommendations
Optimal installation scheduling:
- 2-4 weeks before occupancy: Provides installation time while avoiding construction phase risks
- After final cleaning: Ensures dust and debris won’t damage displays
- Before furniture installation: Allows clear access to mounting locations and better working conditions
- With time for testing: Enables verification and troubleshooting before students and staff depend on displays
For gymnasium and athletic facility displays, coordinate installation with floor refinishing completion and before moving in athletic equipment that may obstruct access.
Pre-Occupancy Installation Window
The narrow period between construction completion and building occupancy offers ideal conditions:
Coordination Requirements
Successful installation during this window requires:
- Pre-ordering displays with confirmed delivery dates
- Scheduling installation contractors in advance
- Coordinating with general contractor for final access
- Ensuring network and electrical connections are functional and tested
- Planning content preparation to launch with building opening
Schools should issue display hardware purchase orders 8-12 weeks before anticipated installation dates, accounting for manufacturing lead times, shipping delays, and delivery coordination.

Combining traditional recognition elements with digital displays honors heritage while adding unlimited digital capacity
Infrastructure Planning for New Construction
The permanent infrastructure installed during construction determines long-term functionality and aesthetics.
Electrical Requirements and Planning
Proper electrical infrastructure prevents visible conduit and future limitations:
Power Delivery Specifications
Commercial touchscreen displays require appropriate electrical service:
- Dedicated 15-amp circuits serving individual displays or small groups
- Outlet placement directly behind display mounting locations
- Consideration of power management features enabling scheduled operation
- Surge protection for expensive electronic equipment
- Emergency power circuit integration if displays serve critical communication functions
Most 43-65 inch commercial displays consume 150-400 watts, well within standard circuit capacity. However, dedicated circuits prevent nuisance breaker trips and enable clean installations without visible extension cords.
Outlet Placement Strategies
Strategic outlet locations affect installation quality:
- Behind wall-mounted displays: Outlets positioned directly behind displays eliminate visible cords
- Low placement for floor kiosks: Outlets near floor level allow internal cord routing through kiosk bases
- Accessible locations: Positioning allows display disconnection for service without demolition
- Multiple outlet boxes: Consider future expansion by roughing additional locations during construction
Specify exact outlet heights based on confirmed display mounting heights. For wall displays mounted at ADA-compliant heights, outlets 36-42 inches above finished floor typically align well with display backs.
Network Connectivity Infrastructure
Modern touchscreen displays require network connections for cloud-based content management:
Wired Ethernet Connections (Preferred)
Hardwired connections provide most reliable performance:
- Cat6 or Cat6a cabling supporting current and future bandwidth needs
- Dedicated data drops at each display location
- Patch panel organization enabling identification and troubleshooting
- Network switch port allocation planning
- VLAN configuration considerations for display network segmentation
Wired connections eliminate wireless reliability concerns while providing superior performance for video content and real-time updates common in digital recognition displays.

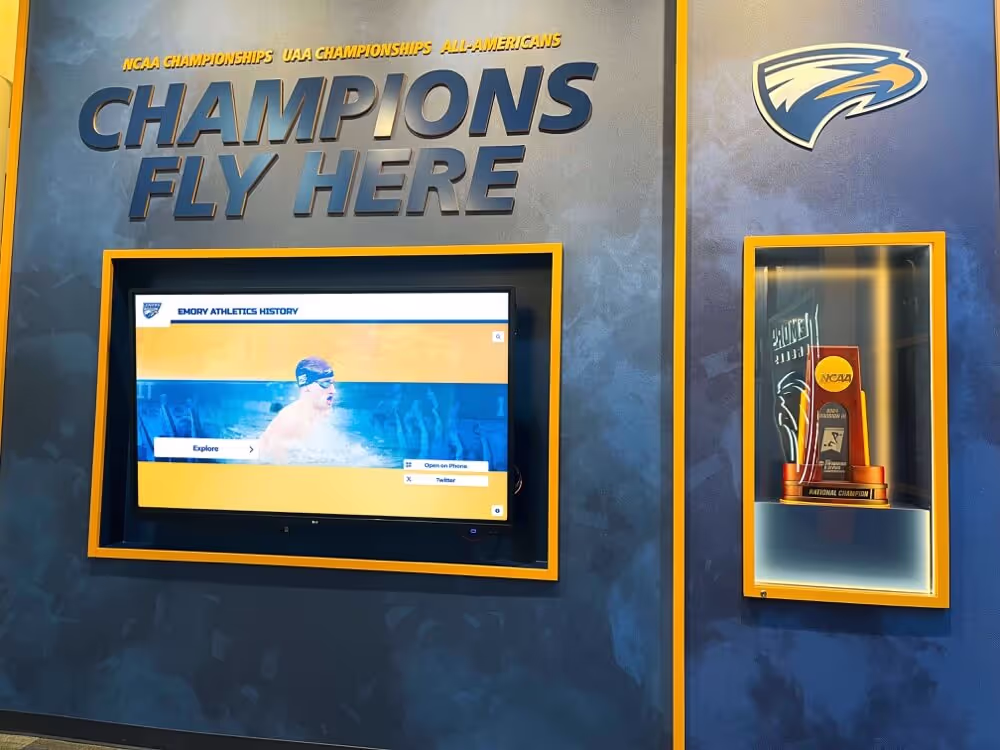
Trophy case integrations require careful planning during construction for proper power and network infrastructure
Wireless Network Considerations
When cabling proves impractical:
- High-performance wireless access points providing adequate coverage and bandwidth
- Enterprise-grade wireless infrastructure rather than consumer equipment
- Dedicated wireless network or VLAN for display devices
- Quality of service (QoS) configuration prioritizing display traffic
- Regular wireless performance monitoring and optimization
Some locations like gymnasium concourses or temporary display areas may warrant wireless connectivity. However, plan wired connections for permanent primary displays to ensure optimal reliability.
Network Infrastructure Best Practices
Additional considerations for robust connectivity:
- Home-run wiring directly to network core rather than daisy-chaining
- Adequate conduit sizing allowing future cable additions without wall penetration
- Testing and certification of all network drops before finish installation
- Documentation of outlet locations and patch panel assignments
- Power over Ethernet (PoE++) capability for small displays if supported
Structural Support and Mounting Provisions
Display mounting requires appropriate backing and support:
Wall Mounting Infrastructure
Different wall types require different preparation:
Concrete or CMU Block Walls Solid masonry provides excellent mounting support:
- Pre-drilling sleeve installations if exact locations are confirmed during construction
- Surface preparation ensuring smooth mounting surfaces
- Masonry anchor locations marked for future drilling
- Adequate clearance from adjacent finishes or millwork
Masonry walls in gymnasiums and athletic facilities offer ideal mounting surfaces for large format displays that may experience incidental contact.
Drywall Over Metal Studs Lighter wall assemblies need reinforcement:
- Blocking or additional framing at planned display locations
- Plywood backing sheets secured to studs providing mounting surfaces
- Load capacity verification for specified display weights
- Blocking documentation showing exact locations for installation crews
Without proper backing, installers must locate studs and may find ideal display positions don’t align with stud locations. This compromises aesthetics and may require visible mounting brackets extending beyond display edges.
Recessed Installation Preparation Premium installations flush with walls require special preparation:
- Framed recesses sized for specified displays with maintenance access
- Electrical and network connections brought into recess boxes
- Adequate depth accommodating displays plus rear clearance for cooling
- Finish coordination between recessed frames and surrounding walls
- Removable display retention system enabling future service
Recessed installations create dramatically cleaner appearances but require precise planning and specification during construction documents phase.

Multiple displays require coordinated infrastructure planning ensuring consistent mounting and connectivity
Gymnasium and Athletic Facility Specific Considerations
Athletic spaces present unique requirements affecting installation planning and timing.
High-Traffic and High-Impact Environments
Gymnasiums experience different conditions than administrative spaces:
Durability Requirements
Athletic facility displays face additional stresses:
- Ball and equipment impact risks requiring protective measures or strategic placement
- High foot traffic creating increased vandalism and damage potential
- Temperature and humidity variations from HVAC systems and activity levels
- Acoustic considerations in reverberant spaces
- Cleaning chemical exposure from athletic facility maintenance
Mounting displays above 7-8 feet in gymnasium areas reduces impact risk while maintaining visibility. Alternatively, protective barriers or recessed installations provide physical shielding.
Mounting Location Strategies
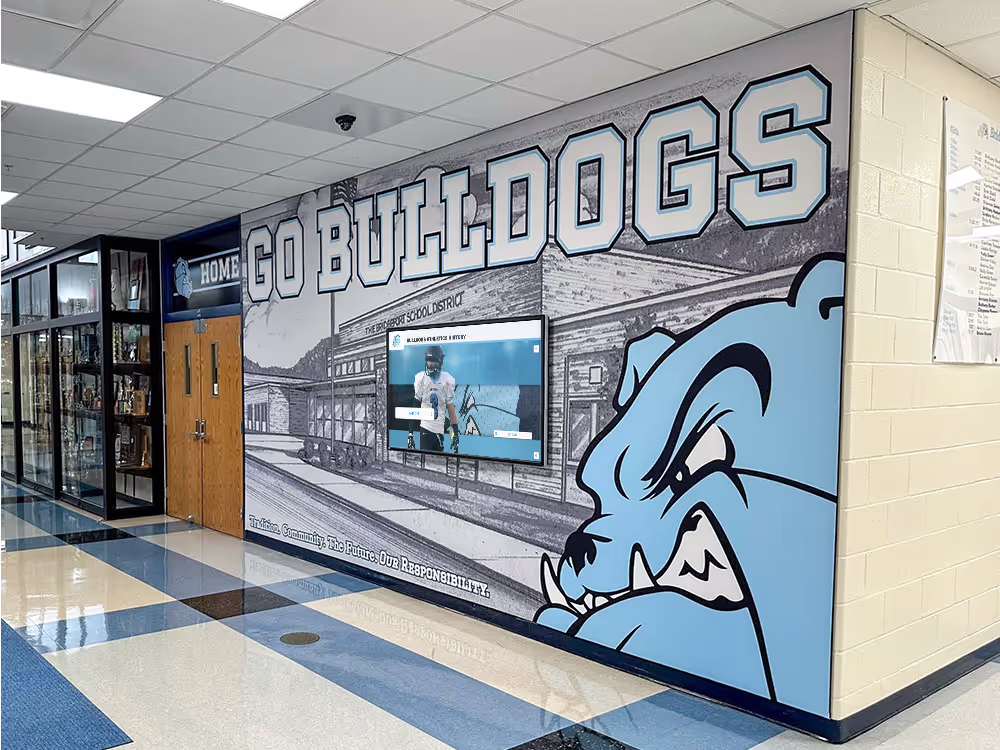
Optimal placement in athletic facilities:
- Entrance concourses and lobby areas receiving moderate traffic
- Upper wall locations above typical reach height
- Protected alcoves or recessed areas shielding displays from activity
- End walls away from playing surfaces and equipment storage
- Corridors leading to locker rooms and athletic offices
Schools should avoid mounting displays directly adjacent to playing surfaces, equipment storage areas, or in locations where errant balls or equipment may strike screens. One Michigan high school installed a display trackside at their basketball court; it required replacement within two months after multiple ball impacts.
Athletic Recognition and Content Planning
Gymnasium displays typically serve specific content purposes:
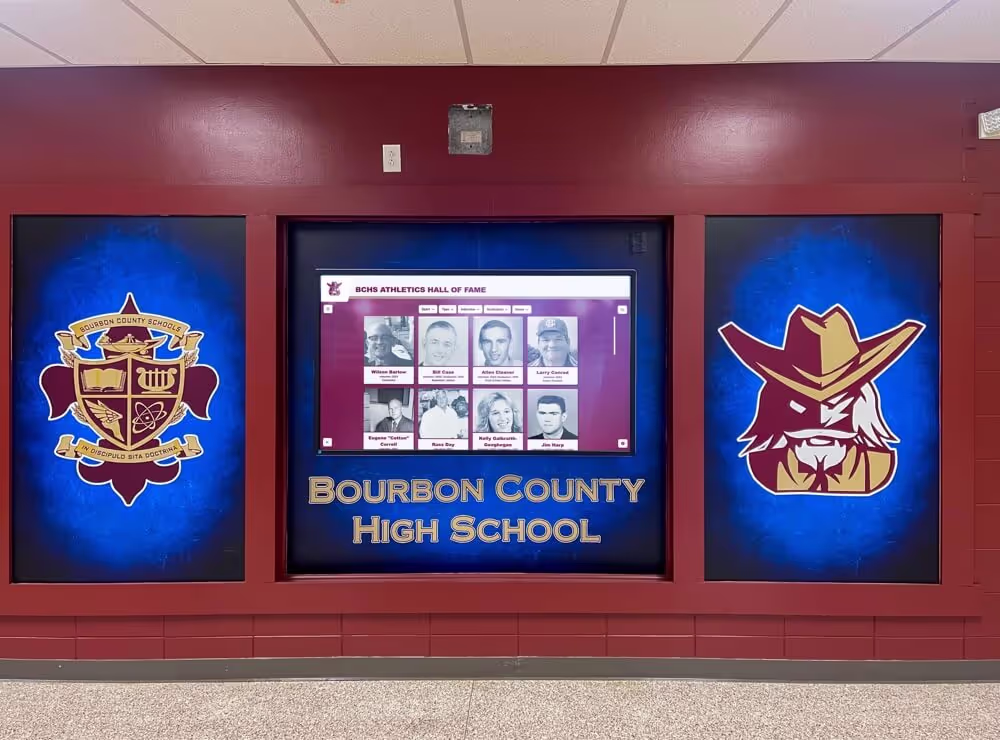
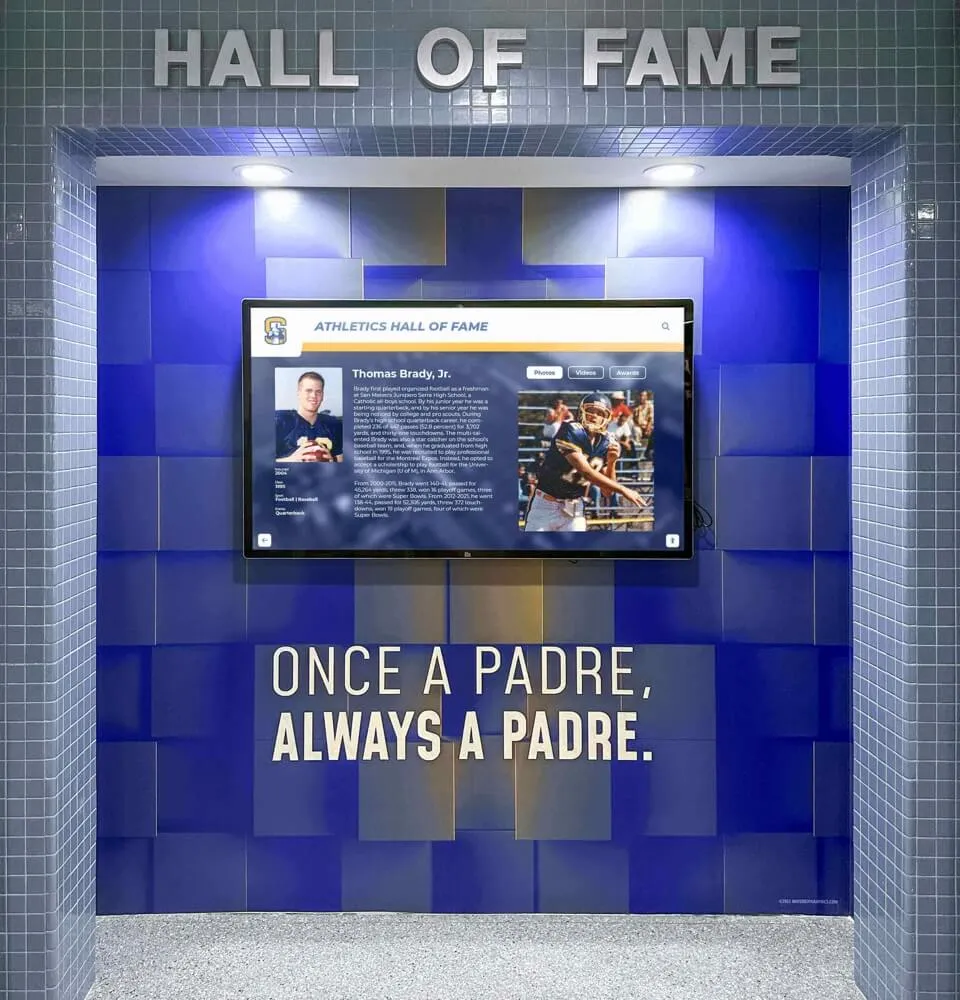
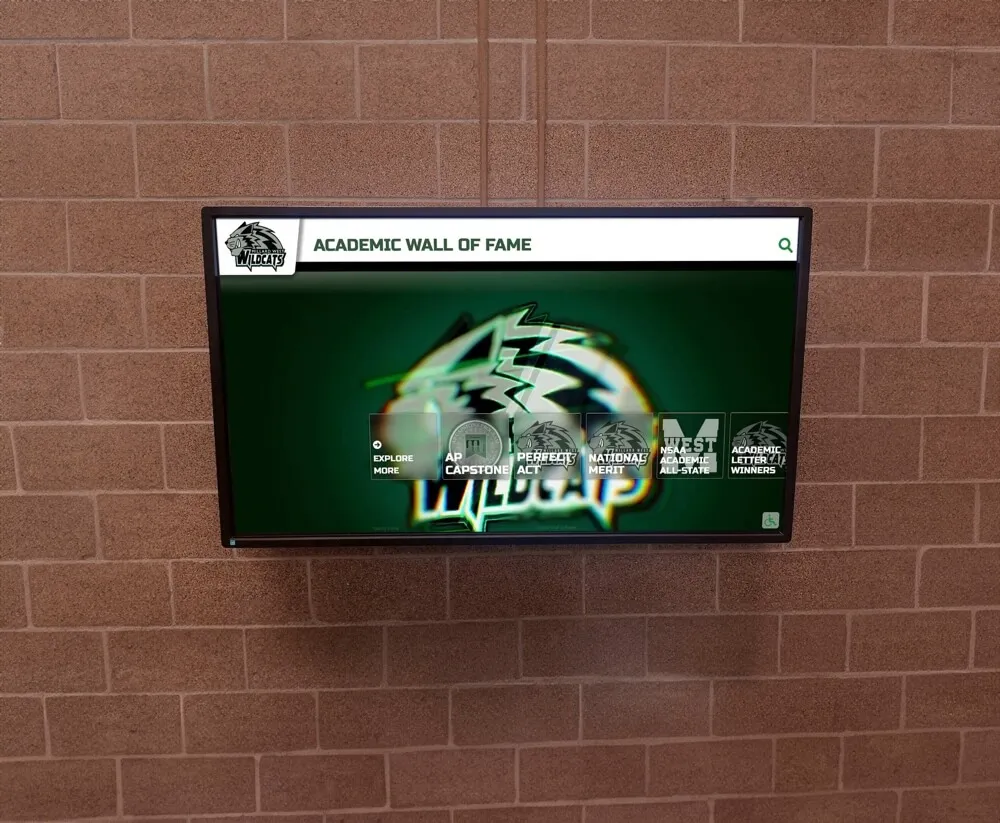
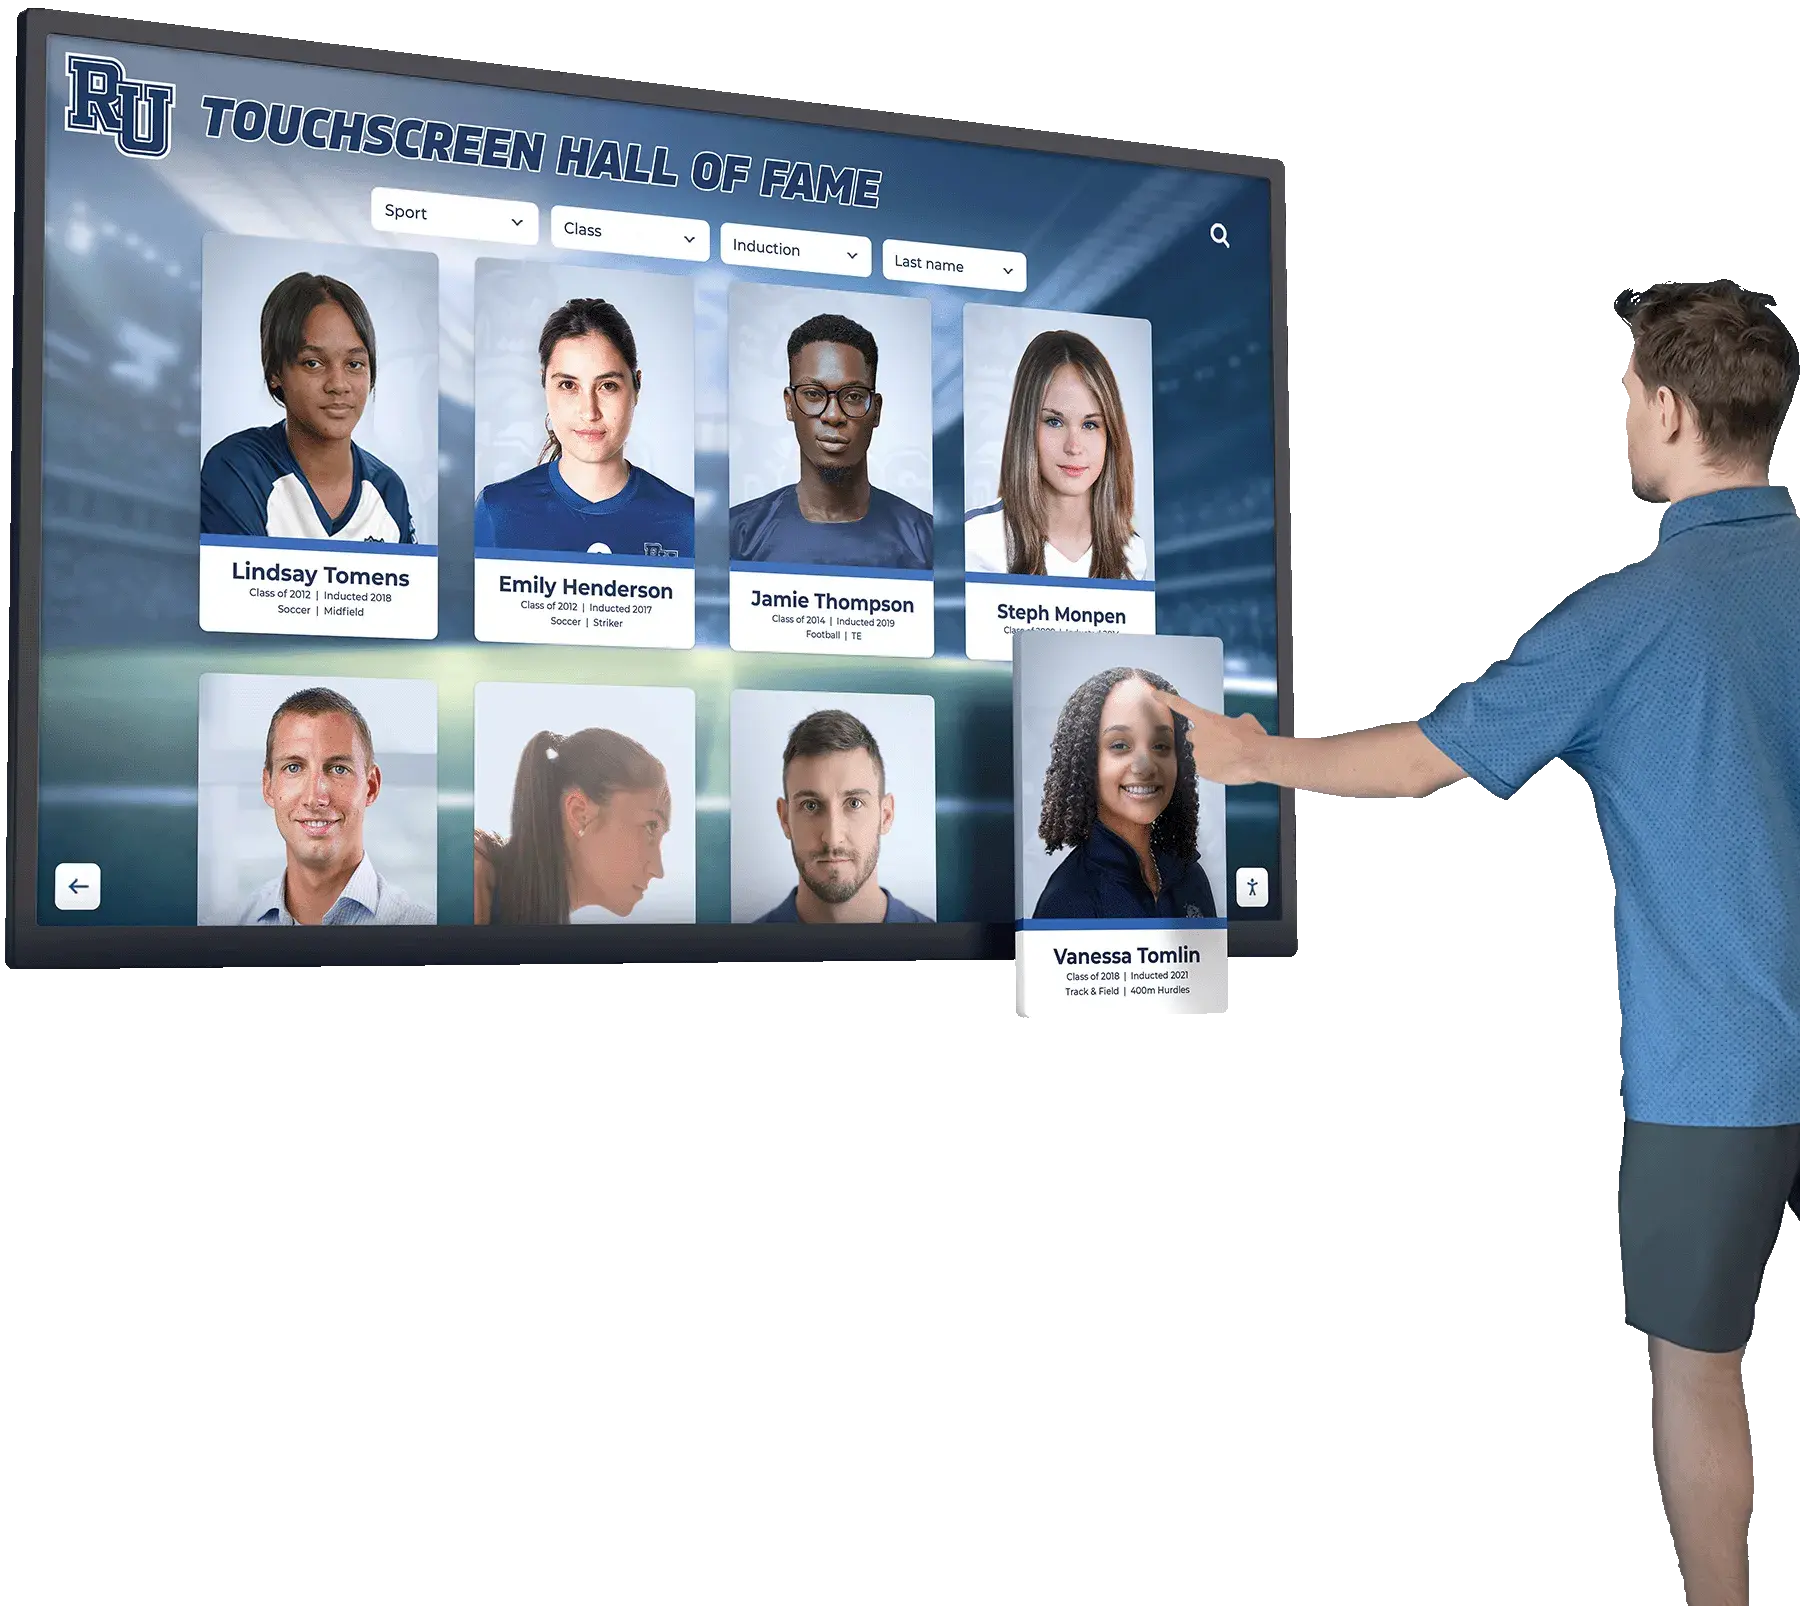
Hall of Fame and Achievement Recognition
Athletic recognition displays in new facilities typically showcase:
- Historical team championships and season records
- Individual athlete career achievements and records
- Coaching milestone recognition and hall of fame inductees
- Current team rosters and season schedules
- Record boards tracking all-time performance standards
Planning content requirements during construction helps specify appropriate display sizes and quantities. Extensive recognition needs may warrant multiple coordinated displays or larger format screens.

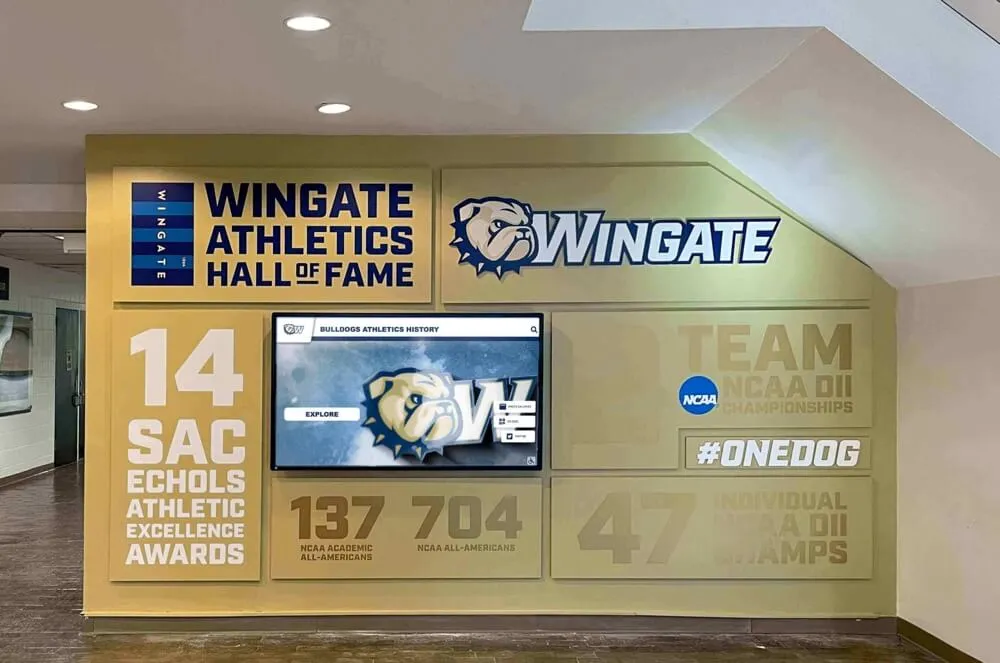
Athletic lounges and recognition areas integrate physical trophies with digital displays for comprehensive celebration spaces
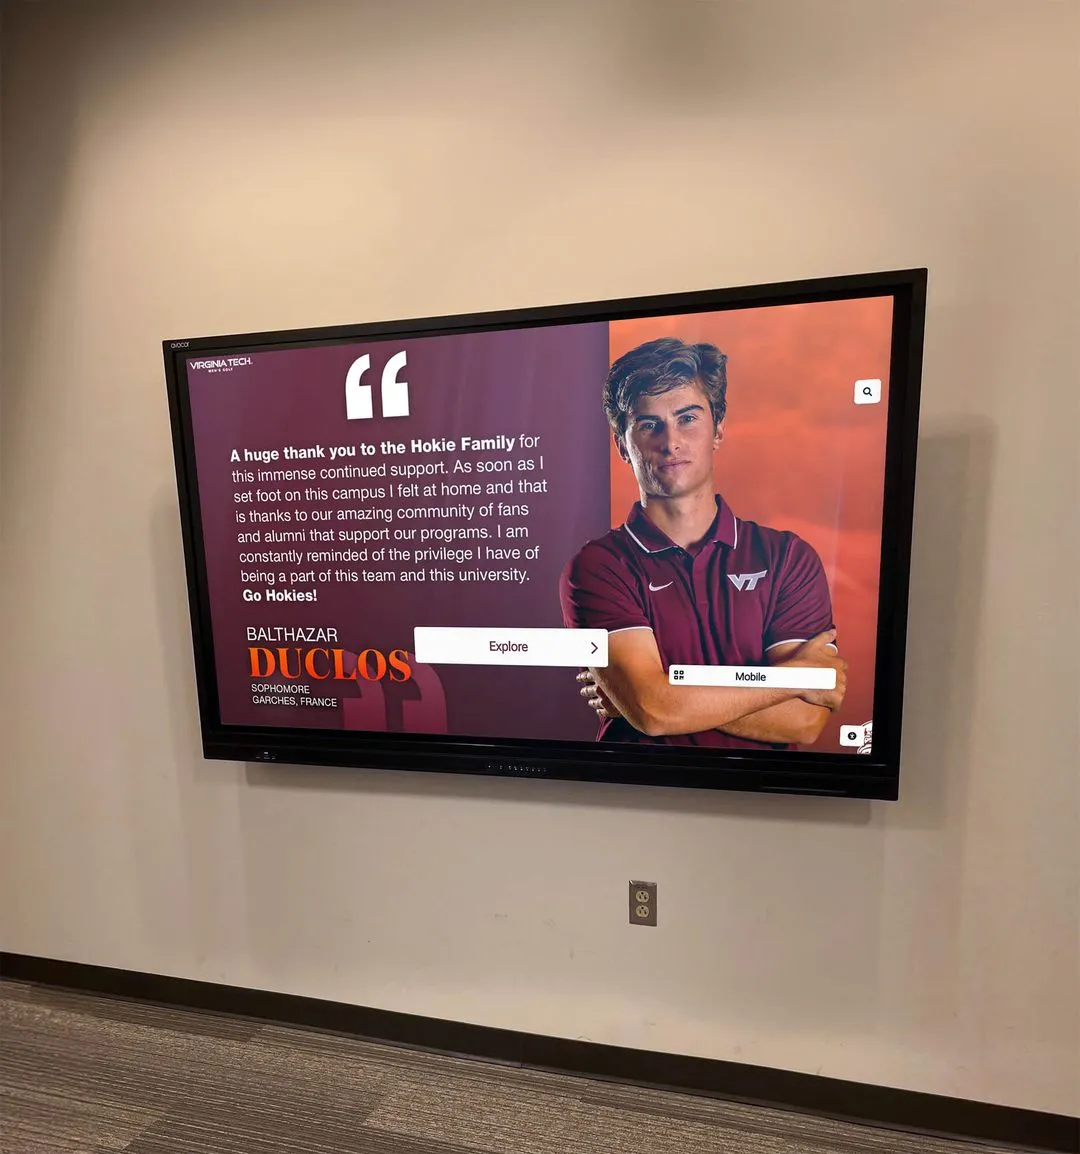
Recruitment and Program Marketing
Displays in athletic facilities support recruiting efforts:
- Program highlight videos and season recap presentations
- Facility tour content for prospective student-athletes
- College placement and scholarship achievement recognition
- Coach biographies and program philosophy information
- Alumni success stories and professional athlete recognition
Content supporting these purposes benefits from larger display sizes (55-75 inches) enabling group viewing during campus tours and recruiting visits.
Game Day and Event Information
Operational content for athletic events:
- Schedule displays and upcoming opponent information
- Live game statistics and scoring information
- Sponsor recognition and advertising content
- Emergency information and safety messaging
- Wayfinding and facility navigation for visitors
Some schools install displays serving dual purposes: recognition content during normal hours switching to event information during games and competitions. This requires content management systems enabling scheduled display switching.
Budget Planning and Funding Strategies
Including touchscreen displays in new construction budgets requires strategic planning.
Construction Budget Integration
Displays can fall under different budget categories:
Technology Infrastructure Budget Line Items
Many schools allocate display costs within technology budgets:
- Educational technology capital improvements
- Building technology infrastructure
- Audio-visual systems and equipment
- Communication systems
- Security and safety equipment
This approach treats displays as technology purchases similar to computers, projectors, and network infrastructure.
Building Construction and Finishes
Alternatively, displays may be considered architectural elements:
- Interior finishes and millwork
- Building signage and wayfinding
- Architectural features and amenities
- Recognition and donor walls
Schools successfully argue displays are permanent architectural elements rather than movable technology equipment, particularly for recessed installations that become part of building structure.

Professional installations justify technology budget allocations through long-term functionality and institutional benefit
Hybrid Funding Approaches
Many schools split costs between budgets:
- Infrastructure (electrical, network, mounting) in construction budget
- Display hardware in technology or equipment budget
- Content development in marketing or communications budget
- Ongoing software licensing in annual operating budget
This recognizes that displays require both permanent infrastructure investment and technology equipment purchases.
Value Engineering and Phasing Strategies
Budget pressures may require phased implementation:
Priority Location Identification
Not all planned displays require day-one installation:
- Phase 1 (Opening Day): Main entrance lobby, primary gymnasium entrance
- Phase 2 (Year 1): Secondary athletic facility locations, hallway displays
- Phase 3 (Year 2+): Additional recognition areas, specialized locations
Installing infrastructure during construction at all planned locations costs minimally compared to retrofit work. Schools can rough in electrical and network connections at all locations while installing displays only in priority areas initially.
Infrastructure Now, Displays Later
Strategic infrastructure investment:
- Electrical circuits and outlets at all planned display locations
- Network data drops roughed to all locations
- Wall backing and structural support installed during construction
- Conduit pathways and access panels provided
- Detailed documentation of rough-in locations
This approach costs $500-$1,500 per location compared to $3,000-$5,000 for retrofit infrastructure after construction completes. Schools can install displays in future years at lower incremental cost when budgets permit.
Alternative Funding Sources
Creative funding approaches supplement construction budgets:
Booster Clubs and Parent Organizations
Athletic facility displays often attract booster support:
- Dedicated fundraising campaigns for recognition technology
- Corporate sponsorship opportunities for display content
- Memorial or tribute gifts honoring individuals
- Alumni giving targeted to specific projects
- Naming opportunities for recognition spaces
Booster clubs appreciate tangible projects with visible results. Digital displays showcasing athletic achievements provide compelling fundraising targets.

Combined physical and digital recognition creates comprehensive celebration spaces worth investment
Grants and Special Funding
Various grant programs may support technology investments:
- Educational technology grants from state education agencies
- Corporate foundation grants supporting school technology
- Federal E-Rate program funding for network infrastructure
- Community foundation grants for capital improvements
- Equipment donation programs from technology companies
Grant applications require lead time, so investigate opportunities during early construction planning phases.
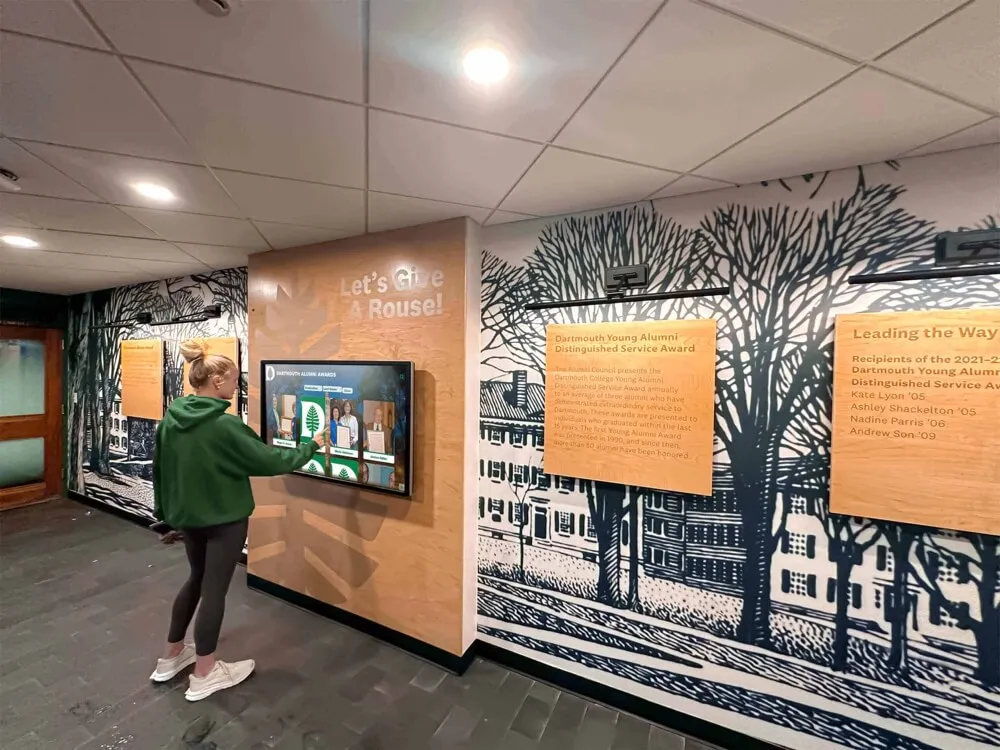
Donor Recognition Integration
Schools constructing donor-funded facilities can integrate recognition:
- Digital donor walls as part of overall recognition strategy
- Naming opportunities for specific displays or content areas
- Memorial recognition spaces featuring interactive displays
- Comprehensive donor recognition programs spanning multiple locations
- Campaign progress visualization during capital project
Digital displays provide unlimited donor recognition capacity that physical plaques cannot match, making them attractive development tool investments.
Vendor Selection and Procurement Timing
Choosing appropriate partners and equipment requires early action.
Design Phase Vendor Engagement
Early vendor involvement improves outcomes:
Planning and Consulting Services
Specialized vendors offer valuable design phase input:
- Site assessment and location recommendations based on experience
- Display size and specification guidance for different viewing contexts
- Content strategy consultation informing hardware requirements
- Budget estimation and cost modeling for planning
- Infrastructure specification development for construction documents
Solutions like Rocket Alumni Solutions provide complimentary planning consultation helping schools specify appropriate systems during design phases. This ensures construction documents include correct infrastructure requirements.
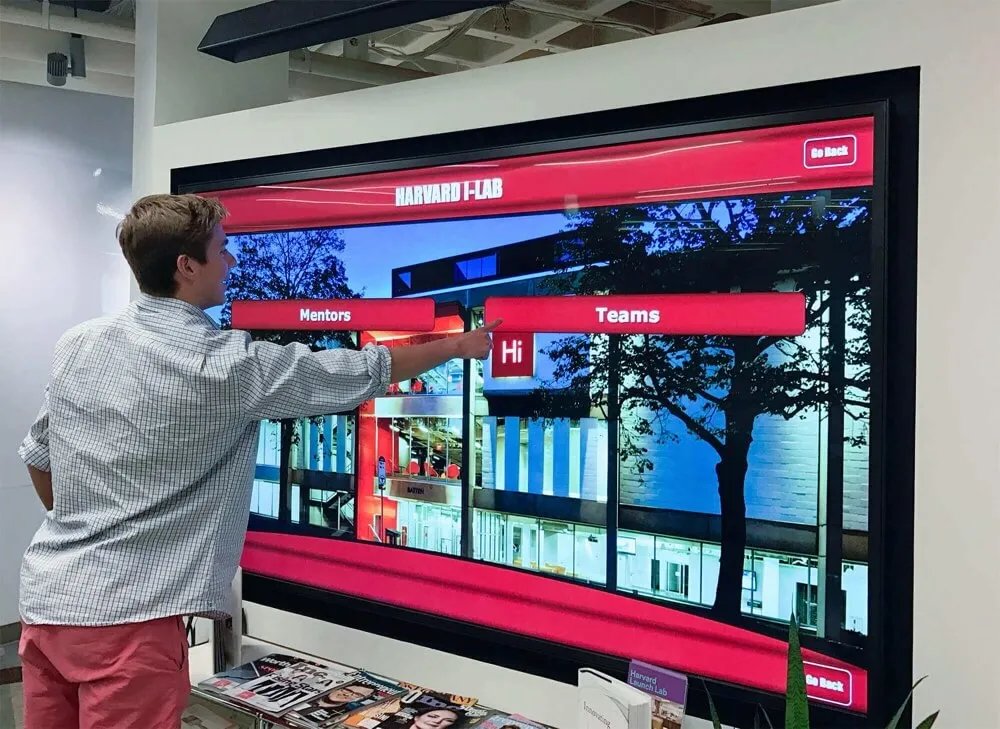
Technology Demonstration and Stakeholder Buy-In
Early vendor engagement enables:
- Demo equipment viewing for administrators and board members
- Sample content development showing possibilities
- Reference site visits to schools with similar installations
- Stakeholder questions and concern resolution
- Budget justification through concrete examples
Decision-makers evaluating touchscreen investments benefit from experiencing technology firsthand rather than reviewing written specifications.

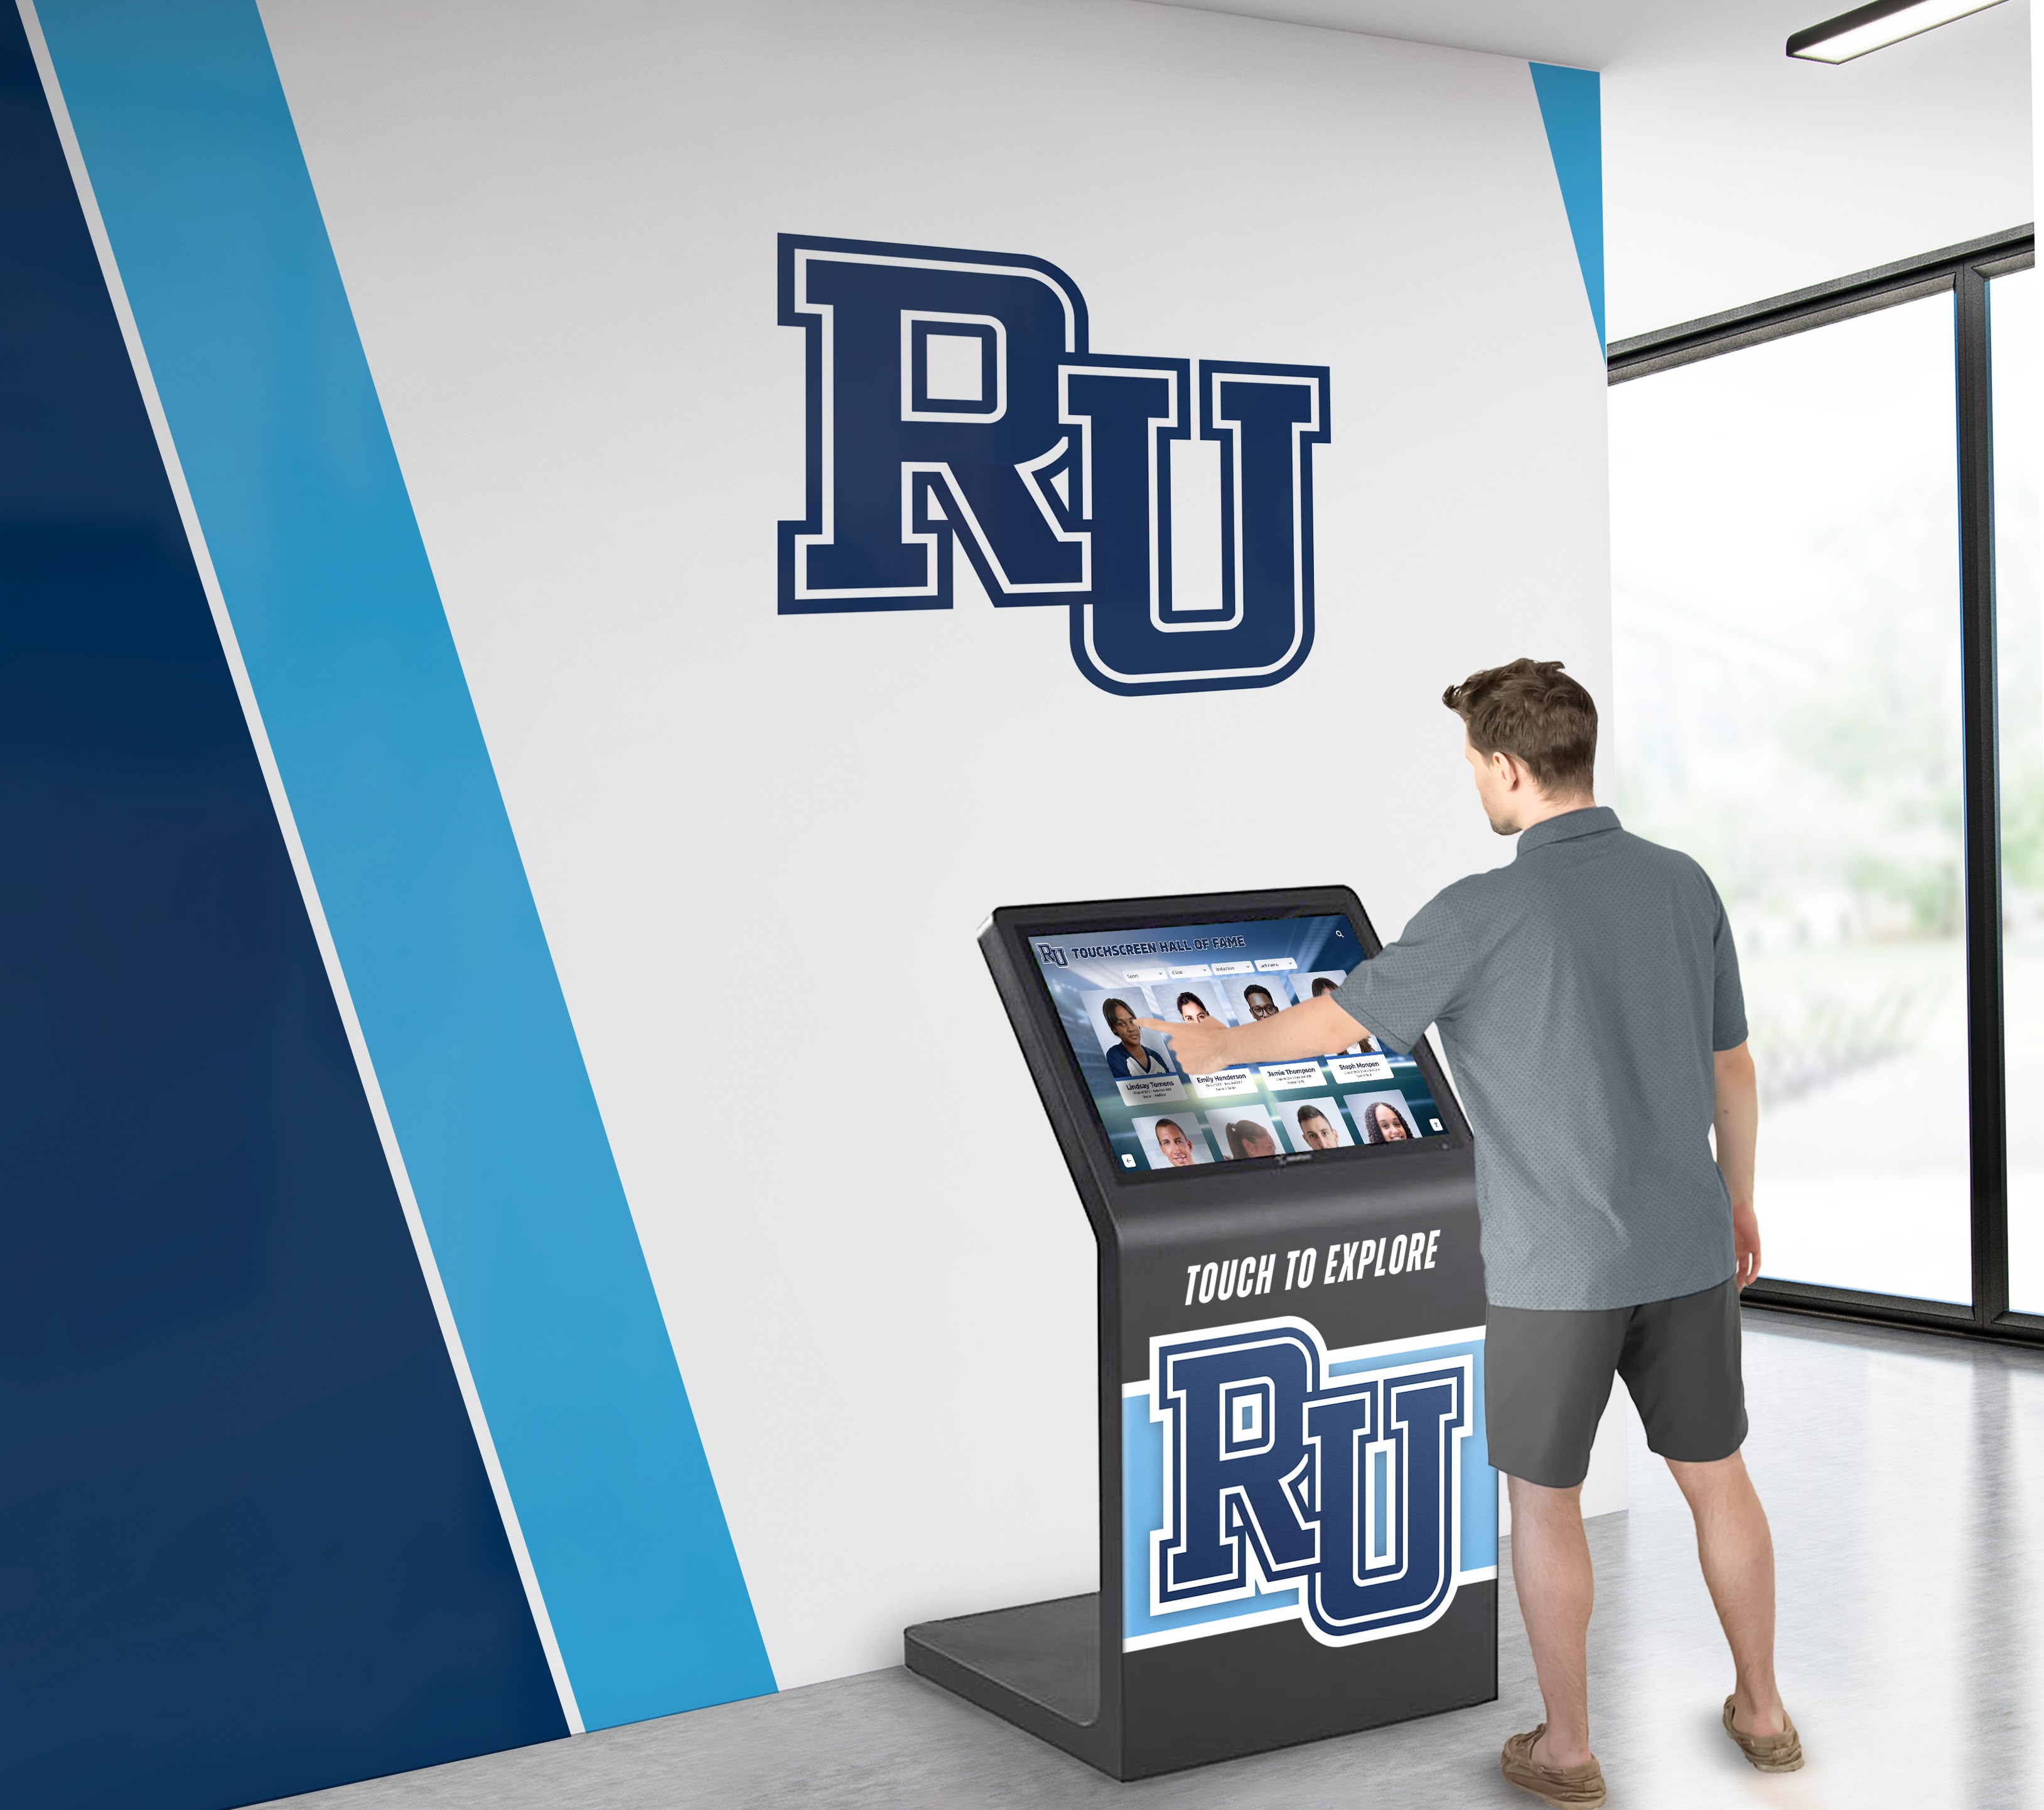
Interactive exploration capabilities demonstrate technology value during planning and stakeholder presentations
Procurement Timing and Lead Times
Hardware acquisition requires advance planning:
Ordering Timeline Considerations
Display procurement timeline typically includes:
- Quote and specification phase: 2-4 weeks developing detailed quotes matching requirements
- Purchase order processing: 1-3 weeks for institutional purchasing procedures
- Manufacturing lead time: 4-8 weeks for commercial display production
- Shipping and delivery: 1-2 weeks for transportation and receiving
- Installation scheduling: 1-2 weeks for contractor availability and coordination
Total timeline from purchase decision to installed display spans 10-15 weeks under normal conditions. Supply chain disruptions can extend timelines significantly, requiring even longer advance planning.
Strategic Ordering Approaches
Schools can optimize procurement timing:
Option 1: Early Commitment with Delayed Delivery
- Order displays 6-9 months before anticipated installation
- Negotiate storage terms with vendor until installation date
- Lock in pricing and ensure product availability
- Reduce risk of supply chain delays affecting building opening
Option 2: Construction Contingency with Short Lead Time Vendor
- Identify preferred vendor during design phase
- Negotiate pricing and specifications in advance
- Issue purchase order once substantial completion date is confirmed
- Work with vendors maintaining inventory or short lead times
Option 3: Performance Specification in Construction Documents
- Include display specifications in bid documents for contractor procurement
- General contractor or technology subcontractor sources equipment
- Coordinate with contractor schedule automatically
- May result in higher equipment costs but improved schedule coordination
Most schools find Option 1 or 2 provides best balance of cost control and installation timing flexibility.
Installation Contractor Coordination
Professional installation ensures optimal results:
Installation Team Selection
Different contractors may handle installation:
- Audio-visual integration firms: Specialized in technology installations, best for complex multi-display systems
- Electrical contractors: May handle display installation along with other electrical scope
- General contractor: May include display installation in overall building technology work
- Display vendor direct: Some vendors provide turnkey installation services
- In-house facilities staff: Schools with skilled staff may self-install basic systems
For new construction projects, specialized AV integrators typically provide best results, coordinating with general contractors while bringing specific display expertise.
Schedule Coordination
Installation timing requires careful coordination:
- Confirming building access and work area availability
- Coordinating with general contractor’s schedule and completion priorities
- Scheduling around other trades requiring same work areas
- Allowing adequate time before occupancy deadline
- Planning testing and commissioning before operational need
Schools should engage installation contractors 2-3 months before anticipated installation dates, ensuring availability and enabling detailed schedule coordination.

Coordinated lobby installations combining murals, graphics, and digital displays require careful planning and contractor coordination
Content Planning and Preparation
Hardware installation represents only part of successful deployment; content readiness determines actual functionality.
Content Strategy Development
Planning content while construction proceeds:
Content Inventory and Organization
Schools should begin content preparation months before installation:
- Athletic team rosters and coaching staff information
- Historical championship teams and season records
- Individual athlete achievements and career statistics
- Facility information and wayfinding content
- School history, mission, and general information
Content organized and digitized during construction months enables rapid deployment once displays install. Waiting until installation completes before beginning content development delays actual display use by weeks or months.
Photo and Media Asset Collection
Visual content requires advance gathering:
- Historical photographs of teams, athletes, and events
- Individual athlete portraits and action photography
- Trophy and physical artifact documentation
- Facility photography and architectural images
- Video highlights and game footage archives
Many schools discover historical content exists only in deteriorating physical formats (print photos, VHS tapes, etc.). Digitization requires time and often professional services, warranting early initiation.
Content Management Platform Setup
Software configuration enables content development before hardware installation:
- Administrator account creation and staff training
- Template customization reflecting school branding
- Navigation structure design organizing content logically
- Data import preparation and testing
- Content approval workflows establishment
Cloud-based platforms allow content development on office computers before displays are installed, making efficient use of construction period downtime.

Intuitive content organization requires planning and testing before building occupancy
Launch Readiness Preparation
Opening day functionality requires systematic preparation:
Minimum Viable Content Definition
Identify essential day-one content:
- Welcome message and building information
- Basic wayfinding and directory information
- Current athletic team rosters and schedules
- Recent achievement recognition (current year highlights)
- Contact information and emergency procedures
Starting with core content and expanding over initial months proves more effective than delaying launch until comprehensive content exists. Students and visitors benefit from functional displays immediately while content libraries grow systematically.
Training and Support Planning
Staff readiness ensures sustainable operations:
- Content administrator training on management platforms
- Workflow development for ongoing updates
- Responsibility assignment for different content areas
- Technical support procedures and vendor contacts
- User guide and documentation creation
Training should occur 2-4 weeks before building occupancy, providing time for practice without excessive gap before actual use.
Accessibility and Compliance Considerations
New construction must meet all accessibility requirements from day one.
ADA Compliance Requirements
Federal law mandates accessible technology:
Reach Range Requirements
Interactive displays must accommodate wheelchair users:
- Maximum high reach for touchscreens: 48 inches above finished floor for forward approach, 54 inches for side approach
- Operable parts (interactive elements) must fall within these ranges
- Clear floor space of 30 x 48 inches providing wheelchair approach room
- Knee and toe clearance if forward approach is required
ADA guidelines specify exact requirements; architects and installers must ensure compliance.
Content Accessibility Features
Digital content requires accessible design:
- High contrast mode supporting users with low vision
- Screen reader compatibility for users with visual impairments
- Simple navigation accommodating cognitive differences
- Audio output options providing non-visual access
- Multiple input modalities (touch, voice, keyboard)
Modern content management platforms designed for institutions include accessibility features by default, but schools must verify compliance during content development.

Proper mounting heights ensure accessibility for users of all abilities
Safety and Security Considerations
Public displays require safety planning:
Physical Safety Measures
Installations must protect users and equipment:
- Secure mounting preventing tip-over hazards
- Rounded edges and corners minimizing injury risk
- Tempered glass or protective overlays preventing sharp edges if broken
- Appropriate temperature management preventing burn hazards
- Electrical safety ensuring exposed conductors don’t exist
Code compliance and insurance requirements mandate professional installation following manufacturer specifications.
Cybersecurity and Network Safety
Connected displays require security planning:
- Network segmentation isolating displays from critical systems
- Secure content management platform access and authentication
- Regular software updates addressing security vulnerabilities
- Monitoring for unauthorized access attempts
- Incident response procedures for security events
Schools should work with IT departments during planning phases ensuring display network connectivity aligns with district security policies and requirements.
Case Example: Midwest High School Gymnasium Project
A real-world example illustrates optimal timing and planning (details anonymized):
Project Overview
A 1,200-student high school building a new 2,500-seat gymnasium and athletic wing planned to include:
- Main entrance lobby display (65-inch) showcasing athletic programs
- Gymnasium concourse display (55-inch) for championship recognition
- Athletic hallway displays (three 49-inch screens) for current team content
- Trophy case area with integrated touchscreen (43-inch)
Planning and Timing Approach
Design Phase (12 months before opening)
The athletic director and principal attended a touchscreen display demonstration at a vendor facility, experiencing content navigation and viewing installation examples. They decided to include displays in construction planning.
During design development, they worked with the display vendor to specify:
- Exact mounting locations based on preliminary floor plans
- Required electrical and network infrastructure
- Display sizes appropriate for each location’s viewing distance
- Structural backing requirements for mounting
The architect incorporated these specifications into construction documents, including electrical outlets directly behind each display location and network data drops in close proximity. Wall backing sheets were specified at each mounting location.
Construction Phase (Months 1-11)
While construction proceeded, the school:
- Collected historical athletic photographs and team information
- Digitized physical records and organized content by sport and era
- Trained athletics and communications staff on content management platform
- Began content development in cloud-based system before displays existed
- Finalized hardware specifications and issued purchase order (Month 8)
Purchase order timing allowed 3-month lead time before anticipated installation date, ensuring display availability while avoiding premature delivery.
Installation Phase (Month 11-12)
As construction neared completion:
- Displays delivered to secure storage two weeks before installation date
- Installation scheduled for two weeks after substantial completion
- Five-day installation period with vendor coordination
- One week of testing, troubleshooting, and content refinement
- Building opened with fully operational displays showcasing athletics program
Results and Lessons Learned
The project succeeded because:
- Early planning prevented expensive change orders for infrastructure
- Substantial completion installation timing avoided construction damage
- Advanced content preparation enabled day-one functionality
- Budget clarity from design phase prevented surprises
- Professional installation ensured quality and timely completion
The athletic director noted that pre-planned infrastructure cost approximately $1,800 per location (electrical and network work included in construction), compared to estimated $4,500 per location for retrofit work after building completion. This $2,700 per location savings justified early vendor engagement and detailed planning.

Successful athletic facility installations combine proper planning with appropriate installation timing
Special Considerations for Different School Types
Different institutions face unique requirements:
K-12 Public Schools
District schools navigate specific processes:
Board Approval and Public Funding
Public construction projects require:
- Board of education approval for technology purchases
- Compliance with public bidding requirements and procedures
- Value engineering if construction bids exceed budgets
- Community engagement and public presentation of plans
- Audit trail documentation for public fund expenditure
Early board engagement building support for display investments helps ensure they survive value engineering if construction costs require reductions.
Multi-Building Coordination
Districts constructing multiple facilities may:
- Standardize display specifications across buildings
- Negotiate volume pricing for multiple installations
- Develop consistent content templates and branding
- Centralize content management across district
- Share training and support resources
Standardization provides operational efficiency while potentially reducing per-unit costs through volume purchasing.
Private and Independent Schools
Private institutions have different considerations:
Donor Recognition Integration
Private school facilities often involve major donor gifts:
- Integrated donor recognition displays as part of building dedication
- Campaign progress visualization during construction phases
- Named space recognition in digital content
- Donor event integration (groundbreaking, dedication ceremonies)
- Stewardship communication showing gift impact
Digital displays enable flexible, updateable recognition that physical plaques cannot provide, supporting ongoing stewardship and future giving.
Branding and Aesthetic Premium
Private schools often prioritize premium presentation:
- Custom enclosures and millwork integration
- High-end display hardware and finishes
- Professional content design and photography
- Architectural design coordination
- Branded content template development
Budget planning should account for these premium elements beyond basic hardware costs.
Higher Education Facilities
College and university athletic facilities present unique considerations:
NCAA Compliance and Recruiting
Division I and II athletic facilities serve recruiting functions:
- Content and presentation quality affecting recruit impressions
- Compliance with NCAA rules about facility displays and recruiting materials
- Integration with broader athletics marketing strategies
- Coordination with sports information and communications staff
- Professional content production standards
Athletic department leadership involvement in planning ensures displays support recruiting goals while maintaining compliance.
Large-Scale Multi-Display Systems
University athletic complexes may include:
- Coordinated display networks across multiple buildings
- Centralized content management across entire athletics complex
- Large-format displays requiring premium mounting and infrastructure
- Integration with ticketing, scheduling, and sports information systems
- Video production infrastructure for live content
These complex systems warrant specialized integration firms with higher education experience and early engagement during design phases.
Conclusion: Strategic Planning Ensures Success
The question of when to install touchscreen displays in new school buildings comes down to strategic planning rather than a single installation date. Successful projects address display integration throughout all construction phases:
During Design Development: Identify locations, specify infrastructure requirements, plan content strategies, and establish budgets. This early planning prevents costly change orders and ensures optimal mounting locations with proper electrical and network support.
During Construction Documents: Formalize specifications, allocate budget line items, assign contractor responsibilities, and procure long-lead-time equipment. Detailed documentation ensures contractors understand requirements and school expectations.
During Active Construction: Prepare content, train staff, finalize hardware selection, and coordinate installation scheduling. Use construction time productively for tasks that don’t require installed hardware.
After Substantial Completion: Install displays in clean, finished spaces protected from construction damage. The 2-4 week window between construction completion and building occupancy provides ideal installation conditions.
Planning a New School Facility? Get Expert Display Integration Guidance
Rocket Alumni Solutions specializes in helping schools integrate touchscreen displays into new construction projects from initial planning through installation and content launch. Our team provides complimentary design phase consultation, infrastructure specification development, and construction coordination to ensure optimal results. Connect with our team to discuss your project timeline and requirements.
Talk to Our TeamSchools that treat touchscreen displays as integrated architectural elements requiring systematic planning achieve dramatically better results than those attempting to retrofit technology into completed buildings. Infrastructure installed during construction costs 40-60% less than retrofit work while delivering superior aesthetics and functionality.
Your new gymnasium or athletic facility represents a significant investment in your school’s future. Properly integrated touchscreen displays maximize that investment by creating engaging recognition displays, effective communication platforms, and impressive recruitment tools that serve your school community for decades. The key is recognizing that timing decisions should be made during design phases, not after construction completes.
Whether you’re breaking ground next year or still in preliminary planning stages, now is the time to engage with experienced partners who understand both construction processes and educational technology requirements. Solutions designed specifically for schools—like those from Rocket Alumni Solutions—provide turnkey approaches handling infrastructure specification, content strategy, hardware procurement, installation coordination, and ongoing support as integrated services rather than requiring schools to coordinate multiple vendors across construction phases.
Start your planning today and ensure your new facility opens with recognition displays worthy of your athletic program’s tradition and your school community’s pride.